
Transforming Your Homestead: From Drafty to Delightful - DIY Home Insulation Guide
Imagine cozy winter evenings on your homestead, not shivering by the fire, but feeling the warmth of a well-insulated home. For Better Homes and Harvests readers, self-sufficiency isn't just a trend; it's a way of life. This isn't your typical DIY guide; this is about empowering you to take control of your home's energy efficiency, lower your heating bills, and create a more comfortable, sustainable living space. This guide focuses on insulating older homes (pre-1980s), often plagued by drafts and inadequate insulation, using accessible techniques and prioritizing natural or reclaimed materials whenever possible.
Preparation is Key: Your Homestead Energy Audit
Before tearing into walls, it’s crucial to understand where your home is losing energy. A simple home energy audit will pinpoint the biggest culprits. Here's how to conduct your own:
- The Visual Inspection: Walk around your home, inside and out. Look for cracks in the foundation, gaps around windows and doors, and areas where pipes or wires enter the house. Note any areas where you feel a draft.
- The Hand Test: On a windy day, hold your hand near windows, doors, outlets, and any other potential leak points. Feel for drafts. Even small drafts can add up to significant energy loss.
- The Incense Test: Light a stick of incense and slowly move it around windows, doors, and other potential leak areas. Watch the smoke. If it wavers or is drawn in or out, you’ve found a draft.
- Check Existing Insulation: Head to your attic and crawl space. Assess the existing insulation's depth and condition. Is it evenly distributed? Is it damp or damaged? Are there any gaps or missing sections?
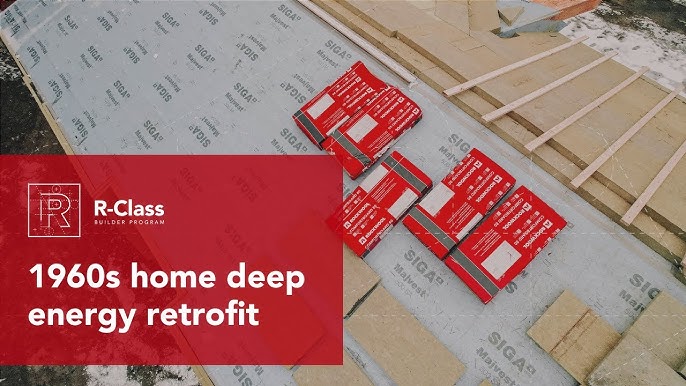
Image Alt Text: A person holds a lit incense stick near a window frame to check for drafts during a home energy audit.
Material Selection: Natural and Reclaimed Options for the Eco-Conscious Homesteader
Choosing the right insulation material is crucial for both performance and sustainability. Here are some options, focusing on natural and reclaimed resources:
- Recycled Denim (Cotton) Insulation: Made from recycled blue jeans, this option offers excellent thermal performance and sound absorption. It's also naturally fire-retardant. Pros: Eco-friendly, good R-value, sound dampening. Cons: Can be more expensive than fiberglass, may require professional installation.
- Sheep's Wool Insulation: A renewable and sustainable resource, sheep's wool provides excellent insulation and naturally regulates moisture. Pros: Sustainable, moisture-wicking, naturally fire-resistant. Cons: Higher cost, potential for moth damage (treatments available).
- Reclaimed Wood Siding: Use reclaimed wood siding to improve the thermal mass of your walls and add a rustic aesthetic. Pros: Environmentally friendly, visually appealing, durable. Cons: Labor-intensive to source and install, requires proper sealing and weatherproofing.
- Cellulose Insulation: Made from recycled paper products, cellulose is a cost-effective and eco-friendly option. Pros: Affordable, recycled content, good R-value. Cons: Can settle over time, requires specialized equipment for installation.
- Straw Bale Insulation: A very low-cost, natural option. Pros: Natural, inexpensive. Cons: Requires professional installation, specialized construction methods, and large wall footprint.
Local Sourcing: Check with local building supply stores, salvage yards, and recycling centers for reclaimed materials. Contact local sheep farmers for wool. Don't be afraid to get creative and think outside the box! For example, "[Your Region/State] insulation resources" can be found through online searches or local homesteading groups.

Image Alt Text: A person wearing safety glasses and gloves installing insulation batts into a wall cavity.
The Insulation Process: A Step-by-Step Guide
Here’s how to tackle insulation projects in different areas of your older home. Remember to prioritize safety! Wear safety glasses, gloves, and a dust mask or respirator, especially when working with loose-fill insulation.
1. Attic Insulation:
- Step 1: Assess the Existing Insulation: Check the depth and condition of the existing insulation. If it's compressed, damaged, or insufficient, it needs to be addressed.
- Step 2: Air Sealing: Before adding insulation, seal any air leaks. Use caulk or expanding foam to seal gaps around pipes, wires, and light fixtures.
- Step 3: Install Baffles (if needed): Install baffles between the rafters to maintain airflow from the soffit vents, preventing moisture buildup.
- Step 4: Add Insulation: Roll out insulation batts between the rafters, or use a loose-fill insulation blower to add cellulose or other loose-fill material. Aim for an R-value of R-49 to R-60 in colder climates.
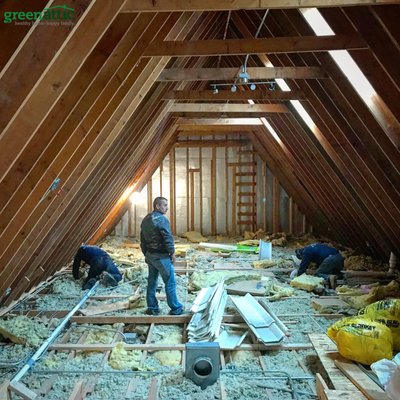
Image Alt Text: A cluttered attic space before insulation, showing exposed rafters and minimal existing insulation.
2. Wall Insulation (Retrofitting):
- Step 1: Identify Wall Cavities: Determine the spacing between your wall studs.
- Step 2: Drill Access Holes: Drill small holes (typically 2-3 inches in diameter) between the studs, near the top of the wall.
- Step 3: Blow in Insulation: Use a cellulose insulation blower or a similar tool to fill the wall cavities with insulation. Ensure the cavity is completely filled.
- Step 4: Patch Holes: Patch the access holes with drywall or wood patches, and finish with joint compound and paint.
Important Note: If your walls already have some insulation, consider whether adding more will cause moisture problems. Consult with a professional if you’re unsure.

Image Alt Text: A graphic illustration of a house showing areas of heat loss represented as ghostly figures escaping from walls, windows, and the roof.
3. Crawl Space Insulation:
- Step 1: Clean the Crawl Space: Remove any debris, dirt, or moisture from the crawl space.
- Step 2: Seal Air Leaks: Seal any cracks or gaps in the foundation walls.
- Step 3: Insulate the Walls: Attach rigid foam insulation to the crawl space walls, or use insulation batts between the floor joists.
- Step 4: Vapor Barrier: Install a vapor barrier on the ground to prevent moisture from entering the crawl space.
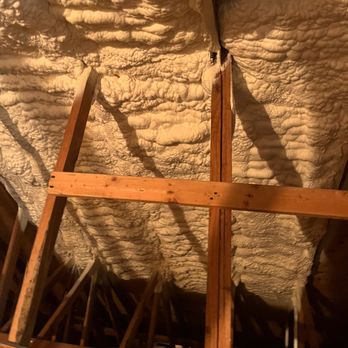
Image Alt Text: A dark, unfinished crawl space with exposed dirt and foundation walls before insulation.
4. Basement Insulation:
- Step 1: Determine Insulation Strategy: Insulate either the basement walls or the basement ceiling.
- Step 2: Insulate Walls (Option 1): Attach rigid foam insulation to the interior basement walls, or build a stud wall and fill it with insulation batts.
- Step 3: Insulate Ceiling (Option 2): Attach insulation batts between the floor joists above the basement, or spray foam insulation.
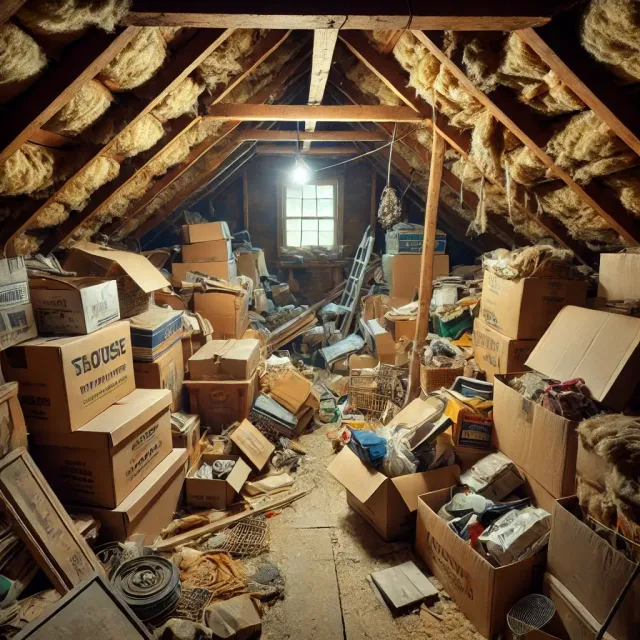
Image Alt Text: A cluttered attic filled with boxes and belongings, highlighting the challenge of accessing and insulating the space.
Addressing Challenges: Moisture, Rodents, and Existing Infrastructure
- Moisture Control: Moisture is insulation's enemy. Ensure proper ventilation in attics and crawl spaces. Use vapor barriers to prevent moisture from migrating into walls.
- Rodent Prevention: Seal any entry points to prevent rodents from nesting in your insulation. Use rodent-resistant insulation materials or add mesh barriers.
- Wiring and Plumbing: Be extremely careful when working around electrical wiring and plumbing. Turn off power to circuits before working near wires. Avoid compressing or damaging pipes.
- Asbestos: In older homes, asbestos is sometimes present. If you suspect asbestos, have it professionally tested and remediated. Do not attempt to handle it yourself.
Showcase the Results: Savings and Sustainability
Insulating your older home can significantly reduce your energy bills. A typical older home can see a 15-25% reduction in heating and cooling costs after proper insulation. This translates to hundreds of dollars saved each year! But the benefits go beyond just money. A well-insulated home is more comfortable, reduces your carbon footprint, and increases the value of your property. Imagine a homestead where you spend less time worrying about keeping warm and more time on your crops!
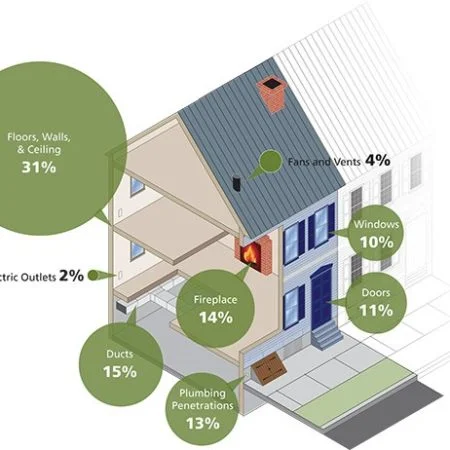
Image Alt Text: A graphic depicting various areas of a home and how they contribute to energy loss and inefficiency.
Bonus: Simple, Low-Cost DIY Solutions
- Weather Stripping: Install weather stripping around windows and doors to seal air leaks.
- Draft Stoppers: Create draft stoppers (fabric tubes filled with sand or rice) to block drafts under doors.
- Caulking: Caulk gaps and cracks around windows, doors, and pipes.
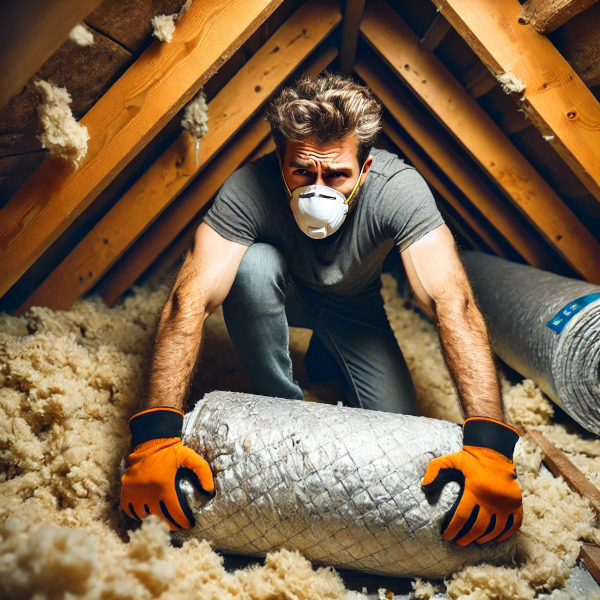
Image Alt Text: A person installing insulation batts between wall studs as part of a DIY home improvement project.
Conclusion
Transforming your drafty homestead into a delightful, energy-efficient haven is achievable with careful planning, the right materials, and a little elbow grease. By focusing on natural and reclaimed resources, you can create a sustainable living space that saves you money, reduces your environmental impact, and enhances your comfort. So, grab your tools, gather your materials, and get ready to experience the warmth and satisfaction of a well-insulated homestead!
Now it's your turn! What insulation projects have you tackled on your homestead? Share your experiences, tips, and questions in the comments below! Let's build a community of resourceful and sustainable homesteaders.