Transforming October's Chill into Savings: Your Step-by-Step Guide to Insulating Your Homestead Windows
Winter's bite is no joke, especially when you're working hard to make your homestead thrive! This month, let's tackle a practical, money-saving project that boosts your self-reliance and keeps you cozy: insulating your windows for maximum energy efficiency. We're not talking rocket science here, just simple steps that anyone can follow to dramatically cut heating costs and create a warmer, more comfortable living space. This detailed guide will walk you through choosing the right materials, preparing your windows, and mastering the insulation process – all while enjoying the satisfaction of doing it yourself!
The "Why" of Window Insulation: My Homestead Story
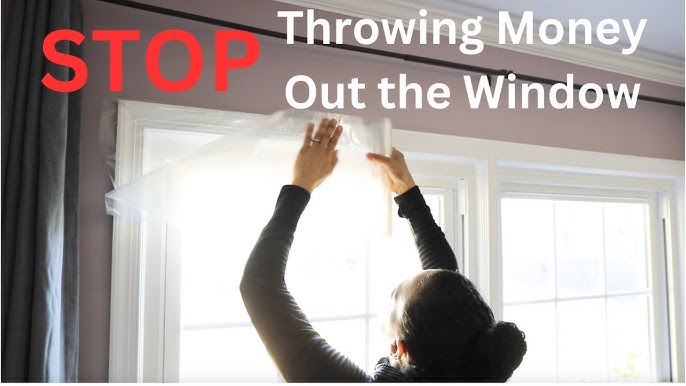
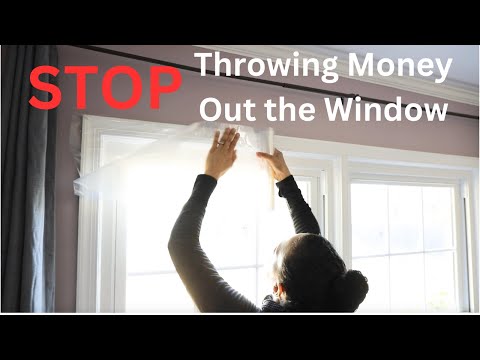
For years, our old farmhouse seemed determined to donate all its hard-earned heat to the outside world. Every winter, we battled escalating heating bills and shivered in drafty rooms, despite cranking up the wood stove. It felt like we were throwing money out the window – literally! The single-pane windows were beautiful in a rustic way, but they were a massive energy drain. Finally, I decided enough was enough. After researching different methods, I resolved to insulate those heat-leaking portals myself. The difference it made was astounding! Our heating bills plummeted, the house felt noticeably warmer, and we finally felt like we were winning the war against winter. That experience taught me the true value of window insulation, not just for comfort, but for the financial stability and self-sufficiency of our homestead.
Material Selection Made Easy
Choosing the right materials can feel overwhelming, but it doesn't have to be. Here's a breakdown of common options, weighing cost, effectiveness, and eco-friendliness:
Material Chart for Window Insulation
| Material | Cost | Effectiveness | Eco-Friendly | Best For |
|---|---|---|---|---|
| Plastic Window Film | Low | Medium | Low | Temporary fixes, rental properties |
| Bubble Wrap | Low | Medium | Medium | Single-pane windows, DIY enthusiasts |
| Insulating Curtains | Medium | Medium | High (select natural fabrics) | General use, aesthetic appeal |
| Weather Stripping | Low | Medium | Varies | Sealing gaps around window frames |
| Caulk | Low | Medium | Low | Sealing cracks and crevices |
| Rigid Foam Insulation | High | High | Low | More permanent solutions, custom fit |
Budget-Friendly Options: Plastic window film and bubble wrap are the cheapest and easiest to install. They’re perfect for renters or those needing a quick fix. Consider purchasing bubble wrap in bulk for larger homesteads.
Eco-Friendly Alternatives: Opt for heavy curtains made from natural, sustainable fabrics like organic cotton, linen, or hemp. Look for weather stripping made from recycled materials. For a more permanent solution, consider sheep's wool insulation, although it's pricier.
Where to Source Materials: Local hardware stores like Home Depot, Lowes, or smaller local shops are great options for most materials. Online retailers like Amazon can also be convenient, especially for specialty items or bulk purchases. Look for homesteading supply stores online for eco-friendly and specialized options.
Considerations for Different Window Types:
- Single-pane Windows: These are the most susceptible to heat loss. All the above options will help, but consider combining multiple methods (e.g., window film and heavy curtains).
- Double-pane Windows: If these are in good condition, caulking and weather stripping are usually sufficient. If they are old or the seals are broken, consider replacing them eventually or adding window film as a temporary fix.
- Old vs. New Windows: Old windows often have gaps and cracks. Pay extra attention to sealing these with caulk and weather stripping before adding other insulation.
Step-by-Step Insulation Guide
Here’s how to insulate your windows for maximum energy savings:
Step 1: Cleaning and Prepping Your Windows
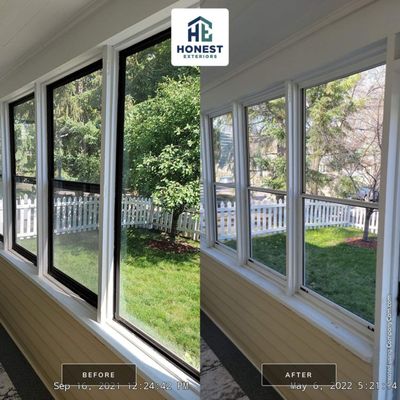
Start by thoroughly cleaning your windows and frames with soap and water. Remove any dirt, dust, or old caulk. This ensures proper adhesion of insulation materials.
Step 2: Measuring and Cutting Your Insulation Material (Window Film Example)
Measure the inside of your window frame. Add an extra inch or two to each dimension for overlap. Carefully cut your chosen insulation material (in this case, window film) to the measured size using scissors or a utility knife.
Step 3: Applying the Insulation (Window Film Example)
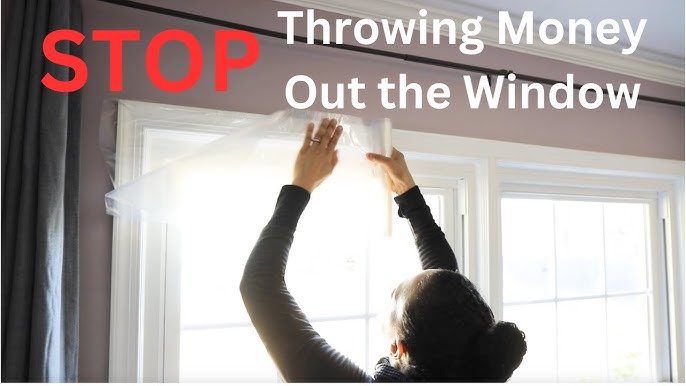
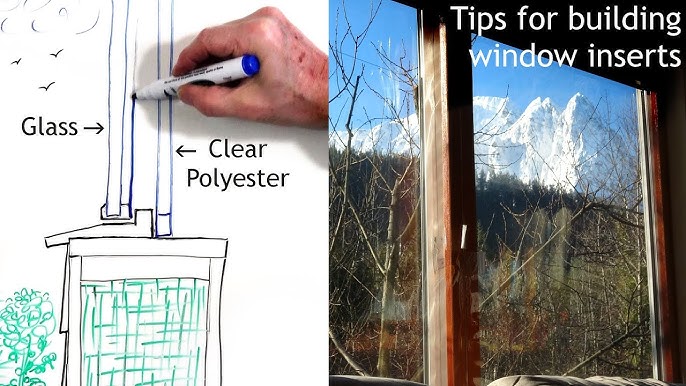
For window film, apply double-sided tape around the perimeter of the window frame. Remove the backing from the tape and carefully apply the film, smoothing out any wrinkles or air bubbles. Use a hairdryer to shrink the film for a tight, transparent fit.
Step 4: Caulking and Weather Stripping (For Drafty Windows)
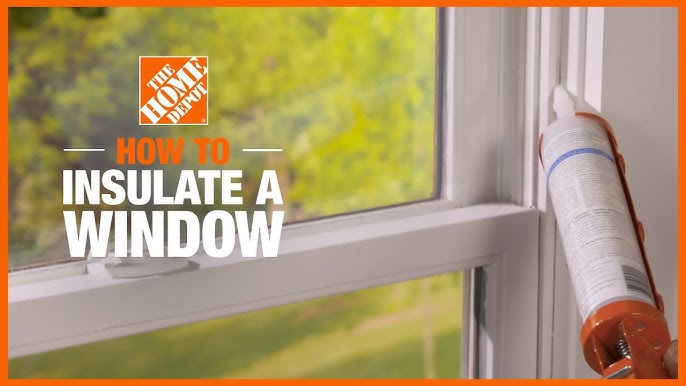
Inspect your window frames for cracks or gaps. Apply caulk to seal any openings along the edges where the window meets the frame. Install weather stripping around the movable parts of the window (sash) to create a tight seal when closed.
Troubleshooting & Expert Tips
Problem: Old windows with uneven gaps.
Solution: Use foam backer rod to fill large gaps before applying caulk. This prevents the caulk from sinking in and provides a more solid seal.
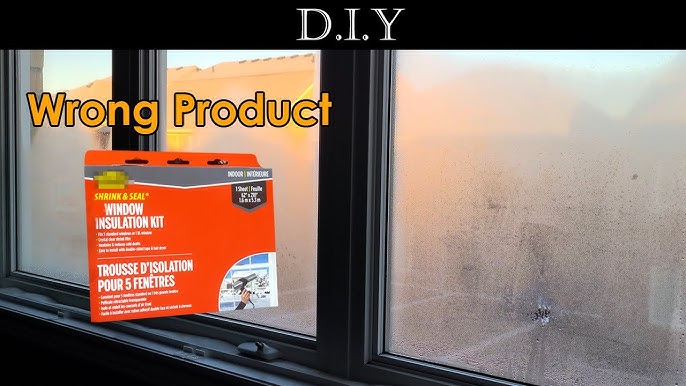
Problem: Moisture condensation between window panes or on the interior.
Solution: This indicates a broken seal. While insulation can help, it’s a temporary fix. Consider replacing the window in the long term. Ensure adequate ventilation in the room to reduce moisture buildup.
Homesteader Hacks:
- DIY Draft Stopper: Sew fabric tubes filled with rice or beans to place at the bottom of drafty doors and windows.
- Bubble Wrap Magic: Secure bubble wrap to windows with a spray bottle of water. It clings naturally and provides excellent insulation!
- Candle Test: Hold a lit candle near the window frame. If the flame flickers, you have a draft!
Calculate Your Savings
Use this simple formula to estimate your potential energy savings:
Estimated Savings = (Heat Loss Reduction %) x (Current Heating Bill)
- Heat Loss Reduction %: This depends on the type of insulation and the initial condition of your windows. Generally, you can expect a 10-25% reduction in heat loss with proper insulation.
- Current Heating Bill: Your average monthly heating bill.
Online Tool: Energy.gov offers a home energy audit tool that can help you estimate potential savings based on your specific location and home characteristics.
Related Projects
Don't stop at windows! Here are other projects to boost your homestead's energy efficiency:
- Weather Stripping Doors: Seal gaps around doors to prevent drafts.
- Insulating Attics: A well-insulated attic is crucial for preventing heat loss.
- Upgrading Appliances: Replace old, inefficient appliances with Energy Star-certified models.
Conclusion
Don't let the October chill get the best of your homestead or your wallet. With a little elbow grease and this guide, you can create a warmer, more energy-efficient home. By focusing on window insulation, you're not only saving money on heating costs but also taking a significant step towards a more sustainable and self-reliant homestead lifestyle.
We want to see your window insulation projects! Share your photos and stories in the comments below, and let's build a community of resourceful homesteaders together!
Call to Action
- Share your results and tips in the comments section. What worked for you? What challenges did you face?
- Subscribe to the Better Homes and Harvests newsletter for more DIY homesteading projects and tips on sustainable living.
- Check out our recommended window insulation products and tools on the Better Homes and Harvests website. [affiliate link to relevant products]
