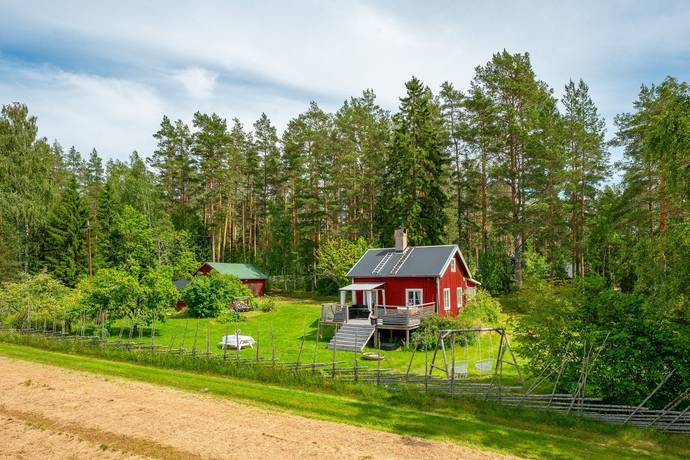
Transform Your Homestead with a DIY Low-Cost Root Cellar Conversion: A Step-by-Step Guide for the Modern Homesteader
Imagine this: Crisp autumn air biting at your cheeks, the scent of damp earth rising from your hands as you unearth carrots—enough to add vibrant color and nutrition to your family’s meals throughout the long winter months. No more bland supermarket produce; just homegrown goodness, preserved naturally and affordably. If you crave greater self-sufficiency and a deeper connection to the land, then a root cellar is the homesteading project for you. This guide will walk you through a low-cost root cellar conversion, empowering even beginner homesteaders to create their own sustainable food storage solution.
A root cellar offers numerous benefits. First and foremost, it allows you to extend the harvest and reduce your reliance on store-bought produce, saving you money and ensuring access to fresh, healthy food year-round. It’s also an environmentally friendly way to preserve food, avoiding the energy consumption of refrigeration or freezing. Finally, building a root cellar connects you with traditional methods of food storage, fostering a deeper understanding of self-sufficiency and resilience.
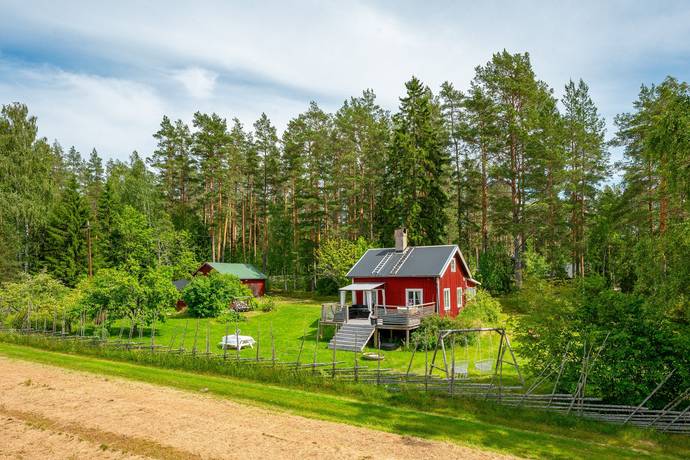
Choosing the Right Location
Before diving into the construction, you need to assess your property and determine the best location for your root cellar conversion. Ideal locations offer consistent cool temperatures and high humidity, crucial for preserving your harvest.
- Basement: A basement is often the easiest and most cost-effective option, as it's already underground. Select a corner that remains relatively cool and damp.
- Underground: If you don't have a basement, consider building an underground root cellar. A north-facing slope is preferable as it receives less direct sunlight.
- Existing Structure: An old shed, garage, or outbuilding can potentially be converted, provided you can maintain the necessary temperature and humidity levels.
Step-by-Step Guide: Converting a Basement into a Low-Cost Root Cellar
This guide focuses on converting a portion of your basement into a root cellar. Remember to adapt the steps as needed based on your specific location and resources.
Step 1: Planning and Preparation
- Title: Define Your Root Cellar Space
- Tools & Materials:
- Measuring tape ($10 - [Affiliate Link: Measuring Tapes on Amazon])
- Pencil and paper
- Cleaning supplies
- Optional: Moisture meter ($25 - [Affiliate Link: Moisture Meters on Amazon])
- Instructions:
- Measure the available space and sketch out your root cellar design. Consider the size of your harvest and storage needs.
- Thoroughly clean the area, removing any debris, mold, or mildew.
- Assess the existing moisture levels. Ideal humidity should be between 80-90%. A moisture meter can help you determine if your basement is suitable.
- Troubleshooting: If your basement is too dry, you'll need to introduce moisture through ventilation or humidifiers. If it’s too damp, consider improving drainage or ventilation to prevent mold growth.
- Estimated Time: 2-4 hours
Step 2: Insulating the Walls
- Title: Block drafts and stabilize temperatures
- Tools & Materials:
- Rigid foam insulation (e.g., XPS or EPS) ($50-100, depending on size - [Affiliate Link: Rigid Foam Insulation at Home Depot])
- Construction adhesive ($10 - [Affiliate Link: Construction Adhesive on Amazon])
- Utility knife
- Safety glasses
- Gloves
- Instructions:
- Measure and cut the rigid foam insulation to fit the walls.
- Apply construction adhesive to the back of the insulation panels.
- Press the panels firmly against the walls, ensuring a tight seal.
- Fill any gaps with expanding foam sealant.
- Troubleshooting: Ensure the insulation is properly sealed to prevent air leaks. Use foil tape to seal seams for added insulation.
- Estimated Time: 4-8 hours
Step 3: Building Shelving
- Title: Organize Your Harvest
- Tools & Materials:
- Untreated lumber (pine or cedar) ($50-150, depending on size - [Affiliate Link: Lumber at Lowes])
- Saw
- Drill
- Screws
- Measuring tape
- Level
- Instructions:
- Design and build sturdy shelving units to maximize storage space.
- Use untreated lumber to avoid contaminating your food.
- Ensure the shelves are well-ventilated to prevent moisture buildup.
- Stagger shelf heights to accommodate different sized vegetables.
- Troubleshooting: Avoid overcrowding shelves, as this can restrict airflow. Use wire shelves for better ventilation.
- Estimated Time: 6-12 hours
Step 4: Implementing Ventilation
- Title: Breathe Easy
- Tools & Materials:
- Ventilation pipe (PVC or metal) ($20-50 - [Affiliate Link: Ventilation Pipes on Amazon])
- Screening to prevent pests
- Drill
- Weather stripping
- Instructions:
- Create a ventilation system to allow for airflow and regulate temperature and humidity.
- Install an intake vent near the floor and an exhaust vent near the ceiling.
- Cover the vents with screening to prevent pests from entering.
- Adjust ventilation based on the season and the types of produce stored.
- Troubleshooting: Monitor temperature and humidity levels regularly. Adjust ventilation as needed to maintain optimal conditions.
- Estimated Time: 2-4 hours

Step 5: Controlling Humidity
- Title: Finding the Sweet Spot
- Tools & Materials:
- Gravel or sand for the floor
- Water mister or humidifier (optional) ($20-40 - [Affiliate Link: Humidifiers on Amazon])
- Hygrometer (to measure humidity) ($15 - [Affiliate Link: Hygrometers on Amazon])
- Instructions:
- Maintain proper humidity levels (80-90%) by using a gravel or sand floor that can be moistened as needed.
- Use a water mister or humidifier if the air is too dry.
- Monitor humidity levels with a hygrometer and adjust accordingly.
- Troubleshooting: Overly damp conditions can lead to mold and rot. Ensure adequate ventilation to prevent moisture buildup.
- Estimated Time: 1-2 hours

Step 6: Stocking Your Root Cellar
- Title: Harvest Time!
- Tools & Materials:
- Your harvested vegetables and fruits
- Storage containers (crates, boxes, baskets)
- Sand, sawdust, or peat moss for packing
- Instructions:
- Store your harvested produce in appropriate containers, such as crates, boxes, or baskets.
- Pack root vegetables in sand, sawdust, or peat moss to maintain moisture and prevent spoilage.
- Monitor your produce regularly and remove any items that show signs of decay.
- Troubleshooting: Different vegetables require different storage conditions. Research the specific needs of each crop to ensure optimal preservation.
- Estimated Time: Varies depending on the amount of produce.

Tips for Successful Root Cellaring
- Harvest at the Right Time: Harvest your produce when it's fully mature but not overripe.
- Handle with Care: Avoid bruising or damaging your produce during harvest and storage.
- Cure Properly: Cure onions, garlic, and potatoes before storing them to improve their shelf life.
- Monitor Regularly: Check your root cellar frequently for signs of spoilage and adjust conditions as needed.
Conclusion
Building a low-cost root cellar conversion is a rewarding project that can significantly enhance your homestead's self-sufficiency and sustainability. By following these step-by-step instructions and adapting them to your specific needs, you can create a reliable and affordable food storage solution that will provide you with fresh, homegrown produce throughout the year. Take action today and start building your own root cellar!
Share your own DIY successes in the comments below! Subscribe to our newsletter for more homesteading tips and tricks! We'd love to see your finished root cellar! Tag us on Instagram @BetterHomesAndHarvests.