Transform Your Homestead This Weekend: Build a Budget-Friendly, Critter-Proof Chicken Coop for a Healthier Flock and Fresher Eggs!
Imagine waking up to the gentle clucking of happy hens, knowing you're one step closer to true homestead independence. For "Better Homes and Harvests" readers who dream of farm-fresh eggs and a more self-sufficient life, a well-built chicken coop is a must-have. But quality doesn't have to break the bank! In this step-by-step guide, we'll show you how to build a durable, critter-proof chicken coop using reclaimed materials and affordable techniques, perfect for a weekend project.
Why Build Your Own Chicken Coop?
Building your own coop offers numerous advantages. Firstly, it's significantly cheaper than buying a pre-built coop, especially if you utilize reclaimed materials. Secondly, you have complete control over the design, allowing you to customize it to your specific needs and the size of your flock. Most importantly, building your own coop allows you to ensure its robustness and protection against predators, giving you peace of mind.

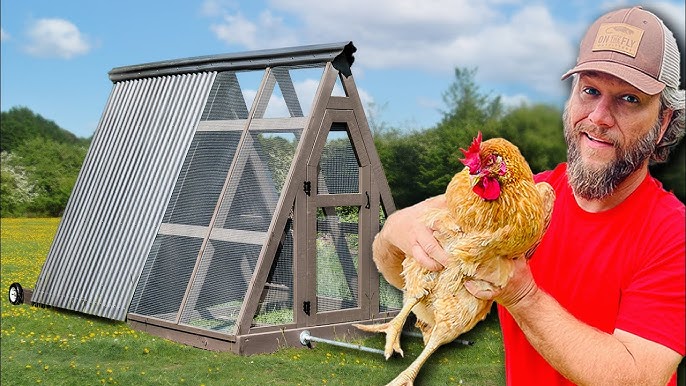
This is an example of what you can build this weekend!
A Tale of a Troublesome Raccoon
I'll never forget the night I lost three beautiful hens to a cunning raccoon. I thought my old coop was secure enough, but the raccoon managed to pry open a weak spot in the wire mesh. That experience taught me a harsh lesson: predator-proofing is paramount. That's why this guide emphasizes building a coop that can withstand even the most persistent critters.
Project Overview: 6ft x 8ft A-Frame Coop
We'll be focusing on a 6ft x 8ft A-frame coop, ideal for 6-8 hens. This design prioritizes predator protection (think raccoons, foxes, and hawks!), ease of cleaning, proper ventilation, and egg-laying comfort. We'll cover everything from sourcing affordable or free materials (think pallets, reclaimed lumber, and corrugated metal) to constructing a secure run and nesting boxes.
Materials and Tools Needed
Materials:
- Lumber: 2x4s (for framing), 1x4s (for trim), reclaimed lumber (for siding and roofing - pallets are great for this!)
- Wire Mesh: 1/2-inch hardware cloth (essential for predator protection)
- Corrugated Metal Roofing: Reclaimed or new sheets
- Plywood: For nesting boxes and potentially flooring
- Hinges: For the coop door and nesting box lids
- Latches: Secure latches to keep predators out
- Screws & Nails: Assorted sizes
- Staples: For attaching wire mesh
- Sand: For the coop floor (optional)
Tools:
- Circular Saw: For cutting lumber
- Drill/Driver: For screws
- Staple Gun: Heavy-duty staple gun for wire mesh
- Hammer: For nails
- Measuring Tape: Essential for accurate measurements
- Level: To ensure everything is square and plumb
- Safety Glasses: Protect your eyes!
- Gloves: Protect your hands!
- Pencil: For marking cuts
Step-by-Step Instructions: Building Your Critter-Proof Chicken Coop
Step 1: Gathering Your Materials
Scour your local resources for affordable or free materials. Construction sites often have scrap lumber they're willing to give away (always ask politely!). Check online marketplaces like Craigslist or Facebook Marketplace for reclaimed wood and roofing materials. Pallets are another excellent source of free lumber, but be sure to choose those that haven't been chemically treated.
Step 2: Build the Base Frame
Cut your 2x4 lumber to create a rectangular base frame measuring 6ft x 8ft. Use screws to assemble the frame, ensuring it's square. A solid base is crucial for the coop's stability. Consider using pressure-treated lumber for the base to resist rot.
Step 3: Framing the A-Frame
Cut 2x4s to create the A-frame structure. Each A-frame will consist of two angled pieces meeting at the top. Determine the height of your A-frame (6-7ft is a good height) and cut the angled pieces accordingly. Space the A-frames approximately 2-3 feet apart along the base frame. Securely attach the A-frames to the base frame using screws. Add a horizontal 2x4 beam connecting the A-frames at the top for added stability.
Step 4: Installing the Wire Mesh on the Lower Walls
Attach the 1/2-inch hardware cloth to the bottom 3 feet of the A-frame structure, creating a secure barrier against digging predators. Overlap the edges of the wire mesh by at least 2 inches and securely staple it to the framing using a heavy-duty staple gun. Pay special attention to corners and edges, ensuring there are no gaps. This is where predators often try to get in.
Step 5: Adding Siding to the Upper Walls
Use your reclaimed lumber or plywood to create siding for the upper portion of the coop. Attach the siding to the A-frame structure using screws or nails. Leave gaps for ventilation, which we'll cover in the next step.
Step 6: Creating Ventilation
Proper ventilation is crucial for a healthy flock. Cut openings near the top of the coop walls and cover them with wire mesh to prevent drafts while allowing air to circulate. Install small hinged doors over the ventilation openings so you can close them during cold weather.
Step 7: Constructing the Coop Door
Build a door frame using 2x4s and cover it with wire mesh and/or siding. Attach the door to the A-frame using hinges. Install a secure latch that's predator-proof. Raccoons are incredibly clever, so choose a latch they can't easily manipulate. Carabiner clips are a good option.
Step 8: Building and Installing Nesting Boxes
Build nesting boxes using plywood or reclaimed lumber. A good size is approximately 12x12x12 inches. Provide one nesting box for every 3-4 hens. Place the nesting boxes inside the coop, near the back, and slightly off the ground. You can attach them to the coop walls or build a separate stand for them.

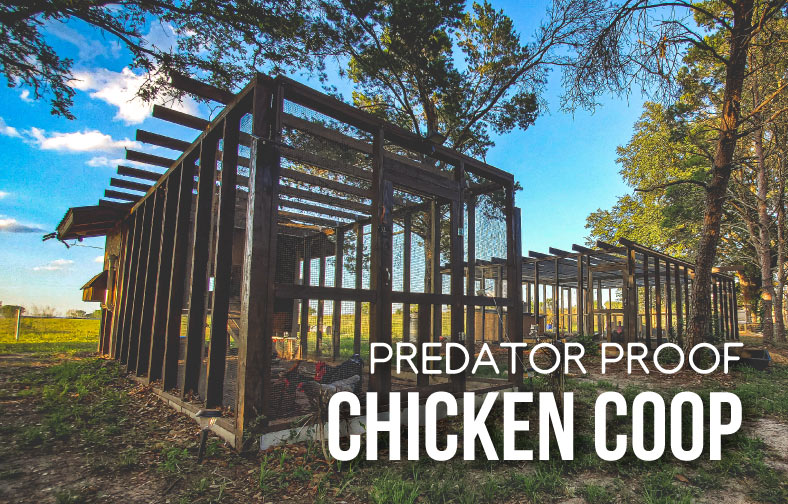
Predator-proof chicken coops are important to keep your flock safe.
Step 9: Adding Roofing
Attach corrugated metal roofing to the A-frame structure, overlapping the sheets to prevent leaks. Secure the roofing with roofing screws. Ensure the roofing extends slightly beyond the walls to protect the coop from rain.
Step 10: Constructing the Run
Extend the wire mesh outwards from the coop to create a secure run. The size of the run will depend on your available space, but aim for at least 8 square feet per hen. Bury the wire mesh at least 12 inches deep to prevent digging predators. Cover the top of the run with netting or wire mesh to protect against hawks.
Step 11: Adding Roosting Bars
Inside the coop, install roosting bars for the chickens to sleep on. Use 2x4s with the wide side facing up, positioned at different heights. Chickens prefer to roost as high as possible.

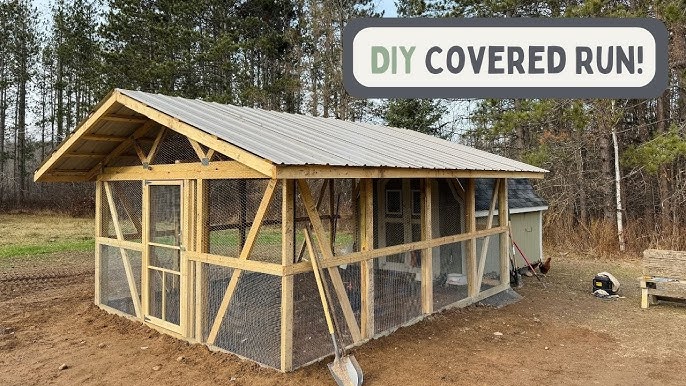
A safe and secure place for your chickens to sleep and lay eggs!
Step 12: Finishing Touches
Add sand to the coop floor for easy cleaning. Provide fresh water and food for your chickens. Introduce your hens to their new home and watch them explore!
Call to Action
Ready to transform your backyard into a haven for happy hens? Follow these steps, customize the design to fit your space, and share your coop creations with us on social media using #BetterHomesAndHarvestsCoops! What did you find difficult? Did you discover any new tricks or methods? What other ways can we improve the chicken coop in the next iteration?
Conclusion
Building your own chicken coop is not only a rewarding project but also a significant step towards a more sustainable and fulfilling homesteading lifestyle. With a little ingenuity and elbow grease, you can provide a safe and comfortable home for your feathered friends and enjoy the unmatched taste of farm-fresh eggs. Remember, predator-proofing is key, so take the time to build a coop that will keep your chickens safe and sound.