Transform Your Homestead: Step-by-Step Guide to Building a Cold Frame for a More Resilient Future
Remember last year when a surprise frost threatened your precious seedlings, Sarah? You scrambled to cover them with blankets and tarps, hoping for the best. What if I told you there was a simpler, more elegant solution? With a DIY cold frame, you can protect your plants from the elements and extend your growing season, enjoying fresh, homegrown produce much longer into the year. A cold frame is a game-changer for any homesteader looking to improve self-sufficiency and resilience. This weekend, let's build one together!
Why a Cold Frame? Unlocking Homestead Resilience
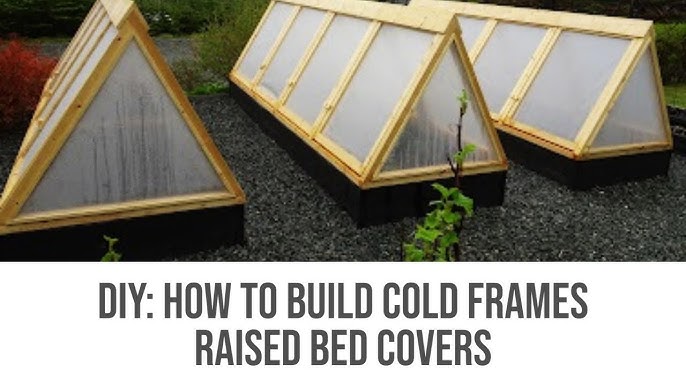
A cold frame is essentially a miniature greenhouse – an enclosed structure that uses the sun's energy to create a warmer environment for plants than the surrounding air. This simple setup provides numerous benefits:
- Extends the Growing Season: Start seedlings earlier in the spring and protect crops later into the fall and even winter.
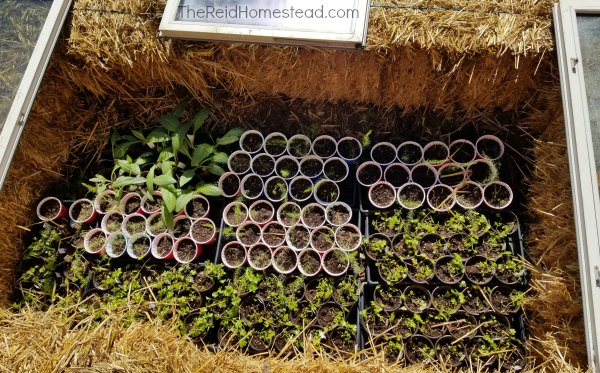
- Hardens Off Seedlings: Gradually acclimate indoor-grown seedlings to outdoor conditions before transplanting.
- Protects from Frost and Extreme Weather: Shield plants from damaging frost, strong winds, and heavy rain.
- Offers a Controlled Environment: Manage temperature and humidity for optimal plant growth.
This guide will walk you through building a simple, effective cold frame perfect for any small homestead. It’s a beginner-friendly project you can complete in a weekend, using readily available materials and basic tools. We'll focus on an easy-to-build design using repurposed materials whenever possible, aligning with the values of sustainable living.
Choosing Your Cold Frame Design
Before diving in, consider the size and location of your cold frame. Factors to consider:
- Size: Determine the area you need to cover based on the number of plants you want to protect. A 4x4 foot cold frame is a good starting point.
- Location: Choose a sunny spot with good drainage, ideally facing south to maximize sunlight exposure.
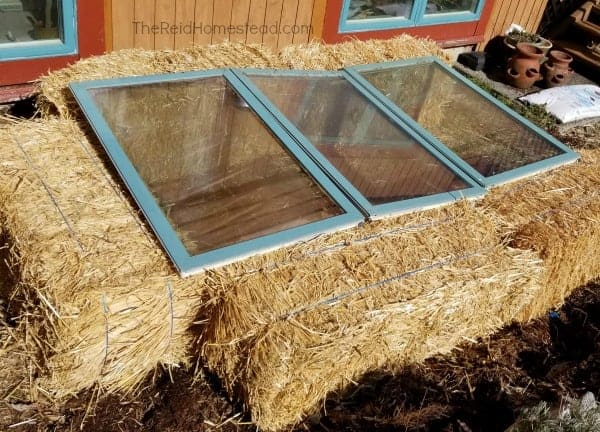
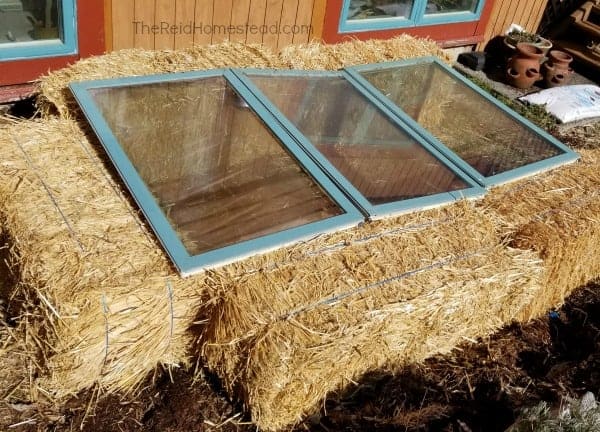
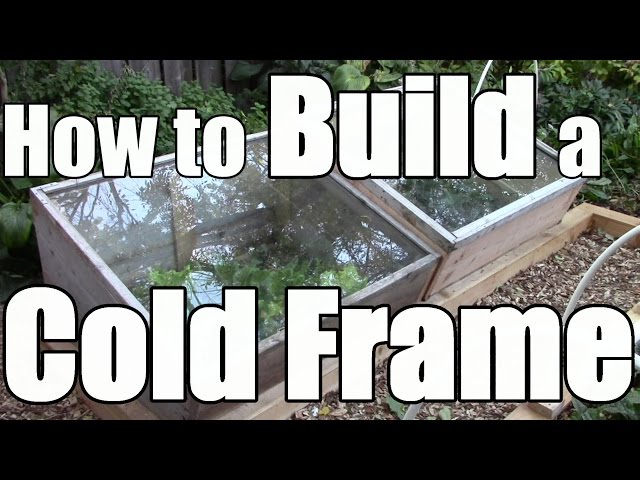
- Material: We'll focus on a wood frame with a clear covering, but you can also use straw bales or repurposed materials (more on that later!).
- Slope: A slight slope towards the south will help capture more sunlight during the colder months.
Step-by-Step Guide: Building Your DIY Cold Frame
Here's a step-by-step guide to building a simple, sturdy cold frame. Remember safety first! Wear safety glasses and gloves when cutting wood or handling materials.
Materials List:
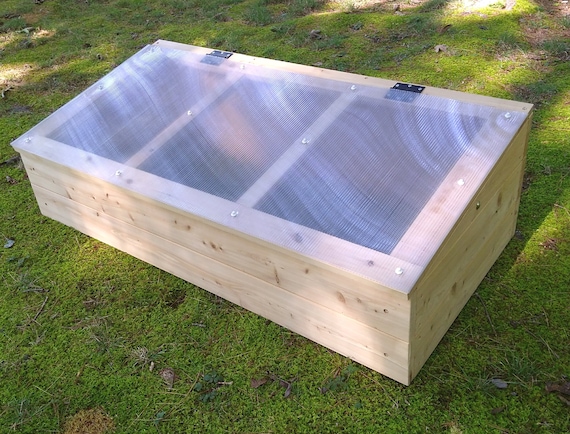
- Four pieces of lumber for the frame (e.g., 2x4s or reclaimed wood). Two pieces at 4 feet long, and two pieces at 4 feet long if you're making a square frame. Adjust lengths based on your desired size. (Consider using cedar or redwood for rot resistance.)
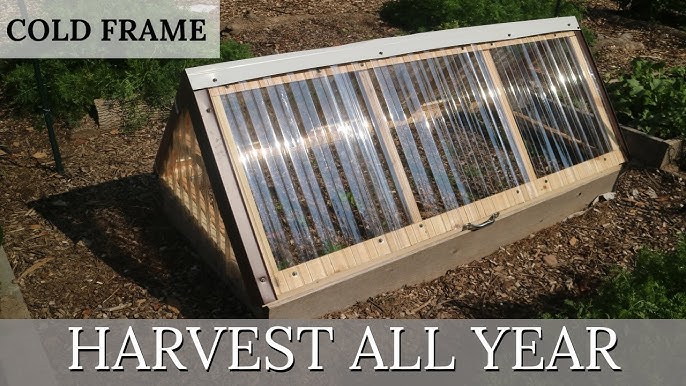
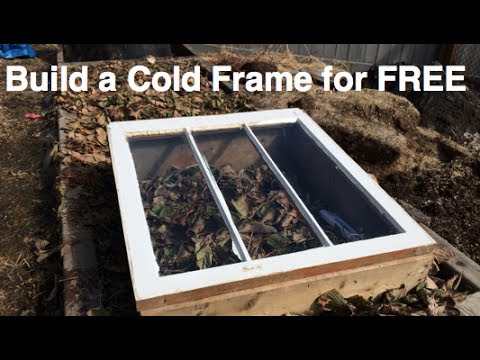
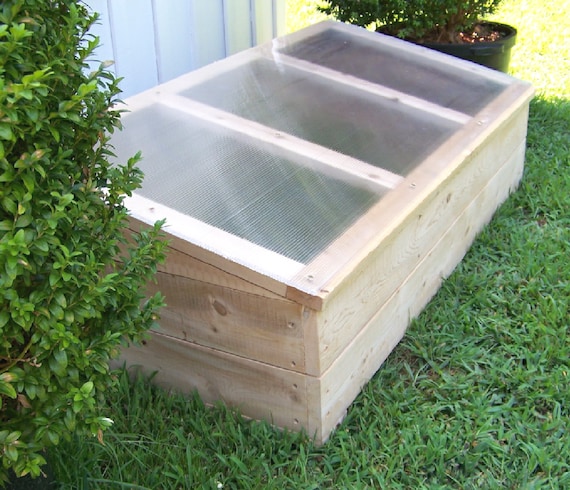
- Clear covering material: Old windows, storm doors (repurposed!), or strong plastic sheeting (6-mil polyethylene is a good choice).
- Hinges: Two hinges to attach the lid to the frame.
- Screws or nails: For assembling the frame.
- Latches or hooks: To secure the lid (optional, but recommended).
- Wood glue (optional, but adds strength).
- Sandpaper (optional, for smoothing rough edges).
Tool List:
- Saw (hand saw or circular saw)
- Drill (with screwdriver bits)
- Measuring tape
- Pencil
- Square
- Safety glasses
- Gloves
Step 1: Cut the Lumber
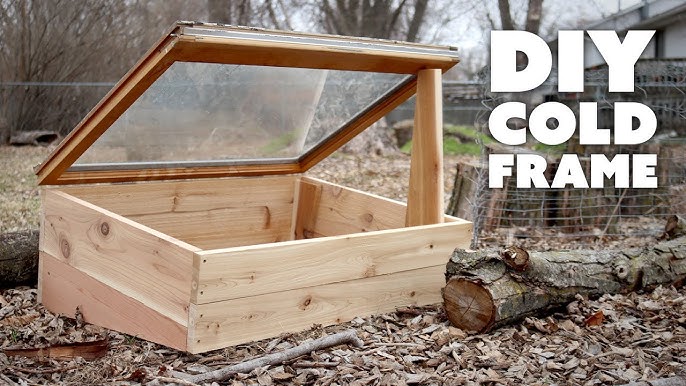
Measure and cut the lumber according to your chosen dimensions. Ensure the cuts are square for a sturdy frame. For a basic rectangular frame, you’ll need two longer pieces for the front and back and two shorter pieces for the sides. A slightly sloped design, with the back piece a few inches taller than the front, will maximize sunlight capture.
Step 2: Assemble the Frame
Use screws or nails to assemble the frame. Apply wood glue to the joints for added strength. Ensure the frame is square by checking the angles with a square.
Step 3: Prepare the Lid
If you're using an old window or storm door, clean it thoroughly. If you're using plastic sheeting, cut it to size, allowing for some overlap to secure it to the frame. You can create a simple frame for the plastic sheeting using thin strips of wood.
Step 4: Attach the Lid
Attach the lid to the frame using hinges. Position the hinges so the lid opens easily and closes securely.
Step 5: Secure the Lid (Optional)
Install latches or hooks to secure the lid, especially if you live in a windy area. This will prevent the lid from blowing open and damaging your plants.
Cost-Saving Tips: Homesteading on a Budget
- Repurpose Materials: Use reclaimed wood, old windows, or salvaged materials for the frame and lid. Check local classifieds or construction sites for discarded materials.
- Buy in Bulk: Purchase screws, nails, and other hardware in bulk to save money.
- DIY Whenever Possible: Instead of buying prefabricated cold frames, build your own using this guide.
- Compare Prices: Shop around for the best prices on lumber and other materials.
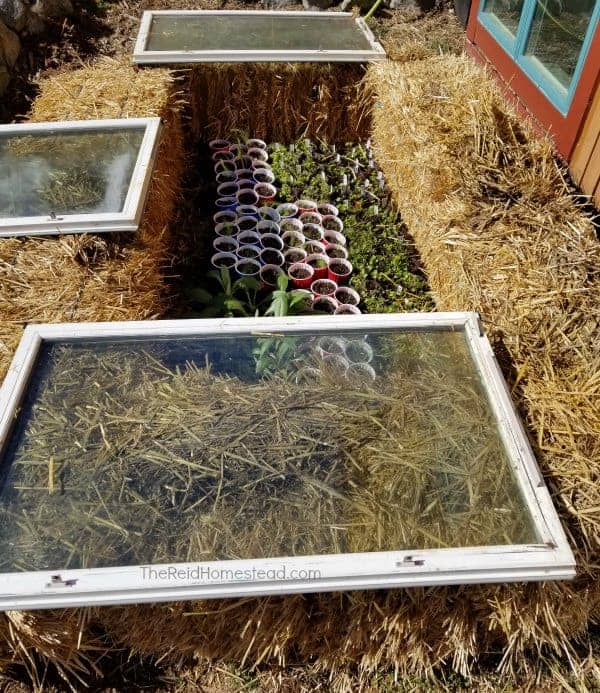
- Consider Straw Bale Construction: Straw bales are an inexpensive and effective alternative to a wooden frame. Stack them to form the walls of the cold frame, and cover with a repurposed window.
Aesthetic Considerations: Blending Functionality with Beauty
While functionality is key, consider the aesthetic appeal of your cold frame.
- Paint or Stain the Frame: Choose a color that complements your garden or homestead.
- Add Decorative Touches: Incorporate reclaimed materials with unique character.
- Incorporate it into your landscape: Position the cold frame in a way that enhances the overall beauty of your garden.
Safety Tips and Troubleshooting
- Wear Safety Glasses and Gloves: Protect your eyes and hands when cutting wood or handling materials.
- Use Caution with Power Tools: Follow the manufacturer's instructions and use power tools safely.
- Ensure Proper Ventilation: Open the lid on warm days to prevent overheating.
- Monitor Temperature: Use a thermometer to monitor the temperature inside the cold frame.
- Protect from Pests: Inspect your plants regularly for pests and take appropriate action.
- Address Drainage Issues: If water accumulates inside the cold frame, improve drainage by adding gravel or sand to the bottom.
Adapting to Your Climate and Growing Conditions
- Cold Climates: Insulate the cold frame with straw bales or blankets to provide extra protection from the cold. Consider a double-layered lid for added insulation.
- Warm Climates: Provide adequate ventilation to prevent overheating. Consider using shade cloth to reduce the intensity of the sunlight.
- Windy Areas: Secure the lid with latches or hooks to prevent it from blowing open.
- Rainy Areas: Ensure the cold frame has good drainage to prevent water from accumulating inside.
Additional Resources
- [Local Extension Office](insert link to local agricultural extension office website here): Your local extension office can provide valuable information on gardening and homesteading in your area.
- [Online Gardening Forums](insert link to relevant gardening forum here): Connect with other gardeners and homesteaders to share tips and advice.
- [Seed Suppliers](insert link to reputable seed supplier website here): Choose seeds that are well-suited to your climate and growing conditions.
Now Get Building!
With a little effort and some readily available materials, you can build a cold frame that will transform your homestead. By extending your growing season, protecting your plants, and providing a controlled environment, a cold frame is an invaluable asset for any homesteader striving for self-sufficiency and resilience.
What are you waiting for, Sarah? Start building your cold frame today! Share your progress and photos in the comments below. What other questions do you have about extending your growing season? Ask away!
