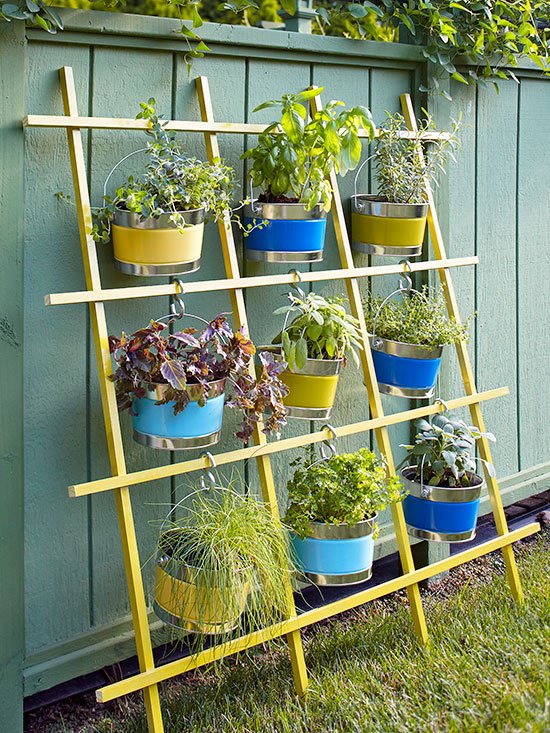
Transform Your Homestead: DIY Raised Garden Bed Using Repurposed Materials & Inspire Our Community!
Are you ready to take your homesteading game to the next level? One of the most rewarding aspects of homesteading is the opportunity to create a more self-sufficient and sustainable lifestyle. And what better way to do that than with a hands-on DIY project? Today, I want to share a project that’s close to my heart and has significantly boosted my garden’s productivity: building a raised garden bed using repurposed materials. This is a budget homesteading project that's perfect for beginners, offering a fantastic way to grow your own food while minimizing waste and maximizing resources. Let’s dive in!
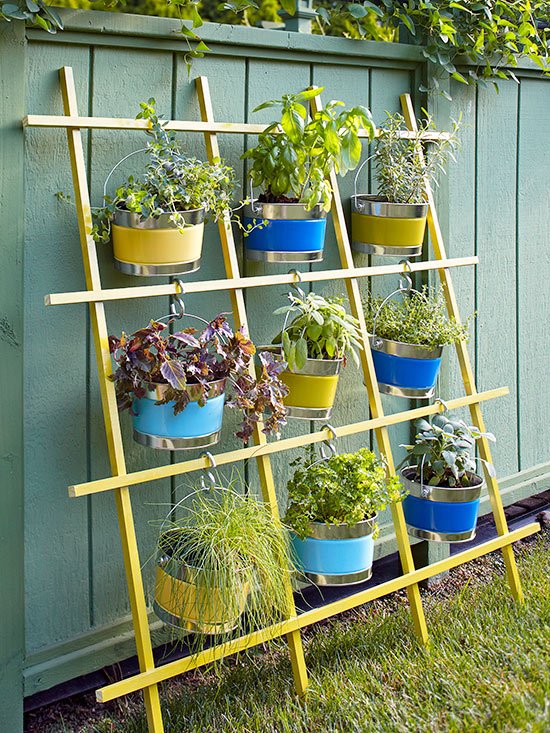
Why Raised Beds?
Before we get started, let’s talk about why raised garden beds are such a great addition to any homestead, especially for homestead projects for beginners.
- Improved Soil Quality: You have complete control over the soil composition, ensuring optimal growing conditions for your plants.
- Better Drainage: Raised beds naturally improve drainage, which is crucial for preventing root rot and promoting healthy growth.
- Pest and Weed Control: They make it easier to manage pests and weeds, reducing the need for harmful chemicals.
- Accessibility: Raised beds are easier on your back and knees, making gardening more enjoyable, especially for those with mobility issues.
- Extended Growing Season: The soil in raised beds warms up faster in the spring and stays warmer longer in the fall, extending your growing season.
My Personal Experience: Turning Trash into Treasure
I decided to build raised beds on my homestead a few years ago. Our native soil is heavy clay, making it difficult to grow anything without significant amendments. Buying lumber for new beds was costly, but I was committed to resourceful homesteading. Then, inspiration struck! I realized I could use reclaimed materials from old construction projects and discarded wood pallets. It was challenging at times, especially wrestling with some of the heavier pieces of wood, but the feeling of accomplishment when I saw my first seedlings sprouting in those beds was incredible. This cheap homestead project gave me so much satisfaction. It was amazing to see something beautiful and productive created from what others considered junk.
Let's Build a Raised Garden Bed: A Step-by-Step Guide
Here’s a step-by-step guide to building your own raised garden bed using repurposed materials. Remember to always prioritize safety!
1. Gather Your Materials:
This is a true repurposed homestead project, so get creative! Here's a list of what I used, along with potential alternatives:
- Wood: Reclaimed lumber, old pallets (make sure they are untreated and safe for gardening!), or even cinder blocks. Estimated Cost: Free to minimal (depending on availability)
- Screws or Nails: For assembling the frame. Estimated Cost: $5-10 (if you don’t have any on hand)
- Landscape Fabric or Cardboard: To line the bottom of the bed and prevent weeds. Estimated Cost: Free (use cardboard boxes)
- Soil: A mix of topsoil, compost, and other organic matter. Estimated Cost: $20-50 (depending on the size of your bed and the type of soil you choose)
- Tools: Saw, drill, measuring tape, level, hammer, safety glasses, and gloves. Estimated Cost: Already own (or borrow from a neighbor!)
2. Prepare Your Materials:
- Clean the Wood: Remove any nails, staples, or debris from your reclaimed lumber or pallets. Sand down any rough edges to prevent splinters.
- Cut the Wood: Decide on the size of your raised bed. A good starting point is 4 feet wide by 8 feet long by 1 foot tall, but adjust to fit your space and needs. Cut the wood pieces to the desired lengths.
- Prepare the Site: Choose a sunny location for your raised bed. Clear the area of grass and weeds. Level the ground as much as possible.
3. Assemble the Frame:
- Construct the Sides: Attach the wood pieces together to form a rectangular frame. Use screws or nails to secure the corners. Ensure the frame is sturdy and square.
- Reinforce the Corners: For added stability, you can add corner braces made from scrap wood.
- Line the Bed: Place landscape fabric or cardboard at the bottom of the frame. This will prevent weeds from growing up into your bed and help retain moisture.
4. Fill the Bed with Soil:
- Layering: Start by adding a layer of coarse material like branches or wood chips to improve drainage.
- Soil Mix: Fill the remaining space with your soil mix. Aim for a blend of topsoil, compost, and other organic matter like aged manure or leaf mold. This will create a nutrient-rich environment for your plants.
- Water Thoroughly: Once the bed is filled, water the soil thoroughly to help it settle.
5. Start Planting!
- Choose Your Plants: Select plants that are well-suited to your climate and the amount of sunlight your raised bed receives.
- Planting: Follow the instructions on the seed packets or plant labels for spacing and depth.
- Water Regularly: Keep the soil consistently moist, especially during dry periods.
- Mulch: Add a layer of mulch around your plants to help retain moisture, suppress weeds, and regulate soil temperature.

Safety First!
- Wear safety glasses when cutting wood to protect your eyes from flying debris.
- Use gloves to protect your hands from splinters and rough materials.
- Be careful when lifting heavy objects. Ask for help if needed.
- Ensure your work area is well-ventilated when working with treated wood or paints.
- If using old pallets, carefully inspect them for signs of chemical treatment before using them in your garden. Look for the "HT" stamp, which means heat treated and is safe. Avoid pallets marked with "MB," which indicates methyl bromide fumigation.
Variations and Enhancements
- Vertical Gardening: Add a trellis to your raised bed to support climbing plants like tomatoes, cucumbers, or beans.
- Integrated Pest Management: Plant companion plants like marigolds or basil to deter pests naturally.
- Watering System: Install a simple drip irrigation system to conserve water and deliver it directly to the roots of your plants.
- Cold Frames: Build a temporary cold frame over your raised bed to extend your growing season in the spring and fall.
The Rewards of a Sustainable Homestead Project
Building a raised garden bed from repurposed materials is more than just a DIY project; it’s a step towards a more sustainable and self-sufficient lifestyle. It’s about embracing resourcefulness, reducing waste, and connecting with the land. Plus, there's nothing quite like the taste of fresh, homegrown vegetables that you've nurtured from seed to table. By embracing cheap homestead projects you can produce great results.
Share Your Homestead DIY Experience!
I hope this post has inspired you to tackle your own DIY raised garden bed project. It's an easy DIY homestead project with immense benefits. I encourage you to get creative, experiment with different materials, and adapt the design to fit your unique needs and resources.
Now, I want to hear from you! What are your favorite DIY homestead projects? Have you ever built a raised garden bed from repurposed materials? Share your experiences, tips, and photos in the comments below. Let’s inspire each other to create thriving, resilient homesteads! Don't forget to share pictures of your own raised beds - we'd love to see them!
So, grab your tools, gather your materials, and let’s get building! Your garden (and your taste buds) will thank you. Remember, homesteading is about more than just growing food; it's about cultivating a connection to the land, embracing self-sufficiency, and building a more sustainable future. Happy homesteading!
