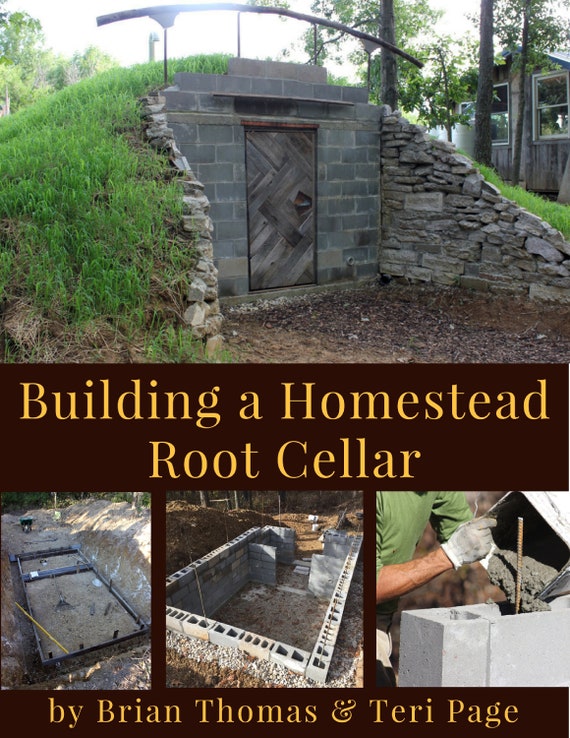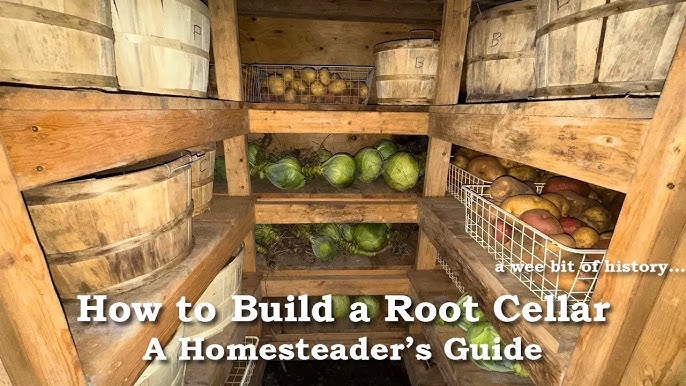
Transform Your Homestead: Create a Step-by-Step Guide to Building a Budget-Friendly Root Cellar for Year-Round Food Preservation
Are you tired of watching your hard-earned garden harvest go to waste? Do you dream of fresh, locally sourced produce gracing your table year-round? Then it's time to take control of your food security and embrace the age-old wisdom of root cellaring!
Better Homes and Harvests is here to help you take the plunge with this comprehensive, step-by-step guide to DIY root cellar building. This isn't just another project; it's an investment in your self-sufficiency, your health, and your connection to the land. Building a root cellar is an incredibly rewarding project that offers independence from grocery store produce during off-seasons.
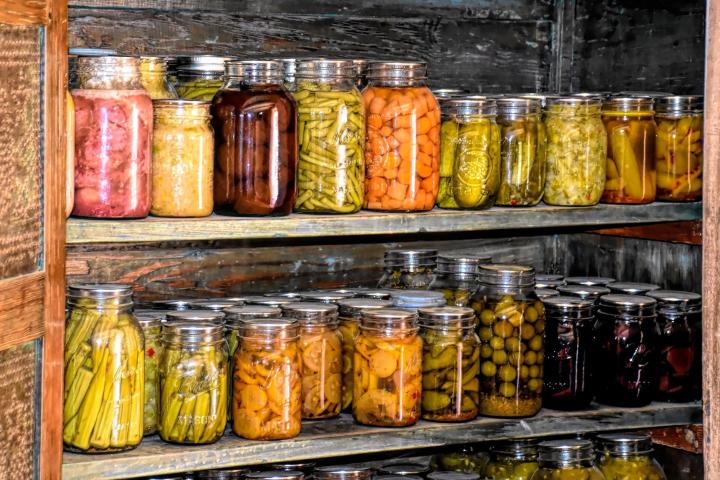
I remember the first time I bit into a carrot pulled fresh from my root cellar in the dead of winter. The crisp sweetness was a revelation! Building my own root cellar taught me so much about traditional food preservation techniques. It was a challenge but a truly empowering experience that I want to share with you. So, let's dive in and build your own budget-friendly food haven.
Why Build a Root Cellar?
Before we get our hands dirty, let's quickly recap why root cellaring is such a fantastic skill for any homesteader:
- Extended Harvest: Keep your fruits and vegetables fresh for months, significantly extending your harvest season.
- Reduced Food Costs: Minimize your reliance on expensive store-bought produce, especially during winter.
- Improved Food Security: Enjoy a readily available supply of nutritious, homegrown food regardless of external circumstances.
- Natural Preservation: Avoid the need for energy-intensive freezers or chemical preservatives.
- Flavor Enhancement: Some vegetables, like carrots and parsnips, actually improve in flavor during cold storage.
Planning Your Root Cellar: Size, Location, and Design
Before you even think about picking up a shovel, careful planning is essential. Consider these factors:
- Size: How much food do you realistically want to store? A small family might only need a 6' x 8' root cellar, while a larger family or avid gardener might prefer something closer to 10' x 12'.
- Location: Ideally, your root cellar should be located on a north-facing slope for optimal temperature regulation. Good drainage is also critical to prevent flooding. Avoid areas with high water tables. Proximity to your house is also a factor – you want it to be convenient to access.
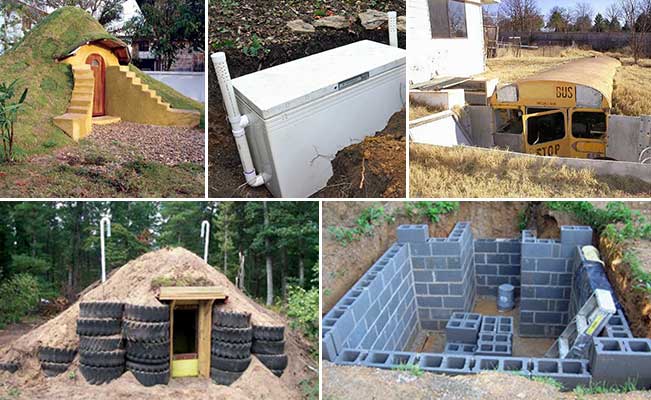
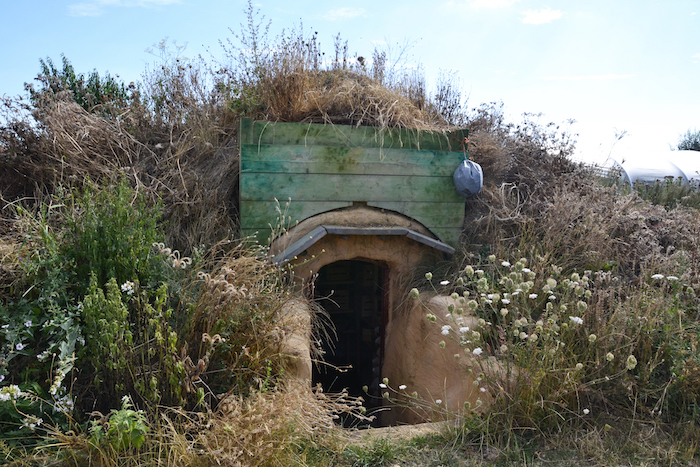
- Design: We'll be focusing on a simple, partially underground design for this guide, which is both budget-friendly and effective. However, variations exist, including completely underground cellars, above-ground cellars (insulated), and even repurposed shipping containers.
Step 1: Gather Your Materials
Here's a detailed list of materials you'll need for our budget-friendly, partially underground root cellar. Remember to adjust quantities based on your desired size:
- Lumber:
- 4x4 pressure-treated posts (for framing and structural support - quantity depends on size; approx. 8-12)
- 2x4 lumber (for wall framing and bracing - quantity depends on size; approx. 50-75)
- 1x6 lumber (for shelving and door framing - quantity depends on size; approx. 20-30)
- Concrete:
- Premixed concrete bags (for foundation footings - approx. 20-30 bags, depending on size and depth)
- Insulation:
- Rigid foam insulation boards (for walls and ceiling - thickness: 2 inches; quantity depends on size)
- Roofing:
- Corrugated metal roofing sheets (for roof - quantity depends on size, allow for overlap)
- Roofing screws with rubber washers
- Drainage:
- Gravel (for drainage layer around the cellar - approx. 5-7 cubic yards)
- Perforated drainage pipe (to direct water away from the cellar - approx. 20-30 feet)
- Landscape fabric (to prevent soil from clogging the drainage pipe)
- Door:
- Exterior door (salvaged or new, approx. 32" x 80")
- Door hinges and hardware
- Other:
- Construction screws and nails
- Caulk and sealant
- Ventilation pipe (4-inch diameter PVC pipe)
- Wire mesh (to cover ventilation pipe and prevent pests from entering)
- Staple gun and staples
- Gloves, safety glasses, and dust mask
Where to Buy:
- Lumber: Local lumber yards (compare prices!) or big box stores like Home Depot or Lowe's.
- Concrete: Home Depot, Lowe's, or local concrete suppliers.
- Insulation: Home Depot, Lowe's, or insulation specialty stores.
- Roofing: Roofing suppliers or home improvement stores.
- Drainage: Home Depot, Lowe's, or agricultural supply stores.
Budget-Friendly Tips:
- Salvage Materials: Look for used lumber, doors, and roofing materials at construction sites or salvage yards.
- Buy in Bulk: Purchase lumber and concrete in bulk to save money.
- DIY as Much as Possible: Making your own shelving and other components will significantly reduce costs.
Step 2: Gather Your Tools
Having the right tools will make this project much easier and safer. Here's a list of essential tools:
- Shovels and picks (for excavation)
- Wheelbarrow (for moving materials)
- Measuring tape and level
- Circular saw or hand saw (for cutting lumber)
- Drill and impact driver (for driving screws and assembling the frame)
- Hammer
- Post hole digger (for setting posts)
- Concrete mixing tools (hoe or concrete mixer)
- Safety glasses, gloves, and dust mask
Step 3: Excavation and Foundation
This is where the real work begins!
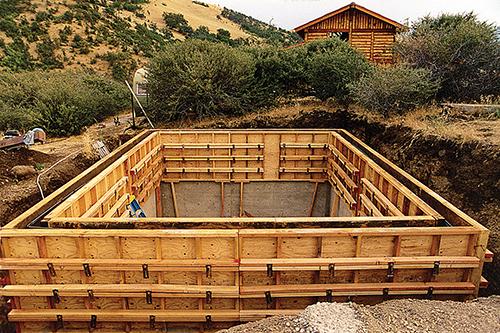
- Mark the Area: Using stakes and string, mark out the perimeter of your root cellar.
- Excavate: Dig down to the desired depth. We recommend excavating at least 3-4 feet deep. Remember to slope the ground away from the cellar for drainage.
- Footings: Dig post holes at each corner and along the perimeter of the excavation, spaced approximately 4-6 feet apart. The depth of the post holes should be below the frost line in your area.
- Pour Concrete Footings: Mix your concrete according to the manufacturer's instructions and pour it into the post holes. Insert the 4x4 pressure-treated posts into the wet concrete, ensuring they are plumb (perfectly vertical). Let the concrete cure completely (usually 24-48 hours).
Safety First: Always wear safety glasses and gloves when working with concrete. Be aware of underground utilities before you start digging.
Step 4: Framing the Walls
- Cut Lumber: Cut the 2x4 lumber to the desired lengths for the wall framing.
- Assemble the Frame: Build the wall frames on the ground, using construction screws or nails to connect the studs to the top and bottom plates. Space the studs 16 inches on center.
- Attach the Frames to the Posts: Attach the wall frames to the 4x4 posts using screws or nails. Make sure the frames are level and square.
- Bracing: Add diagonal bracing to the wall frames for extra strength and stability.
Step 5: Insulating the Walls
Insulation is crucial for maintaining a consistent temperature in your root cellar.
- Cut Insulation: Cut the rigid foam insulation boards to fit between the wall studs.
- Attach Insulation: Attach the insulation boards to the inside of the wall frames using construction adhesive or screws.
- Seal Seams: Seal all seams and gaps in the insulation with caulk or sealant to prevent air leaks.
Step 6: Building the Roof
- Frame the Roof: Construct a simple sloped roof frame using 2x4 lumber. Ensure the roof has sufficient overhang to protect the walls from rain and snow.
- Attach Roofing Sheets: Attach the corrugated metal roofing sheets to the roof frame using roofing screws with rubber washers. Overlap the sheets to prevent leaks.
- Seal the Roof: Seal any gaps or cracks in the roof with caulk or sealant.
Step 7: Installing the Door and Ventilation
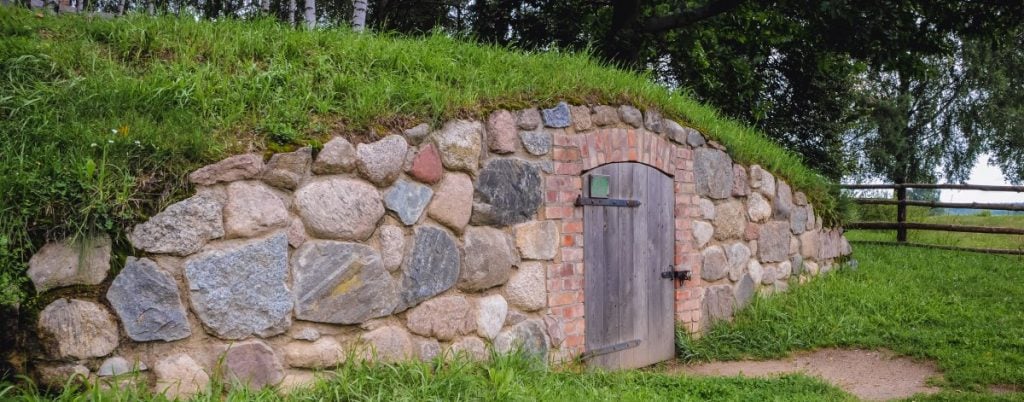
- Frame the Doorway: Build a door frame using 1x6 lumber.
- Install the Door: Install the exterior door in the doorway, using hinges and hardware. Make sure the door seals tightly to prevent drafts.
- Ventilation: Install a ventilation pipe through the wall or roof to provide fresh air circulation. Cover the end of the pipe with wire mesh to prevent pests from entering. Ideally, have an intake vent near the floor and an exhaust vent near the ceiling for natural convection.
Step 8: Drainage and Backfilling
Proper drainage is vital to prevent water from seeping into your root cellar.
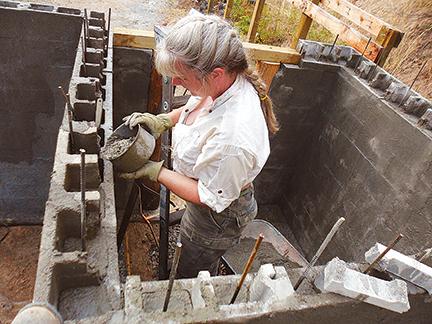
- Install Drainage Pipe: Dig a trench around the perimeter of the root cellar and install a perforated drainage pipe. Slope the pipe away from the cellar to direct water away.
- Cover with Gravel: Cover the drainage pipe with a layer of gravel.
- Landscape Fabric: Wrap the gravel with landscape fabric to prevent soil from clogging the drainage system.
- Backfill: Backfill around the root cellar with soil, compacting it as you go. Slope the ground away from the cellar to promote drainage.
Step 9: Shelving and Interior Finishing
- Build Shelving: Build shelving using 1x6 lumber. Design the shelving to accommodate different sizes and types of produce.
- Install Shelving: Install the shelving along the walls of the root cellar.
- Optional Finishing: Consider adding a gravel or sand floor for drainage and humidity control. You can also paint the interior walls with a mold-resistant paint.
Step 10: Stocking and Maintaining Your Root Cellar
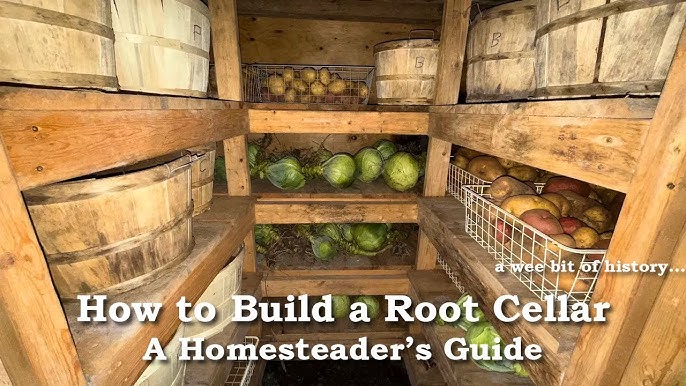
Congratulations! You've built your own budget-friendly root cellar. Now it's time to stock it with your harvest!
- Proper Storage: Store different types of produce according to their specific temperature and humidity requirements. Root vegetables like potatoes and carrots prefer cool, humid conditions, while onions and garlic prefer cool, dry conditions.
- Regular Monitoring: Check your root cellar regularly for signs of spoilage, mold, or pests. Remove any damaged or rotting produce immediately.
- Temperature and Humidity Control: Monitor the temperature and humidity in your root cellar. You can adjust ventilation to maintain optimal conditions. A simple hygrometer can be a valuable tool.
Troubleshooting Common Problems
- Condensation: Increase ventilation to reduce humidity.
- Freezing: Add extra insulation or use a small heater on extremely cold nights.
- Pests: Seal any cracks or openings to prevent pests from entering. Use traps or natural pest control methods if necessary.
Conclusion: Your Homesteading Journey
Building a DIY root cellar building may seem like a daunting task, but it's a rewarding investment in your homesteading journey and a great way to implement sustainable food storage! With careful planning, a little elbow grease, and this step-by-step guide, you can create a budget-friendly food preservation system that will provide you with fresh, local produce year-round. Embrace the challenge, learn new skills, and enjoy the fruits (and vegetables!) of your labor!