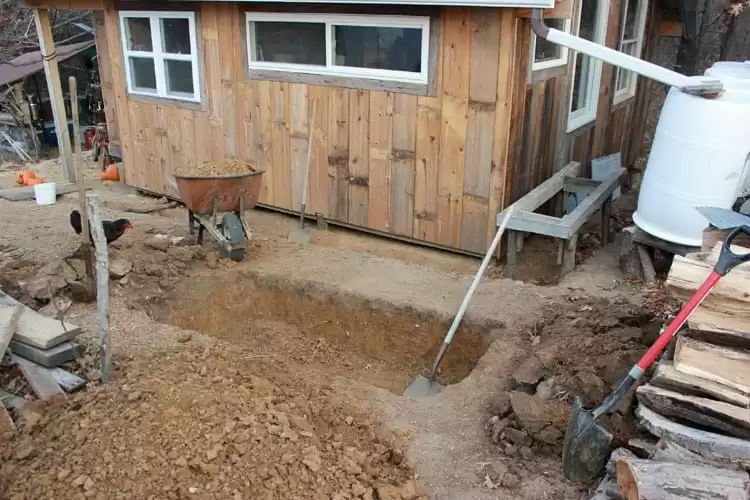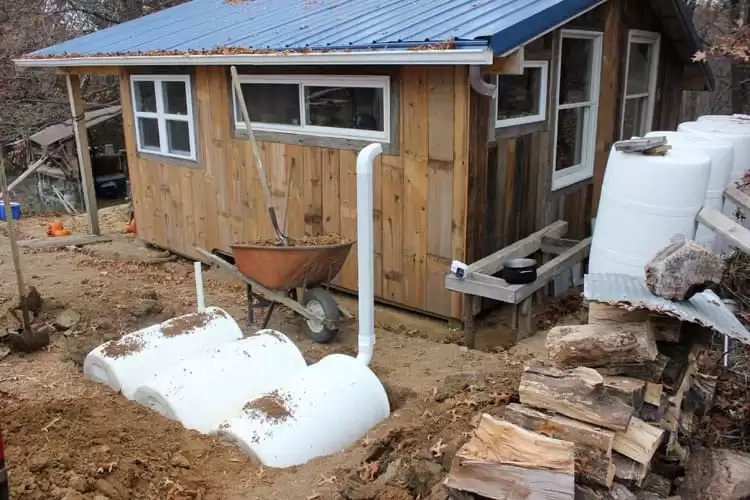
Transform Your Homestead: Building a Year-Round Well House for Frozen-Free Water!
Here at Better Homes and Harvests, we’re all about practical solutions that boost your homestead’s resilience and self-sufficiency. Today, I want to share a project that has been a game-changer for us: building an insulated well house. We battled frozen pipes for years, a common problem when you're drawing water from a well in a cold climate. Finally, we decided enough was enough. This DIY project not only solved the problem but also reduced our energy consumption and provided peace of mind. Grab your herbal tea, and let's dive in!
The Problem: Frozen Water Lines and Wasted Energy
Like many of you, we rely on well water for everything on our homestead – drinking, gardening, livestock, and household use. Living in a region where winter temperatures routinely dip below freezing, we faced a recurring nightmare: frozen well pipes. This meant no water, emergency trips to town, and the constant worry of burst pipes causing significant damage. We tried various solutions, like heat tape, but they were expensive to run and unreliable in extreme cold. We knew there had to be a better way, and that better way was taking advantage of geothermal properties!
The Solution: An Insulated and Geothermally-Assisted Well House
Our goal was simple: create a structure that would maintain a temperature above freezing throughout the winter, without relying solely on electricity. We achieved this by constructing a well-insulated well house that tapped into the earth's natural warmth. Building a well house isn't just about slapping some walls together; it's about creating a system that works in harmony with the environment.
Step-by-Step Guide to Building Your Own Well House
Here's a detailed breakdown of how we built our well house, designed for folks with basic DIY skills.
Step 1: Planning and Preparation
- Assess Your Well: Take accurate measurements of your wellhead, including the diameter and height above ground. Determine the necessary interior dimensions of your well house to comfortably accommodate the wellhead, pump (if located above ground), pressure tank, and any necessary plumbing. Consider future maintenance access when deciding on size.
- Gather Materials: This list will vary based on the size and materials you choose, but here’s a general idea:
- Framing lumber (2x4s, 4x4s for the base if needed)
- Plywood or OSB sheathing
- Insulation (rigid foam board, fiberglass batts, or spray foam - we used a combination for optimal performance)
- Exterior siding (to match your home or other outbuildings)
- Roofing materials (shingles, metal roofing, etc.)
- Door (pre-hung exterior door)
- Fasteners (screws, nails, construction adhesive)
- Gravel or crushed stone for the base
- Vapor barrier (plastic sheeting)
- Tools:
- Circular saw or hand saw
- Drill/driver
- Level
- Measuring tape
- Hammer
- Staple gun
- Utility knife
- Safety glasses
- Gloves
Step 2: Building the Base
- Clear the Area: Remove any vegetation and debris around the wellhead. Level the ground and create a gravel or crushed stone base for drainage. This will help prevent moisture buildup inside the well house.
- Construct the Frame: If your wellhead is close to the ground, you may need to build a raised platform using 4x4s. Ensure the frame is square and level. Attach the framing lumber to the base, creating the walls of your well house. We recommend pressure-treated lumber for any part of the base that will be in direct contact with the ground.
Step 3: Framing the Walls
- Cut and Assemble Studs: Cut the 2x4 studs to the desired height, leaving room for the roof pitch. Space the studs 16 inches on center for maximum structural integrity and insulation efficiency.
- Frame the Door Opening: Incorporate a door opening in one of the walls. Ensure the opening is sized to fit your pre-hung exterior door. Use extra framing around the door opening for added support.
- Raise the Walls: Assemble the walls on the ground and then raise them into position, securing them to the base frame. Ensure the walls are plumb and square before permanently fastening them together.
Step 4: Sheathing and Siding
- Attach Sheathing: Cover the exterior of the walls with plywood or OSB sheathing. This provides structural support and a surface for attaching the siding. Use screws or nails to securely fasten the sheathing to the framing.
- Install Siding: Choose a siding material that matches your home or other outbuildings. We used reclaimed barn wood for a rustic look. Attach the siding according to the manufacturer's instructions, overlapping the boards to create a weather-tight seal.
Step 5: Insulating for Warmth
- Choose Your Insulation: This is arguably the most important step! We used a combination of rigid foam board and fiberglass batts. Rigid foam board provides excellent thermal resistance and moisture protection, while fiberglass batts fill in any gaps and cavities. Spray foam is another great option for a completely sealed envelope, but it's more expensive.
- Install Insulation: Cut the rigid foam board to fit snugly between the studs. Seal the seams with construction adhesive or foil tape to prevent air leaks. Install fiberglass batts over the rigid foam board, ensuring they fill the entire cavity.
- Vapor Barrier: Install a vapor barrier (plastic sheeting) on the interior side of the walls to prevent moisture from entering the insulation. Overlap the seams and seal them with tape.
Step 6: Building the Roof
- Frame the Roof: Construct a simple pitched roof frame using 2x4s. The pitch should be steep enough to allow for snow and water runoff.
- Sheathe the Roof: Cover the roof frame with plywood or OSB sheathing.
- Install Roofing: Apply roofing felt and then install your chosen roofing material (shingles, metal roofing, etc.). Overlap the roofing material according to the manufacturer's instructions.
Step 7: Installing the Door
- Install the Door Frame: Shim the door frame to ensure it's plumb and level. Secure the frame to the wall framing with screws.
- Hang the Door: Attach the door to the frame using the hinges. Adjust the hinges as needed to ensure the door swings smoothly and closes tightly.
Step 8: Sealing and Finishing
- Caulk and Seal: Caulk all seams and gaps around the door, windows, and siding to prevent air leaks.
- Add Ventilation: Install a small vent near the top of the well house to allow for air circulation and prevent moisture buildup. Important! Ensure the vent has a screen to prevent pests from entering.
- Paint or Stain: Paint or stain the exterior of the well house to protect it from the elements and match your other outbuildings.
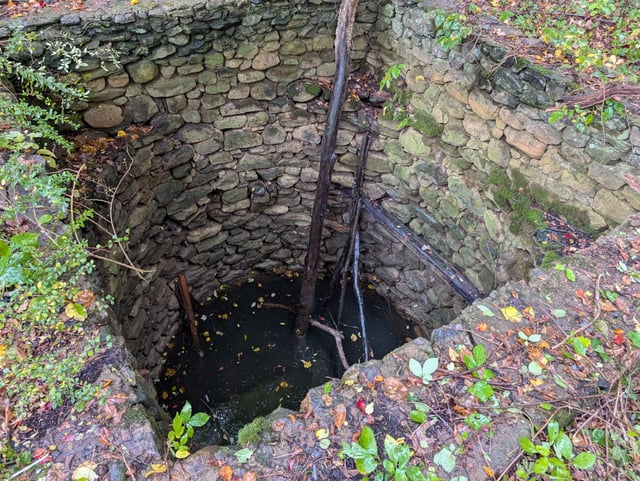
Step 9: The (often overlooked) Geothermal Assist.
Because we were already dealing with the construction and framing, we decided to dig a little deeper (literally) and we implemented a geothermal assist.
- Using a post hole digger, create 4 holes around the outside perimeter of your well.
- Dig these holes at least 6 feet down, we dug ours closer to 8.
- Fill the bottom with gravel for drainage, then use 4" perforated drainage pipe to line the holes. Cap the bottoms with mesh or landscape fabric to keep critters out.
- Put a grate at the top to prevent accidents, but to keep it open to the air.
- The air circulating into those holes will be ~55 degrees even when the air is much colder, using the earth's stable temp to regulate your little house.
Tips, Tricks, and Troubleshooting
- Proper Sealing is Key: Air leaks are the enemy of insulation. Take the time to carefully seal all seams and gaps.
- Consider a Small Heater (as a Backup): For extra protection during extreme cold snaps, consider installing a small, thermostatically controlled electric heater inside the well house. Set the thermostat just above freezing.
- Monitor Temperature: Use a thermometer to monitor the temperature inside the well house. This will help you fine-tune your insulation and ventilation.
- Prevent Condensation: Ensure adequate ventilation to prevent condensation from forming inside the well house.
The Results: A Thawing Success Story!
Since building our insulated well house, we haven't had a single instance of frozen pipes. This project has dramatically increased our homestead's resilience and self-sufficiency. Here’s the quantitative impact:
- Eliminated Water Outages: Zero instances of frozen pipes compared to an average of 2-3 per winter before the well house.
- Reduced Energy Consumption: Heat tape was eliminated, saving approximately $50-$100 per winter in electricity costs. The supplemental heater we installed only runs negligibly.
- Peace of Mind: Knowing that our water supply is protected from freezing provides invaluable peace of mind during the winter months.
Why We Chose This Project:
We were tired of the constant stress and inconvenience of frozen pipes. We wanted a long-term solution that was both effective and sustainable. Building the well house was a challenging but ultimately rewarding experience.
The Biggest Challenges:
- Ensuring a completely airtight seal was difficult. We spent extra time caulking and sealing every possible air leak.
- Choosing the right insulation materials was overwhelming. We did a lot of research before deciding on the combination of rigid foam board and fiberglass batts.
The Most Rewarding Part:
Seeing the project come to fruition and knowing that we had created a lasting solution to a recurring problem was incredibly satisfying.
Your Turn!
Building a well house is a fantastic way to improve your homestead's self-sufficiency and resilience. It's a project that requires some time and effort, but the rewards are well worth it. We encourage you to take on this project and transform your homestead!
Have you built a well house or tackled a similar project on your homestead? Share your experiences and tips in the comments below! We'd love to hear from you. And don't forget to subscribe to the Better Homes and Harvests newsletter for more homesteading tips and inspiration!
Want to see a similar project in action? Here's a short video about winter watering setups:
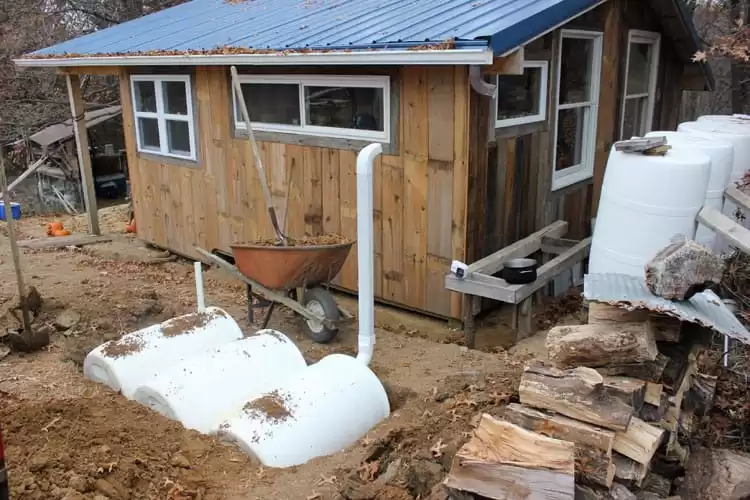
And here's a photo from when we were first getting started!
