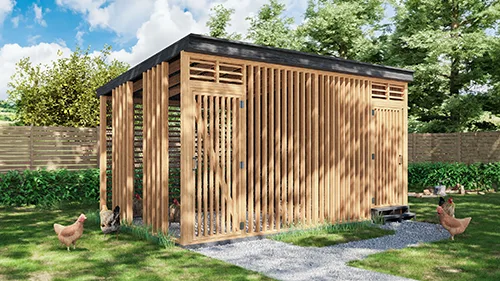
Transform Your Homestead: Building a Budget-Friendly Chicken Coop for Year-Round Egg Production
Imagine fresh eggs every morning, even when winter winds howl! For Better Homes and Harvests readers like you, passionate about self-sufficiency and resilient living, this post guides you through building a durable and affordable chicken coop – a practical project that will significantly boost your homestead's productivity and self-reliance.
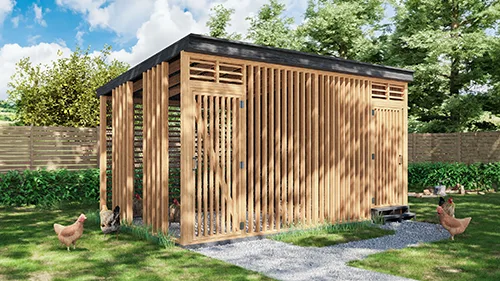
The Challenge & The Reward
Homesteading isn't always easy, but the rewards are immeasurable. This project tackles the common challenge of needing a reliable egg source while minimizing costs and offers a tangible solution you can build yourself. We're aiming for a chicken coop suitable for 4-6 chickens that’s predator-proof, well-ventilated, and easy to clean, without breaking the bank. A well-designed coop will not only house your chickens but also protect them from the elements and predators, ensuring a consistent supply of fresh eggs.
Your Mission (Should You Choose to Accept It): Building Your Budget-Friendly Coop
This guide provides a detailed, step-by-step approach to building your own chicken coop. We’ll assume you have some basic DIY skills (e.g., using a drill, hammer, and saw). Follow along, and you'll have a functional and attractive coop in no time!
Step 1: Planning and Design
Before you start swinging a hammer, careful planning is essential.
- Size Matters: For 4-6 chickens, aim for a coop with at least 4 square feet of floor space per bird inside the coop and 8-10 square feet per bird in the run.
- Location, Location, Location: Choose a level, well-drained area that is protected from prevailing winds. Consider proximity to your house for easy egg collection but also distance to avoid odor issues.
- Design Considerations: Think about ease of cleaning (removable floor or access door), ventilation (windows or vents near the roof), and predator protection (buried hardware cloth around the perimeter of the run).
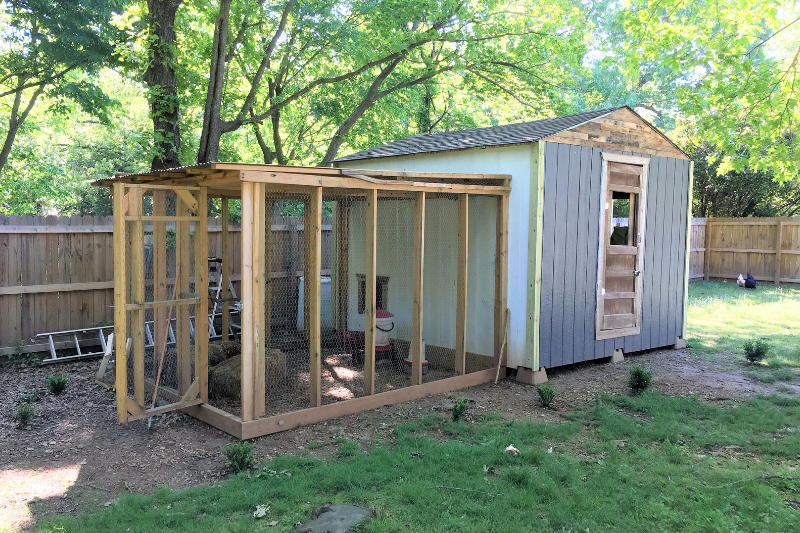
Alt text: A simple chicken coop design highlighting key features like nest boxes and a run.
Step 2: Gathering Your Materials
Here’s a comprehensive list of materials, with budget-friendly suggestions:
- Lumber:
- 4x4 pressure-treated posts (for the base) – Approx. $15 each (Home Depot, Lowe's)
- 2x4 lumber (for framing) – Approx. $5 each (Home Depot, Lowe's)
- 1x4 lumber (for trim) – Approx. $3 each (Home Depot, Lowe's)
- Plywood or OSB (for walls and roof) – Approx. $30 per sheet (Home Depot, Lowe's)
- Roofing:
- Corrugated metal roofing sheets – Approx. $20 per sheet (Home Depot, Lowe's)
- Asphalt shingles (budget option) – Approx. $25 per bundle (Home Depot, Lowe's)
- Hardware Cloth:
- 1/2-inch hardware cloth (for the run) – Approx. $60 per roll (Tractor Supply Co., Amazon)
- Nesting Boxes:
- Repurposed plastic bins or wooden crates – Free (Repurposed materials)
- Fasteners:
- Screws (various sizes) – Approx. $20 (Home Depot, Lowe's)
- Nails – Approx. $10 (Home Depot, Lowe's)
- Staples (for hardware cloth) – Approx. $15 (Home Depot, Lowe's)
- Other:
- Hinges (for doors and nesting boxes) – Approx. $10 (Home Depot, Lowe's)
- Latches (for security) – Approx. $5 (Home Depot, Lowe's)
- Wood preservative or paint (optional) – Approx. $20 (Home Depot, Lowe's)
Total Estimated Cost: $300 - $500 (depending on material choices and availability)
Step 3: Assembling the Frame
- Build the Base: Construct a rectangular frame using the 4x4 posts and 2x4 lumber. Ensure it's level and square. This raised base protects against ground moisture and pests.

Alt text: Framing the base of the coop using pressure-treated lumber.
- Frame the Walls: Use 2x4 lumber to frame the walls, leaving openings for the door and any windows. Ensure adequate support for the roof.
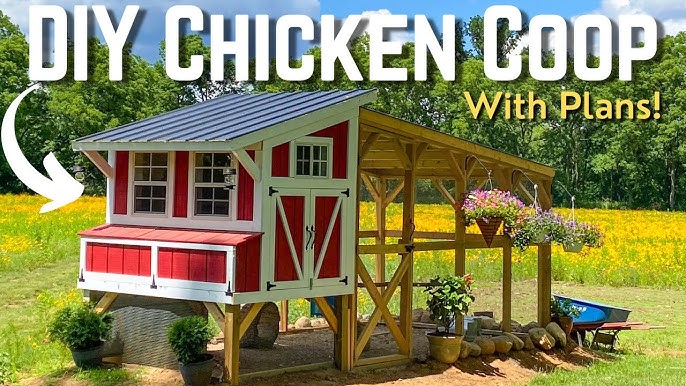
Alt text: Framing the chicken coop walls, creating window and door openings.
- Raise the Roof: Construct a simple A-frame or shed-style roof using 2x4s. Ensure it has a slight pitch for water runoff.
Step 4: Sheathing and Roofing
- Sheathe the Walls: Attach plywood or OSB to the framed walls, securing it with screws. Cut openings for windows and the door.

Alt text: Sheathing the chicken coop walls with plywood.
- Install Roofing: Attach corrugated metal sheets or asphalt shingles to the roof frame, overlapping each piece to prevent leaks.
Step 5: Building the Run
Frame the Run: Use 2x4 lumber to create a frame for the chicken run, attaching it securely to the coop.
Install Hardware Cloth: Cover the run frame with 1/2-inch hardware cloth, stapling it securely to the wood. Bury the hardware cloth at least 12 inches deep around the perimeter to prevent predators from digging under.
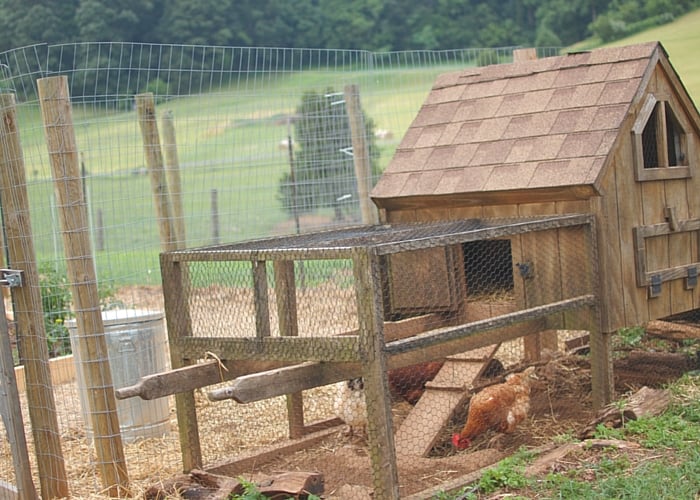
Alt text: Securing hardware cloth to the run to protect chickens from predators.
Step 6: Adding the Finishing Touches
- Build and Install the Door: Construct a simple door using 2x4s and plywood, attaching it to the coop with hinges and a secure latch.

Alt text: A close-up of a chicken coop door with secure latch.
- Install Nesting Boxes: Place nesting boxes inside the coop, providing one box for every 3-4 hens. Line them with straw or wood shavings.
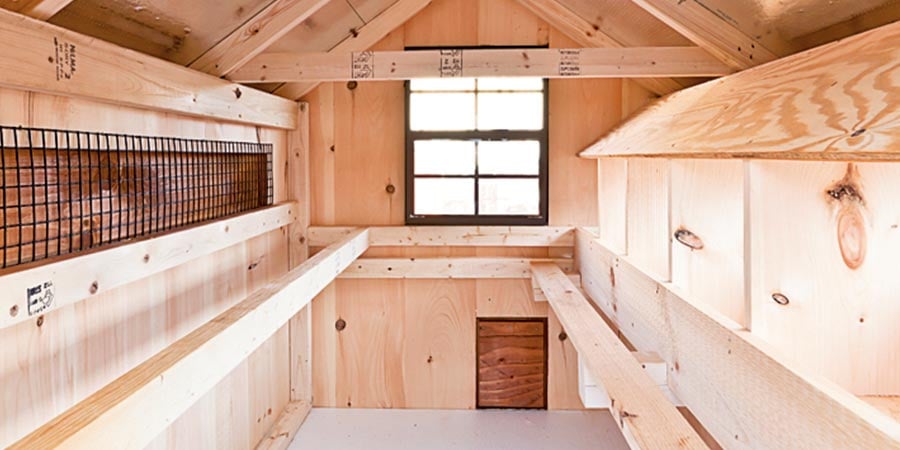
Alt text: Nesting boxes lined with straw inside the chicken coop.
Add Roosting Bars: Install roosting bars at different heights inside the coop, allowing chickens to perch comfortably.
Ventilation: Ensure proper ventilation by adding vents near the roof or installing windows that can be opened and closed.
Paint or Stain (Optional): Protect the wood and add aesthetic appeal by painting or staining the coop.
Tool List
- Safety Glasses
- Gloves
- Measuring Tape
- Pencil
- Circular Saw or Hand Saw
- Drill with various bits
- Hammer
- Staple Gun
- Level
- Square
Safety Precautions
- Always wear safety glasses and gloves when working with power tools and lumber.
- Use caution when cutting and handling lumber.
- Ensure the coop is securely built to prevent collapses or injuries.
- Be aware of potential hazards such as sharp edges or protruding nails.
Troubleshooting Tips
- Problem: Coop is not level.
- Solution: Shim the base with wood scraps until level.
- Problem: Hardware cloth is difficult to attach.
- Solution: Use a staple gun with sufficient power and wear gloves to protect your hands.
- Problem: Roof is leaking.
- Solution: Ensure proper overlap of roofing materials and seal any gaps with caulk.
Personal Anecdotes
When I built my first chicken coop, I underestimated the importance of predator protection. One night, a raccoon managed to breach the run, resulting in a devastating loss. I learned the hard way to reinforce the coop with buried hardware cloth and secure latches. Now, I sleep soundly knowing my flock is safe. Next time, I will pre-drill all screw holes to avoid splitting the wood.
Call to Action
Now it's your turn! Share your experiences, ask questions, and post photos of your completed chicken coops in the comments section below. Let's learn from each other and build thriving homesteads together!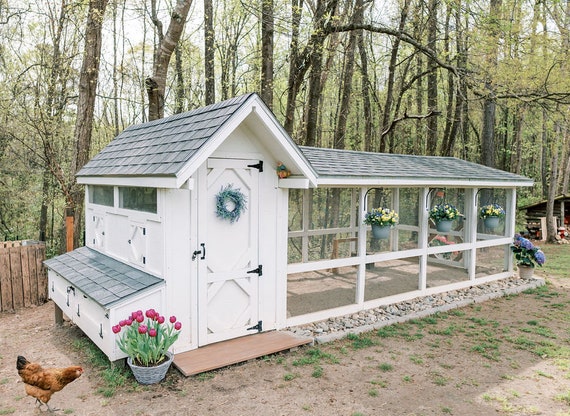
Alt text: A finished chicken coop in a backyard, showcasing the completed project.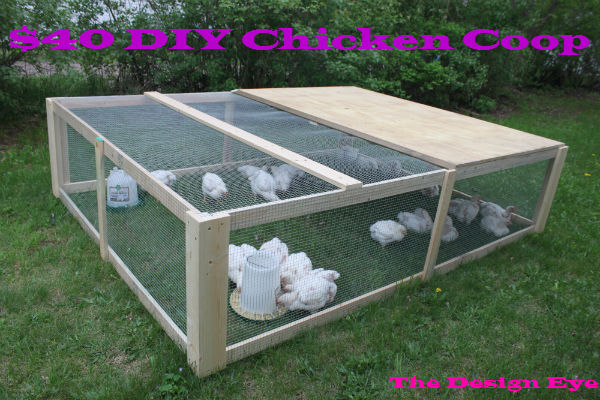
Alt text: A variety of different backyard chicken coop styles and color schemes