Transform Your Homestead: Build an Affordable, Ultra-Efficient Root Cellar (Even If You're a Beginner!)
Imagine a crisp autumn day on your homestead, the air filled with the scent of ripening apples and the satisfaction of a bountiful harvest. Your garden is overflowing with potatoes, carrots, onions, and other treasures, promising delicious meals throughout the coming winter. But how do you keep that promise? How do you preserve the peak-season freshness of your hard-earned bounty without relying solely on energy-guzzling refrigerators or trips to the grocery store? The answer lies in a time-honored tradition: building your own root cellar.
This blog post is your guide to creating an affordable root cellar on your homestead, even if you're a complete beginner. We'll walk you through each step of the construction process, using readily available, low-cost materials, so you can enjoy food preservation the natural way.
While the initial labor investment might seem daunting, and the potential for pests always exists, we'll focus on methods that minimize these concerns, leaving you with a reliable, energy-free cold storage solution.
Why Build a Root Cellar? The Benefits of Traditional Storage
Before we dive into the how-to, let's explore the why. Why should you consider building a DIY root cellar on your homestead?
- Reduced Grocery Bills: Store your harvest and drastically cut your reliance on store-bought produce, especially during the winter months.
- Preserve Peak-Season Goodness: Enjoy the superior flavor and nutritional value of fresh, in-season vegetables and fruits all year round.
- Energy Savings: Eliminate the need for extra refrigerators or freezers, saving you money on your electricity bill.
- Natural Cooling: Harness the earth's natural insulation to maintain the ideal temperature and humidity for long-term storage.
- Homesteading Self-Sufficiency: Become more independent and resilient by taking control of your food supply. It's a key step in true self-sufficiency.
Have you ever dreamed of walking into your own cool, earth-sheltered space, selecting perfectly preserved produce, and knowing you grew it yourself?
Planning Your Root Cellar: Size, Location, and Design
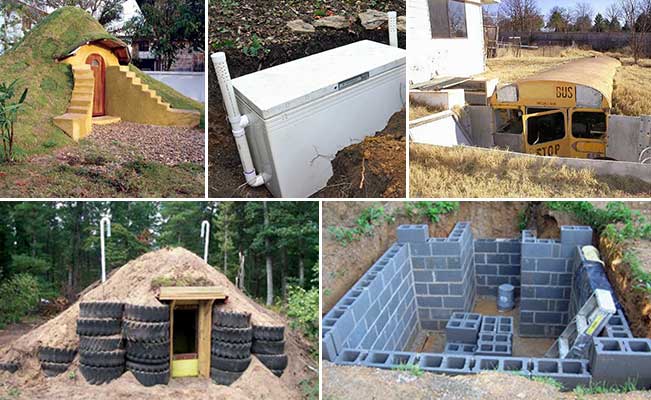
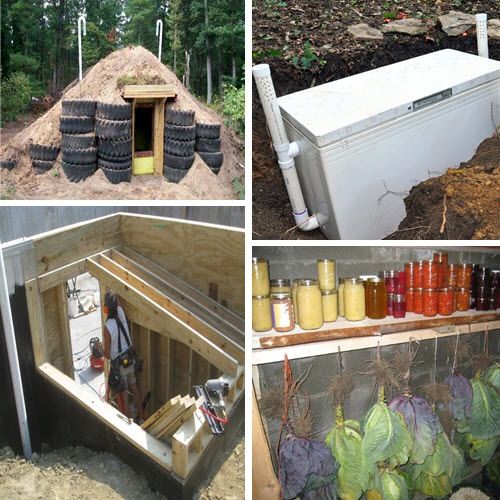
We'll focus on building a simple, yet highly effective, in-ground root cellar, suitable for a small- to medium-sized homestead. This design is partially or fully buried, taking advantage of the earth's insulating properties.
- Size: Consider the amount of produce you plan to store. A good starting point is an interior space of 6ft x 8ft, which provides ample room for storing a significant amount of root vegetables, apples, and other cold-storage crops.
- Location: Choose a location that is:
- Well-drained: Avoid areas prone to flooding or standing water. Proper drainage is crucial to prevent spoilage.
- Shaded: A north-facing slope or area under trees will help keep the root cellar cool.
- Accessible: Easy access from your garden and home is essential, especially during inclement weather.
- Design: Our design utilizes a combination of readily available materials, such as reclaimed lumber, concrete blocks, and a sturdy roof structure. Consider incorporating a small, screened vent for ventilation.
Step-by-Step Construction Guide: Building Your Affordable Root Cellar
Here’s a detailed guide to building your DIY root cellar. Remember to always prioritize safety and wear appropriate protective gear.
Materials List (Estimated Costs):
- Lumber (reclaimed or new): $100 - $300 (depending on source and quantity)
- Concrete blocks: $100 - $200
- Gravel: $50 - $100
- Drainage pipe: $30 - $50
- Roofing material (corrugated metal, wood, etc.): $100 - $300
- Insulation (rigid foam or straw bales): $50 - $150
- Door: Reclaimed door or new construction ($50 - $200)
- Ventilation screen: $10
- Fasteners (nails, screws, etc.): $20
- Tools (if you don't already own them): (Variable)
Tools List:
- Shovel
- Wheelbarrow
- Level
- Measuring tape
- Saw
- Hammer
- Drill
- Safety glasses
- Gloves
Step 1: Excavation
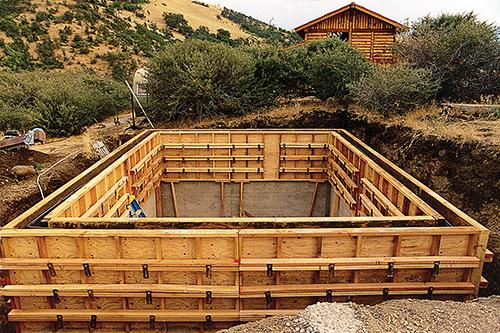
- Mark out the dimensions of your root cellar. Remember to add extra space around the perimeter for the walls.
- Excavate the area to a depth of approximately 4-5 feet. Ensure the bottom is level and compact.
Step 2: Drainage
- Install a drainage system around the perimeter of the excavated area. This can be a simple gravel trench with a perforated drainage pipe leading to a lower-lying area. This is crucial for preventing water buildup.
Step 3: Foundation
- Lay a bed of gravel at the bottom of the excavation for drainage and a stable base.
- Construct a foundation using concrete blocks. Ensure the blocks are level and properly aligned. Mortar the blocks together for added stability.
Step 4: Wall Construction
- Build the walls using reclaimed lumber or concrete blocks. If using lumber, create a sturdy frame and clad it with wood. Insulate the walls with rigid foam insulation or straw bales.
- Ensure the walls are properly braced and supported.
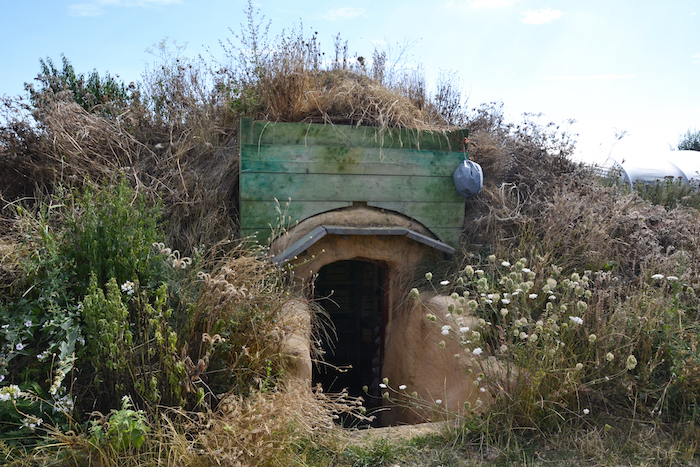
Alternative Construction Method: Consider using earthbags for the walls. Earthbags are filled with compacted soil and stacked like bricks, creating a strong and thermally stable structure.
Step 5: Roofing
- Construct a sturdy roof frame using lumber. Ensure the roof is sloped to allow for water runoff.
- Cover the roof frame with roofing material, such as corrugated metal or wood. Overlap the material properly to prevent leaks.
- Insulate the roof with rigid foam insulation or straw bales.
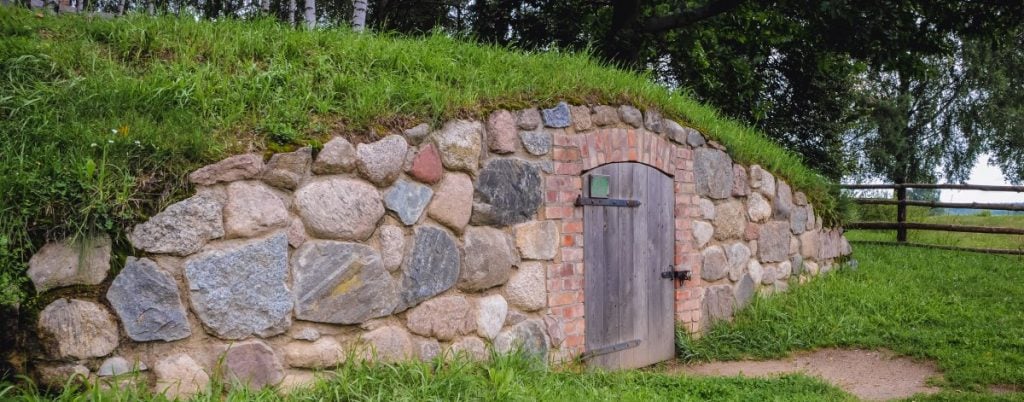
- Cover the roof with a layer of soil to further insulate the root cellar.
Step 6: Door and Ventilation
- Install a sturdy door to prevent pests and maintain a stable temperature. Consider using a reclaimed door to save money.
- Install a small, screened vent to provide ventilation. Place the vent high up on the wall to allow for air circulation without letting in too much light.
Step 7: Backfilling
- Backfill around the walls of the root cellar with soil, compacting it as you go. This will provide additional insulation and support.
Step 8: Interior Finishing
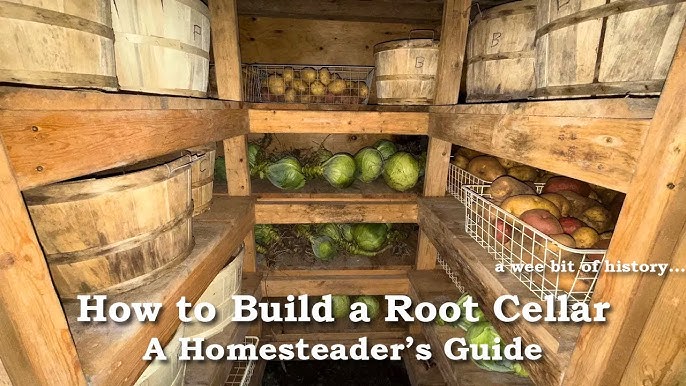
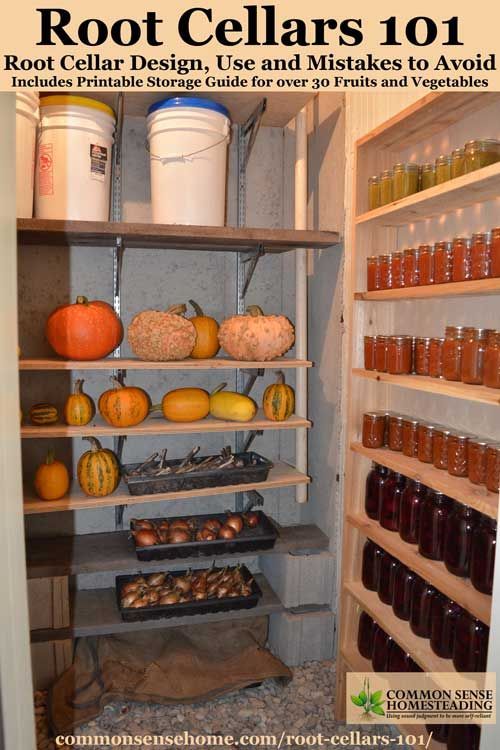
- Create shelves or bins for storing your produce. Use untreated wood to avoid contaminating your food.
Troubleshooting & Tips for Root Cellar Success
Even with meticulous planning, you might encounter challenges. Here’s how to address some common issues:
- Water Drainage: Ensure proper drainage by installing a perimeter drain and sloping the land away from the root cellar.
- Pest Control: Seal any cracks or openings to prevent rodents and insects from entering. Consider using natural pest deterrents like peppermint oil.
- Ventilation: Monitor the humidity levels inside the root cellar. If it's too humid, increase ventilation. If it's too dry, add a bucket of water to increase humidity.
- Temperature Control: Aim for a temperature between 32°F and 40°F (0°C and 4°C) for optimal storage. Use insulation and ventilation to regulate the temperature.
- Organization: Keep your root cellar organized by labeling shelves and rotating produce to prevent spoilage.
Storing Your Harvest: What to Keep and How
A root cellar isn't just about building; it's about knowing what and how to store your produce.
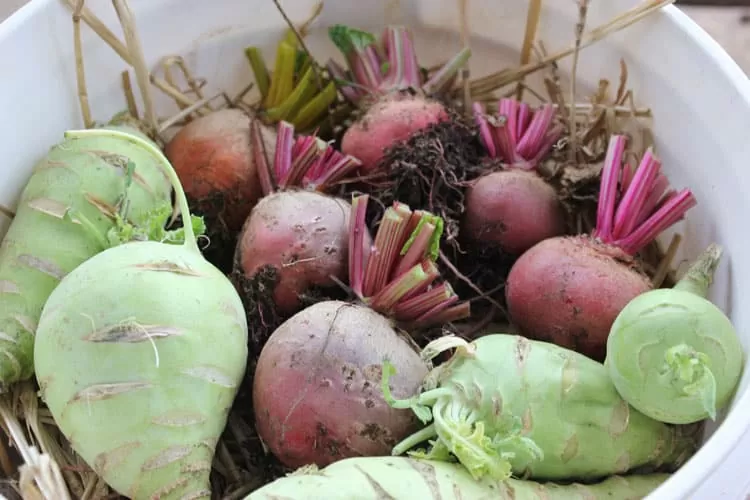
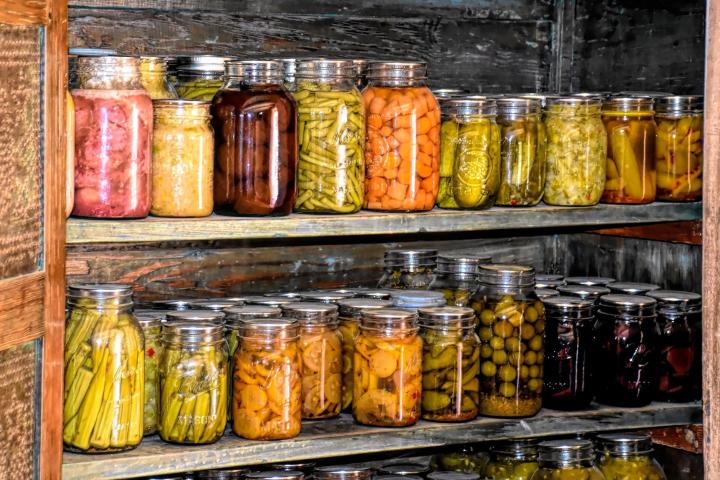
- Root Vegetables: Potatoes, carrots, beets, turnips, and parsnips store well in a root cellar. Store them in bins or crates covered with slightly damp sand or sawdust to maintain humidity.
- Onions and Garlic: Hang onions and garlic in mesh bags to provide good air circulation.
- Apples: Store apples in single layers in crates or trays. Check them regularly and remove any that are rotting to prevent the spread of spoilage.
Your Homestead Adventure Awaits
Building a root cellar is an investment in your homestead's self-sufficiency and a connection to traditional food preservation methods. By following these steps, you can create an affordable and ultra-efficient cold storage solution that will provide you with fresh, delicious produce all year round.
Ready to take the plunge? We challenge you to start planning your own DIY root cellar today! What location on your property are you considering? What materials will you use?
Download our free PDF checklist of all materials needed for your root cellar project [Link to Downloadable PDF Checklist].
We’d love to hear about your experiences and answer your questions in the comments below. Share your progress and inspire others to embark on their own root cellar journey!
