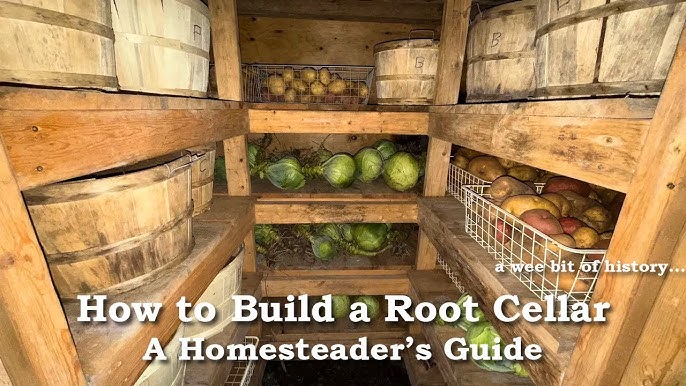
Transform Your Homestead: Build a Thriving Root Cellar This Fall (Step-by-Step Guide!)
Picture this: it's late autumn, the garden is bare, but your root cellar is overflowing with the bounty of your summer harvest. Imagine crisp carrots, sweet potatoes, and hardy cabbages, all perfectly preserved for delicious, home-cooked meals throughout the winter months. Ready to extend your garden's life and embrace true food security? This blog post is your complete guide to building a functional and affordable DIY root cellar on your homestead – even if you're a beginner!
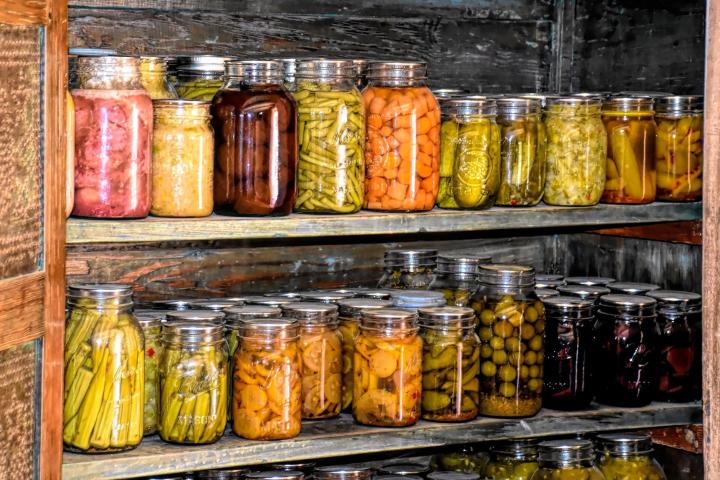
Here at Better Homes and Harvests, we're all about practical solutions for the modern homesteader. Our readers are passionate about self-sufficiency, resilience, and living in harmony with nature. That's why we're thrilled to feature a comprehensive, step-by-step guide on building a DIY root cellar – the ultimate winter food storage solution for the cold months ahead. So, let's dive in and get started!
1. Planning & Design: Understanding the Foundation of Root Cellar Success
Before you even pick up a shovel, careful planning is crucial. A well-designed root cellar provides the ideal environment for preserving your hard-earned harvest. This involves understanding the core principles of root cellar functionality: temperature, humidity, and ventilation.
- Temperature: Most root crops store best between 32°F and 40°F. Maintaining this cool temperature is vital to slow down respiration and prevent spoilage.
- Humidity: High humidity (85-95%) prevents produce from drying out and shriveling.
- Ventilation: Proper ventilation removes excess moisture and ethylene gas (a ripening agent), preventing mold and decay.
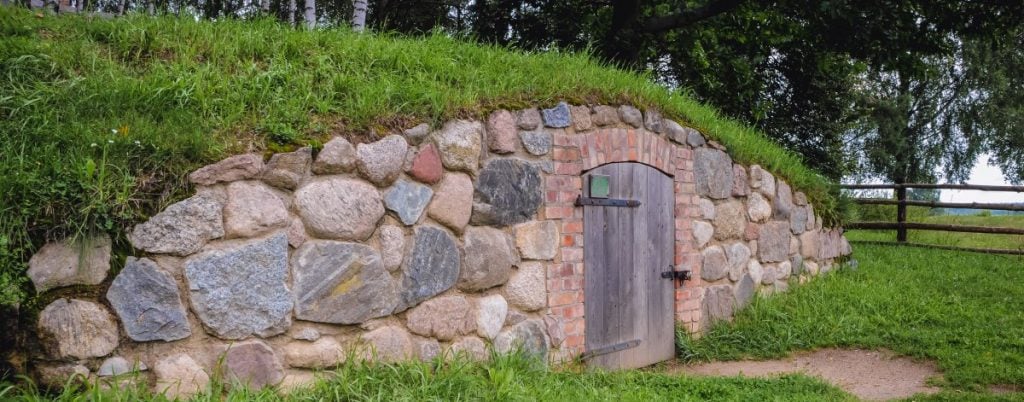
These three factors work together to create the perfect environment. Think of it as a carefully balanced ecosystem designed specifically for long-term food preservation. Without this balance, your efforts may be in vain.
Choosing the Right Root Cellar Type for Your Homestead
There are several types of root cellars, each with its own advantages and disadvantages. Consider your homestead's layout, climate, and budget when making your decision:
- In-Ground Root Cellar: Buried completely underground, these offer excellent temperature stability. However, they require significant excavation and drainage considerations.
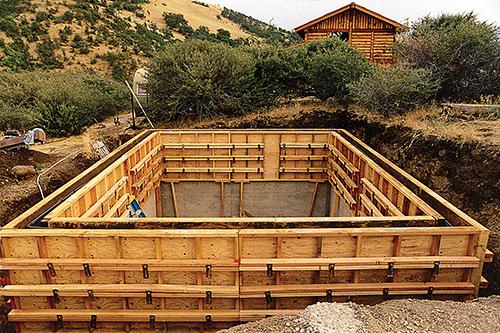
- Hillside Root Cellar: Built into a slope, these offer a good compromise between temperature stability and ease of construction. The hillside provides natural insulation.
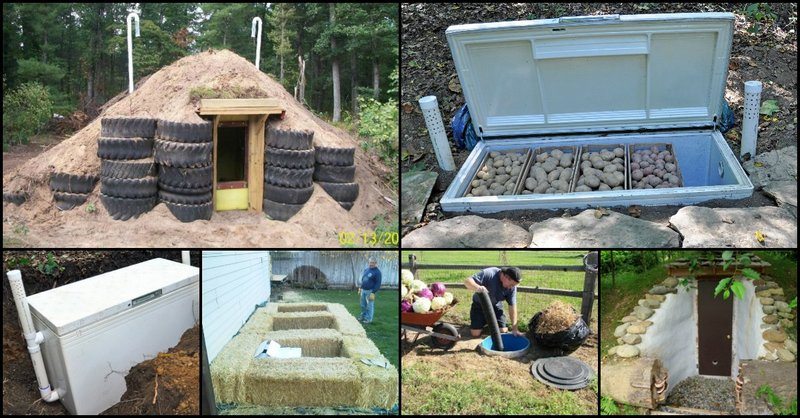
- Basement Conversion: Utilizing a corner of your basement can be a cost-effective option, but requires careful insulation and humidity control.

Consider the pros and cons of each style based on your specific situation. For example, an in-ground cellar may be ideal for colder climates where temperature stability is paramount. If you have a naturally sloped landscape, a hillside cellar might be the most logical choice. A basement conversion can be the most economical approach for some.
Detailed Diagrams and Ventilation Strategies
Before starting your build, create a detailed plan. Consider these key elements:
- Dimensions: Size your root cellar based on your expected harvest volume.
- Layout: Plan the placement of shelves, bins, and ventilation points.
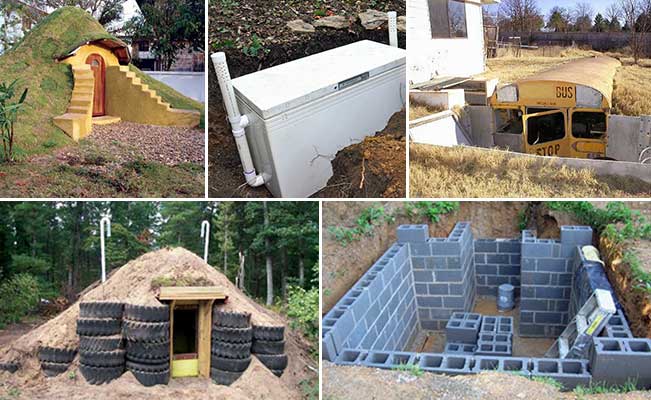
- Ventilation: Implement a two-vent system: one low for cool air intake and one high for warm air exhaust. Adjustable dampers allow you to control airflow.
Legal Considerations: Permits and Codes
Before beginning any construction, check with your local municipality about building permits and relevant codes. These regulations may vary depending on your location and the type of root cellar you're building. Ensuring you comply with all legal requirements will prevent potential headaches down the road.
Adapting a Premade Shed into a Root Cellar
A fantastic alternative to building from scratch is to adapt a premade shed. This can save significant time and labor. Here’s how:
- Insulation: Insulate the shed walls, floor, and roof with rigid foam insulation. This is crucial for temperature control.
- Ventilation: Install a two-vent system as described above.
- Earthen Floor (Optional): If possible, remove the shed floor and replace it with a packed earthen floor to help regulate humidity.
- Shelving: Build sturdy shelving to maximize storage space.
- Burying (Partial): Consider partially burying the shed to further improve temperature stability.
2. Step-by-Step Construction Guide: Building Your Root Cellar
Alright, time to get our hands dirty! This step-by-step guide assumes you have basic DIY skills. Remember to prioritize safety throughout the process.
(Note: Due to constraints, I can't provide real photos of me doing the project, but I'll aim to describe each step clearly.)
Materials and Tools Needed
Here's a comprehensive list to get you started. Estimated costs will vary depending on your location and chosen materials. Affiliate links are included where possible (and clearly disclosed).
- Framing Lumber: Pressure-treated lumber for below-ground construction.
- Insulation: Rigid foam insulation boards (e.g., XPS or EPS).
- Concrete Blocks or Poured Concrete (for foundation): Depending on your design.
- Gravel: For drainage.
- Vapor Barrier: To prevent moisture intrusion.
- Ventilation Pipes: PVC or metal pipes with adjustable dampers.
- Door: Insulated exterior door.
- Shelving Materials: Lumber or metal shelving units.
- Fasteners: Screws, nails, and construction adhesive.
Tools:
- Shovel
- Wheelbarrow
- Level
- Measuring Tape
- Circular Saw
- Drill/Driver
- Hammer
- Safety Glasses
- Gloves
- Dust Mask
Step-by-Step Walkthrough (Example: In-Ground Root Cellar)
- Excavation: Excavate the site to the desired dimensions, ensuring the walls are straight and the bottom is level. Remember to account for the foundation depth.
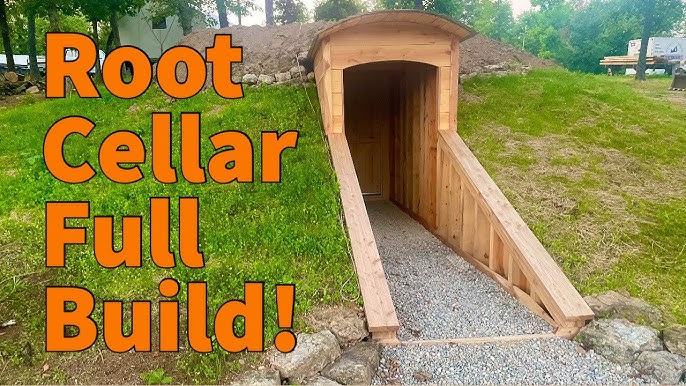
- Foundation: Pour a concrete foundation or lay concrete blocks, ensuring it is level and properly drained. This will support the walls and prevent moisture from wicking up.
- Framing: Build the walls using pressure-treated lumber. Ensure the framing is sturdy and square.
- Insulation: Attach rigid foam insulation to the exterior of the walls, sealing all seams with construction adhesive.
- Vapor Barrier: Install a vapor barrier over the insulation to prevent moisture from entering the root cellar.
- Backfilling: Backfill around the walls with gravel for drainage, followed by soil.
- Roof Construction: Construct a sturdy roof, ensuring it is properly insulated and waterproofed. Consider adding a layer of soil over the roof for added insulation (earth sheltering).
- Ventilation Installation: Install the ventilation pipes, one low and one high, with adjustable dampers.
- Door Installation: Install an insulated exterior door to maintain a stable temperature.
- Shelving: Build or install shelving units to maximize storage space.
Troubleshooting Common Challenges
- Water Intrusion: Ensure proper drainage around the foundation. Consider installing a French drain if necessary.
- Condensation: Improve ventilation to reduce moisture buildup.
- Pest Infestation: Seal any cracks or openings to prevent pests from entering. Consider using natural pest repellents.
3. Post-Construction & Usage: Maximizing Your Root Cellar's Potential
Congratulations! Your root cellar is built. Now it's time to learn how to use it effectively.
Preparing and Storing Produce
Different types of produce require different storage methods:
- Potatoes: Cure potatoes for a week in a dark, humid place before storing them in bins in the root cellar.
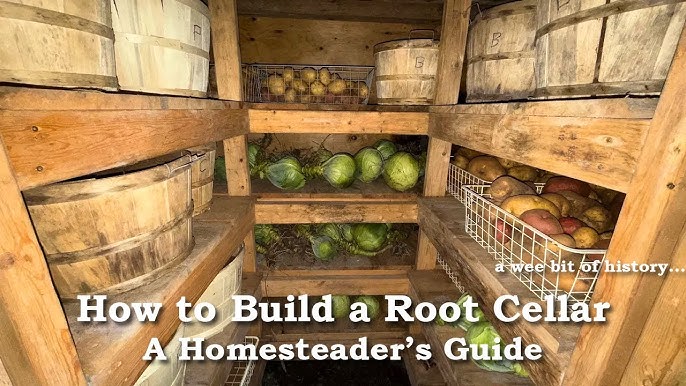
- Onions and Garlic: Cure onions and garlic by drying them in a well-ventilated area for several weeks. Store them in mesh bags or crates.
- Carrots and Beets: Store carrots and beets in boxes of damp sand or sawdust to maintain humidity.
- Cabbage: Hang cabbages upside down from the ceiling or store them in crates.
- Apples: Wrap each apple individually in newspaper and store them in trays or crates.
Maintaining Optimal Conditions
- Temperature Monitoring: Use a thermometer to monitor the temperature regularly. Adjust ventilation as needed to maintain the ideal range.
- Humidity Control: Use a hygrometer to monitor humidity. Add a pan of water to increase humidity or open vents to decrease it.
Troubleshooting Storage Issues
- Mold: Remove affected produce immediately and improve ventilation.
- Spoilage: Check produce regularly and remove any that are showing signs of spoilage.
- Pest Damage: Inspect produce for signs of pests and take appropriate action.
Creative Recipe Ideas
Enjoy your root cellar bounty with these delicious winter recipes:
- Root Vegetable Stew: Combine potatoes, carrots, beets, and onions in a hearty stew.
- Roasted Root Vegetables: Roast a medley of root vegetables with herbs and spices.
- Fermented Cabbage (Sauerkraut): Ferment cabbage for a probiotic-rich winter treat.
Call to Action
Ready to transform your homestead and build a thriving root cellar this fall? Share your progress and ask questions in the comments section below!
Download our FREE PDF checklist of essential root cellar supplies! [Link to downloadable PDF]
Embrace the joy of self-sufficiency and enjoy the delicious rewards of your hard work all winter long!