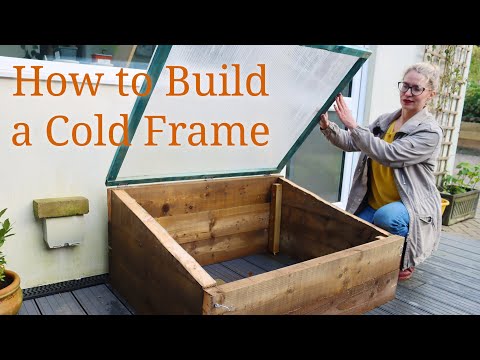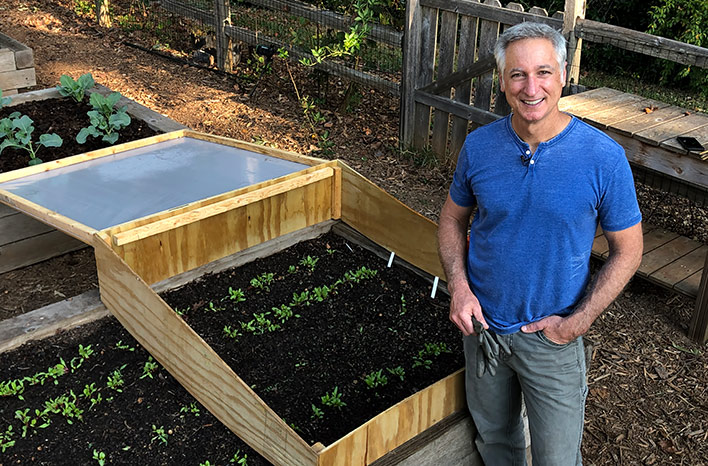
Transform Your Homestead: Build a Super-Efficient Cold Frame to Extend Your Growing Season!
Tired of watching your garden dreams wither away with the first frost? Yearning for fresh, homegrown veggies even when the snow is flying? Well, my friend, you’ve come to the right place. We're diving headfirst into a project that will not only extend your growing season but also boost your self-sufficiency and add a touch of rustic charm to your homestead: building your very own cold frame!
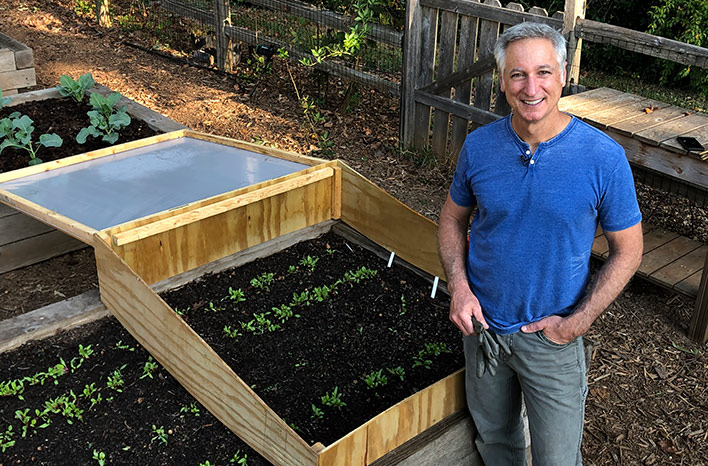
This isn't some complicated, overwhelming construction project. We're talking about a weekend endeavor that delivers real, tangible results. Think of it as a mini-greenhouse, a cozy little shelter for your precious plants, protecting them from harsh weather and allowing you to harvest fresh greens and veggies for weeks, even months, longer.
And the best part? We’re building it using reclaimed materials! So, grab your gloves, dust off that old saw, and let's get started!
Why Build a Cold Frame? The Benefits are Blooming!
Before we get our hands dirty, let's talk about why building a cold frame is a game-changer for any aspiring homesteader:
- Extended Growing Season: This is the big one! A cold frame acts as a barrier against frost, wind, and snow, allowing you to start seeds earlier in the spring and continue harvesting well into the fall and even winter.
- Increased Food Security: Reduce your reliance on grocery stores and enjoy fresh, homegrown produce year-round. Nothing beats the taste of lettuce you harvested yourself in December! Cold frame gardening can make this dream a reality.
- Cost-Effective: Forget expensive greenhouses! A cold frame is a budget-friendly way to protect your plants and extend your harvest. Especially since we're using reclaimed materials!
- Sustainable Living: Using reclaimed materials is a fantastic way to reduce waste and give new life to old items. Plus, growing your own food reduces your carbon footprint.
- Aesthetic Appeal: A well-built cold frame can be a beautiful addition to your garden. It adds character and shows off your homesteading skills.
The Plan: A Slanted-Lid Cold Frame Using Reclaimed Treasures
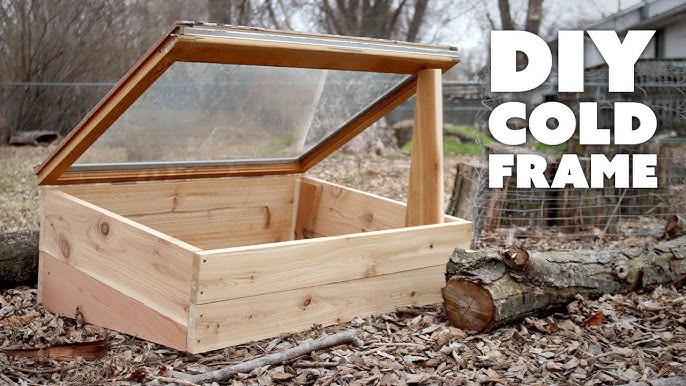
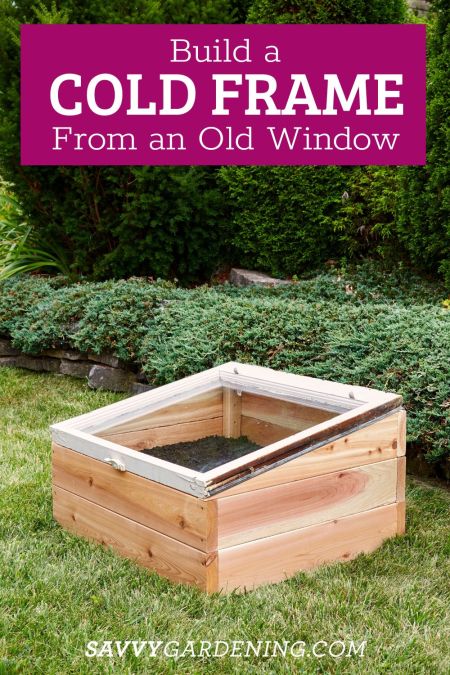
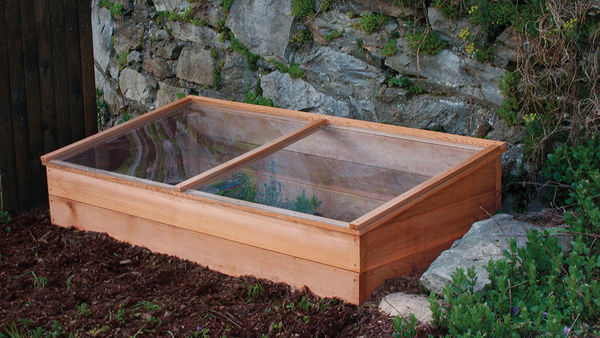
We'll be building a 4' x 6' slanted-lid cold frame, standing about 2' high at the back. This size is manageable for most gardens and incredibly efficient at capturing sunlight. The slanted lid maximizes solar gain, and the reclaimed materials give it a unique, rustic charm.
Here's what you'll need:
- Reclaimed Wood: Enough to build a 4' x 6' base and 2' high back. Think old fence boards, pallet wood, or leftover lumber from previous projects. Safety First!: Be sure to remove any nails or staples!
- Old Windows: A window approximately 4' x 6' to serve as the lid. Check local salvage yards, online marketplaces, or ask around – you might be surprised what you can find!
- Hinges: Two sturdy hinges to attach the lid to the frame.
- Screws or Nails: For assembling the wood frame.
- Measuring Tape, Saw, Drill (or Screwdriver), Hammer, Safety Glasses, and Gloves.
- Optional: Sandpaper, Paint or Wood Preservative.
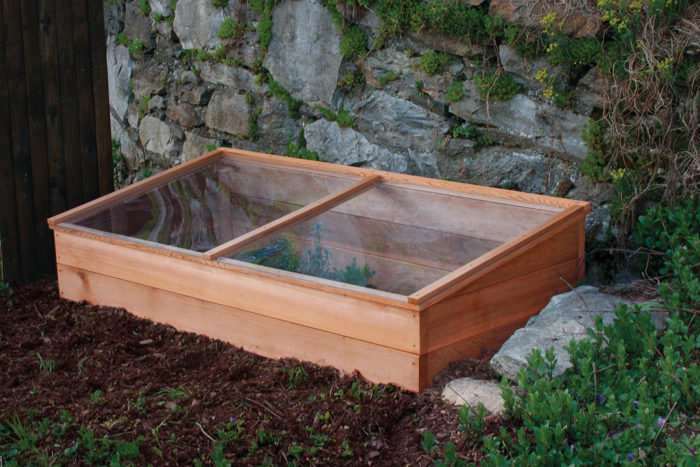
Step-by-Step: Building Your Cold Frame Oasis
Okay, let's get building! This is where the fun begins (and where a little patience comes in handy!).
Step 1: Prepare Your Materials
- Measure and cut your reclaimed wood to the following dimensions:
- Two side pieces: 6' long, angled at the top to create the slant. The back edge should be 2' tall.
- One back piece: 4' long, 2' tall.
- One front piece: 4' long, height depends on the desired slope, typically 12-18" high.
- Sand the wood to remove any splinters and rough edges. (Optional, but highly recommended, especially if you are using pallet wood)
- Treat the wood with a wood preservative or paint to protect it from the elements. (Optional, but will prolong the life of your cold frame.)
Step 2: Assemble the Frame
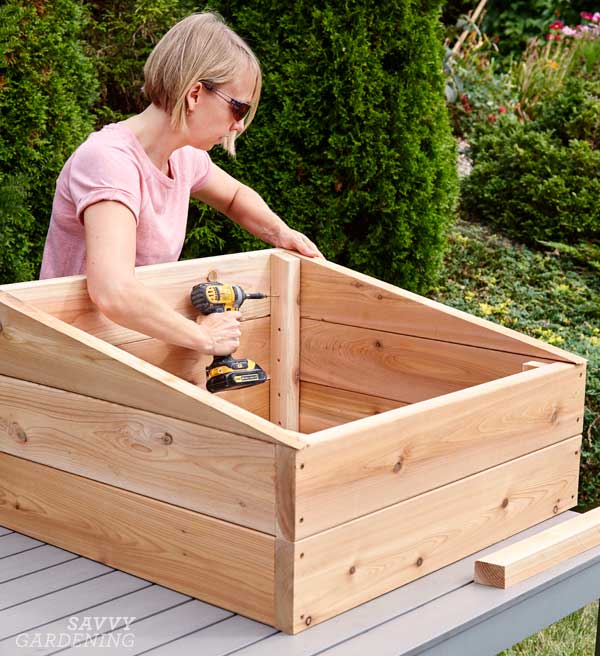
- Using screws or nails, assemble the frame by attaching the side pieces to the front and back pieces. Make sure everything is square and sturdy!
- Reinforce the corners with corner braces for added stability.
Step 3: Attach the Lid
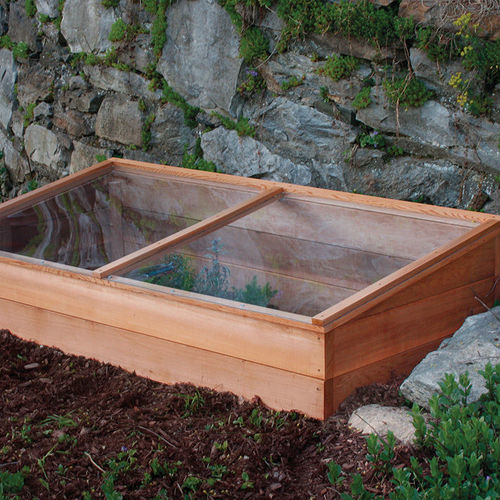
- Position the old window on top of the frame.
- Attach the hinges to the back of the frame and the window. Make sure the window opens smoothly and closes securely.
Step 4: Add Finishing Touches (Optional)
- Install a latch or hook to keep the lid closed, especially on windy days.
- Add weather stripping around the edges of the lid to create a tighter seal.
- Paint or decorate the cold frame to match your garden's aesthetic.
Step 5: Placement
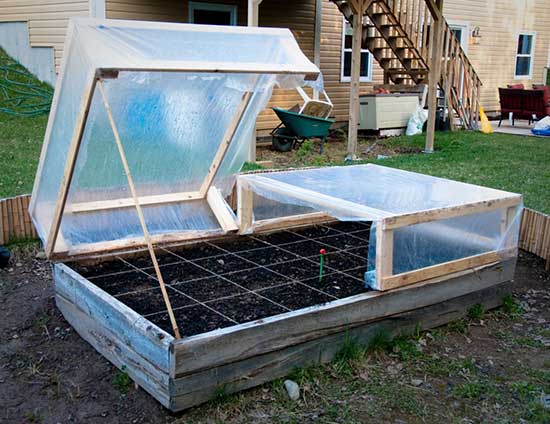
- Choose a sunny location in your garden that receives at least 6 hours of sunlight per day.
- Position the cold frame with the slanted lid facing south to maximize solar gain.
- Ensure the ground is level and well-drained.
Pro Tips & Troubleshooting for Cold Frame Success!
Alright, you've built your cold frame – congratulations! But the journey doesn't end there. Here are a few tips to help you get the most out of your new garden extension:
- Ventilation is Key: On sunny days, even in winter, the inside of the cold frame can overheat quickly. Make sure to prop the lid open to vent excess heat and prevent your plants from cooking. Start slowly and monitor temperatures.
- Watering Wisely: Water your plants sparingly, especially in cooler weather. Overwatering can lead to fungal diseases.
- Choosing the Right Plants: Focus on cold-hardy greens like spinach, kale, lettuce, and arugula. You can also start seeds for early spring crops like tomatoes and peppers.
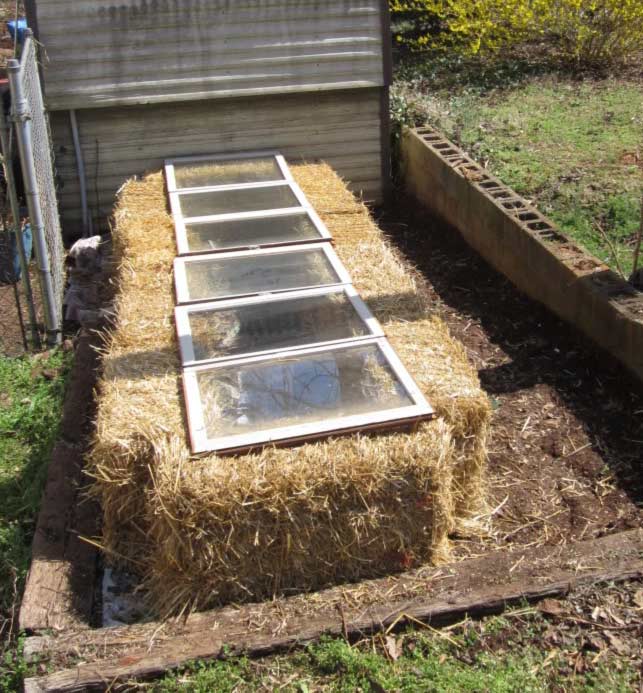
- Insulation for Extra Cold Climates: In very cold climates, consider adding extra insulation around the cold frame, such as straw bales or blankets.
- Pest Control: Keep an eye out for pests like aphids and slugs. Handpicking them off or using organic pest control methods is recommended.
- Soil Temperature: Monitor the soil temperature inside the cold frame to ensure it's optimal for germination and growth.
What to Grow in Your Cold Frame: A Winter Harvest Bounty!
The possibilities are endless, but here are a few ideas to get you started with cold frame gardening.
- Leafy Greens: Spinach, kale, lettuce, arugula, mustard greens – these thrive in cool conditions and provide a continuous harvest.
- Root Vegetables: Radishes and carrots can be grown in a cold frame, although they may take a bit longer to mature.
- Herbs: Parsley, cilantro, and chives are cold-hardy and add fresh flavor to your winter meals.
- Seedlings: Start your spring seedlings early in the cold frame to get a head start on the growing season. This is a great way to get a jump start on peppers, tomatoes, and other vegetables.
Ready to Extend Your Growing Season?
Building a cold frame is a rewarding project that will transform your homestead. It's a tangible step towards self-sufficiency, sustainable living, and a delicious harvest, no matter the weather. So, gather your materials, follow our guide, and get ready to enjoy fresh, homegrown goodness all year round! Don’t be intimidated! Building a reclaimed material cold frame is easier than you might think, even for beginners!
Now, we want to hear from you! What are you planning to grow in your cold frame this winter? Share your photos and experiences in the comments below – we can't wait to see your creations!
And for more homesteading inspiration, check out these related articles on Better Homes and Harvests:
- [Starting Seeds Indoors: A Beginner's Guide](Link to related article)
- [Composting 101: Turn Waste into Garden Gold](Link to related article)
- [Building a Raised Garden Bed: The Ultimate Guide](Link to related article)
Happy homesteading!
