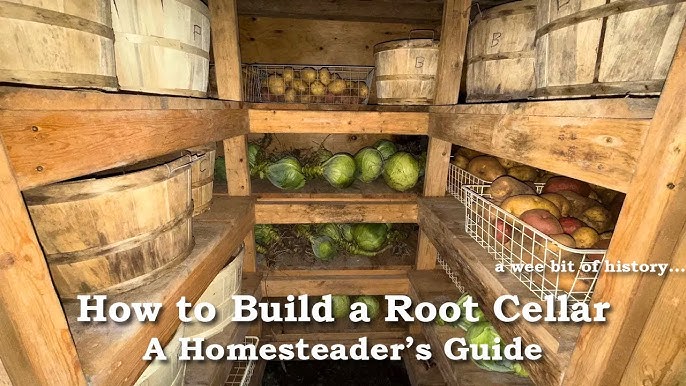
Transform Your Homestead: Build a Simple & Effective Root Cellar This Weekend
Imagine biting into a crisp, juicy carrot in the middle of January, its sweetness a vibrant reminder of summer. Or perhaps you envision a hearty stew simmering on the stove, filled with potatoes and onions you harvested months ago. This isn't just a culinary fantasy; it's the promise of a root cellar, a simple yet powerful tool for extending your harvest and embracing true self-sufficiency. Building a DIY root cellar is a game-changer for any homesteader looking to reduce grocery bills and enjoy fresh, homegrown goodness throughout the winter months.
For years, I relied on fleeting trips to the farmers market for produce. But winter always felt like a desert, devoid of truly fresh flavors. Then, I took the plunge and built my own root cellar. The first winter with homegrown potatoes that hadn't traveled hundreds of miles was a revelation. The taste was incredible, and the satisfaction of providing for my family year-round was even better. Ready to taste this freedom for yourself? Let’s get building!
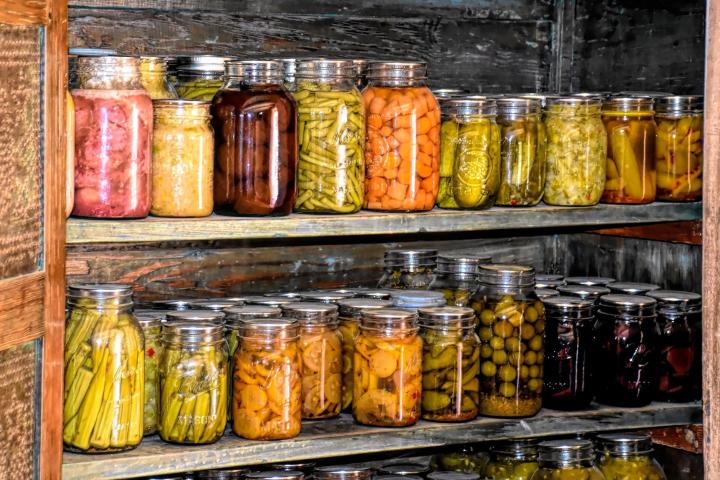
Project Overview: Why Build a Root Cellar?
A root cellar is essentially a naturally cooled storage space, designed to maintain a consistent temperature and humidity, ideal for preserving root vegetables and other crops. Its benefits are numerous:
- Improved Food Security: Less reliance on grocery stores, especially during harsh weather or supply chain disruptions.
- Reduced Grocery Bills: Store your harvest and avoid purchasing expensive out-of-season produce.
- Delicious, Seasonal Eating: Enjoy the superior flavor and nutritional value of freshly harvested, properly stored vegetables.
- Enhanced Self-Sufficiency: Gain a deeper connection to your food and the rhythms of the seasons.
- Sustainable Living: Reduce your carbon footprint by minimizing transportation and packaging.
This project focuses on a beginner-friendly, affordable root cellar design that can be built in a weekend for under $200 (depending on material prices in your area). It's capable of extending the storage life of your favorite root vegetables by several months.
Planning & Design: The Key to Root Cellar Success
The success of your root cellar hinges on understanding a few key principles:
- Temperature: The ideal temperature range is 32-40°F (0-4°C). This slows down respiration and prevents spoilage.
- Humidity: High humidity (85-95%) prevents vegetables from drying out.
- Ventilation: Proper airflow is essential to remove ethylene gas produced by ripening fruits and vegetables, which can accelerate spoilage.
Location, Location, Location:
Choosing the right location is crucial. Consider these factors:
- Soil Type: Well-draining soil is essential to prevent flooding. Avoid areas with heavy clay.
- Drainage: Ensure water drains away from the site. A slight slope is ideal.
- Shade: A north-facing slope or location under trees provides natural shade and helps keep the cellar cool.
- Accessibility: Consider how easy it will be to access the root cellar in winter, especially with snow or ice.
Alternative Designs:
While this guide focuses on a partially underground structure, here are a couple of simpler alternatives:
- Burying a Trash Can: A large, durable trash can (plastic or metal) with a tight-fitting lid can be buried in the ground, providing a small, makeshift root cellar. Insulate the sides and top with straw or hay.
- Basement Root Cellar: If you have a cool, damp basement, you can create a dedicated storage area by insulating the walls and floor and providing ventilation.
Our Proposed Design:
This design features a partially buried structure, offering a good balance of affordability, ease of construction, and effectiveness.
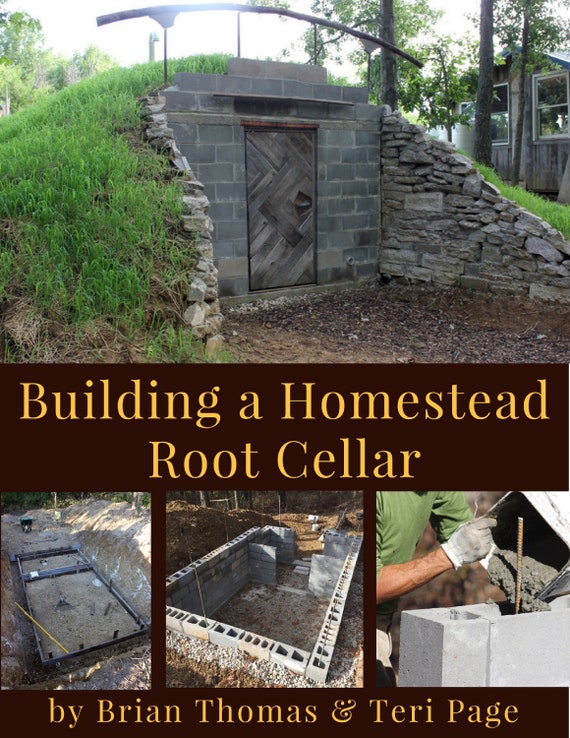
Dimensions: Approximately 4ft wide x 6ft long x 4ft high (internal dimensions). Adjust as needed based on your space and storage requirements.
Materials List (Estimated Cost Under $200):
- Untreated lumber (for framing): 2x4s, 4x4s
- Plywood or OSB (for walls and roof)
- Plastic sheeting (for moisture barrier)
- Straw bales (for insulation)
- Gravel (for drainage)
- Hardware (screws, nails, hinges)
- Ventilation pipe (4-inch diameter PVC pipe)
- Door (recycled or homemade)
- Optional: Concrete blocks (for foundation)
Tools Required:
- Shovel
- Wheelbarrow
- Circular saw or hand saw
- Drill
- Hammer
- Level
- Measuring tape
- Safety glasses
- Gloves
Step-by-Step Instructions: Building Your Root Cellar
Timeline: This project can be completed in a weekend with two people.
Day 1: Excavation and Framing
- Excavate the Site: Dig a hole approximately 1-2 feet deep, depending on your desired level of burial. Make sure the hole is slightly larger than your planned dimensions to allow for drainage.
ALT TEXT: Digging the hole for the DIY root cellar. - Install Drainage: Add a layer of gravel (4-6 inches) to the bottom of the hole for drainage.
- Build the Foundation (Optional): If desired, create a simple foundation using concrete blocks to raise the structure slightly above the ground.
- Frame the Walls: Construct the walls using 2x4 lumber. Ensure the frame is square and sturdy.
- Frame the Roof: Build a sloped roof frame to allow for water runoff.
- Attach the Walls: Secure the wall frames to the foundation (or directly to the gravel base if no foundation is used).
ALT TEXT: The wooden frame showing the structure of the root cellar.
Day 2: Sheathing, Insulation, and Finishing
- Sheath the Walls and Roof: Cover the exterior of the frame with plywood or OSB, securing it with screws or nails.
- Install Moisture Barrier: Line the interior walls and roof with plastic sheeting to prevent moisture from seeping in.
- Insulate with Straw Bales: Stack straw bales around the outside of the structure, covering the walls and roof. This provides excellent insulation.
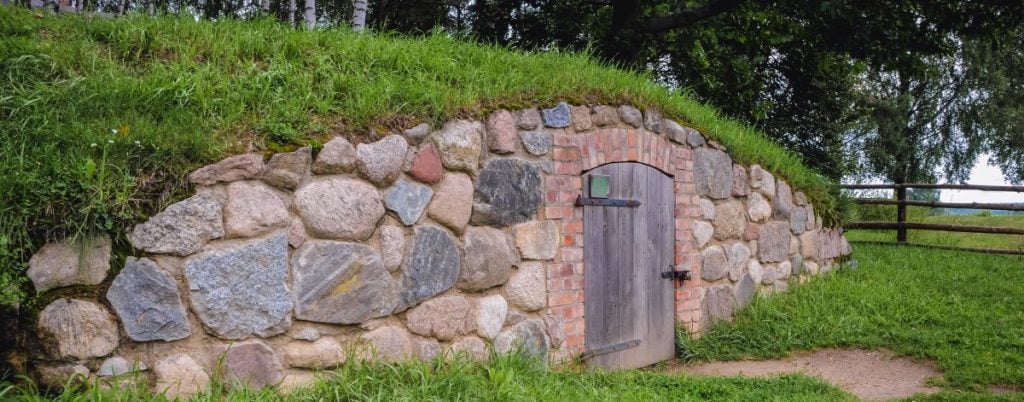
ALT TEXT: Exterior view of a root cellar, showing straw bale insulation. - Install Ventilation: Install a ventilation pipe near the top of the structure to allow for airflow. A simple PVC pipe with a screen to prevent pests is sufficient.
- Build or Install the Door: Construct a simple wooden door or repurpose an old door. Ensure it fits snugly to prevent drafts.
- Backfill: Backfill the soil around the structure, covering the lower portion of the walls.
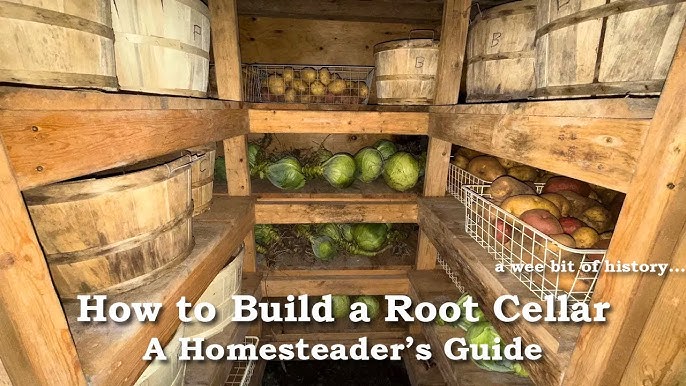
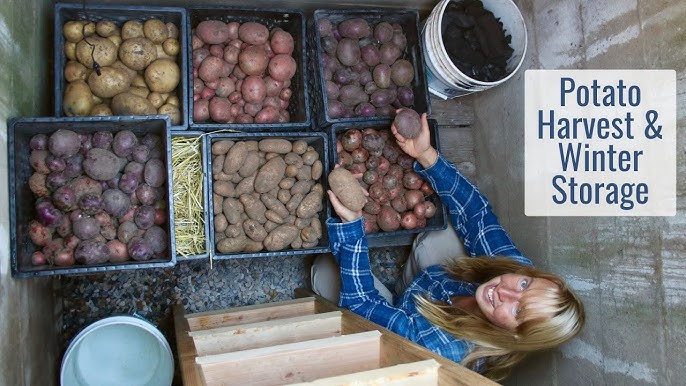
- Organize Interior: Add shelves and create appropriate boxes for proper produce storage.
ALT TEXT: Well-organized interior of a root cellar with shelves and bins.
Troubleshooting & Tips: Ensuring Long-Term Success
- Rocky Soil: If you encounter rocky soil, use a pickaxe or rock bar to break up large rocks. You may also need to import some topsoil to create a suitable base.
- Pest Infestations: Regularly inspect your root cellar for signs of pests (rodents, insects). Use traps or natural repellents to control infestations. Ensure your door is well-sealed.
- Managing Humidity: If the humidity is too low, place a bucket of water inside the cellar to increase moisture. If it's too high, improve ventilation.
- Condensation: Ensure that the ventilation system is working properly.
- Crop-Specific Adjustments:
- Potatoes: Store potatoes in complete darkness to prevent them from turning green.
- Apples: Store apples separately from other vegetables, as they produce ethylene gas.
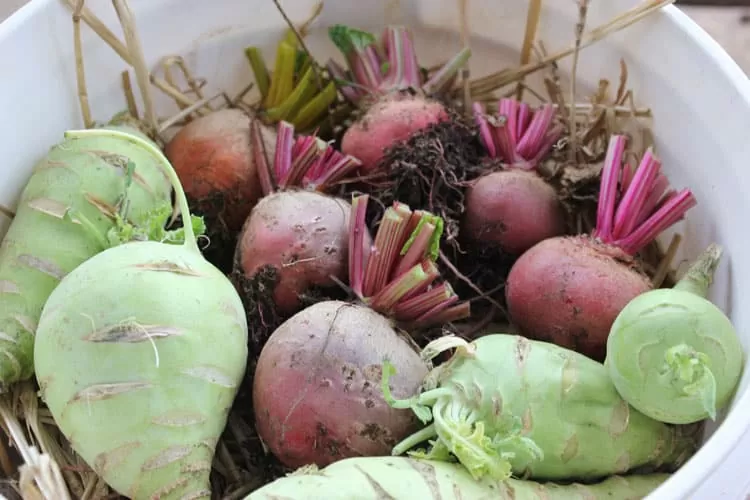
- Onions and Garlic: Need good ventilation and low humidity. Hang them in mesh bags.
- Regular Inspection: Check your produce regularly and remove any spoiled items to prevent them from affecting the rest.
Visual Appeal: Showcasing Your Homesteading Success
Document your root cellar build with high-quality photos or short video clips. Share the process, the challenges, and the ultimate reward: a root cellar filled with fresh, homegrown food. Show the joy and satisfaction of providing for your family.
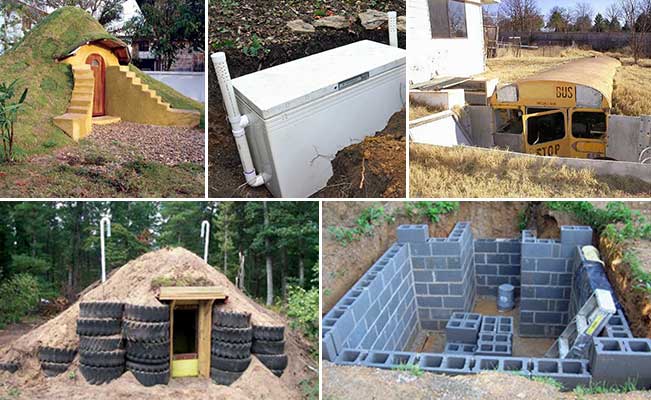
ALT TEXT: Root cellars made with different designs.
SEO Optimization: Spreading the Word
This blog post is optimized for search engines using relevant keywords such as "DIY root cellar," "vegetable storage," "homesteading project," "food preservation," and "winter vegetables." By incorporating these keywords naturally throughout the content, we aim to attract readers who are searching for information on building their own root cellars.
Meta Description: Learn how to build a simple & affordable DIY root cellar this weekend! Extend your harvest, reduce grocery bills, & enjoy fresh, homegrown vegetables all winter long. Step-by-step guide included!
Internal Links: Consider linking to other relevant articles on Better Homes and Harvests, such as guides to vegetable gardening, food preservation techniques (canning, dehydrating), and homesteading tips.
Call to Action: Join the Homesteading Community
Now it’s your turn! Have you ever built a root cellar? What tips or challenges did you encounter? Share your experiences in the comments section below! We’d love to hear from you.
Don’t forget to subscribe to the Better Homes and Harvests newsletter for more homesteading tips, gardening guides, and delicious recipes. Let's build a more self-sufficient and sustainable future together!
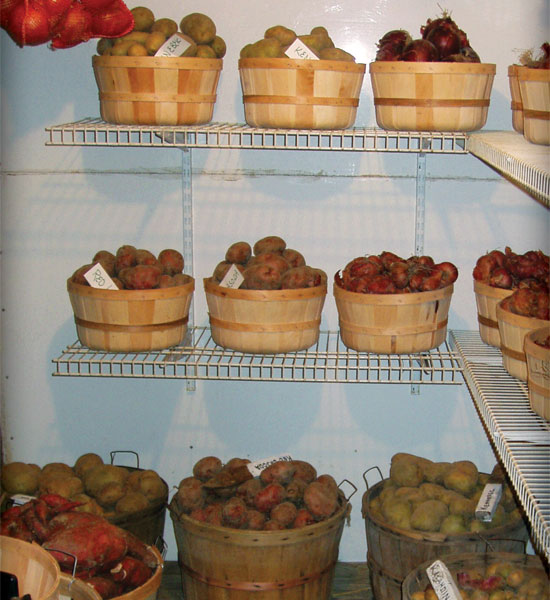
ALT TEXT: An indoor root cellar.
Conclusion: Embrace the Bounty of the Earth
Building a root cellar is more than just a construction project; it's an investment in your health, your family's well-being, and your connection to the land. With a little planning and effort, you can transform your homestead and enjoy the taste of fresh, homegrown vegetables throughout the winter months. So grab your shovel, gather your materials, and embark on this rewarding journey towards greater self-sufficiency. Your winter table will thank you for it!
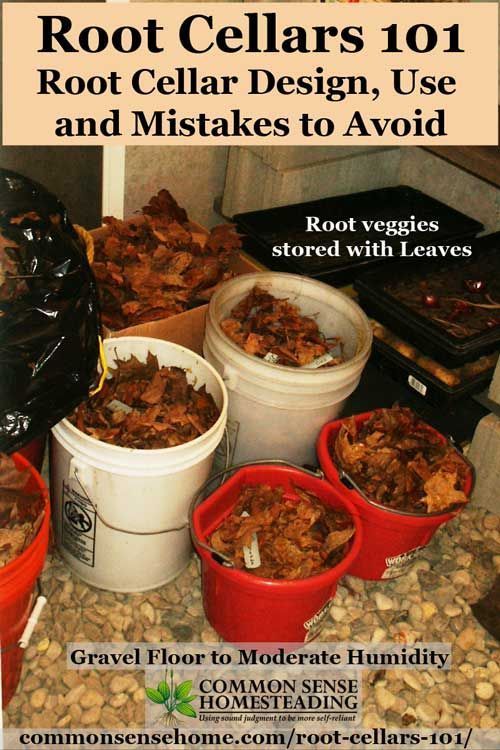
ALT TEXT: Woman displaying her abundance of home-grown vegetables.