Transform Your Homestead: Build a Simple Chicken Tractor (and Inspire Others!)
Are you ready to take your homesteading journey to the next level? One of the most rewarding aspects of creating a self-sufficient lifestyle is tackling DIY projects that directly impact your food production and overall resilience. Today, we’re diving into a beginner-friendly project that’s a game-changer for anyone raising chickens: building a simple chicken tractor. This mobile coop not only provides your flock with fresh pasture daily but also helps improve your garden soil. Let’s get started on this exciting homesteading DIY project!

Why Build a Chicken Tractor?
Before we jump into the how-to, let’s discuss the "why." A chicken tractor, also known as a mobile coop, offers several key benefits for the homesteader focused on self-sufficient homesteading:
- Fresh Pasture: Chickens thrive on fresh grass, bugs, and worms. Moving the tractor daily provides them with a constant supply of nutrient-rich food, leading to healthier chickens and better eggs.
- Garden Enrichment: As chickens forage, they scratch and till the soil, spreading their manure. This natural fertilizer is excellent for your garden beds, improving soil structure and fertility.
- Pest Control: Chickens are voracious insect eaters. Deploying the chicken tractor in your garden after harvest can help control pests and reduce the need for chemical interventions.
- Predator Protection: A well-built chicken tractor keeps your flock safe from predators like foxes, coyotes, and hawks.
- Easy to Move: Designed to be lightweight and mobile, you can easily relocate the tractor across your property.
This project embodies the spirit of resilient homesteading and offers tangible benefits for both you and your flock.
Gathering Your Materials (Beginner Homesteading Projects Start Here!)
The beauty of this project is that it can be done with readily available materials, often reclaimed or recycled. Here’s what you’ll need:
- Lumber:
- (4) 2x4s at 8 feet long (for the frame)
- (4) 2x4s at 4 feet long (for the smaller sides of the frame)
- (Various lengths) 1x2s or similar for creating the roosting bars and support structure.
- Hardware Cloth: 1/2-inch or 1-inch mesh, enough to cover the entire bottom and sides of the frame. (Measure your frame to determine the exact amount.)
- Chicken Wire (Optional): Can be used to reinforce the sides, especially if predators are a concern.
- Roofing Material: Corrugated metal, plywood covered with roofing felt, or even heavy-duty tarp. (Approximately 4x8 feet, depending on the size of your tractor.)
- Wheels (Optional): Two wheels and an axle can make moving the tractor much easier. Consider using salvaged bicycle wheels.
- Fasteners: Screws, nails, staples, and hinges.
- Door Latch: To secure the chicken door.
Tools You’ll Need:
- Saw (circular saw or hand saw)
- Drill
- Staple gun
- Measuring tape
- Pencil
- Safety glasses
- Gloves
Step-by-Step Guide: Building Your Chicken Tractor (Homesteading DIY)
Now, let's get our hands dirty and start building our chicken tractor. Remember, safety first! Always wear safety glasses and gloves when working with tools and materials.
Step 1: Building the Frame
- Cut the 2x4 lumber to the desired lengths. In our example, we're using (4) 8-foot pieces and (4) 4-foot pieces.
- Assemble the frame by attaching the 4-foot pieces to the 8-foot pieces to create a rectangle. Use screws for a strong and durable connection. Ensure the corners are square.
- Reinforce the corners with additional bracing if desired.
Step 2: Attaching the Hardware Cloth (Affordable DIY Homesteading Projects for Beginners)
- Lay the hardware cloth over the bottom of the frame and staple it securely in place using a staple gun. Make sure the mesh is taut and there are no gaps.
- Continue wrapping the hardware cloth up the sides of the frame, stapling it securely every few inches. Overlap the edges of the hardware cloth by a few inches for added strength.

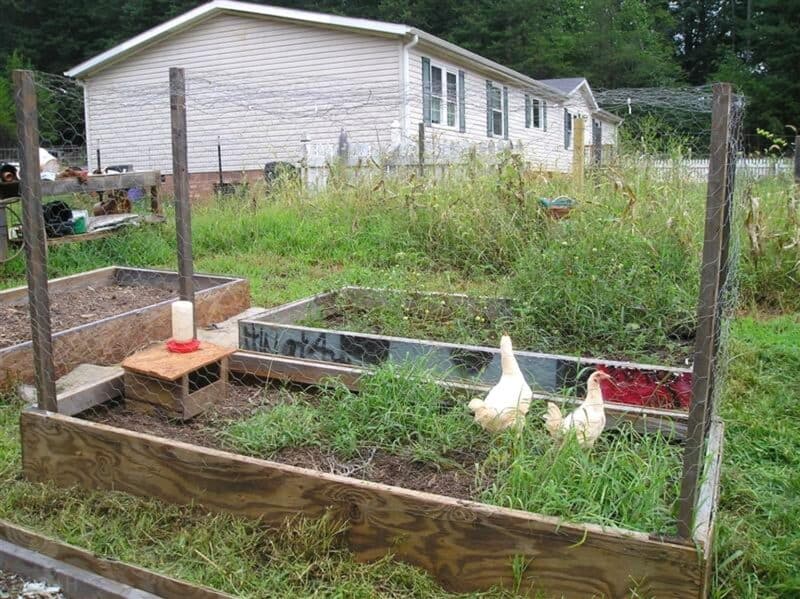
Alt Text: Two chickens inside a completed raised garden bed, demonstrating the protection provided by hardware cloth. This reinforces the need for a secure base to keep the flock safe.
Step 3: Constructing the Roof
- Cut the roofing material to the appropriate size, ensuring it overhangs the frame slightly to provide weather protection.
- Attach the roofing material to the frame using screws or nails. If using a tarp, secure it tightly with staples or rope.
- Consider adding a slight angle to the roof to allow rainwater to run off easily.
Step 4: Creating the Chicken Door
- Cut an opening in one of the sides of the tractor to create a door for the chickens to enter and exit. The size of the opening will depend on the size of your chickens.
- Construct a simple door from scrap lumber and attach it to the frame using hinges.
- Install a latch to secure the door when closed.
Step 5: Adding Roosting Bars (Best DIY Projects to Increase Homestead Self-Sufficiency)
- Install roosting bars inside the tractor for the chickens to perch on. These can be made from 1x2 lumber or branches.
- Position the roosting bars at different heights to accommodate chickens of different sizes.
Step 6: Adding Wheels (Optional, But Highly Recommended!)
- Attach the wheels to one end of the tractor using an axle and brackets. This will make it much easier to move the tractor across your property.
- Consider adding handles to the opposite end of the tractor to make it easier to lift and maneuver.

Alt Text: A chicken tractor featured on YouTube, demonstrating various designs and mobility options. Adding wheels to the tractor is highly recommended for ease of movement.
Step 7: Finishing Touches (DIY Homestead Improvements)
- Inspect the entire tractor for any sharp edges or potential hazards and address them accordingly.
- Add a layer of bedding material to the bottom of the tractor, such as straw or wood shavings.
- Provide a water source and a feeder inside the tractor.
My Personal Experience & Lessons Learned
Building this chicken tractor was a rewarding experience. One challenge I faced was finding the right balance between making the tractor sturdy enough to withstand the elements and light enough to move easily. I initially used heavier lumber, but quickly realized it was too difficult to relocate on my own. Swapping out some of the 2x4s for 1x4s made a significant difference without compromising structural integrity.
Another lesson I learned was the importance of using high-quality hardware cloth. I initially tried using chicken wire for the bottom of the tractor, but it quickly deteriorated due to the chickens scratching and the elements. Investing in durable hardware cloth is well worth the cost in the long run.
If I were to do it again, I would consider adding a small, enclosed nesting box to the tractor to encourage the chickens to lay their eggs inside. This would make egg collection much easier and reduce the risk of eggs being damaged or eaten.
Tips for Beginner Homesteaders (Easy Homestead Projects)
- Start Small: Don’t try to tackle too much at once. Begin with a simple design and gradually add features as you gain experience.
- Reclaimed Materials: Look for opportunities to use reclaimed or recycled materials to save money and reduce waste.
- Safety First: Always wear safety glasses and gloves when working with tools and materials.
- Ask for Help: Don’t be afraid to ask for help from experienced homesteaders or DIY enthusiasts.
- Learn from Others: Read books, watch videos, and join online communities to learn from the experiences of others.
Share Your Homesteading Story (and Inspire Others!)

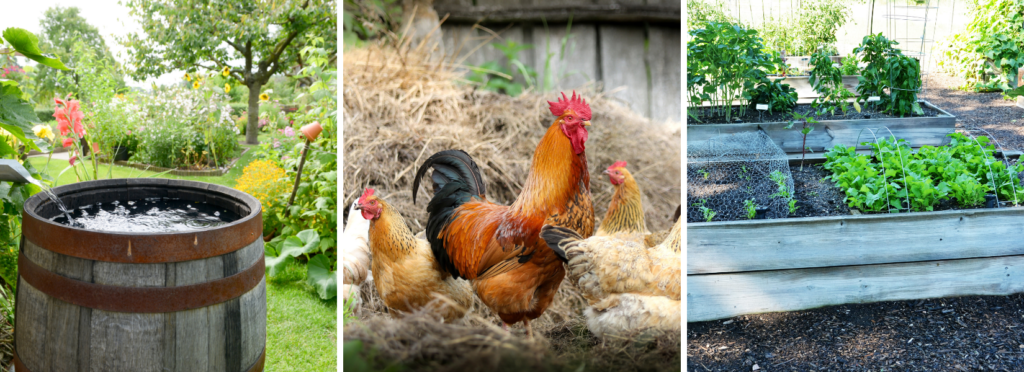
Alt Text: Examples of DIY projects to achieve self-sufficiency, prompting readers to share their own similar experiences to inspire the community.
Now it's your turn! Have you built a chicken tractor or tackled other homesteading DIY projects? Share your experiences, challenges, and triumphs in the comments below. Let's inspire each other to create more self-sufficient and fulfilling lives. What beginner homesteading projects have you tried? What DIY homestead improvements have made the biggest impact on your daily life? Let's build a community of passionate homesteaders, sharing knowledge and supporting each other on this incredible journey! Your story could be the inspiration someone else needs to take the first step.
Conclusion: Taking Action Towards a More Self-Sufficient Life
Building a chicken tractor is a fantastic way to enhance your homesteading experience, providing fresh pasture for your chickens, enriching your garden soil, and increasing your self-sufficiency. This beginner-friendly project is achievable for homesteaders of all skill levels and can be customized to fit your specific needs and resources.
Remember, homesteading is a journey, not a destination. Embrace the challenges, celebrate the successes, and never stop learning. By sharing our experiences and inspiring each other, we can create a more resilient, sustainable, and fulfilling life for ourselves and our communities. So, roll up your sleeves, gather your materials, and start building your chicken tractor today! You'll be amazed at what you can accomplish with a little creativity and elbow grease. Happy homesteading!