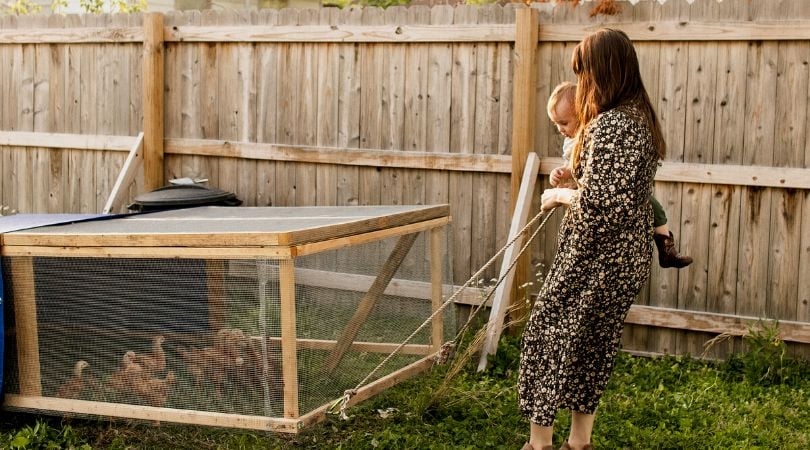
Transform Your Homestead: Build a Simple, Beautiful Chicken Tractor This Weekend!
Imagine waking up to the sound of contented clucking and the promise of fresh, golden-yolked eggs. Picture your chickens happily scratching and pecking through your garden, naturally fertilizing the soil and devouring unwanted pests. This dream can become a reality with a DIY chicken tractor – a mobile coop that empowers you to manage your flock and enhance your homestead in a sustainable, enriching way. This weekend, embark on a rewarding project that will bring you closer to self-sufficiency and the joy of working with your own hands.
Why Build a Chicken Tractor? The Benefits are Endless!
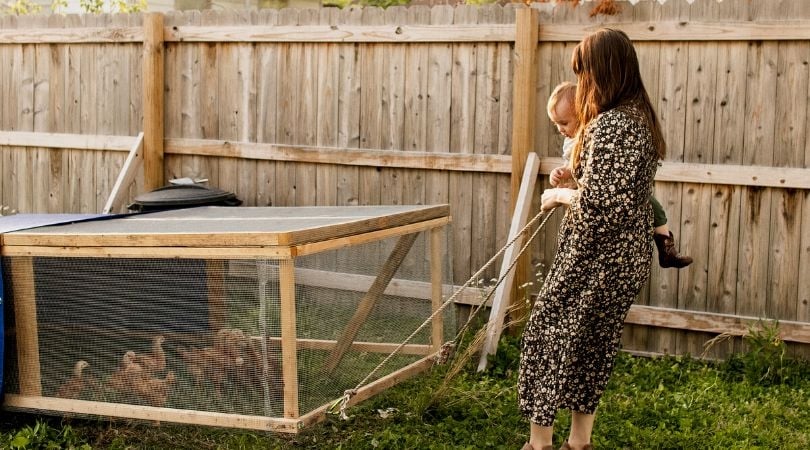
A chicken tractor, also known as a mobile chicken coop, offers a plethora of benefits for both your chickens and your homestead.
- Fresh Eggs, Naturally: Happy, healthy hens lay the best eggs. A chicken tractor allows them to forage for insects and greens, resulting in more nutritious and flavorful eggs.
- Pest Control Powerhouse: Chickens are natural pest controllers, devouring slugs, snails, grubs, and other garden pests. Moving the tractor across your garden beds provides targeted pest control without the need for harmful chemicals.
- Fertilization on the Go: Chicken manure is an excellent fertilizer. As your chickens roam within the tractor, they naturally enrich the soil with their droppings, boosting soil health and plant growth.
- Pasture Rotation and Protection: The mobile nature of the tractor allows you to rotate your chickens across different areas of your pasture, preventing overgrazing and promoting healthy grass growth. It also protects them from predators.
- Cost-Effective Solution: Building your own chicken tractor is significantly cheaper than purchasing a pre-made coop, especially if you utilize reclaimed or repurposed materials.
- Increased Self-Sufficiency: Building something with your own hands is incredibly rewarding. You'll gain valuable skills and a deeper connection to your food source.
Let's Get Building: Materials List and Estimated Costs
This project is designed to be beginner-friendly, utilizing readily available materials. Costs are estimates and may vary depending on your location and sourcing.
- Lumber:
- (4) 2x4x8 pressure-treated lumber: For the base frame. ($40)
- (4) 2x2x8 lumber: For the coop framing. ($20)
- (2) 1x4x8 lumber: For trim and roosting bar support. ($10)
- Hardware Cloth:
- 25 feet of ½-inch hardware cloth: To enclose the sides and bottom of the run. ($50)
- Roofing:
- Repurposed metal roofing sheet (approximately 4ft x 8ft) or corrugated plastic roofing. (Free - $30 depending on sourcing)
- Wheels:
- (2) Heavy-duty wheels (6-8 inch diameter) with mounting hardware. ($20)
- Fasteners:
- 3-inch exterior wood screws. ($10)
- 1 ¼-inch wood screws. ($10)
- ½-inch staples for attaching hardware cloth. ($10)
- Hinges & Latches:
- (2) Heavy-duty hinges for the coop door. ($5)
- (1) Latch for the coop door. ($5)
- Other:
- Chicken wire (optional, for additional predator protection over the hardware cloth).
- Paint or wood sealant (optional, for weatherproofing).
- Tools:
- Safety glasses
- Gloves
- Measuring tape
- Pencil
- Circular saw or hand saw
- Drill with screwdriver bits
- Staple gun
- Hammer
- Tin snips (if using metal roofing)
Total Estimated Cost: $170 - $240 (depending on material choices).
Step-by-Step Guide to Building Your Chicken Tractor
Safety First: Always wear safety glasses and gloves when working with power tools and hardware cloth. Work in a well-ventilated area, especially when using paints or sealants.
Step 1: Build the Base Frame
Cut the 2x4 lumber to create a rectangular base frame. A good size for a small flock (3-4 chickens) is 4ft x 8ft. Secure the corners using the 3-inch exterior wood screws. Ensure the frame is square by measuring the diagonals – they should be equal.
Step 2: Attach the Wheels
Attach the heavy-duty wheels to one end of the base frame. Position them so they are slightly recessed from the edge of the frame to prevent them from catching on obstacles. Use appropriate mounting hardware and ensure the wheels are securely fastened.
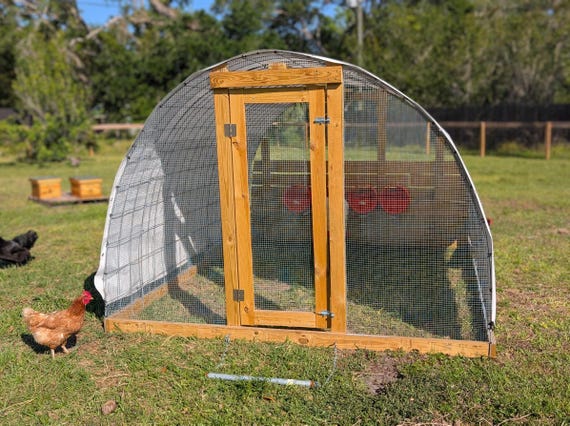
Step 3: Construct the Coop Frame
Cut the 2x2 lumber to create the frame for the coop section. A good size is 4ft wide, 4ft deep, and 4ft high. Build a rectangular frame for the base and top, then connect them with vertical supports. Secure the corners using 1 ¼-inch wood screws.
Step 4: Attach the Coop Frame to the Base
Position the coop frame at one end of the base frame. Securely attach it to the base using 3-inch exterior wood screws.
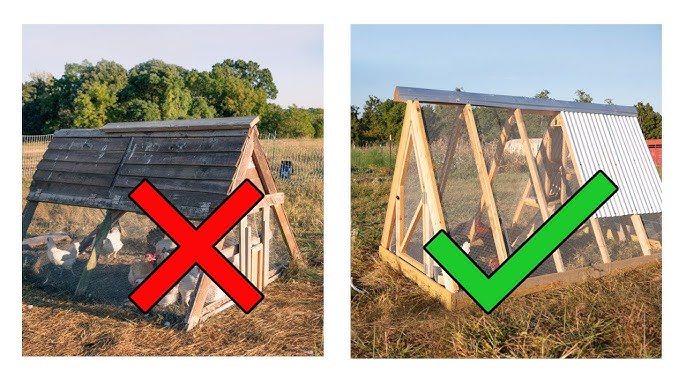
Step 5: Enclose the Run with Hardware Cloth
Cut the hardware cloth to size using tin snips. Attach it to the sides and bottom of the run section (the open area of the base frame) using a staple gun. Overlap the edges of the hardware cloth for added strength and predator protection. Bend over any sharp edges to prevent injury to your chickens.
Step 6: Build the Coop Door
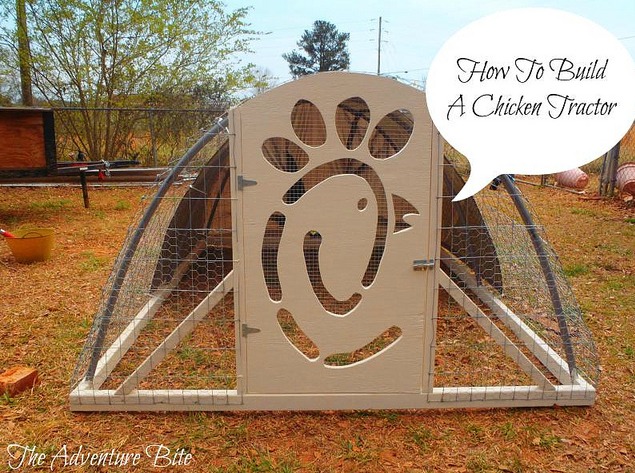
Cut a section out of one side of the coop frame to create an opening for the coop door. Build a simple rectangular door frame using 2x2 lumber. Cover the door frame with hardware cloth. Attach the door to the coop frame using heavy-duty hinges and install a latch to secure it.
Step 7: Install the Roofing
Cut the roofing material to size. Securely attach it to the top of the coop frame using appropriate screws or roofing nails. Ensure the roofing overlaps slightly to prevent leaks. Angle the roof to allow for water runoff.
Step 8: Add a Roosting Bar
Cut a length of 1x4 lumber to fit inside the coop. Secure it to the coop frame using 1 ¼-inch wood screws, creating a comfortable roosting bar for your chickens.

Step 9: Add Trim (Optional)
Add trim to the edges of the coop frame and around the door opening for a more finished look. This also helps to protect the edges of the hardware cloth.
Step 10: Paint or Seal (Optional)
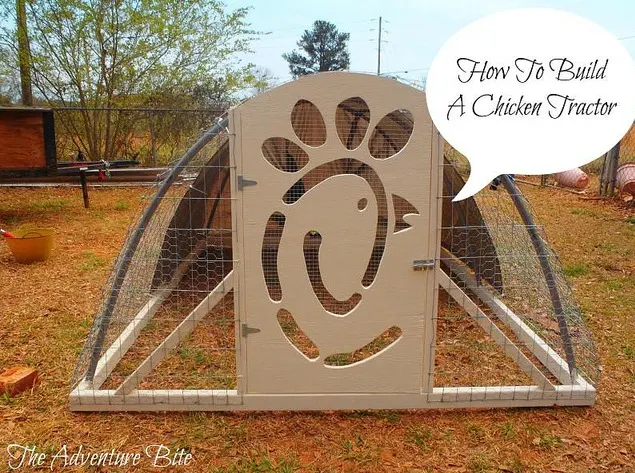
Apply a coat of exterior paint or wood sealant to protect the wood from the elements and extend the life of your chicken tractor. Choose a non-toxic paint that is safe for animals.
Step 11: Introduce Your Chickens!
Once the paint or sealant is dry, carefully introduce your chickens to their new mobile home. Provide them with food and water, and watch them enjoy their fresh foraging ground.
Customization Ideas: Make it Your Own!
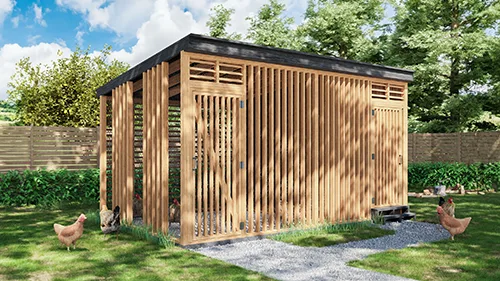
- Size Matters: Adjust the dimensions of the tractor to accommodate your flock size and the available space in your yard.
- Integrated Waterer: Build a simple waterer into the side of the coop using a repurposed bucket and chicken nipples.
- Automatic Door: Install an automatic chicken door opener for added convenience and security.
- Predator Skirt: Add a skirt of hardware cloth around the base of the tractor to prevent predators from digging underneath.
Moving Your Chicken Tractor: A Few Tips
- Choose the Right Location: Select a sunny spot with good drainage.
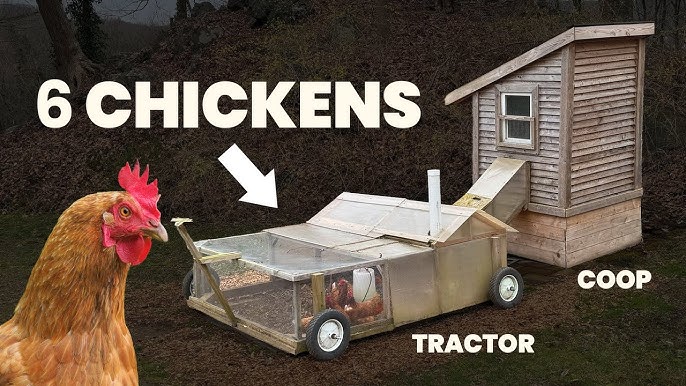
- Move Regularly: Move the tractor every day or two to ensure your chickens have access to fresh foraging and to distribute the fertilizer evenly.
- Use Leverage: A long handle or lever can make it easier to move the tractor, especially on uneven terrain.
- Consider a Helper: If your tractor is large, enlist a friend or family member to help with moving it.
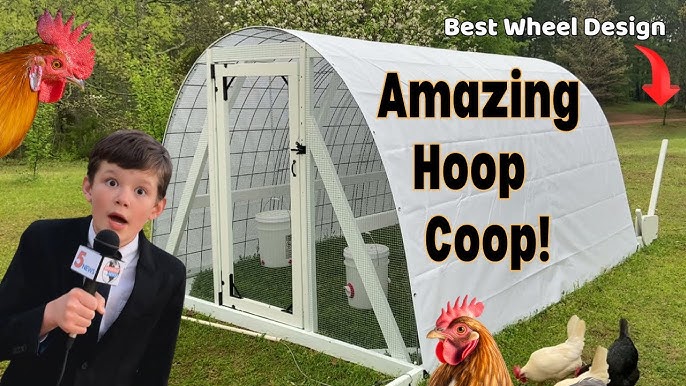
Embrace the Homesteading Spirit
Building a chicken tractor is more than just constructing a coop; it's an act of self-reliance, a connection to nature, and a step towards a more sustainable lifestyle. The satisfaction of watching your chickens thrive in a space you created with your own hands is immeasurable.
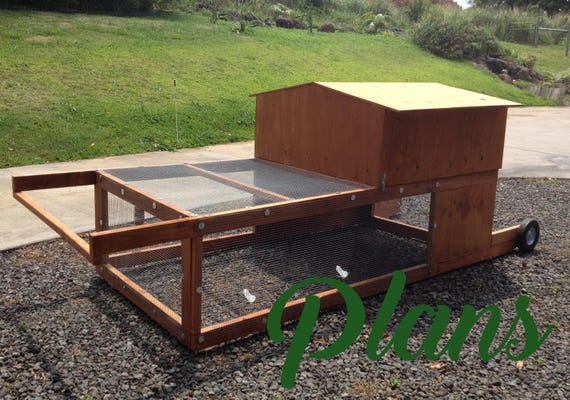
So, gather your materials, embrace the challenge, and get ready to transform your homestead with a beautiful, functional DIY chicken tractor! You'll not only provide a better life for your chickens but also enrich your garden and your own sense of accomplishment. Share your chicken tractor photos with us on social media!