Transform Your Homestead: Build a DIY Chicken Tractor for Healthier Birds and a Happier Garden!
Are you dreaming of a more self-sufficient homestead, brimming with healthy chickens and thriving gardens? Then it's time to ditch the muddy, overgrazed chicken run and embrace the power of the chicken tractor! A chicken tractor, or mobile chicken coop, is a game-changer for homesteaders looking to maximize the benefits their feathered friends can bring to both their own health and their garden's well-being. This project is more than just building a coop; it's an investment in a healthier, more sustainable lifestyle.
In this step-by-step guide, we'll show you how to build your very own DIY chicken tractor, perfect for 4-6 chickens, using readily available materials and basic carpentry skills. Get ready to transform your homestead, one happy chicken (and garden) at a time!
Why Build a Chicken Tractor? The Benefits are Egg-cellent!
Before we dive into the build, let's explore why a chicken tractor is such a valuable addition to any homestead:
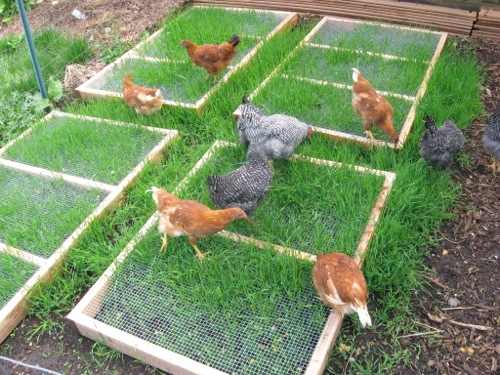
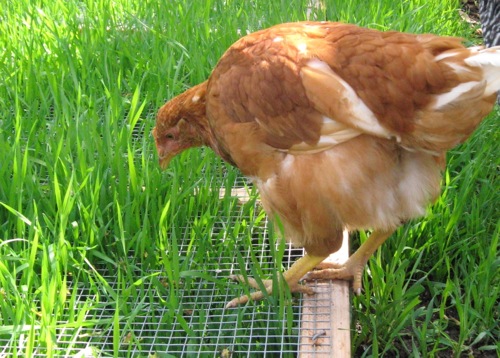
- Healthier Chickens: By providing access to fresh pasture daily, your chickens will enjoy a diet rich in insects, grasses, and seeds. This leads to healthier, happier birds and, in turn, more nutritious eggs and meat. Plus, constantly moving to fresh ground reduces the risk of disease and parasite infestations.
- Happier Garden: Chickens are natural garden helpers! Their scratching aerates the soil, while their droppings provide a rich, natural fertilizer. They also love to feast on garden pests like slugs and snails, keeping your plants healthy and thriving. A chicken tractor allows you to strategically deploy your chickens to weed, fertilize, and prepare garden beds naturally.
- Reduced Workload: Say goodbye to endless coop cleaning! With a chicken tractor, your chickens are constantly spreading their manure as they move, naturally fertilizing the soil. This means less time spent shoveling and more time enjoying your homestead.
- Pasture Management: Prevents overgrazing in any one area. The constant movement ensures even distribution of manure and prevents the depletion of resources.
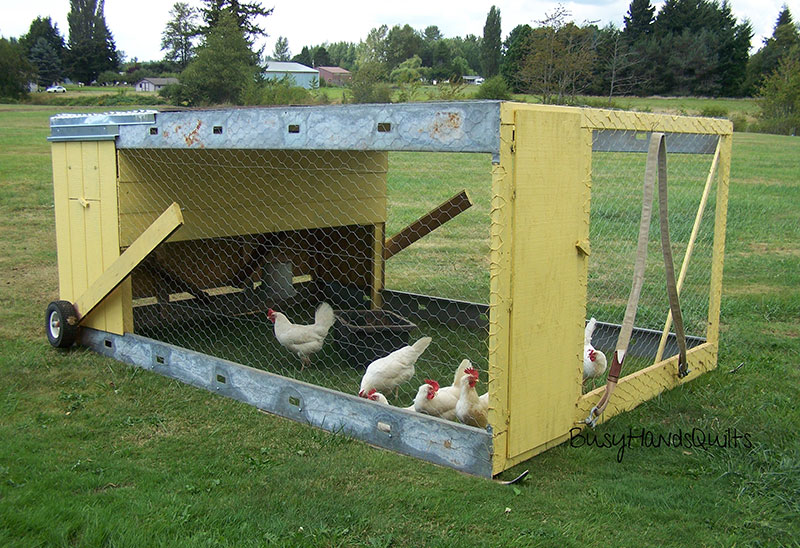
- Predator Protection: When designed correctly, the enclosed structure of a chicken tractor offers protection from predators, giving you peace of mind.
Designing Your DIY Chicken Tractor: Keep It Simple!
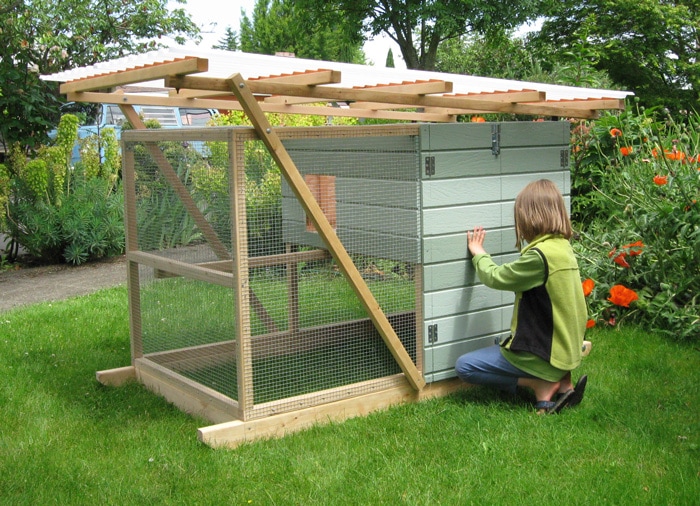
Our goal is to create a chicken tractor that is manageable, affordable, and easy to move. This design is suitable for 4-6 chickens.
Dimensions:
- Length: 8 feet
- Width: 4 feet
- Height: 3 feet (at the peak)
Materials List (Approximate Costs):
- (8) 2x4x8 Pressure Treated Lumber: $60
- (1) 4x8 Sheet of Plywood (for nesting box and roost): $30
- (1) Roll of Chicken Wire (50 ft): $40
- (4) Swivel Casters (with brakes): $30
- (1) Box of 2 1/2" Exterior Screws: $15
- (1) Box of 1 1/4" Exterior Screws: $10
- (1) Package of Staples (for attaching chicken wire): $5
- Hinges and Latch for Door: $10
- Handle for Moving: $5
- Total Estimated Cost: $205
Tools You'll Need:
- Circular Saw or Hand Saw
- Drill/Driver
- Staple Gun
- Measuring Tape
- Pencil
- Safety Glasses
- Gloves
Step-by-Step Guide: Building Your Chicken Tractor
Step 1: Building the Frame
Cut the 2x4 lumber according to the following dimensions:
- (2) 8 ft pieces (for the long sides)
- (4) 4 ft pieces (for the short ends and center support)
- (4) 3 ft pieces (for the roof supports)
Assemble the base frame by connecting the 8 ft and 4 ft pieces using the 2 1/2" screws. Make sure the corners are square! Add a center support (4 ft piece) for extra stability.
Step 2: Adding the Roof Supports
Attach the 3 ft roof support pieces to the top of the frame, creating a peaked roof. Use screws to secure them in place. Aim for a gentle slope to allow for water runoff.
Step 3: Covering with Chicken Wire
Carefully stretch and staple the chicken wire to the frame, ensuring it is taut and secure. Pay close attention to the corners and edges, trimming any excess wire. This is crucial for protecting your chickens from predators. Use sturdy staples and ensure they are firmly embedded in the wood.
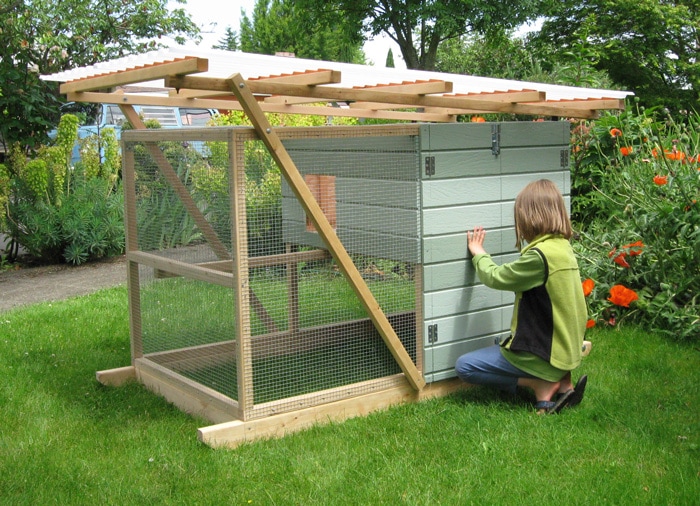
Step 4: Building the Nesting Box (Optional, but Recommended)
Cut pieces of plywood to create a simple nesting box, approximately 1 ft x 1 ft x 1 ft. Attach it to one end of the chicken tractor using screws. This provides a cozy and private space for your hens to lay eggs.
Step 5: Adding the Roost
Cut a piece of 2x4 lumber to fit across the width of the chicken tractor, about 1 foot off the ground. This will serve as a roost for your chickens to sleep on at night. Secure it to the frame using screws.
Step 6: Creating the Door
Cut an opening for a door on one side of the chicken tractor. Use the remaining lumber to build a simple door that fits the opening. Attach it with hinges and add a latch to keep it securely closed.
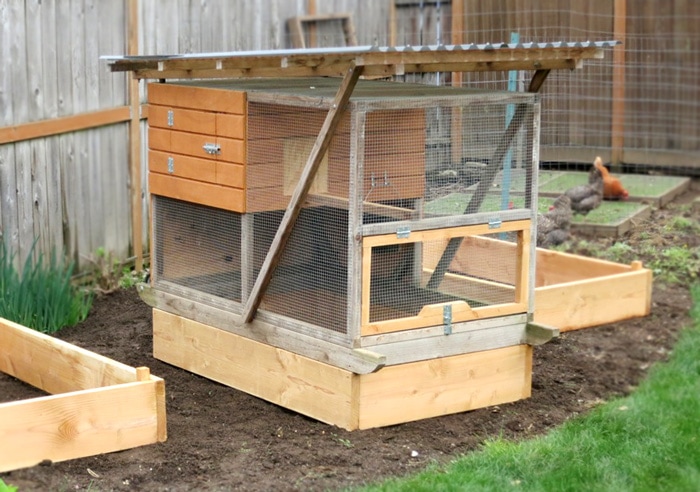
Step 7: Attaching the Wheels
Attach the swivel casters to the corners of the base frame using screws. Make sure the wheels are securely fastened and can rotate freely. The brakes will help keep the chicken tractor in place when you're not moving it.
Step 8: Adding a Handle
Attach a handle to one end of the chicken tractor to make it easier to move. You can use a piece of scrap lumber or purchase a handle from a hardware store.
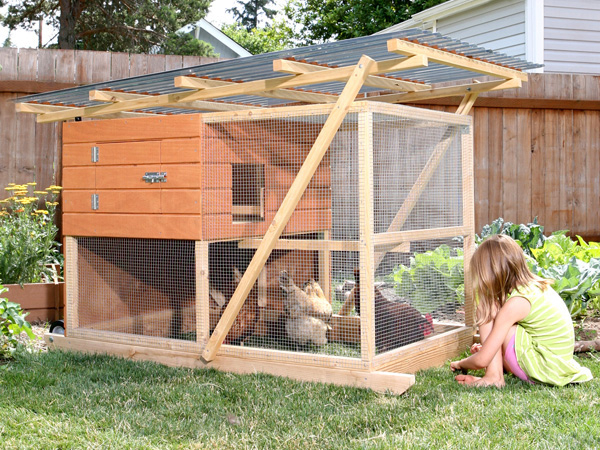
Step 9: Finishing Touches
Inspect the chicken tractor for any sharp edges or potential hazards. Sand down any rough spots and add any additional features you desire, such as a rainwater collection system.
Using Your Chicken Tractor: Tips and Tricks
- Moving the Tractor: Move the chicken tractor daily to provide your chickens with fresh pasture. This will also ensure even fertilization of your garden soil.
- Water and Feed: Provide your chickens with fresh water and feed inside the chicken tractor. You can use hanging feeders and waterers to prevent spills and keep the area clean.
- Predator Protection: While the chicken tractor provides some protection from predators, it's still important to take precautions. Secure the door at night and consider adding additional fencing around the perimeter of the tractor.
- Weather Protection: In extreme weather conditions, provide your chickens with extra protection from the elements. You can cover the chicken tractor with a tarp or move it to a sheltered location.
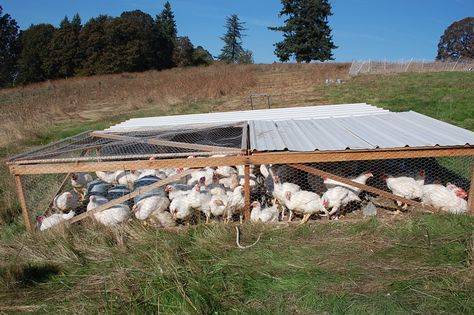
Customizing Your Chicken Tractor
Want to take your chicken tractor to the next level? Here are a few ideas for customization:
- Built-in Feeder: Integrate a feeder into the design of the chicken tractor to save space and reduce mess.
- Rainwater Collection: Add a gutter and collection barrel to harvest rainwater for your chickens.
- Shade Cloth: Attach a shade cloth to one side of the chicken tractor to provide your chickens with relief from the sun.
Before & After: Witnessing the Transformation
Imagine your garden before the chicken tractor: compacted soil, pest infestations, and constant weeding. Now, picture your garden after: loose, fertile soil, reduced pest problems, and lush, thriving plants. The difference is truly remarkable! Not only will your garden benefit, but your chickens will be healthier and happier, producing more delicious and nutritious eggs.
Ready to Build?
Building a DIY chicken tractor is a rewarding project that will benefit both your chickens and your garden. By following these step-by-step instructions, you can create a mobile chicken coop that is affordable, easy to move, and provides your chickens with access to fresh pasture daily. So, gather your materials, grab your tools, and get ready to transform your homestead!
Now it's your turn! Have you ever built a chicken tractor? What modifications did you make to the design? Share your experiences and tips in the comments below! Let's learn from each other and create a community of happy homesteaders.
