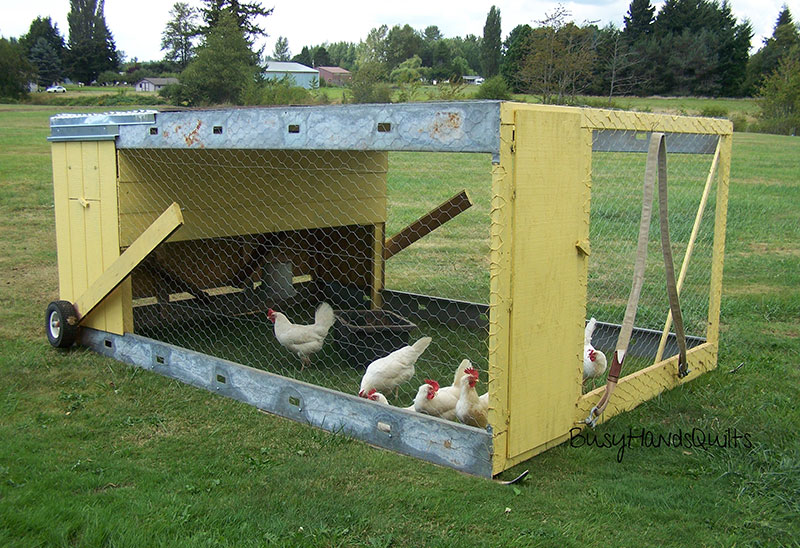
Transform Your Homestead: Build a Chicken Tractor for Under $200 and Boost Your Egg Production
Imagine this: your chickens, happily pecking and scratching through a patch of overgrown weeds in your garden, turning it into fertile ground, all while enjoying the fresh air and sunshine. Later, you move them to a new section, repeating the process and leaving behind perfectly fertilized soil ready for planting. This idyllic scene is made possible with a chicken tractor, a movable coop that's a game-changer for homesteaders. Ditch the expensive chicken feed, reduce your reliance on synthetic fertilizers, and enjoy healthier, happier chickens – all for under $200! Let's dive into how you can build your own.
Why Build a Chicken Tractor? The Benefits are Egg-cellent!
Traditional chicken coops are stationary, which can lead to a build-up of waste in one area, requiring frequent cleaning and potentially attracting pests. A chicken tractor, on the other hand, solves this problem by allowing you to move your flock to fresh ground regularly. This offers several key benefits:
- Reduced Feed Costs: Chickens are natural foragers. A chicken tractor allows them to supplement their diet with grasses, weeds, and insects, significantly reducing your feed bill.
- Improved Soil Quality: Chicken manure is a fantastic fertilizer. By moving the tractor, you distribute this valuable resource evenly across your garden or pasture.
- Natural Pest Control: Chickens love to eat bugs! They'll happily devour pests like grubs, slugs, and ticks, naturally controlling populations in your garden.
- Healthier Chickens: Access to fresh air, sunshine, and a varied diet promotes healthier chickens with stronger immune systems, resulting in better egg production.
- Predator Protection: A well-built chicken tractor provides a secure enclosure, protecting your flock from predators like foxes, raccoons, and hawks.
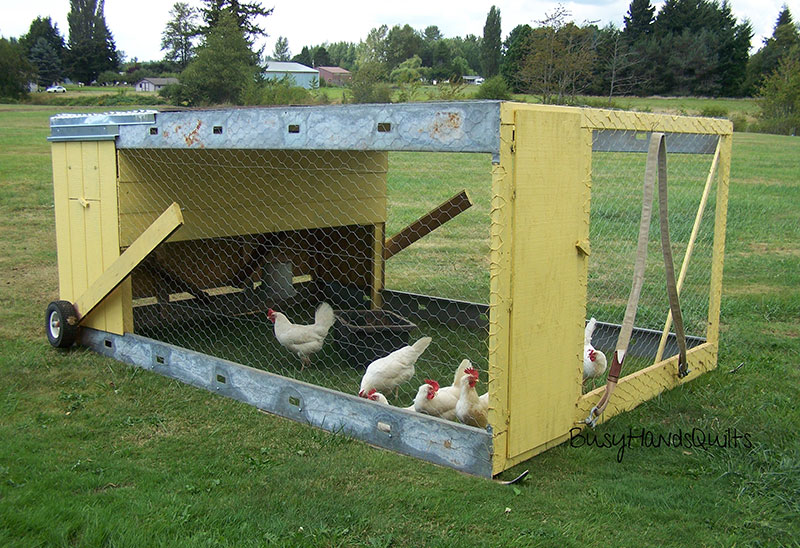
DIY Chicken Tractor: Project Overview
This guide will walk you through building a simple yet effective chicken tractor designed to comfortably house 4-6 chickens. It's designed with affordability and ease of construction in mind, keeping the total cost under $200. Of course, you can modify these plans to fit your specific needs and flock size.
Material List (Under $200)
- Lumber:
- (6) 2" x 4" x 8' Pressure Treated Lumber: ~$40
- (2) 1" x 4" x 8' Untreated Lumber: ~$10
- (1) 4' x 8' Sheet of Plywood (for roosting/shelter area - can use scrap): ~$25 (estimate if purchased new; source reclaimed if possible)
- Hardware Cloth:
- 25' of 24" Wide, 1/2" Hardware Cloth: ~$50
- Hardware:
- (4) Swivel Casters (Wheels) with Bolts and Nuts: ~$30
- (1) Box of 1 1/4" Exterior Screws: ~$10
- (1) Box of 1/2" Staples (for attaching hardware cloth): ~$5
- (2) Hinges (for access door): ~$5
- Latch (for access door): ~$3
- Optional:
- Exterior Paint or Stain (for weather protection): ~$10 (optional, can use leftover paint)
Note: Prices are approximate and may vary depending on your location and supplier. Check your local lumber yard or hardware store for the best deals. Consider sourcing reclaimed lumber or asking for scrap plywood to further reduce costs.
Step-by-Step Construction Guide
Build the Base Frame: Cut four pieces of 2" x 4" lumber to create a rectangular base (e.g., 4' x 8'). Use exterior screws to assemble the frame. Ensure the corners are square. This forms the foundation of your chicken tractor.
Add Vertical Supports: Cut four pieces of 2" x 4" lumber to the desired height of your tractor (e.g., 3'). Attach these vertically to the inside corners of the base frame using screws. These uprights provide the structure and height for the coop.
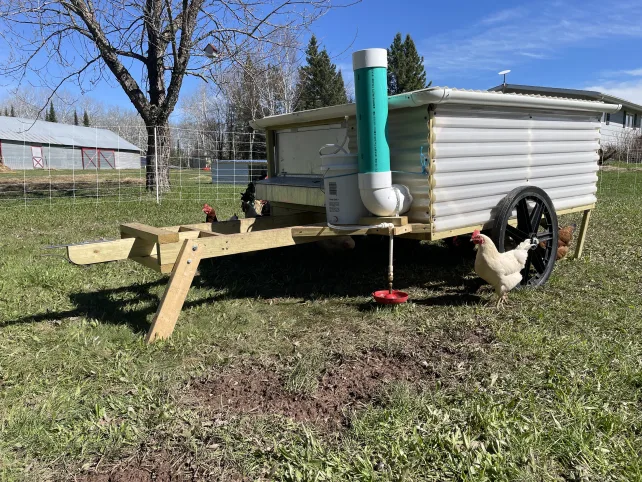
Construct the Top Frame: Repeat step 1 to create another rectangular frame using 2" x 4" lumber. Attach this frame to the top of the vertical supports, creating the roof structure.
Create the Roosting Area: Cut plywood to size and attach it to one end of the tractor to create a sheltered roosting area. This provides a safe and dry space for your chickens to rest and lay eggs. Ensure there's adequate ventilation.
Install Hardware Cloth: Wrap the entire frame with hardware cloth, securing it with staples. This will keep your chickens safe from predators. Overlap the edges of the hardware cloth for added security. Pay special attention to the corners and edges.
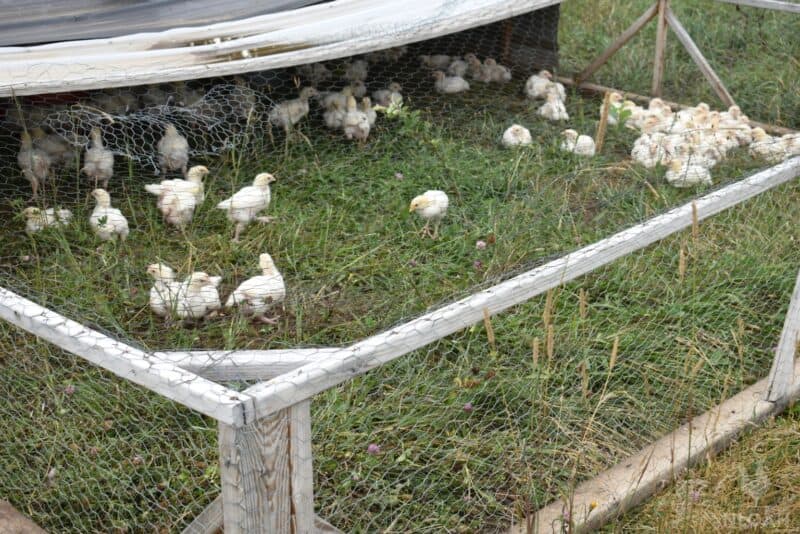
Build the Access Door: Cut an opening in one side of the tractor and create a simple door using 1" x 4" lumber and hardware cloth. Attach the door with hinges and install a latch to keep it securely closed.
Attach the Wheels: Attach the swivel casters to the bottom corners of the base frame using bolts and nuts. Swivel casters make it easier to move the tractor in any direction. Ensure the wheels are securely attached.
Add a Roost: Install a roosting bar inside the sheltered area, elevated off the ground. This gives your chickens a comfortable place to perch at night. A simple 2" x 4" works well.
Finishing Touches: Sand down any rough edges and apply exterior paint or stain to protect the wood from the elements (optional). This will prolong the life of your chicken tractor.
Adapting the Design for Different Needs
- Larger Flocks: To accommodate more chickens, simply increase the dimensions of the frame.
- Extreme Weather: In areas with harsh winters, consider adding insulation to the roosting area.
- Predator Protection: For added protection from digging predators, bury hardware cloth around the perimeter of the tractor. You can also add a skirt of hardware cloth that extends outwards from the base.
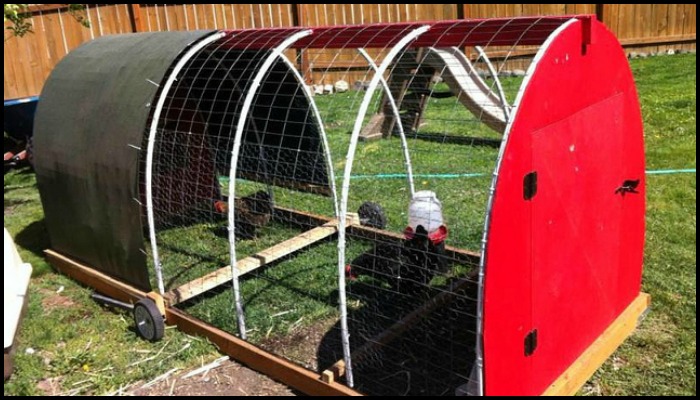
- Sloped Roof: Build the roof frame with a slight slope to allow rainwater to run off.
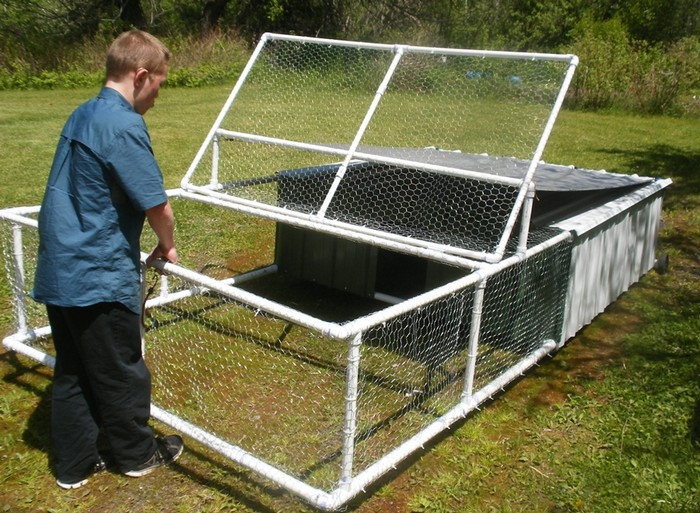
- PVC Frame: Consider a PVC frame for an even more affordable and lightweight option.
Troubleshooting Tips
- Wheels Wobble: Tighten the bolts and nuts securing the wheels. If the problem persists, consider using larger washers.
- Predators Digging Under: Bury hardware cloth around the perimeter of the tractor or add a skirt of hardware cloth.
- Chickens Escape: Ensure all seams and edges of the hardware cloth are securely fastened. Clip their wings if necessary.
- Tractor is Too Heavy: Use lighter materials like PVC for the frame. Reduce the size of the tractor.
- Door Doesn't Close Properly: Adjust the hinges and latch to ensure a secure closure.
Putting Your Chicken Tractor to Work
Once your chicken tractor is complete, introduce your chickens and observe their behavior. Move the tractor every day or two, depending on the size of your flock and the density of the vegetation. Observe the ground after moving the tractor – it should be cleared of vegetation and evenly fertilized.
Ready to Transform Your Homestead?
Building a chicken tractor is a rewarding project that will significantly improve your homesteading experience. You'll save money on feed, improve your soil, control pests naturally, and enjoy healthier, happier chickens. So gather your materials, follow these steps, and get ready to transform your homestead!
Now it’s your turn! Share your own chicken tractor experiences, tips, and modifications in the comments below. What features would you love to see in a chicken tractor? What's your biggest chicken-raising challenge? We’d love to hear from you!