Transform Your Homestead: Build a Budget-Friendly Root Cellar and Extend Your Harvest!
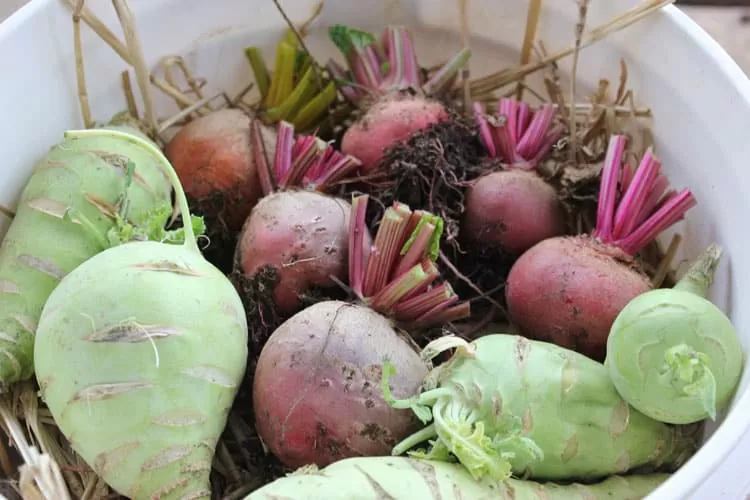
Imagine biting into a crisp, homegrown carrot in the middle of winter, its sweetness a vibrant reminder of summer's bounty. Or perhaps you're whipping up a batch of hearty stew, the aroma of garden-fresh potatoes and onions filling your kitchen on a cold, blustery day. This isn't just a dream; it's the reality a root cellar can bring to your homestead. For generations, root cellars have been a cornerstone of self-sufficiency, offering a simple, effective, and electricity-free way to preserve the fruits (and vegetables!) of your labor.
I remember my grandmother's root cellar. It was a cool, earthy space filled with the scent of damp soil and ripening apples. As a child, venturing down those steps felt like entering a magical world of preserved goodness. More than just a storage space, it was a symbol of her independence and resourcefulness, a way to provide for her family year-round, no matter the weather. Today, that spirit of self-reliance is more important than ever. By building your own budget-friendly root cellar, you can dramatically reduce food waste, save money on groceries, increase your food security, and embrace a more sustainable way of life. So, let’s get started!
Planning & Preparation: Laying the Groundwork for Success
Before you grab your shovel, careful planning is essential. Here's how to assess your homestead and gather the necessary materials for your DIY root cellar.
1. Location, Location, Location: The ideal spot for your earth-sheltered root cellar is one that offers natural cooling and consistent moisture.
- Drainage: This is paramount. Choose a location with well-draining soil to prevent flooding. Avoid low-lying areas where water tends to accumulate.
- Shade: A north-facing slope or a spot shaded by trees is ideal, as it minimizes sun exposure and helps keep the cellar cool.
- Proximity: Consider how easily you can access the root cellar from your garden and house, especially during inclement weather.
- Soil Type: While our design is adaptable, avoid areas with extremely rocky or sandy soil.
2. Materials & Tools: We're aiming for a budget of under $200, so let's focus on readily available and affordable options.
- Lumber: Untreated lumber is best for the frame to avoid contaminating the soil. Reclaimed lumber can significantly reduce costs.
- Gravel: For drainage at the base of the cellar.
- Plastic Sheeting: Heavy-duty plastic to create a moisture barrier. Repurposed billboard vinyl is an excellent, durable, and often free option.
- Straw Bales or Insulation: For insulating the roof and walls. Straw bales are a natural and cost-effective choice.
- Ventilation Pipe: PVC pipe will work.
- Door: A solid wood door (reclaimed is ideal) to seal the entrance.
- Fasteners: Screws, nails, etc.
- Tools: Shovel, pickaxe (if needed), saw, drill, measuring tape, level, hammer.
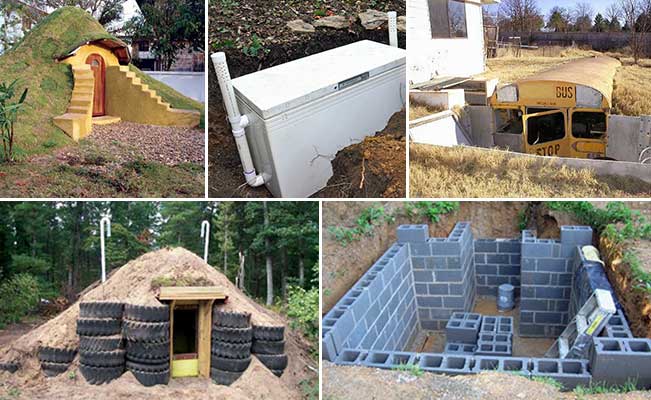
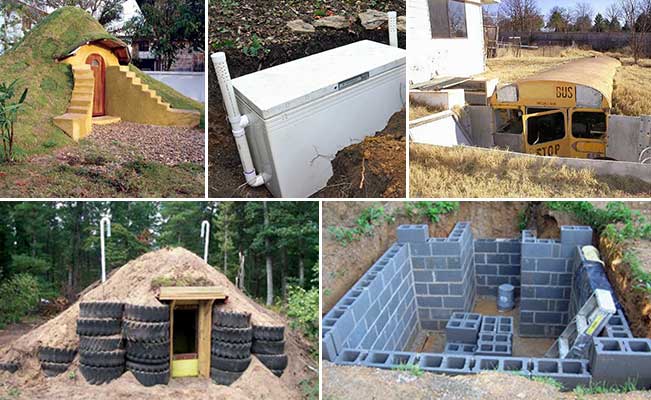
3. Dimensions: Our simple earth-sheltered root cellar will be approximately 4'x4'x6' (internal dimensions). This size is manageable for a backyard garden harvest and relatively easy to construct. Remember to adjust these dimensions to suit your needs and the space available on your homestead.
Step-by-Step Construction Guide: Building Your Underground Oasis
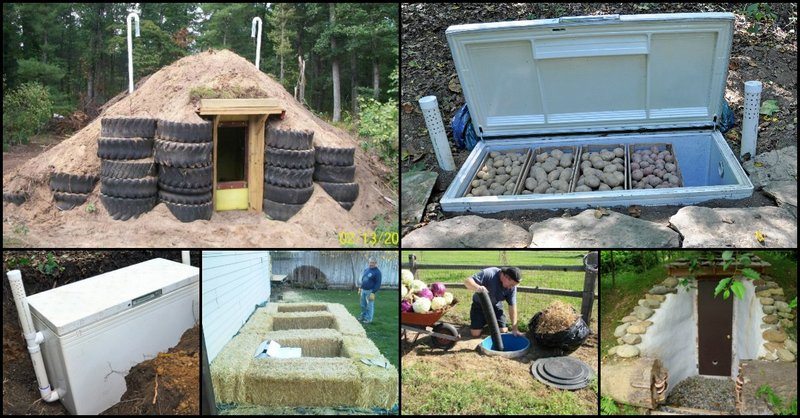
Follow these detailed instructions, complete with photos, to construct your budget-friendly root cellar.
Step 1: Excavation.
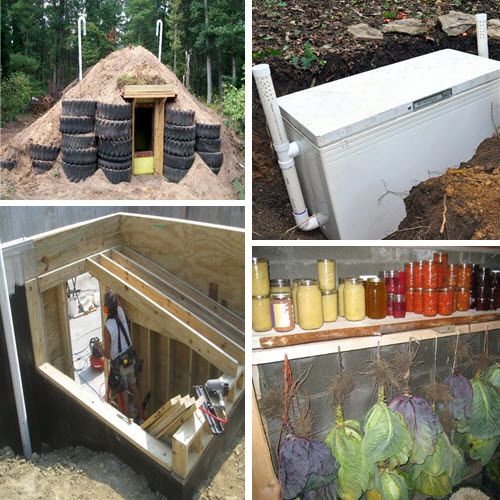
Dig a hole slightly larger than your desired dimensions (approximately 5'x5'x7'). Ensure the sides are as straight as possible. This is where your shovel and pickaxe will get a workout!
Step 2: Drainage.
Lay a 6-inch layer of gravel at the bottom of the excavation to provide excellent drainage. This will help prevent moisture buildup inside the root cellar.
Step 3: Framing.
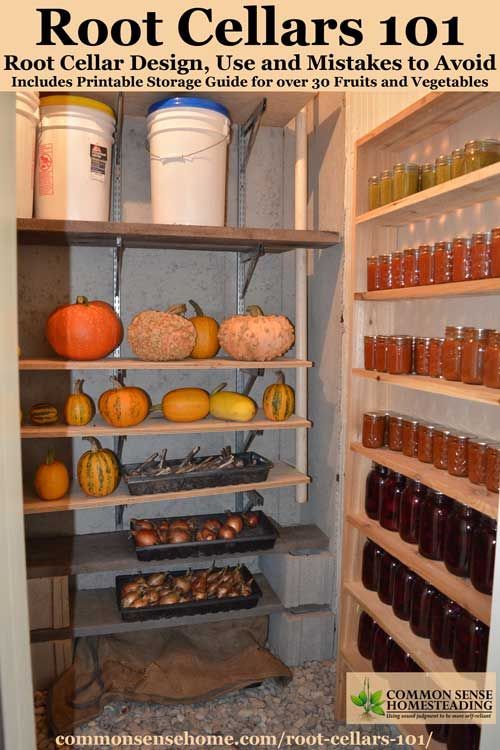
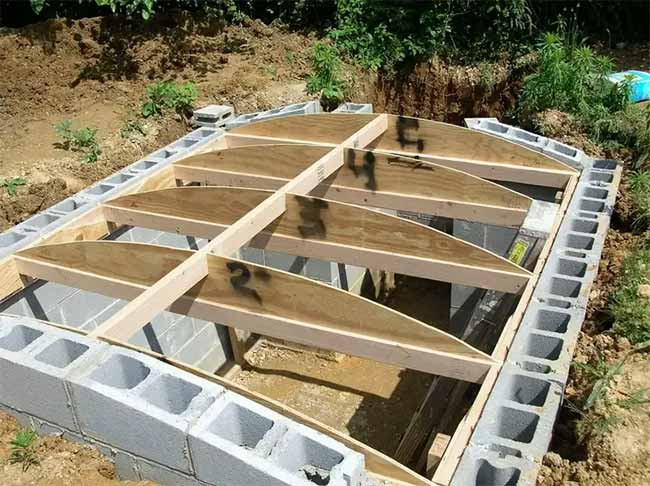
Construct a simple rectangular frame using your lumber. Ensure the frame is sturdy and level. This frame will support the roof and walls of your root cellar. You want to build it to a size of 4x4x6 feet.
Step 4: Moisture Barrier.
Line the inside of the excavation and the outside of the wooden frame with heavy-duty plastic sheeting, overlapping the seams to create a watertight seal. This is crucial for preventing moisture from seeping into the root cellar.
Step 5: Install the Frame.
Place the frame inside the plastic lining in the hole.
Step 6: Roofing.
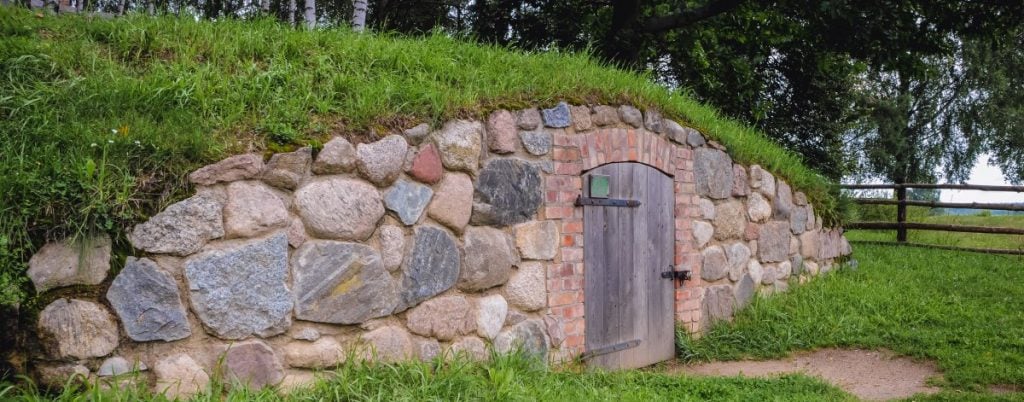
Construct a sturdy roof frame using lumber, ensuring it slopes slightly to allow for water runoff. Cover the roof frame with plastic sheeting, followed by a thick layer of straw bales or other insulation material. The roof is the most vulnerable area for heat gain, so adequate insulation is essential.
Step 7: Ventilation.
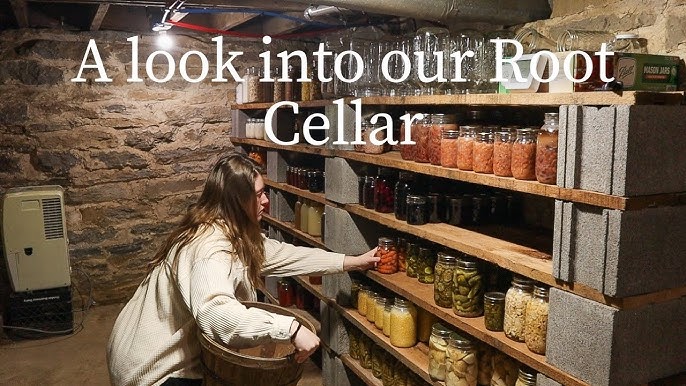
Install a ventilation pipe that extends from the inside of the root cellar to the outside, ensuring it's positioned high enough to prevent water from entering. Proper ventilation is essential for maintaining the correct temperature and humidity levels.
Step 8: Backfilling.
Carefully backfill the excavation around the frame, compacting the soil as you go. Ensure the soil is evenly distributed and supports the walls of the root cellar.
Step 9: Installing the Door.
Install a solid wood door to seal the entrance. Ensure the door fits snugly and is weather-stripped to prevent drafts.
Step 10: Final Touches.
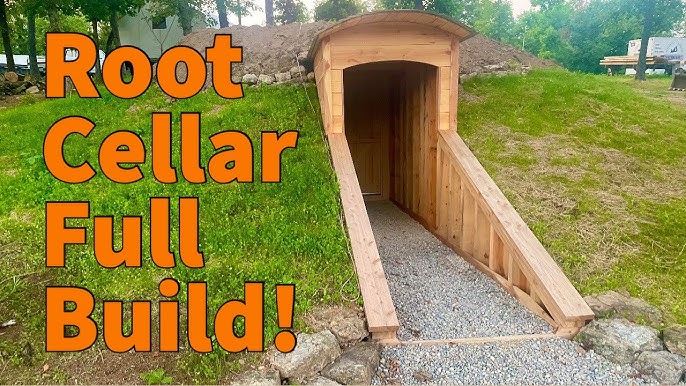
Add a layer of soil over the roof to further insulate the root cellar and blend it into the surrounding landscape. Consider planting grass or other vegetation on the roof to help regulate temperature and moisture.
Troubleshooting & Tips: Overcoming Challenges and Optimizing Performance
- Drainage Issues: If you notice water accumulating inside the root cellar, consider adding additional drainage around the perimeter.
- Insulation: Monitor the temperature inside the root cellar. If it's too warm, add more insulation to the roof and walls.
- Ventilation: Adjust the ventilation pipe to regulate temperature and humidity. You may need to experiment to find the optimal setting for your climate.
- Pest Control: Regularly inspect the root cellar for signs of pests. Use natural pest control methods, such as diatomaceous earth, to keep unwanted visitors at bay. Store food off the floor to avoid rodent damage.
- Long-Term Maintenance: Inspect the root cellar regularly for signs of damage or deterioration. Repair any cracks or leaks promptly to prevent further problems.
What to Store & How: Maximizing Your Harvest's Longevity
Not all vegetables and fruits are created equal when it comes to root cellar storage. Here's a guide to which produce thrives in a root cellar and how to prepare them for long-term storage.
| Produce | Preparation | Storage Time |
|---|---|---|
| Potatoes | Cure for 1-2 weeks in a dark, well-ventilated area. Brush off excess soil. | 4-6 months |
| Carrots | Cut off the green tops. Store in damp sand or sawdust. | 4-6 months |
| Onions | Cure for 2-3 weeks in a dry, well-ventilated area. Braid or tie together. | 6-8 months |
| Apples | Select sound, unbruised fruit. Wrap individually in newspaper. | 2-4 months |
| Cabbage | Pull up with roots intact. Hang upside down or store in damp sand. | 2-3 months |
| Beets | Cut off the green tops. Store in damp sand or sawdust. | 4-6 months |
- Temperature and Humidity: Aim for a temperature between 32-40°F (0-4°C) and a humidity level of 85-95%.
- Air Circulation: Ensure good air circulation to prevent mold and spoilage.
- Regular Inspection: Check your stored produce regularly and remove any items that show signs of decay.
Call to Action: Share Your Root Cellar Journey!
Building a root cellar is a rewarding and empowering experience. We encourage you to embark on this project and share your own experiences and tips in the comments section below. What challenges did you encounter? What creative solutions did you find? What are your favorite vegetables to store in your root cellar?
Don't forget to share this post on social media using the hashtag #BHHRootCellar and inspire others to embrace the benefits of sustainable food storage. For more information on preserving food, building compost, and gardening techniques, visit the "Better Homes and Harvests" website at [insert link to relevant resources here]. Let's build a more resilient and self-sufficient future, one root cellar at a time!
