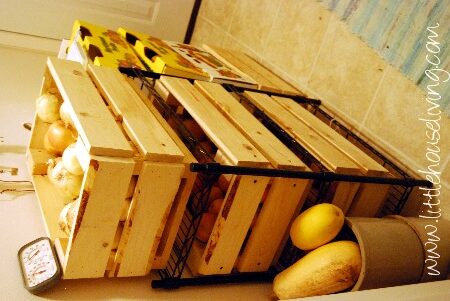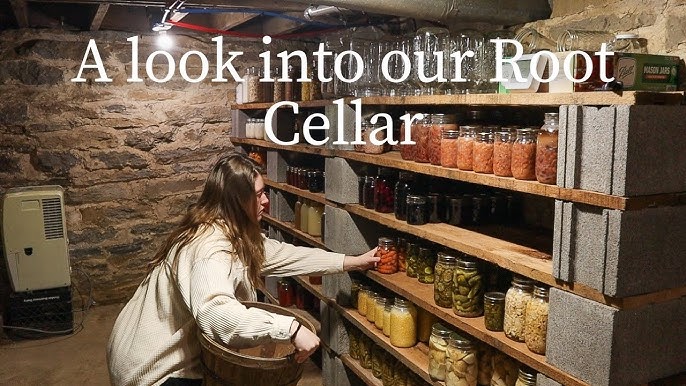
Transform Your Homestead: Build a Budget-Friendly Root Cellar for Year-Round Fresh Food
Better Homes and Harvests readers, are you ready to level up your self-sufficiency game? Imagine biting into a crisp, homegrown apple in the dead of winter, or whipping up a hearty stew with potatoes you harvested months ago. It's not a pipe dream! Today, we're diving into a project that promises to extend your garden's bounty well into the winter months: building a simple, affordable root cellar. We're not talking about a massive, professionally built structure; this is a DIY project accessible to homesteaders of all skill levels, requiring minimal tools and materials. Get ready to ditch those expensive grocery store runs and embrace the satisfaction of year-round, homegrown goodness!
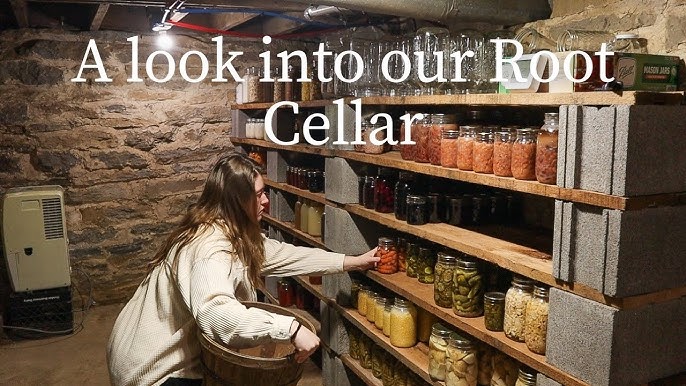
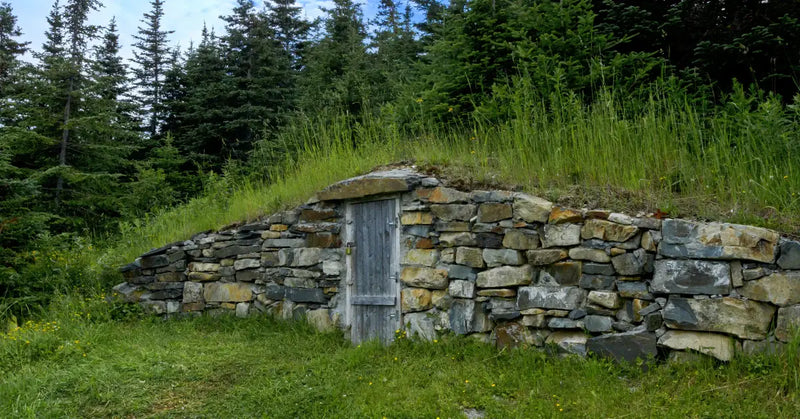
We'll walk you, step-by-step, through building a partially buried root cellar, perfect for small to medium-sized homesteads. This design prioritizes affordability and ease of construction, using readily available materials like cinder blocks, reclaimed lumber, and a simple earthen ramp. It’s an excellent project that adds real value to any homestead seeking budget root cellar solutions.
Step 1: Planning & Site Selection: The Foundation of Your Root Cellar
Choosing the right location is crucial for a successful root cellar. Here's what to consider:
Sun Exposure: Ideally, you want a location with minimal direct sunlight, especially during the hottest part of the day. North-facing slopes or areas shaded by trees are excellent choices. Excessive sunlight will raise the temperature inside the cellar, defeating its purpose.
Drainage: Water is the enemy of stored produce. Avoid low-lying areas prone to flooding or water accumulation. The soil should drain well to prevent moisture buildup, which can lead to rot and mold. Consider the natural drainage patterns of your land.
Proximity to the House: While not essential, having the root cellar relatively close to your house makes accessing your stored food more convenient, especially during inclement weather. Think about how often you'll be using it and whether you want to trek a long distance in the snow.
Soil Type: While you can work with most soil types, well-draining soil is preferable. Avoid heavy clay soils that retain too much moisture. If you have clay soil, consider amending it with organic matter to improve drainage.
What Crops You Plan to Store: Think about the specific vegetables and fruits you plan to store most frequently. Different crops have different temperature and humidity requirements. For example, potatoes prefer cool, humid conditions, while apples prefer cool, drier conditions. This will influence your ventilation and humidity control strategies.
Accessibility: Consider how easily you'll be able to move bulky items like crates of potatoes or bins of apples in and out of the root cellar. A gently sloping ramp is preferable to steep steps.
Step 2: Gathering Your Materials: Resourcefulness is Key
Building a root cellar doesn't have to break the bank. Here's a list of materials with approximate costs, keeping in mind that you can significantly reduce expenses by using salvaged or reclaimed materials:
- Cinder Blocks: (Approximately $1.50 - $3 per block) These will form the walls of your root cellar. Check with local construction sites or online marketplaces for used blocks.
- Reclaimed Lumber: (Variable cost, potentially free) Use reclaimed wood for the roof structure, door, and shelving. Look for old pallets, barn wood, or lumber from deconstruction projects.
- Gravel: (Approximately $50 - $100 per cubic yard) Gravel provides drainage around the foundation and helps regulate humidity.
- Plastic Sheeting: (Approximately $20 - $50) Heavy-duty plastic sheeting acts as a moisture barrier between the soil and the root cellar walls.
- Insulation: (Variable cost, depending on the material) Rigid foam insulation or straw bales can help insulate the roof and walls.
- Ventilation Pipes: (Approximately $10 - $30 per pipe) PVC pipes or metal ducts will provide ventilation.
- Door Hardware: (Approximately $10 - $30) Hinges, latches, and handles for the door.
- Tools: Shovel, wheelbarrow, level, measuring tape, circular saw (if using lumber), drill, hammer. You likely already have many of these.
- Thermometer/Hygrometer: (Approximately $10 - $20) To monitor temperature and humidity levels.
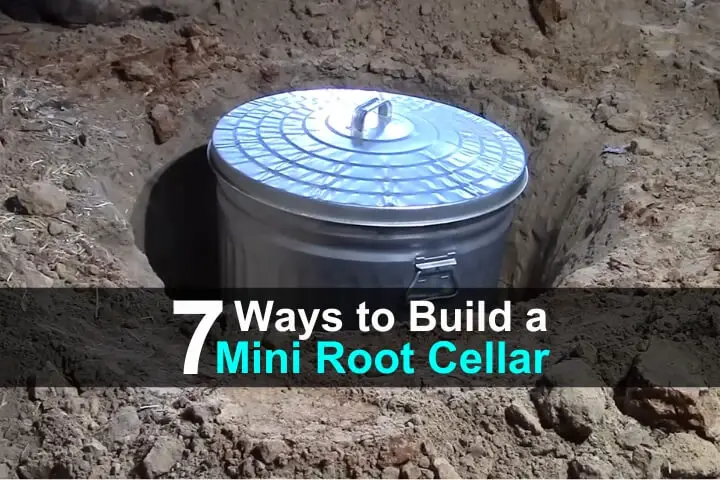
Emphasize Resourcefulness: Don't be afraid to get creative! Check with local construction sites for discarded materials, browse online marketplaces for used items, and ask friends and neighbors for any unwanted lumber or building supplies. The more resourceful you are, the more you'll save.
Step 3: Construction: Building Your Root Cellar, Step-by-Step
Here's a breakdown of the construction process, with visuals to guide you:
Excavation: Dig a rectangular pit to the desired depth. A partially buried root cellar typically extends 3-4 feet below ground level. The dimensions will depend on your storage needs. Ensure the walls of the pit are stable.
Foundation: Lay a bed of gravel at the bottom of the pit to provide drainage. This layer should be at least 6 inches thick.
Wall Construction: Stack the cinder blocks to form the walls of the root cellar. Use mortar to bind the blocks together, ensuring they are level and plumb. Leave gaps between some blocks near the base for ventilation (these will be covered with mesh later to prevent rodent entry).
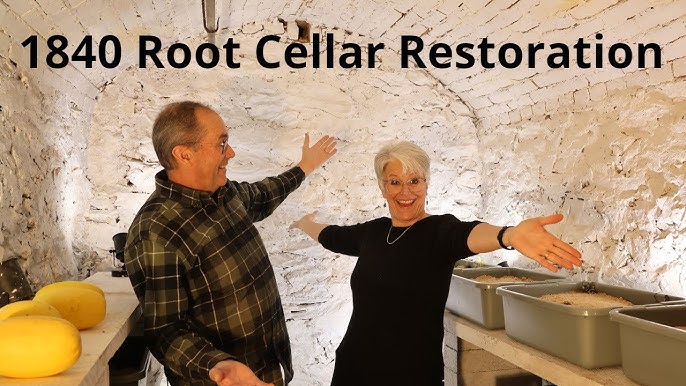
Moisture Barrier: Line the inside of the cinder block walls with heavy-duty plastic sheeting to prevent moisture from seeping in. Overlap the seams and secure the sheeting with construction adhesive.
Roof Construction: Build a simple roof structure using reclaimed lumber. The roof should be slightly sloped to allow water to run off. Ensure the roof extends beyond the walls of the root cellar to protect them from rain.
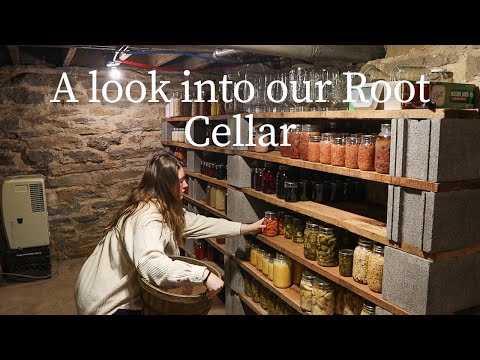
Insulation: Insulate the roof with rigid foam insulation or straw bales. Cover the insulation with another layer of plastic sheeting to protect it from moisture.
Backfilling: Backfill around the outside of the cinder block walls with soil, compacting it as you go. This will provide insulation and stability.
Earthen Ramp: Create a gently sloping earthen ramp leading to the entrance of the root cellar. This will make it easier to move produce in and out.
Door Construction: Build a sturdy door using reclaimed lumber. Insulate the door with rigid foam insulation and weatherstrip it to prevent drafts.
Ventilation: Install ventilation pipes at opposite ends of the root cellar, one near the floor and one near the ceiling. This will allow for natural air circulation.
Common Pitfalls and Troubleshooting Tips:
- Water Accumulation: If you notice water accumulating inside the root cellar, improve drainage by adding more gravel around the foundation or installing a French drain.
- Mold Growth: Mold indicates excessive humidity. Improve ventilation by opening the vents more frequently or adding a dehumidifier.
- Rodent Infestation: Seal any cracks or openings in the walls and roof to prevent rodents from entering. Use mesh to cover the ventilation openings.
Step 4: Ventilation and Temperature Control: Maintaining the Ideal Environment
Proper ventilation is crucial for maintaining the optimal temperature and humidity levels inside your root cellar. Aim for a temperature range of 32-40°F (0-4°C) and a humidity level of 80-90%.
Natural Ventilation: The simplest and most cost-effective method is to use natural ventilation. Install two ventilation pipes, one near the floor and one near the ceiling, on opposite sides of the root cellar. The difference in temperature between the inside and outside air will create a natural airflow.
Adjustable Vents: Use adjustable vents to control the airflow. Open the vents during cool evenings and close them during warm days.
Temperature Monitoring: Use a thermometer to monitor the temperature inside the root cellar. Adjust the ventilation as needed to maintain the desired temperature range.
Humidity Monitoring: Use a hygrometer to monitor the humidity level. If the humidity is too high, increase ventilation. If it's too low, add a bucket of water to the root cellar.
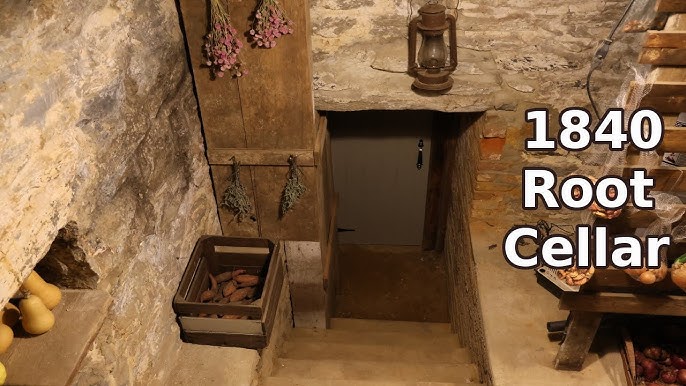
Step 5: Stocking and Maintaining Your Root Cellar: Preserving Your Harvest
Proper preparation and storage techniques are essential for maximizing the longevity of your stored produce.
Harvesting: Harvest your crops at their peak ripeness. Handle them carefully to avoid bruising or damaging them.
Cleaning: Gently brush off any dirt or soil from your vegetables and fruits. Do not wash them, as this can promote rot.
Curing: Cure onions, garlic, and potatoes before storing them. This involves drying them in a warm, well-ventilated place for a week or two to toughen their skins.
Storage Methods: Store different crops in different ways, depending on their specific needs.
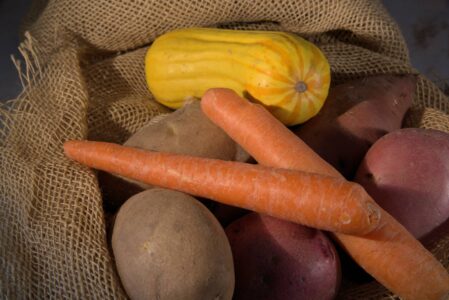
- Potatoes: Store in burlap sacks or wooden crates in a dark, humid location.
- Apples: Store in single layers in wooden crates in a cool, slightly drier location.
- Carrots and Beets: Store in boxes of damp sand or sawdust to maintain humidity.
- Onions and Garlic: Hang in mesh bags in a cool, dry location.
Pest Control: Inspect your stored produce regularly for signs of pests or rot. Remove any damaged items immediately to prevent them from affecting the rest of your harvest. Consider using natural pest control methods, such as diatomaceous earth.
Humidity Management: Monitor the humidity level regularly and adjust ventilation as needed. If the air is too dry, add a bucket of water to the root cellar. If it's too humid, increase ventilation.
What are your favorite vegetables to store in a root cellar? Share your experiences in the comments section below!
Call to Action and Optimization
Share your root cellar building journey! Post photos of your progress using #BHHRootCellar on Instagram and Facebook. Connect with other homesteaders and inspire them to create their own DIY food storage solutions.
Conclusion
Building a root cellar is an investment in your homestead's resilience and your family's food security. It's a budget-friendly homestead project that pays dividends throughout the year. With a little effort and ingenuity, you can enjoy fresh, homegrown produce throughout the winter months, reducing your reliance on grocery stores and embracing a more self-sufficient lifestyle. Embrace the challenge, get your hands dirty, and experience the satisfaction of providing for yourself and your loved ones! A well-built root cellar will be a valuable asset for years to come.
