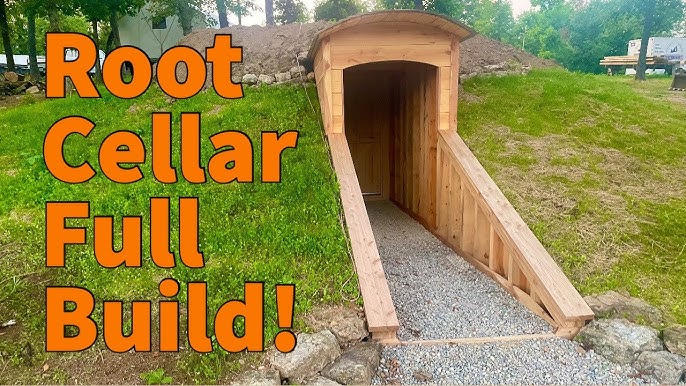
Transform Your Homestead: Build a Budget-Friendly Root Cellar This Weekend!
Welcome, fellow "Better Homes and Harvests" enthusiasts! There's nothing quite like the feeling of biting into a crisp apple or enjoying roasted potatoes in the dead of winter, knowing you grew them yourself. But what happens when the harvest is over? That's where the magic of a root cellar comes in. It's the key to extending your harvest season, slashing your grocery bills, and taking a giant leap towards self-sufficiency. And the best part? You can build one yourself, even on a tight budget!
This week, we're diving into a practical, step-by-step guide to building a small, budget-friendly root cellar. Whether you have a sprawling homestead or a cozy backyard, this project is designed to be achievable, affordable, and add a touch of classic farmhouse charm to your property. Get ready to roll up your sleeves and transform your harvest!
Why Build a Root Cellar?
Before we jump into the how-to, let's quickly recap why you should consider building a root cellar. Aside from the obvious cost savings, a root cellar offers:
- Extended Harvest Season: Enjoy your homegrown produce for months longer.
- Food Preservation Without Electricity: A sustainable way to keep food fresh, reducing your carbon footprint.
- Increased Self-Sufficiency: Take control of your food supply and reduce reliance on grocery stores.
- Reduced Food Waste: Properly stored produce lasts longer, minimizing spoilage.
- A Touch of Homestead Charm: Adds a unique and practical element to your property.
Planning Your Budget-Friendly Root Cellar
This project focuses on a small, partially buried root cellar using readily available and affordable materials. Here's what you need to consider before you start:
1. Location:
- Cool and Shady: North-facing slopes are ideal to minimize sun exposure.
- Good Drainage: Avoid areas prone to flooding.
- Accessibility: Choose a location that's easy to access, even in winter.
- Proximity to Garden: Ideally, locate it near your garden for easy transport of produce.
2. Size:
- Start small! A 6ft x 8ft cellar is a good size for beginners. You can always expand later.
3. Design:
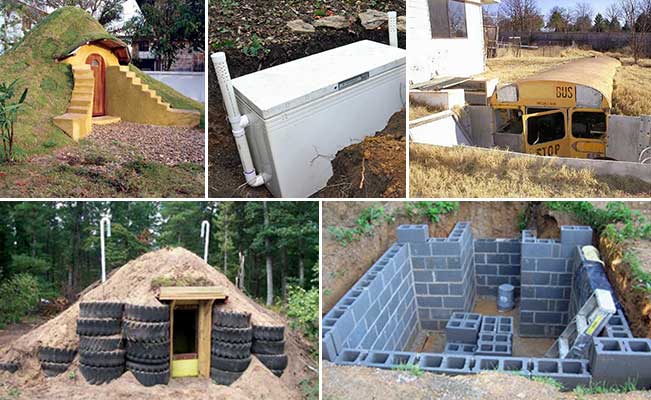
- We'll be building a partially buried structure, using a combination of cinder blocks and reclaimed wood for the roof. This design is relatively easy to construct and provides excellent insulation.
4. Materials:
- We’re going to prioritize affordability and using what you might already have on hand.
Step-by-Step Guide to Building Your Root Cellar
Safety First! Always wear safety glasses, gloves, and appropriate clothing when working with tools and construction materials. Enlist a buddy for help with heavy lifting.
Step 1: Excavation
- Mark out the perimeter of your root cellar (e.g., 6ft x 8ft).
- Excavate the area to a depth of about 3-4 feet. This provides the necessary earth insulation.
- Slope the excavation slightly away from the structure to promote drainage.
Step 2: Foundation
- Lay a gravel base (about 4-6 inches deep) within the excavated area for drainage.
- Construct a foundation using cinder blocks. Level each block carefully as you go.
- Mortar the blocks together for added stability.
Step 3: Walls
- Continue building the walls with cinder blocks, mortaring each layer.
- Leave an opening for the door.
- Ensure the walls are plumb and level.
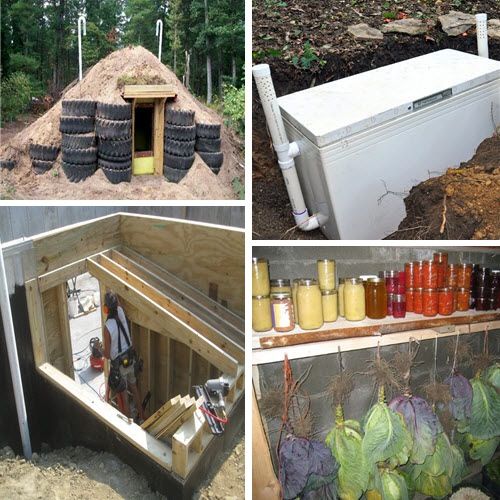
- Consider adding ventilation pipes (4-inch PVC) at the base of the walls for airflow.
Step 4: Roof Construction
- This is where reclaimed wood comes in handy! Gather sturdy beams or planks.
- Construct a frame for the roof, ensuring it's strong enough to support the weight of the earth covering.
- Lay the wood beams across the walls, spacing them evenly.
- Cover the beams with plywood or additional planks to create a solid roof surface.
- Waterproof the roof with a layer of heavy-duty plastic sheeting. Overlap the edges to prevent leaks.
Step 5: Earth Covering
- Cover the roof with a thick layer of earth (at least 1-2 feet). This provides excellent insulation.
- Compact the soil to prevent settling.
- Consider planting grass or other vegetation on the roof to further insulate and blend the root cellar into the landscape.
Step 6: Door Installation
- Build a sturdy door using reclaimed wood.
- Insulate the door with foam board or fiberglass insulation.
- Install the door frame and hang the door securely.
- Weatherstrip the door to prevent drafts.
Step 7: Interior Finishing
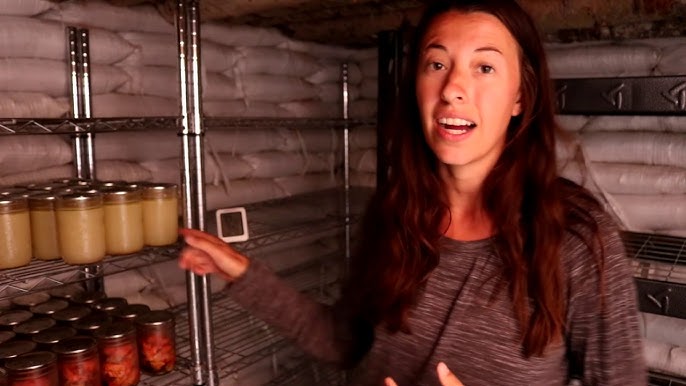
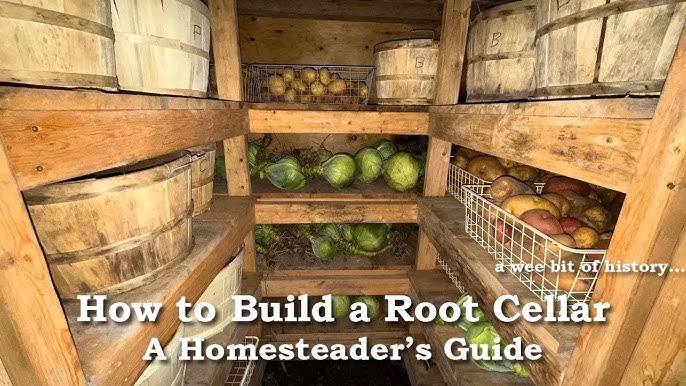
- Build shelves using reclaimed wood or pallets.
- Ensure shelves are sturdy and well-ventilated.
- Consider adding a gravel floor for drainage.
Step 8: Ventilation
- Proper ventilation is crucial to prevent moisture buildup.
- Ensure your ventilation pipes are clear and unobstructed.
- Consider adding a second ventilation pipe near the top of the cellar for cross-ventilation.
Step 9: The Big Reveal!
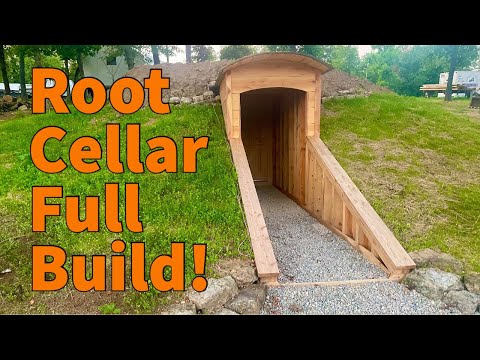
- This is a satisfying step. Post construction picture of root cellar.
Cost Breakdown (Approximate)
- Cinder blocks: $100 - $200 (depending on quantity)
- Reclaimed wood: $0 - $50 (if sourced for free or at low cost)
- Gravel: $50 - $100
- Mortar: $20 - $30
- Plastic sheeting: $30 - $50
- Door hardware: $20 - $40
- Ventilation pipes: $10 - $20
- Total: $230 - $490
Note: These are estimates and can vary depending on material availability and local prices. Scouring online marketplaces and local demolition sites can help drastically reduce costs.
Troubleshooting Tips
- Water Leaks: Ensure proper waterproofing of the roof and adequate drainage around the structure.
- High Humidity: Increase ventilation to reduce moisture buildup.
- Temperature Fluctuations: A thicker layer of earth covering provides better insulation and temperature stability.
- Pests: Seal any cracks or openings to prevent rodents and insects from entering.
Safety Precautions
- Wear safety glasses and gloves when working with tools and materials.
- Use caution when lifting heavy objects. Enlist help when needed.
- Ensure proper ventilation during construction to avoid inhaling dust or fumes.
- Be aware of underground utilities before excavating.
- Properly support the roof structure to prevent collapse.
Inspirational Touches: Personalizing Your Root Cellar
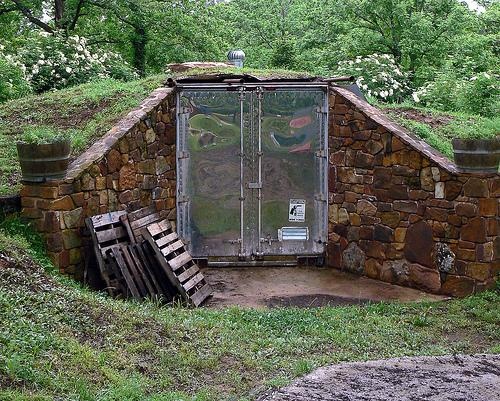
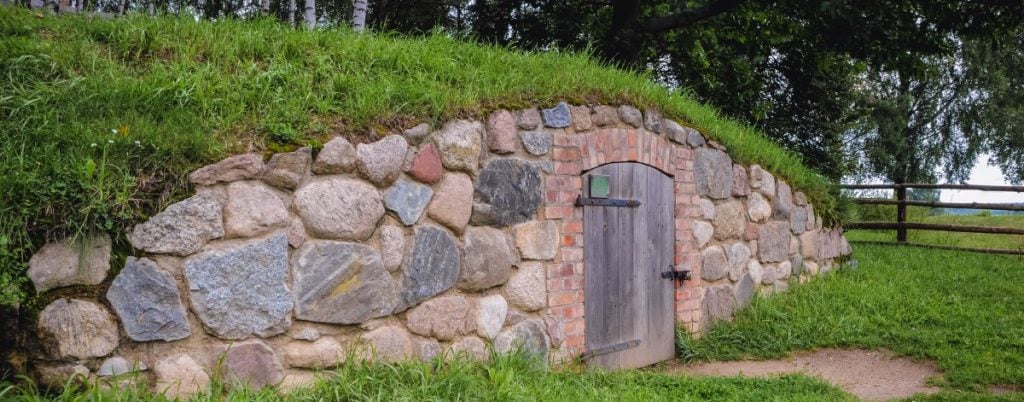
- Stone Facade: Add a stone facade to the entrance for a rustic look.
- Green Roof: Plant herbs or flowers on the roof for added beauty and insulation.
- Decorative Door: Use a reclaimed door with unique hardware.
- Interior Lighting: Install solar-powered lights for visibility.
- Labeling: Clearly label shelves and containers for easy organization.
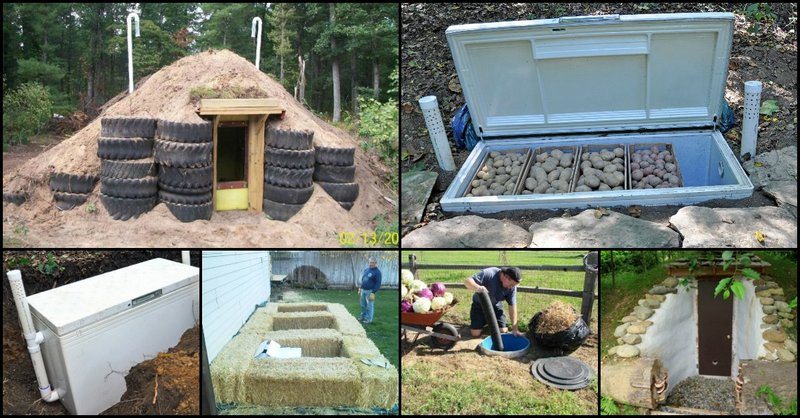
What to Store in Your Root Cellar
The possibilities are endless! Here are a few popular choices:
- Potatoes
- Carrots
- Onions
- Garlic
- Apples
- Beets
- Cabbage
- Winter Squash
Remember to research the specific storage requirements for each type of produce to maximize its shelf life.
Conclusion
Building a budget-friendly root cellar is a rewarding project that can significantly enhance your homesteading lifestyle. By following these steps and utilizing readily available materials, you can create a functional and aesthetically pleasing space for preserving your harvest and enjoying fresh, homegrown produce year-round. Embrace self-sufficiency, reduce food waste, and take control of your food supply – one root cellar at a time!
Now, we want to hear from you! Share photos of your own root cellar projects in the comments section below. What produce are you most excited to store? Let's inspire each other and build a community of resourceful homesteaders!
