Transform Your Homestead: Build a Budget-Friendly Root Cellar for Year-Round Food Security!
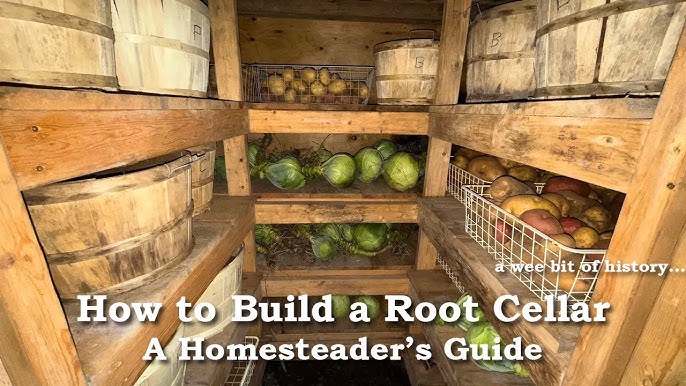
Remember the time last winter when the grocery store shelves were practically bare? The roads were iced over, and even getting to the store felt like a monumental task. That's when the dream of a fully stocked root cellar became a reality for me. Imagine walking into your cool, dark root cellar in the dead of winter and selecting crisp, perfectly preserved carrots, potatoes, and onions – all grown in your own garden or sourced locally! It's not just about having food; it's about food preservation, homesteading, and reclaiming a piece of our self-sufficient heritage. If you're ready to take your homesteading journey to the next level and ensure winter food storage, let's dive into building a DIY root cellar that won’t break the bank!
Why Build a Root Cellar?
A root cellar provides a cool, humid environment ideal for storing fruits and vegetables. This allows you to extend the shelf life of your harvest preservation efforts, reducing waste and saving money. Compared to canning or freezing, root cellaring requires less energy and preserves the natural flavor and nutrients of your food. It's a cornerstone of sustainable living and a vital part of any serious homestead projects. Plus, knowing you have a reserve of homegrown goodness brings incredible peace of mind, adding a tangible layer to your family’s food security.
Planning Your Budget-Friendly Root Cellar
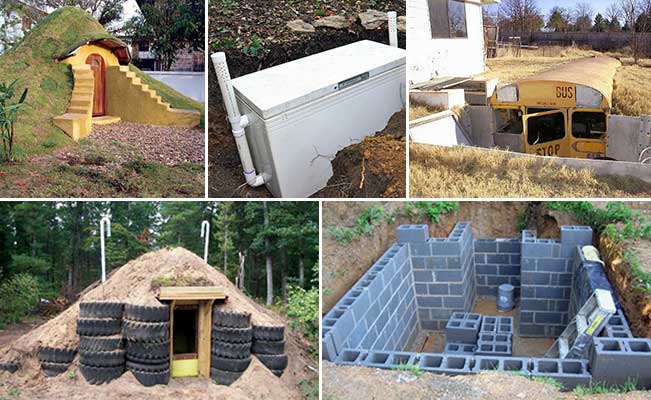
Before you start digging, let's talk about planning. The size and design of your root cellar will depend on your storage needs, available space, and budget. Consider these options:
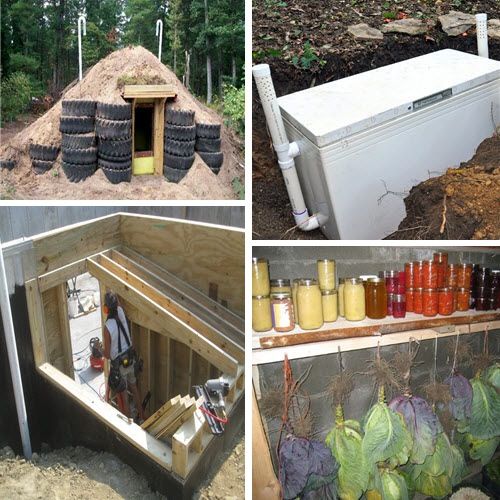
- Pallet Root Cellar: A simple structure built with repurposed shipping pallets.
- Cinder Block Root Cellar: A more durable and permanent option using cinder blocks.
- Underground Garbage Bin Root Cellar: An ingenious solution for small spaces using a large, durable plastic garbage bin.
For this guide, we'll focus on the pallet root cellar due to its affordability and ease of construction. It’s the perfect DIY root cellar for beginners step by step.
Materials List & Budget (Pallet Root Cellar)
This is a truly budget-friendly root cellar approach, heavily relying on repurposing materials. Remember these are estimated costs, and you might even find some materials for free!
- Shipping Pallets (8-10): Free - $5 each (Check local businesses, construction sites, or online marketplaces)
- Lumber (for framing and bracing): $30 - $50 (depending on what you have on hand)
- Hardware (screws, nails, hinges): $15 - $25
- Insulation (straw bales, rigid foam): $20 - $40 (Straw bales are a great natural option.)
- Heavy-Duty Plastic Sheeting (for moisture barrier): $10 - $20
- Gravel (for drainage): $20 - $30
- Topsoil/Clay Soil: Free (from your property, if suitable)
- Door (repurposed or new): $0 - $50 (Check salvage yards or online marketplaces)
- Ventilation Pipe (PVC): $5 - $10
- Thermometer & Hygrometer: $10 - $20
- Optional: Roofing Material (tarps, metal sheets): $20 - $50
Total Estimated Cost: $130 - $300
This makes it a truly cheap root cellar option compared to professional builds.
Step-by-Step Instructions: Building Your Pallet Root Cellar
Safety First: Always wear safety glasses and gloves when working with wood and tools. If you're unfamiliar with power tools, seek guidance from someone experienced. Call 811 before you dig to ensure you don't hit any underground utilities.
Step 1: Site Selection and Preparation
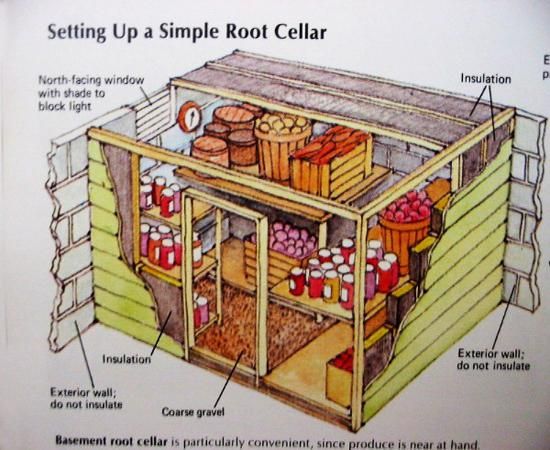
Choose a location that's naturally cool, shaded, and well-drained. A north-facing slope is ideal. Clear the area of vegetation and debris. The ideal root cellar design for small spaces is a simple rectangle.
Step 2: Digging the Hole
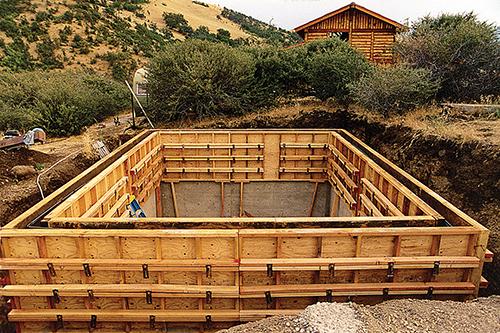
Dig a hole approximately 4 feet deep. The size will depend on the dimensions of your pallets. Ensure the hole is slightly larger than the intended footprint of your root cellar.
Step 3: Drainage Layer
Add a 6-inch layer of gravel to the bottom of the hole for drainage. This is crucial to prevent water from pooling and spoiling your produce. This solves a common root cellar problems and solutions for common issues.
Step 4: Building the Walls
Construct the walls using the shipping pallets. Secure them together using screws and lumber. Make sure the structure is sturdy and square. Reinforce the corners with additional lumber for added stability. This is a key aspect of building a root cellar with recycled materials like pallets.
Step 5: Moisture Barrier
Line the inside of the pallet walls with heavy-duty plastic sheeting to create a moisture barrier. This prevents the wood from rotting and helps maintain the desired humidity level. Overlap the seams and secure the plastic with staples or tape.
Step 6: Insulating the Walls
Insulate the walls with straw bales or rigid foam insulation. Pack the insulation tightly to minimize air gaps. This helps regulate the temperature inside the root cellar. Maintaining root cellar temperature and humidity naturally is crucial.
Step 7: Building the Roof
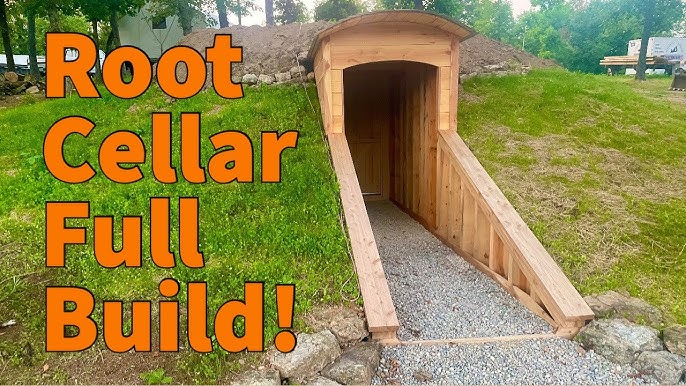
The roof can be constructed using additional pallets or lumber. Angle the roof slightly to allow for water runoff. Cover the roof with plastic sheeting and then a layer of topsoil or clay soil for insulation and weather protection.
Step 8: Installing the Door
Install a repurposed or new door to provide access to the root cellar. Ensure the door seals tightly to prevent drafts and maintain temperature.
Step 9: Ventilation
Install a ventilation pipe (PVC) to allow for air circulation. This helps prevent the buildup of moisture and gases. The pipe should extend above the ground surface.
Step 10: Monitoring Temperature and Humidity
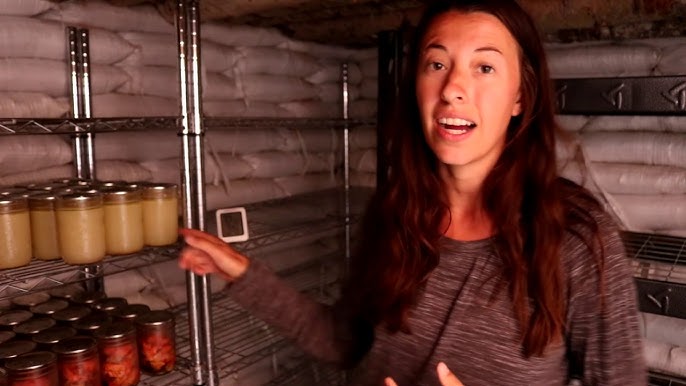
Place a thermometer and hygrometer inside the root cellar to monitor the temperature and humidity levels. The ideal temperature is between 32°F and 40°F, and the humidity should be around 85-95%.
Step 11: Stocking Your Root Cellar
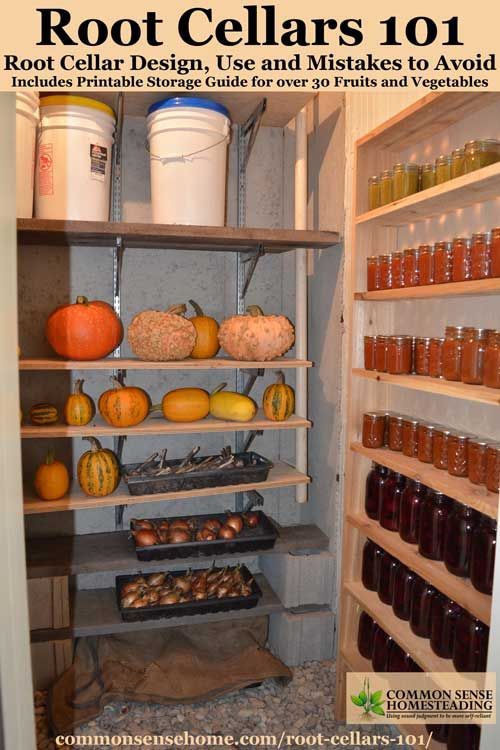
Now for the fun part! Properly prepare your produce for storage. Remove any damaged or bruised items. Store different vegetables in separate containers or areas. Best vegetables for root cellar storage long-term include potatoes, carrots, onions, and apples.
Safety Precautions
- Call Before You Dig: Contact your local utility companies before you start digging to avoid hitting underground lines.
- Proper Ventilation: Ensure adequate ventilation to prevent the buildup of carbon dioxide and other gases.
- Structural Integrity: Build a sturdy structure that can withstand the weight of the soil and snow.
- Moisture Control: Prevent water from entering the root cellar to avoid mold and rot.
- Ladder Safety: Use a sturdy ladder when accessing the root cellar, and always maintain three points of contact.
Troubleshooting Guide
- Drainage Issues: If water is pooling in your root cellar, improve the drainage by adding more gravel or installing a French drain.
- Temperature Regulation: If the temperature is too warm, add more insulation or improve ventilation. If it's too cold, reduce ventilation and add a layer of mulch on top of the soil.
- Humidity Control: If the humidity is too low, add a container of water to the root cellar. If it's too high, improve ventilation.
- Pest Control: Inspect your produce regularly for signs of pests or disease. Remove any affected items immediately.
Alternative Root Cellar Ideas
If pallets aren't your style, don't despair! Here are a couple of other inexpensive root cellar ideas for homesteaders:
- Cinder Block Root Cellar: More labor intensive, but more permanent.
- Underground Garbage Bin Root Cellar: Bury a large, durable plastic garbage bin in the ground for a small-scale solution.
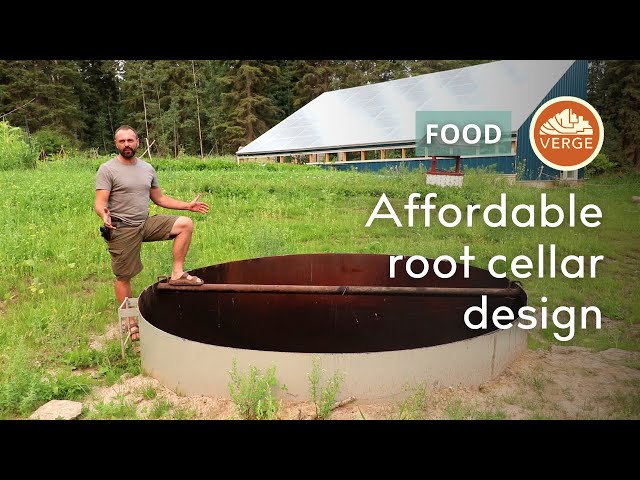
Taking it a Step Further: Shipping Container Root Cellar
For those with a bigger budget and a need for more space, consider a repurposed shipping container root cellar design ideas. These are incredibly durable and secure, but require more planning and excavation.
What to Store in Your Root Cellar
Knowing what vegetables can be stored in a root cellar is key to success. Some popular choices include:
- Potatoes: Store in a dark, humid environment.
- Carrots: Pack in moist sand or sawdust.
- Onions: Hang in mesh bags in a cool, dry place.
- Apples: Wrap individually in newspaper.
- Beets: Store similarly to carrots.
Conclusion: Embrace Food Security with Your Own Root Cellar
Building a DIY root cellar is a rewarding project that can significantly enhance your food security and homesteading lifestyle. By using readily available materials and following these simple steps, you can create a cool, dark sanctuary for your homegrown or locally sourced produce, ensuring a bountiful harvest throughout the winter months. Embrace the satisfaction of self-sufficiency and the peace of mind that comes with knowing you have a well-stocked root cellar. Now that you know how to build a root cellar on a budget, are you ready to get started?
What are your experiences with root cellar storage? Share your tips and questions in the comments below! For more gardening tips and homesteading for beginners guides, check out other articles on Better Homes and Harvests.