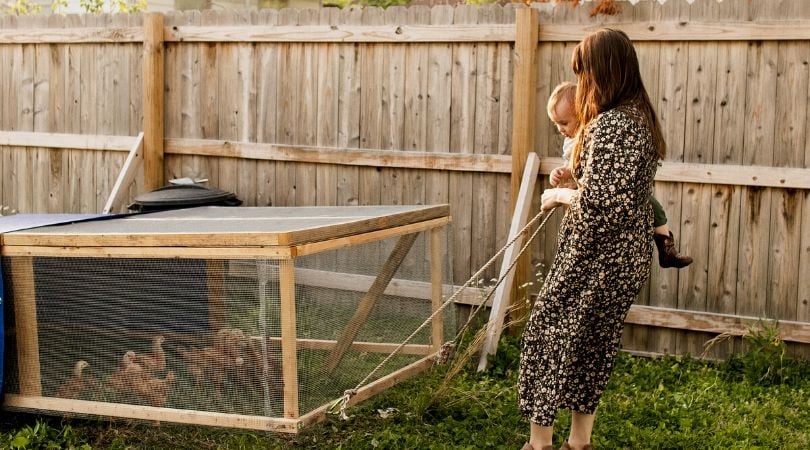
Transform Your Homestead: Build a Budget-Friendly Chicken Tractor for Healthier Hens and Happier You!
Imagine waking up to the cheerful clucking of your own hens, knowing that a breakfast of fresh, golden-yolked eggs awaits. Envision a thriving garden, naturally fertilized and free from destructive pests. This idyllic homesteading dream isn't out of reach! With a DIY chicken tractor, you can provide your chickens with a healthy, enriching environment while simultaneously boosting the fertility and pest control of your garden. And the best part? You can build one yourself on a shoestring budget. This guide will show you how to build a budget chicken tractor for under $150!
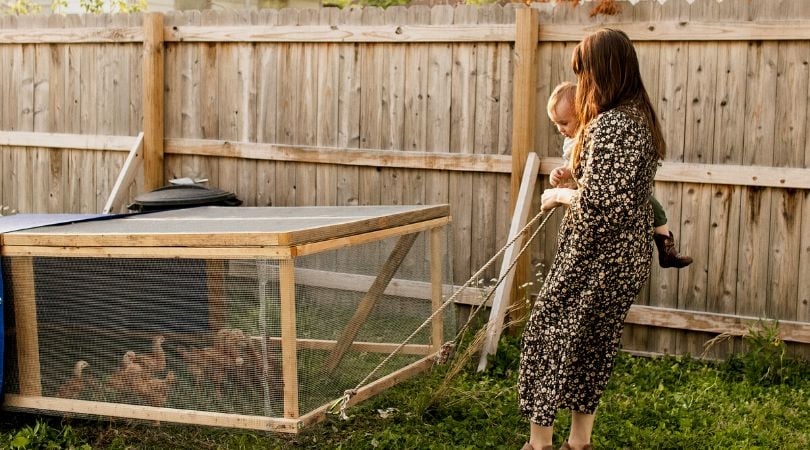
This Better Homes and Harvests project is perfect for beginner homesteaders and those new to keeping backyard chickens. It’s a manageable build that delivers tangible results, connecting you to the land and enhancing your self-sufficiency. Let's get started!
What is a Chicken Tractor and Why Do You Need One?
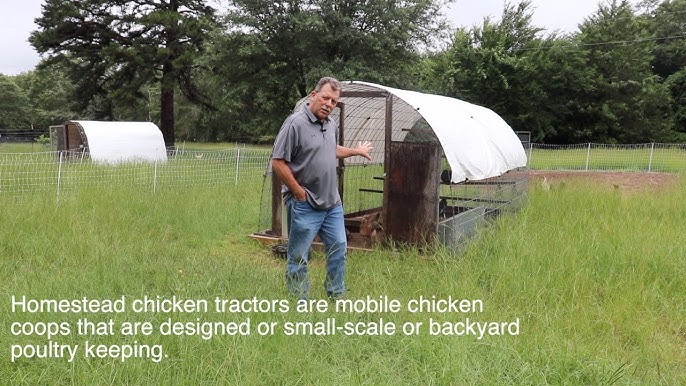
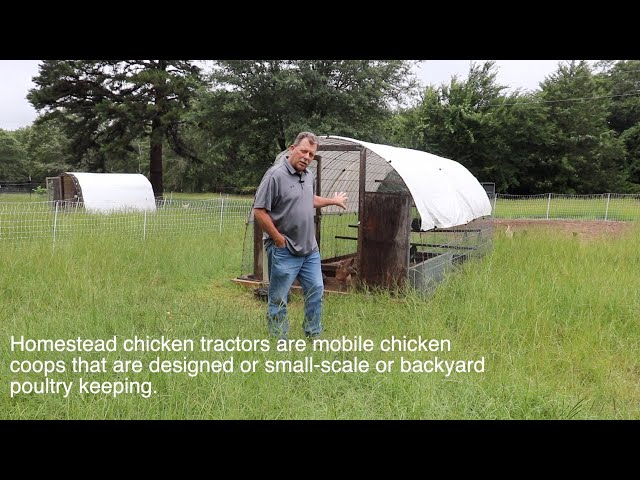
A chicken tractor, also known as a mobile chicken coop, is a portable enclosure for chickens. It’s designed to be moved regularly, allowing your flock to forage on fresh pasture, fertilize the soil, and control pests in different areas of your yard or garden.
Here's why a chicken tractor is a game-changer for your homestead:
- Healthier Chickens: Fresh pasture provides a varied diet, rich in nutrients and reduces the risk of disease associated with stationary coops.
- Natural Pest Control: Chickens are voracious bug eaters! They'll happily devour grubs, slugs, beetles, and other garden pests, reducing the need for harmful chemicals.
- Garden Fertilization: Chicken manure is a fantastic fertilizer. Moving the tractor regularly spreads the manure evenly, enriching the soil with valuable nutrients.
- Reduced Feed Costs: Access to fresh pasture means your chickens will supplement their diet with foraged greens and insects, reducing your reliance on commercial feed.
- Weed Control: Chickens will scratch and peck at weeds, helping to keep your garden beds clean.
Our Beginner-Friendly Chicken Tractor Design
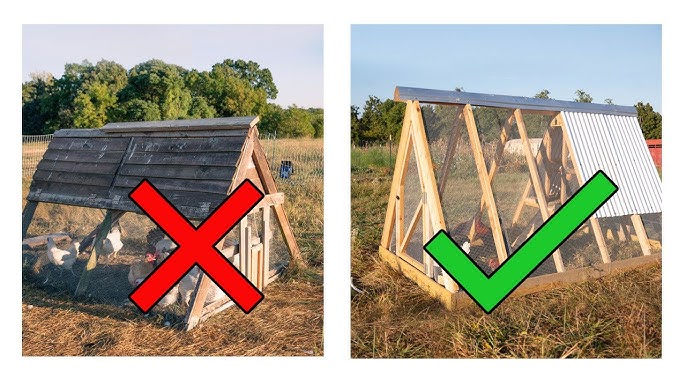
This DIY chicken coop design focuses on simplicity and affordability. It's lightweight enough to be easily moved by one or two people, yet sturdy enough to protect your flock from predators.
Key Features:
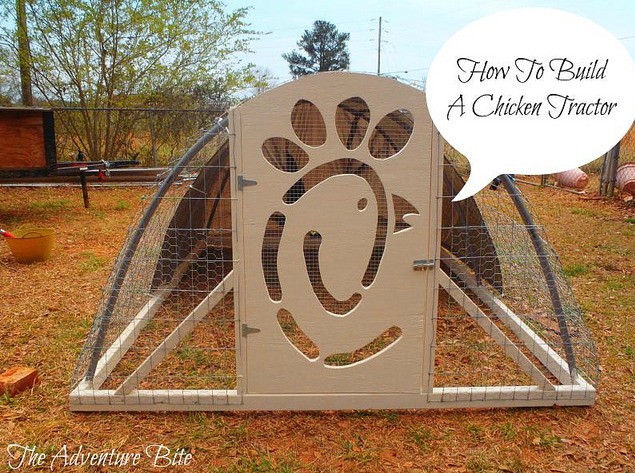
- A-Frame Structure: Provides a sturdy and spacious enclosure.
- Hardware Cloth Walls: Offers excellent ventilation and predator protection.
- Roosting Bar: Gives chickens a comfortable place to perch.
- Wheels (Optional): Makes moving the tractor even easier.
- Secure Door: Allows easy access for cleaning and chicken management.
Step-by-Step Guide to Building Your Chicken Tractor
Here's a detailed, step-by-step guide to building your budget-friendly chicken tractor.
Materials List:
- (6) 2" x 4" x 8' Lumber: Framing
- (1) 4' x 8' Sheet of Plywood (or OSB): For the base and end walls (can often find scraps or damaged pieces at a discount)
- (25') 36" Wide Hardware Cloth: For the sides and roof
- (1 lb) 1 5/8" Exterior Wood Screws: For assembling the frame
- (1 lb) 1/2" Staples or Screws: For attaching the hardware cloth
- (2) Hinges: For the access door
- (1) Latch: For securing the access door
- (2) Wheels (Optional): For easier mobility (can repurpose old lawnmower wheels)
- (4) Eye Bolts (Optional): To attach a rope for pulling
- (2) Snap Hooks (Optional): To attach a rope to the eye bolts
- Exterior Wood Stain or Paint (Optional): To protect the wood
Tools Needed:
- Measuring Tape
- Pencil
- Circular Saw or Hand Saw
- Drill with Drill Bits and Screw Driver bits
- Staple Gun (if using staples for hardware cloth)
- Hammer
- Wire Cutters
- Safety Glasses
- Gloves
Step 1: Cut the Lumber
Using your measuring tape and saw, cut the lumber according to the following dimensions:
- (4) 2" x 4" x 6' : For the A-frame legs
- (2) 2" x 4" x 4' : For the base frame
- (1) 2" x 4" x 4' : For the roosting bar
- (2) 2" x 4" x 2' : For the top brace of the A-frame
Step 2: Assemble the A-Frames
- Take two of the 6' long 2" x 4"s and form an "A" shape. The top ends should meet flush.
- Attach one of the 2' long 2" x 4"s across the top of the "A" to create a secure joint. Use wood screws to secure the connection.
- Repeat this process to create a second A-frame.
Step 3: Build the Base Frame
- Take the (2) 4' long 2" x 4"s and create a rectangular frame. Use wood screws to secure the corners.
Step 4: Attach the A-Frames to the Base
- Position the A-frames on top of the base frame, one at each end.
- Secure the A-frames to the base frame using wood screws. Make sure the A-frames are aligned properly and perpendicular to the base.
Step 5: Cut and Attach the End Walls
- Measure the triangles created by the A-frames. Cut two pieces of plywood to fit these triangles. These will be your end walls.
- Attach the plywood end walls to the A-frames using wood screws. Ensure they are flush with the frame.
Step 6: Install the Roosting Bar
- Attach the 4’ long 2"x4" horizontally between the two A-frames, about 18 inches off the ground. This will serve as the roosting bar. Use wood screws to secure it in place.
Step 7: Attach the Hardware Cloth
- Carefully unroll the hardware cloth and begin attaching it to the frame using staples or screws.
- Start at one end and work your way around, ensuring the hardware cloth is taut and secure. Pay close attention to corners and edges. Overlap the hardware cloth slightly to prevent gaps.
Step 8: Create the Access Door
- Cut an opening in one of the sides of the hardware cloth for the access door. A good size is about 18" wide x 24" high.
- Build a simple frame for the door using scrap lumber. Cover the frame with hardware cloth.
- Attach the door to the opening using hinges and secure it with a latch.
Step 9: Add Wheels (Optional)
- Attach the wheels to one end of the base frame. This will make it easier to move the chicken tractor. You can use bolts and nuts to secure the wheels in place.
- If you are not using wheels, consider attaching eye bolts to one end of the base frame. This will allow you to attach a rope for pulling the tractor.
Step 10: Finishing Touches
- Inspect the entire structure for any sharp edges or loose staples.
- Consider applying exterior wood stain or paint to protect the wood from the elements.

Troubleshooting Tips:
- Wobbly Frame: Ensure all screws are securely fastened. Add additional bracing if needed.
- Gaps in Hardware Cloth: Overlap the hardware cloth and use plenty of staples or screws to prevent chickens from escaping and predators from entering.
- Door Difficult to Open/Close: Adjust the hinges and latch as needed.
Cost Breakdown:
- Lumber: $60
- Plywood: $15 (Scrap price)
- Hardware Cloth: $40
- Screws/Staples: $10
- Hinges/Latch: $10
- Wheels (Repurposed): $0
Total Estimated Cost: $135
Note: Prices may vary depending on your location and the availability of materials.
Tips for Saving Money:
- Repurpose materials: Use salvaged wood, old pallets, or scrap metal whenever possible.
- Shop around for deals: Compare prices at different hardware stores and lumber yards.
- Buy in bulk: If you plan on building multiple chicken tractors, consider buying materials in bulk to save money.
- Use recycled wheels: Old lawnmower wheels or bicycle wheels work great for making the tractor mobile.
Benefits Beyond the Build: A Homesteading Game-Changer
Building a chicken tractor is just the beginning. The real magic happens when you start using it!
- Improved Soil Health: As your chickens till and fertilize the soil, they're improving its structure and nutrient content. This leads to healthier plants and higher yields.
- Pest Control Powerhouse: Say goodbye to harmful pesticides! Your chickens will naturally control pests, protecting your garden and your family.
- Reduced Weeding Time: Chickens love to scratch and peck at weeds, saving you hours of back-breaking work.
- Healthier, Happier Flock: Providing your chickens with fresh pasture and a stimulating environment will result in healthier, happier, and more productive birds.
Scaling and Customizing Your Chicken Tractor
This beginner-friendly design can be easily scaled up or down to fit your specific needs.
- Larger Flock: Increase the dimensions of the tractor to provide more space for your chickens.
- Smaller Garden: Build a smaller, more compact chicken tractor for targeted pest control and fertilization.
- Integrated Nesting Boxes: Add nesting boxes inside the tractor for easy egg collection.
- Automatic Watering System: Install an automatic watering system to ensure your chickens always have access to fresh water.
Ready to Transform Your Homestead?
Building a chicken tractor is a rewarding and practical project that will benefit your homestead in countless ways. With this beginner-friendly guide, you can build your own budget-friendly chicken tractor for under $150 and start enjoying the benefits of healthier chickens, a thriving garden, and a more sustainable lifestyle. Don't wait! Start building your chicken tractor today and experience the joy of connecting with the land.
Now it's your turn! Share your own chicken tractor builds in the comments below and ask any questions you may have. We love to see what our readers are creating!
Want to learn more about sustainable homesteading practices? Check out these related articles on Better Homes and Harvests:
- Beginner's Guide to Composting for a Thriving Garden
- Natural Pest Control Methods for Your Organic Garden
Remember to adjust the example URLs and titles. Happy building!