Transform Your Homestead: A Step-by-Step Guide to Building a Budget-Friendly Root Cellar
Introduction:
Are you dreaming of a more resilient, self-sufficient homestead? Do you crave the satisfaction of building something with your own two hands? At Better Homes and Harvests, we believe that every DIY project, big or small, brings you closer to that goal. In this post, we'll dive into building a budget-friendly root cellar – a practical, achievable project that will dramatically improve your homestead's sustainability and food security. Imagine the crisp apples and hearty potatoes you'll be enjoying all winter long!
This guide is geared towards beginner to intermediate homesteaders who are comfortable with basic carpentry and construction skills. We'll focus on affordable and sustainable methods, making this project accessible to as many people as possible. Let’s get started!
Body:
Here's a step-by-step guide to building your own budget-friendly root cellar. We'll cover everything from planning and materials to the final touches, with plenty of guidance along the way. Remember to consult local building codes before beginning your project!
Steps:
- Planning and Design:
The first step is careful planning. Consider the following:
- Site Selection: Choose a location that is naturally cool, shaded, and well-drained. A north-facing slope is ideal. Avoid areas prone to flooding or standing water. Proximity to your house is a plus for easy access, but not essential.
- Size: Determine the size based on your family's needs and the amount of produce you plan to store. A small root cellar (e.g., 6ft x 8ft) is often sufficient for a family of four. You can always expand later if needed!
- Climate: Understand your local climate and how it will affect your root cellar's temperature and humidity. Colder climates require better insulation, while humid climates require better ventilation.
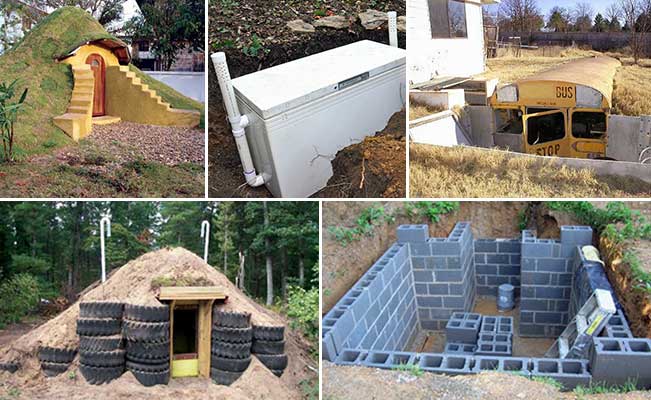
- Type: Decide on the type of root cellar that best suits your needs and resources. Options include:
- Buried: Offers the best temperature control but requires more excavation.
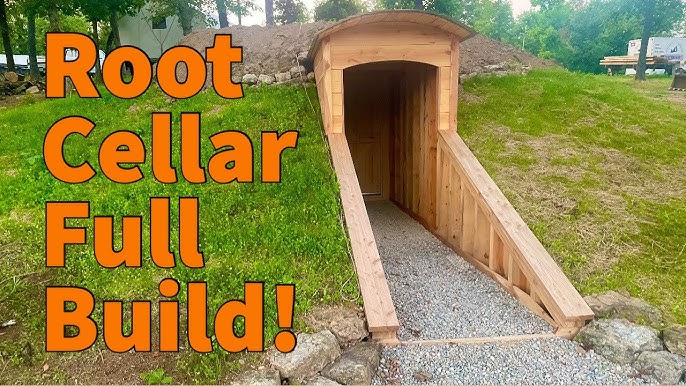
- Semi-Buried: A good compromise between temperature control and ease of construction.
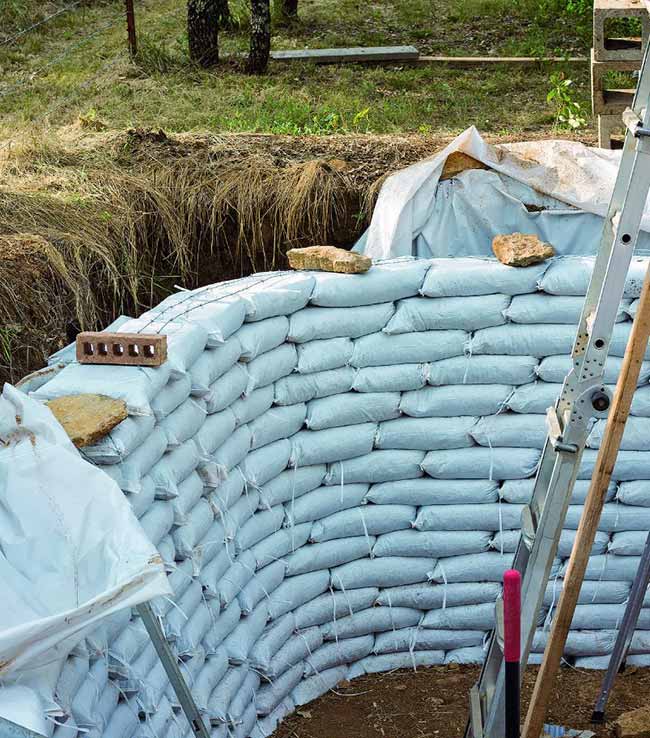
- Above-Ground: Easiest to build, but requires more insulation to maintain a stable temperature. Consider using earthbags or other thermal mass materials.
- Materials List:
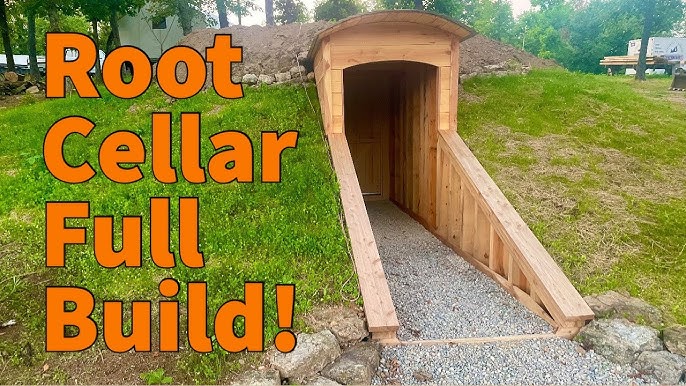
Here's a sample materials list for a small, semi-buried root cellar. Adjust quantities based on your specific design. We'll focus on affordable and sustainable options:
- Framing: Reclaimed lumber (check local salvage yards!), pressure-treated lumber for ground contact.
- Sheathing: Plywood (exterior grade), OSB, or reclaimed wood planks.
- Insulation: Straw bales, recycled denim insulation, or rigid foam insulation (consider reclaimed sources).
- Roofing: Corrugated metal roofing, reclaimed shingles, or a living roof (requires a waterproof membrane).
- Door: Solid core door (reclaimed is ideal) or a custom-built door.
- Ventilation: PVC pipes, hardware cloth (to prevent pests).
- Fasteners: Screws, nails, bolts.
- Gravel: For drainage.
- Concrete Blocks/Bricks (Optional): For foundation.
Estimated Costs: This can vary greatly depending on the materials you choose and whether you use reclaimed materials. Expect to spend anywhere from $500 to $2000.
- Construction:
This is where the fun begins!
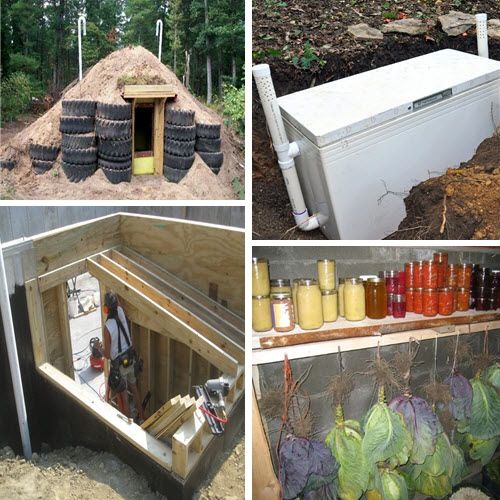
- Step 1: Excavation: Dig the hole for your root cellar. The depth will depend on whether you're building a buried or semi-buried design. Ensure the walls are sloped slightly for stability.
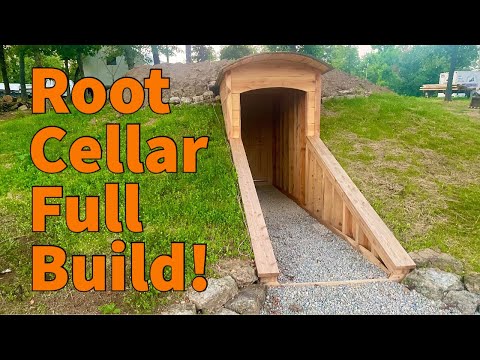
Step 2: Foundation: If using concrete blocks or bricks, lay a level foundation. This will help prevent the structure from settling. A gravel base can also provide a stable foundation.
Step 3: Framing: Build the frame of your root cellar using your chosen lumber. Ensure the frame is sturdy and square. Use pressure-treated lumber for any wood that will be in contact with the ground.
Step 4: Sheathing: Attach sheathing to the exterior of the frame. Overlap the sheathing to prevent water from entering.
Step 5: Insulation: Insulate the walls and roof of your root cellar. Straw bales are a cheap and effective option. Recycled denim insulation is another good choice.
Step 6: Roofing: Install the roofing material. Ensure the roof is watertight to prevent leaks. A living roof provides excellent insulation and drainage, but requires more planning and maintenance.
Step 7: Door Installation: Install the door and ensure it seals tightly. Weatherstripping can help prevent drafts.
Step 8: Ventilation: Install ventilation pipes to allow for airflow. One pipe should be near the floor and another near the ceiling. Cover the ends with hardware cloth to keep out pests.
Safety Tip: Always wear safety glasses and gloves when working with power tools and construction materials. Have a first-aid kit readily available.
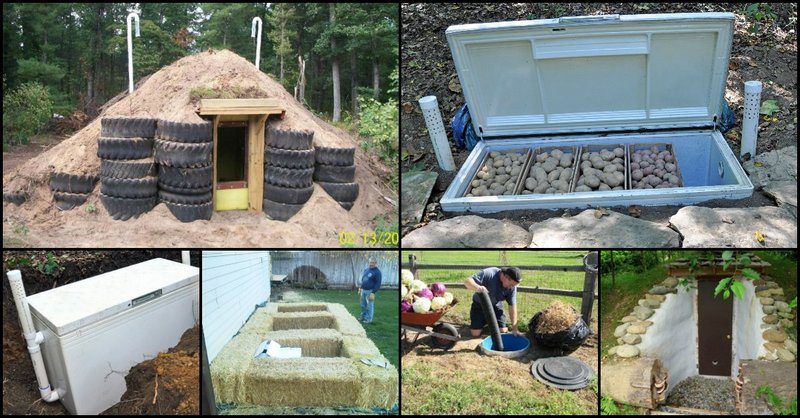
- Finishing Touches:
- Sealing: Seal any cracks or gaps in the walls and roof to prevent water from entering.
- Ventilation: Monitor the temperature and humidity inside the root cellar. Adjust the ventilation as needed to maintain optimal conditions (around 32-40°F and 85-95% humidity).
- Shelving: Install shelving to store your produce. Use wooden shelves or wire racks.
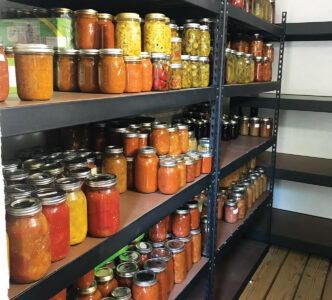
- Long-Term Maintenance: Regularly inspect the root cellar for signs of moisture, mold, or pests. Repair any damage promptly.
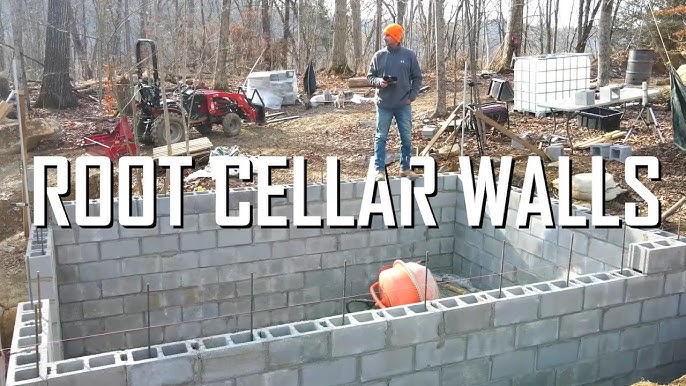
Tips and Troubleshooting:
- Rain Mid-Project: Cover the excavation site with a tarp to prevent it from filling with water. Allow the area to dry thoroughly before continuing construction.
- Beginner Mistakes: Common mistakes include poor site selection, inadequate ventilation, and insufficient insulation. Pay close attention to these areas during planning and construction.
- Pest Control: Seal any cracks or gaps to prevent rodents and insects from entering. Use traps or natural repellents if necessary.
- Humidity Control: If the root cellar is too humid, increase ventilation. If it's too dry, place a container of water inside to increase humidity.
- Temperature Control: Insulate the walls and roof to maintain a stable temperature. In colder climates, consider adding a small heater to prevent freezing.
Benefits:
Building a budget-friendly root cellar offers numerous benefits for your homestead:
- Increased Food Security: Store your harvest for months, reducing your reliance on grocery store produce.
- Cost Savings: Save money on groceries by preserving your own food.
- Improved Nutrition: Enjoy fresh, healthy produce year-round.
- Reduced Food Waste: Prevent spoilage by storing your produce properly.
- Extended Growing Season: Store crops harvested late in the season for enjoyment during the winter months.
- Sustainability: Reduce your carbon footprint by storing food locally and reducing your reliance on commercially produced and transported food.
Studies show that a well-maintained root cellar can extend the shelf life of many vegetables by several months, reducing your reliance on grocery store produce by as much as 50% during the winter months.
Conclusion:
Building a budget-friendly root cellar is an investment in your homestead's future and your family's well-being. It's a project that combines practicality, sustainability, and self-sufficiency. We hope this guide has inspired you to take on this rewarding challenge. Remember to share your progress and photos in the comments below!
SEO Keywords: Root cellar, homesteading, DIY, self-sufficiency, food storage, sustainable living, passive cooling, affordable construction, root cellar design, root cellar plans.
Call to Action:
- What are your favorite homesteading projects? Share your ideas and experiences in the comments below!
- Want more homesteading tips and tricks? Subscribe to our newsletter for exclusive content!
- Check out our online store for high-quality canning jars and gardening tools.