Transform Your Homestead: A Step-by-Step Guide to a DIY Rain Barrel Irrigation System
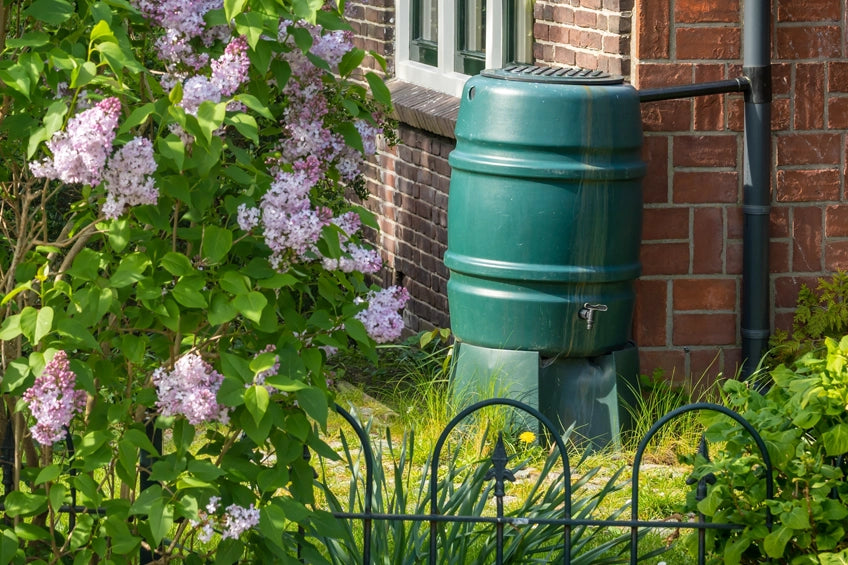
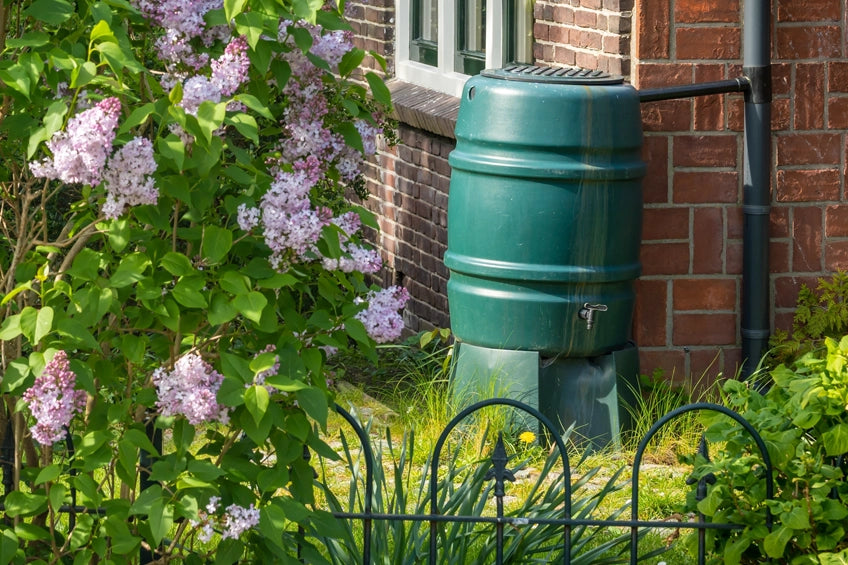
Here at Better Homes and Harvests, we're passionate about empowering homesteaders to embrace self-sufficiency. And what’s more self-sufficient than harnessing the natural power of rainwater to nourish your garden? For years, I struggled with fluctuating water bills and the nagging feeling that I was wasting precious resources whenever I turned on the sprinkler. Our well water is also high in mineral content, which some of our plants really didn't love. That's when I decided to build a rain barrel system. The benefits have been incredible. My water bill is significantly lower, my plants thrive on the naturally soft rainwater, and I feel a sense of satisfaction knowing I'm conserving water and reducing my environmental impact. And the best part? It’s a surprisingly simple and affordable project!
Ready to ditch the dependency on municipal water and embrace a more sustainable approach to gardening? This comprehensive guide will walk you through building your own inexpensive, DIY rain barrel system using readily available and recycled materials. Let's get started!
Step 1: Planning and Preparation: Location, Location, Location!
Before you start assembling your rain barrel, careful planning is essential. This step determines the efficiency and longevity of your system.
Considerations:
- Rainfall: Research average rainfall in your area. This will help you determine the optimal size and number of rain barrels.
- Garden Size: Estimate the water needs of your garden to determine the capacity you’ll require.
- Downspout Location: Choose a downspout that receives significant runoff from your roof.
- Accessibility: Position your rain barrel close to your garden for easy access with a watering can or hose.
- Foundation: Ensure a solid, level foundation for your rain barrel to prevent tipping. A concrete block, gravel pad, or wooden platform will work well.
- Overflow: Plan for overflow. Direct excess water away from your home’s foundation to prevent water damage.
Materials & Tools:
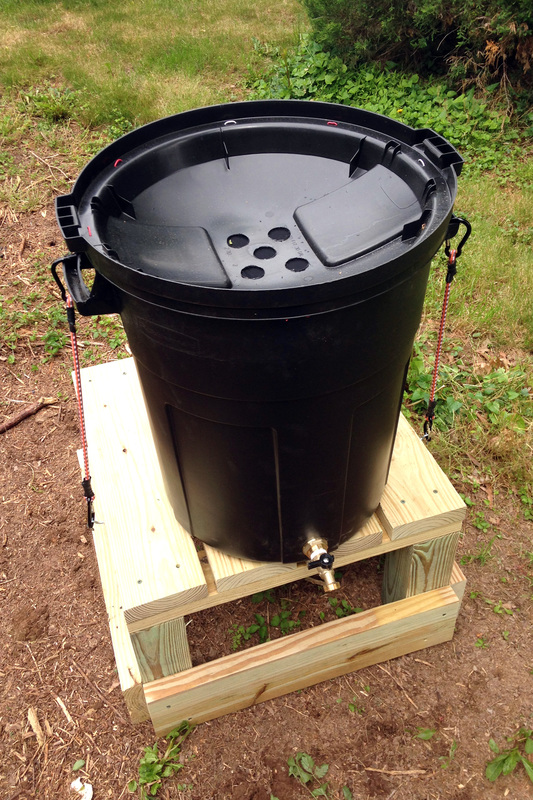
- Rain Barrel Container: A food-grade barrel (55-gallon is a common size) or a large, sturdy trash can with a lid is ideal. Check local breweries, food processing plants, or online marketplaces like Craigslist or Facebook Marketplace for used food-grade barrels.
- Downspout Diverter: Diverts rainwater from your downspout into the barrel.
- Amazon Affiliate Link Example: Downspout Diverter Kit
- Spigot: For dispensing water from the barrel. Choose a durable, corrosion-resistant spigot made of brass or plastic.
- Amazon Affiliate Link Example: Brass Spigot
- Bulkhead Fitting: Connects the spigot to the barrel. Ensure it matches the spigot's thread size.
- Screen Mesh: To prevent debris and insects from entering the barrel.
- Drill with Hole Saw Attachment: For creating holes for the spigot and overflow.
- Measuring Tape: For accurate measurements.
- Level: To ensure a level foundation.
- PVC Pipe and Fittings (Optional): For extending the overflow to a desired location.
- Teflon Tape: To seal threaded connections.
- Safety Glasses: Protect your eyes from debris.
- Gloves: Protect your hands.
Step 2: Preparing the Rain Barrel
This stage involves cleaning and modifying the container to make it suitable for rainwater collection.
Steps:
- Cleaning: Thoroughly clean the rain barrel container with soap and water. If using a recycled barrel, ensure it was previously used for food-grade materials and rinse it thoroughly to remove any residue. Safety First: Wear gloves and eye protection when cleaning.
- Drilling the Spigot Hole: Using the hole saw attachment on your drill, create a hole near the bottom of the barrel for the spigot. The size of the hole should match the size of the bulkhead fitting. Safety First: Drill slowly and carefully to avoid cracking the plastic.
- Drilling the Overflow Hole: Drill an overflow hole near the top of the barrel. This will allow excess water to escape when the barrel is full. The size of the overflow hole depends on the size of the PVC pipe you’ll be using for the overflow.
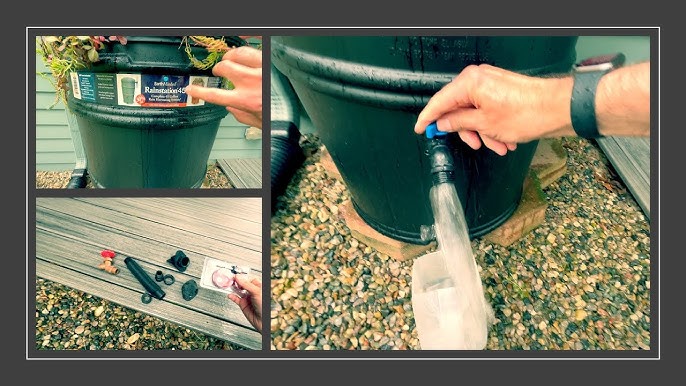
- Installing the Bulkhead Fitting and Spigot: Attach the bulkhead fitting to the spigot, using Teflon tape to seal the threads and prevent leaks. Insert the bulkhead fitting into the spigot hole from the inside of the barrel and secure it tightly.
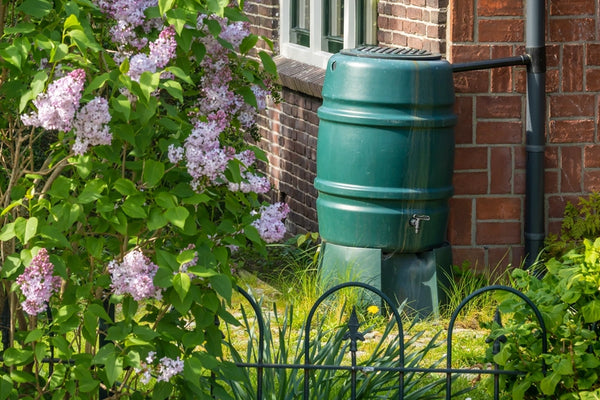
Step 3: Installing the Downspout Diverter
The downspout diverter is a crucial component that directs rainwater into the barrel while preventing debris from entering.
Steps:
- Cutting the Downspout: Measure and cut a section of your downspout according to the instructions provided with your downspout diverter kit. Safety First: Use appropriate cutting tools and wear safety glasses.
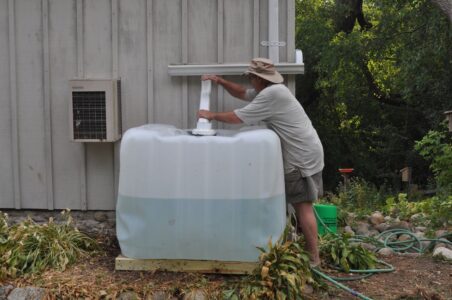
- Installing the Diverter: Install the downspout diverter according to the manufacturer's instructions. Ensure the diverter is securely attached to the downspout and that the connection to the rain barrel is properly aligned.
- Connecting the Diverter to the Barrel: Connect the diverter to the rain barrel using the provided hose or tubing.
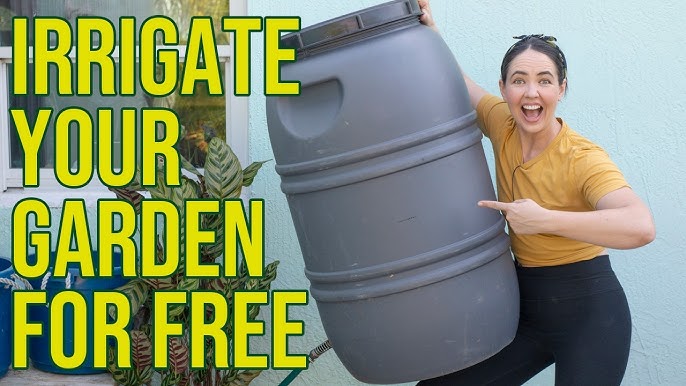
Step 4: Installing the Overflow and Screen
Managing overflow and preventing debris from entering your rain barrel are essential for maintaining water quality and system longevity.
Steps:
- Installing the Overflow: Attach a PVC pipe to the overflow hole using appropriate fittings. Direct the overflow pipe away from your home's foundation to prevent water damage. You can direct the overflow to another rain barrel, a rain garden, or a designated drainage area.
- Installing the Screen: Cover the top of the rain barrel with screen mesh to prevent debris, insects, and mosquitoes from entering. Secure the screen with a tight-fitting lid or bungee cords.
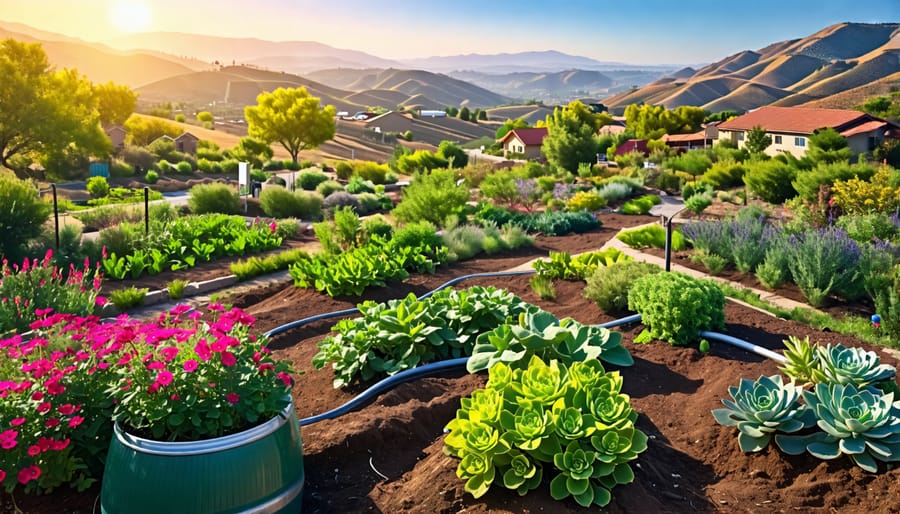
Step 5: Final Setup and Testing
Now it's time to put everything together and ensure your system is working correctly.
Steps:
- Positioning the Rain Barrel: Place the rain barrel on the prepared foundation, ensuring it is level and stable.
- Connecting the Hose: Attach a garden hose to the spigot for easy watering.
- Testing the System: Wait for the next rainfall and observe the system in action. Check for leaks and ensure the diverter is functioning correctly. Monitor the overflow to ensure it is directing water away from your foundation.
Troubleshooting Tips
Even with careful planning, you might encounter a few challenges. Here are some common issues and solutions:
- Leaks: Use Teflon tape to seal any leaky connections. Ensure all fittings are tightened securely.
- Clogged Diverter: Regularly clean the downspout diverter to remove leaves and debris.
- Mosquitoes: Ensure the screen mesh is securely in place and that there are no gaps. Consider adding mosquito dunks to the water.
- Slow Water Flow: Elevate the rain barrel to increase water pressure.
- Algae Growth: Add a small amount of bleach (1/4 cup per 55-gallon barrel) to the water to inhibit algae growth. Alternatively, paint the barrel a dark color to block sunlight.
Variations for Different Climates
- Cold Climates: In areas with freezing temperatures, disconnect the downspout diverter in the winter to prevent the rain barrel from freezing and cracking. Drain the barrel completely before the first freeze. Consider using a flexible, freeze-resistant barrel.
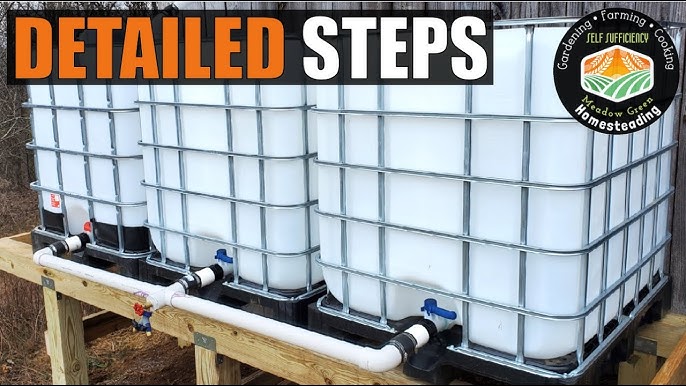
- Dry Climates: Maximize water collection by installing multiple rain barrels and connecting them in series. Use a larger storage container to collect more water during infrequent rainfall events.
Enhancing Your Rain Barrel System
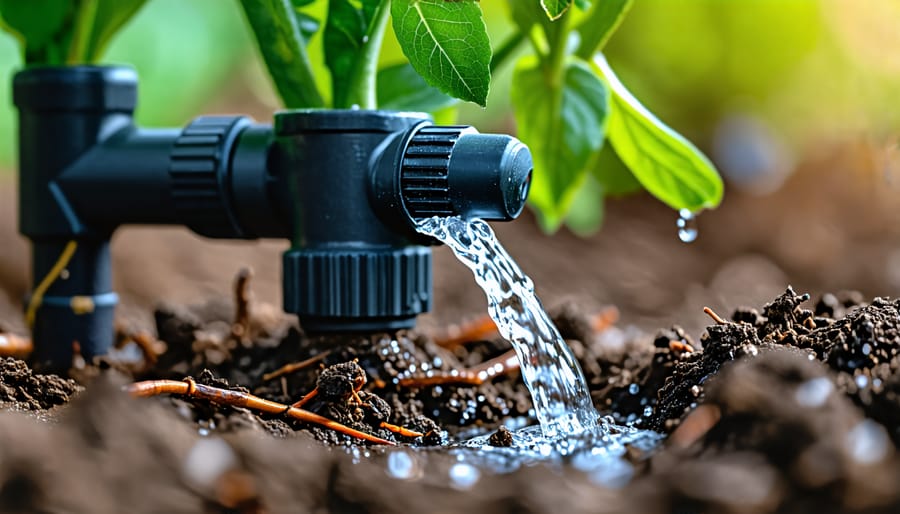
- Drip Irrigation: Connect your rain barrel to a drip irrigation system for efficient and targeted watering.
- Amazon Affiliate Link Example: Drip Irrigation Kit
- Rain Garden: Direct overflow to a rain garden to naturally filter and absorb excess water.
- Watering Can Filling Station: Create a designated area for filling watering cans from the rain barrel.
Rainwater is Great, but is it Safe?
Rainwater collected via rooftop harvesting is generally safe for watering plants (vegetable and ornamental). However, it's NOT safe for drinking, cooking, or bathing unless it's properly filtered and sanitized. Roofing materials and atmospheric pollutants can contaminate the water. Never use rainwater for human consumption without a reliable purification system.
Call to Action
Ready to transform your homestead with a DIY rain barrel system? Share your experiences, tips, and photos of your completed projects in the comments below! We'd love to see your creative solutions and learn from your successes.
For more homesteading tips, sustainable gardening practices, and water conservation strategies, subscribe to the Better Homes and Harvests newsletter today!
External Links:
With a little effort and creativity, you can build a rain barrel system that conserves water, saves money, and helps you create a more sustainable homestead. Happy harvesting!
