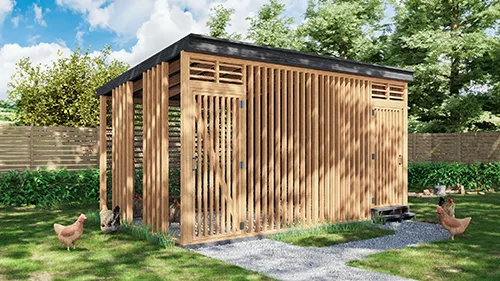
Transform Your Homestead: A Beginner's Guide to Building a Simple, Stunning Chicken Coop (And Connecting with Your Food!)
There's something truly magical about collecting your own fresh eggs. It's more than just a food source; it's a connection to nature, a step towards self-sufficiency, and a deeply satisfying part of the homesteading dream. For years, I bought eggs from the grocery store, never quite knowing where they came from or how the hens were treated. Then, one crisp autumn morning, I decided enough was enough. I wanted to offer happy hens a great life and in return enjoy the best eggs imaginable. Plus, I knew reducing my reliance on store-bought food was a powerful step towards a more sustainable lifestyle. And that's what sparked my DIY chicken coop journey. This guide will help you build your own chicken coop, connecting you with your food and empowering you on your beginner homesteading adventure.
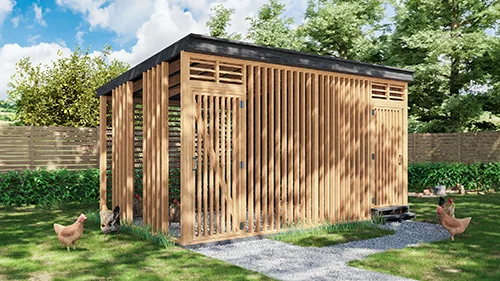
Why Build Your Own Chicken Coop?
Beyond the joy of fresh eggs and knowing exactly where your food comes from, building your own chicken coop offers several advantages:
- Cost-Effectiveness: Using reclaimed wood and repurposed materials can significantly reduce the cost compared to buying a pre-built coop.
- Customization: You can tailor the coop to your specific needs and the size of your backyard chickens flock (we're aiming for 3-5 hens in this guide).
- Satisfaction: There's nothing quite like the pride of building something with your own hands! It's a great homesteading skill to learn.
Planning Your Chicken Coop: A Foundation for Success
Before diving into construction, planning is key. Here's what you need to consider:
Location, Location, Location: Choose a relatively level area that gets both sun and shade. Good drainage is essential to prevent muddy conditions. This coop will be ideal for a small chicken coop footprint.
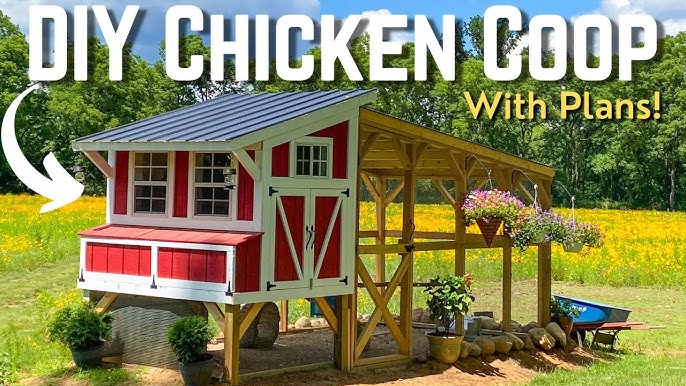
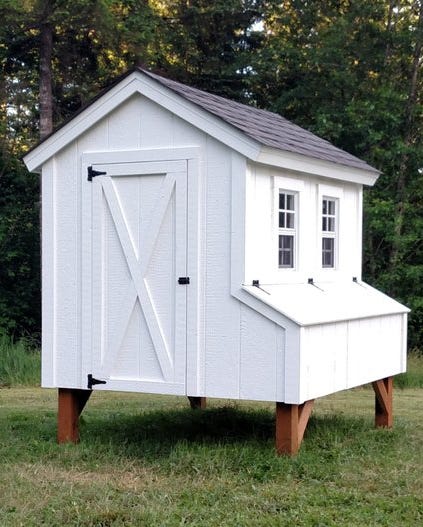
Size Matters: For 3-5 hens, a coop that is approximately 4'x6' will provide adequate space. This includes both the enclosed coop area and the attached run.
Predator Protection: Consider the predators in your area (foxes, raccoons, hawks, dogs). A secure coop is non-negotiable.
Local Regulations: Check with your local municipality for any regulations regarding backyard chickens and coop construction.
Building Your DIY Chicken Coop: A Step-by-Step Guide
This coop design prioritizes simplicity and affordability, using readily available materials.
Estimated Time: 2-3 weekends (depending on your skill level)
Materials List:
- Reclaimed Wood: Pallets, old fencing, siding (enough to build the walls and roof)
- 2x4 Lumber: For framing (check for affordability even when using reclaimed wood for most of structure.)
- Chicken Wire: To enclose the run.
- Hardware Cloth: To secure the coop floor and lower walls against digging predators.
- Roofing Material: Corrugated metal, asphalt shingles, or repurposed roofing materials.
- Hinges and Latches: For doors and nesting boxes.
- Screws and Nails: For assembly.
- Sand or Wood Shavings: For bedding.
Tools:
- Hammer
- Saw (hand saw or circular saw)
- Drill
- Screwdriver
- Staple Gun
- Measuring Tape
- Level
- Safety Glasses
- Gloves
Step 1: Building the Base (Estimated Time: 4-6 hours)
Frame Construction: Build a rectangular frame using 2x4 lumber. This will be the base of your coop. Ensure it's level and square.
Hardware Cloth Installation: Staple hardware cloth to the bottom of the frame. This prevents predators from digging into the coop.
- Challenge: Ensuring the hardware cloth is taut and securely attached.
- Solution: Use heavy-duty staples and overlap the edges.
Step 2: Framing the Walls (Estimated Time: 6-8 hours)
Wall Frame Construction: Build four wall frames using 2x4 lumber. Include openings for a door and windows (optional, but recommended for ventilation).
Wall Attachment: Attach the wall frames to the base frame, ensuring they are plumb and square. Use screws for a secure connection.
- Challenge: Keeping the walls stable while attaching them.
- Solution: Use temporary braces to hold the walls in place.
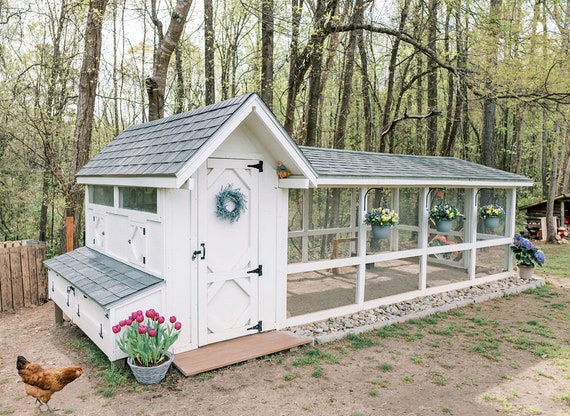
Step 3: Adding the Walls (Estimated Time: 8-10 hours)
- Reclaimed Wood Prep: Clean and prepare your reclaimed wood. Remove any nails or staples.
- Wall Cladding: Attach the reclaimed wood to the wall frames, creating the walls of the coop. Overlap the wood for weatherproofing.
- Challenge: Working with irregular reclaimed wood.
- Solution: Be patient and use a variety of wood sizes to create a visually appealing and functional wall.
Step 4: Building the Roof (Estimated Time: 4-6 hours)
Roof Frame Construction: Build a simple sloped roof frame using 2x4 lumber.
Roof Attachment: Attach the roof frame to the walls.
Roofing Material Installation: Install your chosen roofing material, overlapping the edges for weatherproofing.
- Challenge: Ensuring the roof is watertight.
- Solution: Use roofing felt under the roofing material for added protection.
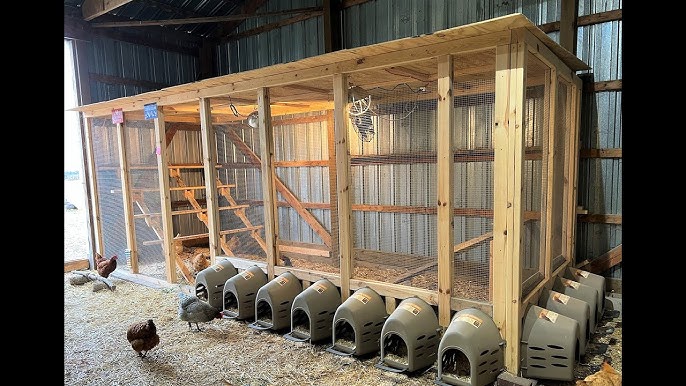
Step 5: Building the Run (Estimated Time: 6-8 hours)
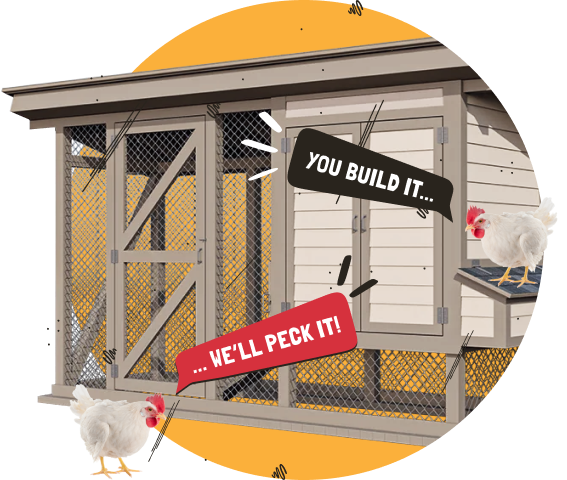
- Run Frame Construction: Build a frame for the run using 2x4 lumber. Attach it to the coop.
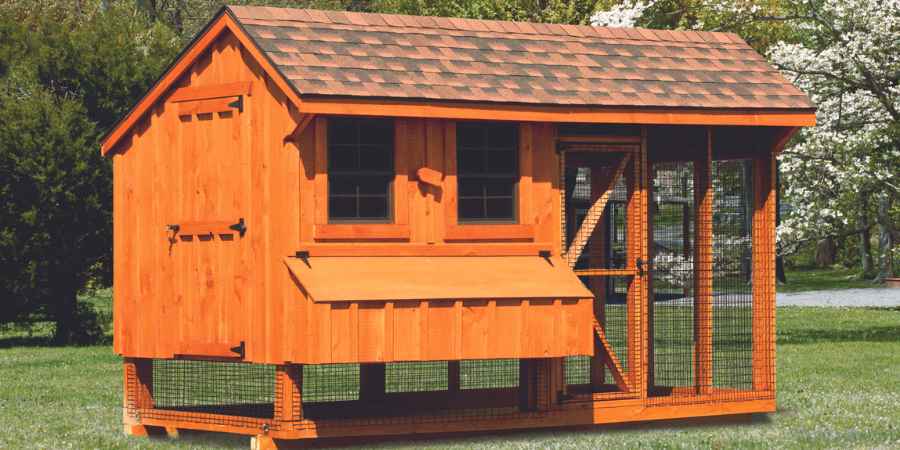
- Chicken Wire Enclosure: Cover the run frame with chicken wire, securing it with staples. Consider adding a roof to the run for added protection from the elements and predators.
- Challenge: Attaching the chicken wire securely.
- Solution: Use heavy-duty staples and overlap the edges of the chicken wire.
Step 6: Adding the Finishing Touches (Estimated Time: 4-6 hours)
Door Construction: Build a door for the coop using reclaimed wood and attach it with hinges. Install a secure latch.
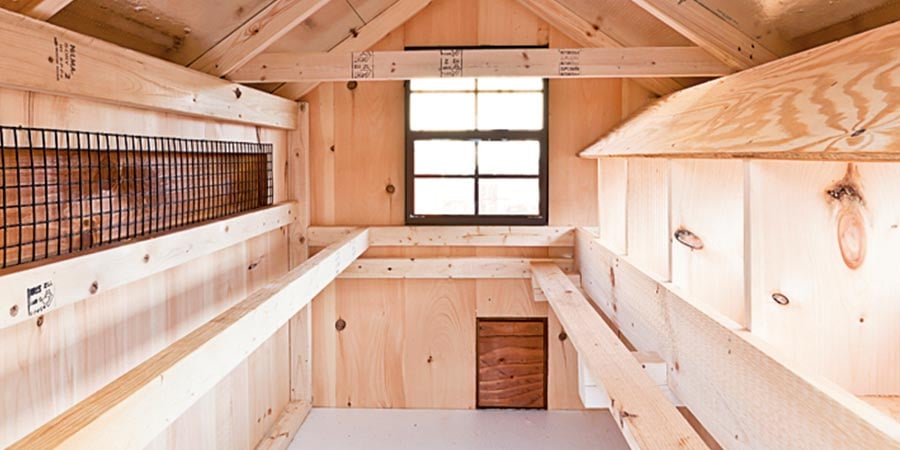
Nesting Boxes: Build or repurpose nesting boxes (old tires, plastic containers). Place them inside the coop.
Roosting Bars: Install roosting bars inside the coop. These should be about 2-3 feet off the ground.
Ventilation: Ensure adequate ventilation by adding windows or vents near the top of the coop.
Bedding: Add bedding to the coop floor (sand or wood shavings).
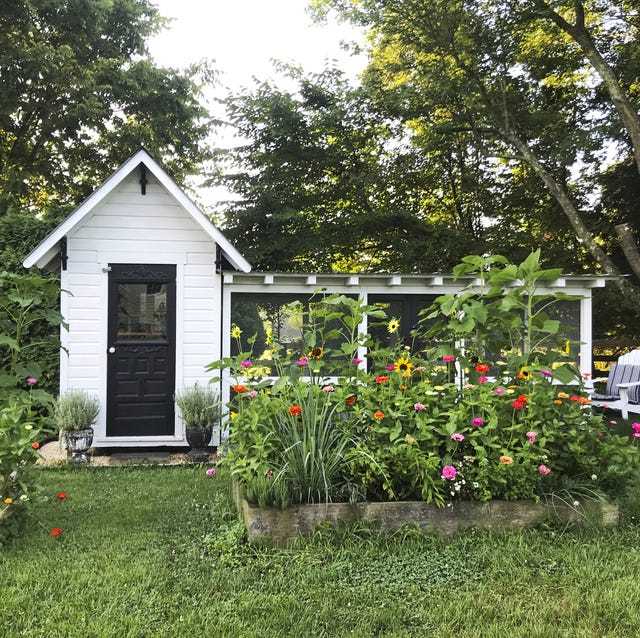
Homesteader Hacks: Customizing Your Coop
- Repurposed Feeders and Waterers: Use plastic containers or buckets to create feeders and waterers.
- Predator-Proofing: Bury chicken wire around the perimeter of the run to prevent digging predators. Install motion-activated lights to deter nocturnal predators.
- Coop Maintenance: Regularly clean the coop and replace the bedding to maintain a healthy environment. Add diatomaceous earth to the bedding to control mites and lice.
The Joy of Fresh Eggs
With your DIY chicken coop complete, you're ready to welcome your flock! Raising backyard chickens and collecting your own eggs is an incredibly rewarding experience. It's a tangible connection to your food source and a significant step towards self-sufficiency. The satisfaction of gathering those first fresh eggs is truly unmatched.
Beyond the Coop: Expanding Your Homestead
Building a chicken coop is just the beginning! Once you've experienced the joys of beginner homesteading, you might be inspired to build other animal shelters, expand your garden, or explore other sustainable living practices. The possibilities are endless!
Share Your Story!
What are your biggest challenges or successes in raising chickens? Share your own chicken coop building experiences and homesteading tips in the comments below! We'd love to hear from you!