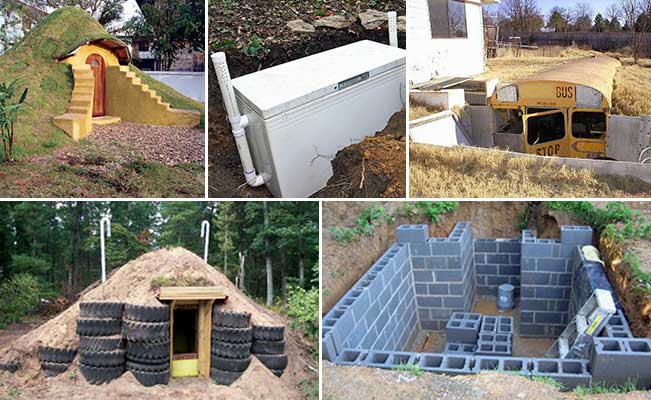
Tiny Root Cellar, Big Harvest: A Weekend Homesteading Project
Remember that feeling? The one where you’re overflowing with the bounty of your garden. Mountains of tomatoes, piles of potatoes, a rainbow of carrots… It's pure joy! But then reality hits. How do you keep all this goodness from rotting away before you can enjoy it? We've all been there, watching our hard-earned harvests turn to compost. That's why we're diving into a game-changing project: building a budget-friendly, charming miniature root cellar. Get ready to extend your harvest season and enjoy fresh, homegrown goodness all winter long!
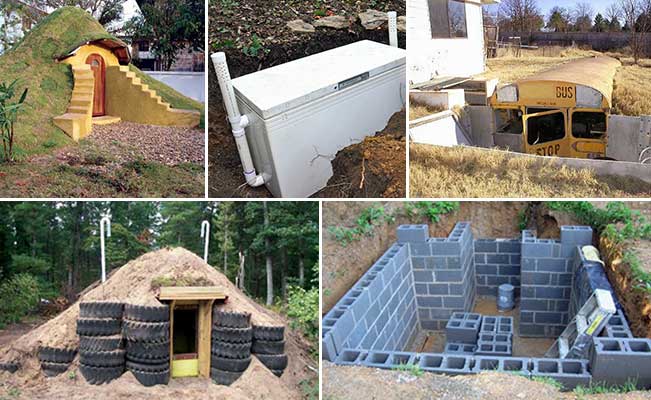
This isn't your grandma's sprawling, underground storage. We're talking about a compact, DIY root cellar, perfect for the weekend homesteader with limited space. Think "Hobbit Hole" meets practical food preservation – a visually appealing and functional addition to any backyard.
Why Build a Root Cellar?
Before we get our hands dirty, let's talk about why a root cellar is a homesteading essential.
- Save Money: Reduce your grocery bills by storing your own produce instead of buying it.
- Reduce Food Waste: Prevent spoilage and extend the life of your harvest.
- Enjoy Fresh Produce Year-Round: Savor the taste of homegrown vegetables even in the dead of winter.
- Self-Sufficiency: Take control of your food supply and reduce your reliance on commercial systems.
- It's Fun!: Building a root cellar is a rewarding project that connects you to the rhythms of nature.
Our Project: The "Hobbit Hole" Mini Root Cellar
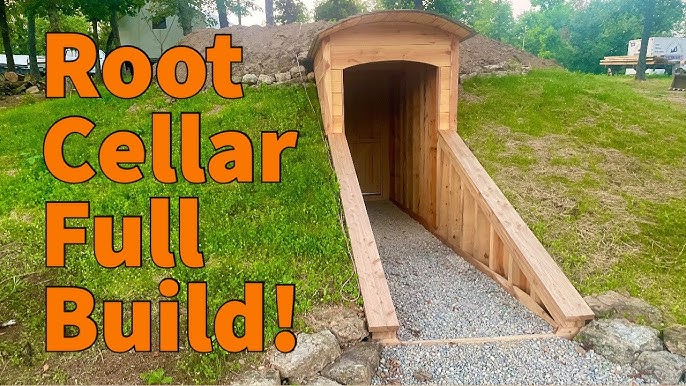
We're focusing on a small, above-ground or partially buried root cellar, approximately 4ft x 6ft. This size is manageable for weekend projects and fits comfortably in most backyards. We'll prioritize readily available, budget-friendly materials like reclaimed wood and repurposed concrete blocks. The goal is a charming, functional space that keeps your produce cool and fresh.
Planning Your Root Cellar: Location, Location, Location!
The first step is choosing the right location. Here's what to consider:
- Shade: Opt for a spot that receives shade, especially during the hottest part of the day. North-facing locations are ideal.
- Drainage: Good drainage is crucial to prevent moisture buildup. Avoid low-lying areas that tend to flood.
- Accessibility: Make sure your root cellar is easily accessible from your garden and your house.
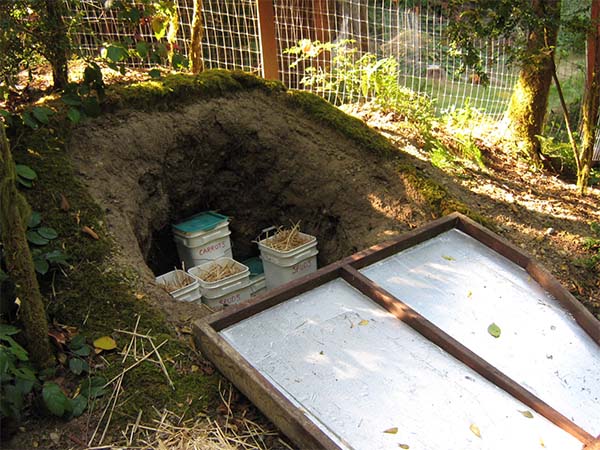
- Partial Burying (Optional): If possible, consider partially burying your root cellar to take advantage of the earth's natural insulation. This helps maintain a more consistent temperature.
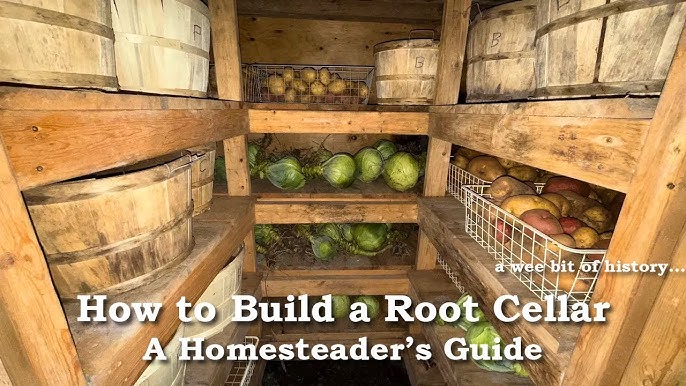
Materials and Tools: Keeping it Budget-Friendly
Here's a list of materials and tools you'll need. Remember, we're aiming for budget-friendly, so get creative with reclaimed and repurposed options!
Materials:
- Reclaimed Wood: Pallet wood, old fence boards, or salvaged lumber for framing and siding.
- Concrete Blocks: For the foundation and potentially the walls (repurposed are great!).
- Insulation: Straw bales, rigid foam insulation, or earthbags (depending on your climate and budget).
- Roofing Materials: Reclaimed metal roofing, asphalt shingles, or even a living roof (sod).
- Door: Solid wood door (reclaimed or new).
- Gravel: For drainage.
- Ventilation Pipes: PVC pipes or metal ducts.
- Hardware: Screws, nails, hinges, latches.
- Optional: Plastic sheeting for a moisture barrier.
Tools:
- Safety Glasses
- Gloves
- Measuring Tape
- Circular Saw or Hand Saw
- Drill/Driver
- Level
- Shovel
- Wheelbarrow
- Hammer
- Square
Estimated Cost: $200 - $500 (depending on the materials you can salvage and repurpose).
Step-by-Step Instructions: Building Your Mini Root Cellar
Let's get building!
Step 1: Prepare the Foundation
- Clear the area where you'll build your root cellar.
- Excavate the soil to a depth of 6-12 inches (if partially burying).
- Lay down a layer of gravel for drainage.
- Build a foundation using concrete blocks. Ensure the foundation is level and square.
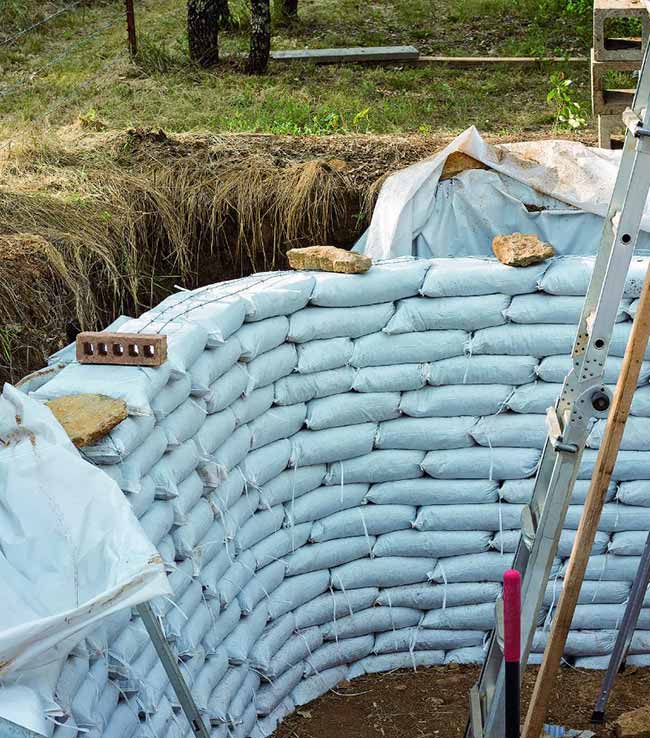
Step 2: Build the Walls
- Option 1 (Reclaimed Wood Framing): Build a wooden frame using reclaimed lumber. Ensure the frame is sturdy and square.
- Option 2 (Concrete Block Walls): Stack concrete blocks to create the walls. Mortar the blocks together for added stability.
- Consider an Earthbag Structure: These provide great insulation, require limited materials and are relatively low cost.
Step 3: Insulate the Walls
- Straw Bale Insulation: Stack straw bales against the exterior walls and secure them with twine or wire.
- Rigid Foam Insulation: Cut rigid foam insulation to fit between the framing studs and secure it with construction adhesive.
- Earthbags: Fill bags with earth and stack them to create your walls.
Step 4: Build the Roof
- Construct a roof frame using reclaimed lumber. Ensure the roof is strong enough to support the roofing material and any potential snow load. A slight slope will help with water runoff.
- Install roofing materials (reclaimed metal roofing, asphalt shingles, or a living roof).
Step 5: Install the Door
- Frame the doorway and install a solid wood door with hinges and a latch. Ensure the door seals tightly to prevent drafts.
- Consider adding a weather strip around the door frame for extra insulation.
Step 6: Ventilation
- Install ventilation pipes to allow for airflow. One pipe should be near the floor to bring in cool air, and another should be near the ceiling to exhaust warm air.
- Consider adding a damper to control the airflow.
Step 7: Finishing Touches
- Add shelving to organize your produce.
- Consider adding a moisture barrier (plastic sheeting) to the floor and walls to prevent moisture buildup.
- Backfill around the root cellar with soil (if partially buried).
- Add decorative elements to create a "Hobbit Hole" vibe (e.g., a round door, a sod roof, stone accents).
SAFETY FIRST: Always wear safety glasses and gloves when working with power tools and building materials. Ensure proper ventilation when working with treated lumber.
Tips for Maintaining Your Root Cellar
- Temperature: Aim for a temperature between 32°F and 40°F (0°C and 4°C).
- Humidity: Maintain a humidity level of 85-95%. You can increase humidity by spraying the floor with water or placing containers of water in the root cellar.
- Ventilation: Adjust the ventilation to maintain the desired temperature and humidity.
- Regular Inspection: Check your produce regularly for signs of spoilage and remove any damaged items.
What to Store in Your Root Cellar
Root cellars are ideal for storing:
- Potatoes
- Carrots
- Beets
- Turnips
- Onions
- Garlic
- Apples
- Pears
- Cabbage
Troubleshooting
- Too Warm: Increase ventilation or add more insulation.
- Too Cold: Reduce ventilation or add a small heater.
- Too Humid: Increase ventilation.
- Too Dry: Spray the floor with water or add containers of water.
- Mold Growth: Improve ventilation and remove any moldy produce.
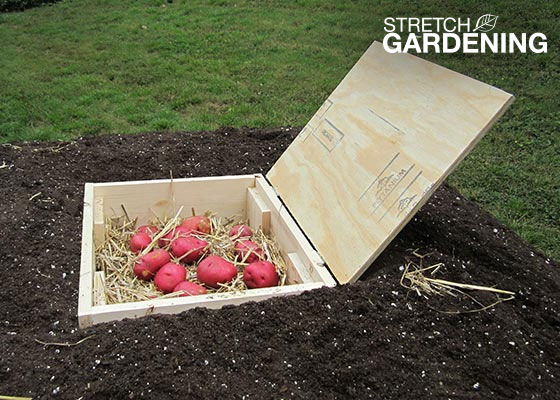
Alternative Designs to Inspire:
Looking for more inspiration?
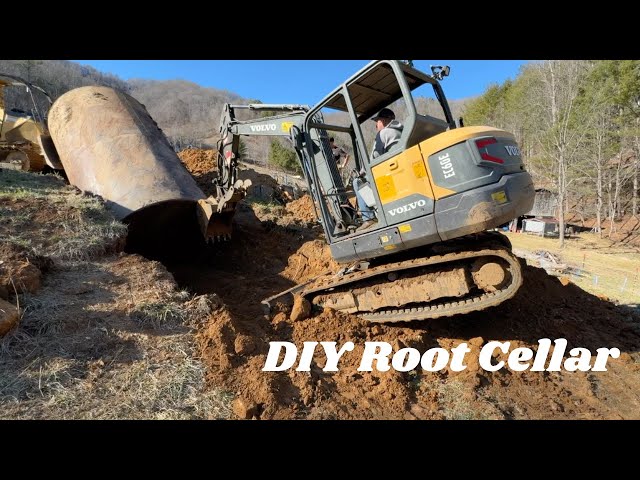
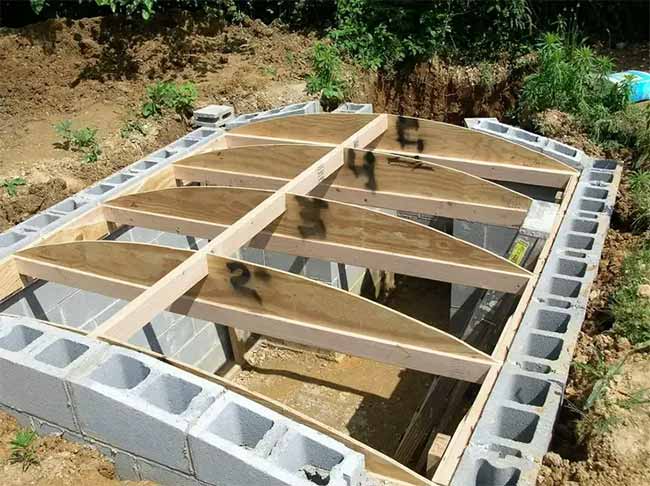
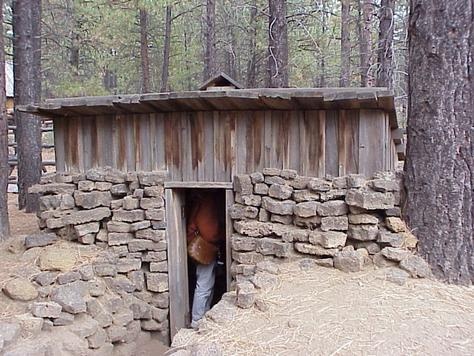
Final Thoughts: Embrace the Homesteading Spirit
Building a root cellar is more than just a DIY project. It's a step towards self-sufficiency, food security, and a deeper connection to the land. It's about embracing the homesteading spirit and taking control of your food supply. While there may be moments of frustration (that stubborn screw, the miscalculated measurement), the reward of enjoying fresh, homegrown produce throughout the winter is well worth the effort. So, gather your materials, grab your tools, and get ready to build your own charming "Hobbit Hole" mini root cellar. Your future harvests will thank you!
Now it's your turn! Have you ever built a root cellar? What tips and tricks can you share? Ask your questions and share your experiences in the comments below. And don't forget to share this article with your fellow homesteaders! Happy building! #DIYRootCellar #BudgetRootCellar #SmallRootCellar #FoodPreservation #Homesteading #MiniatureRootCellar #AboveGroundRootCellar #UrbanHomesteading #WeekendHomesteading #RootVegetableStorage #WinterStorage #GardenStorage