The Lazy Homesteader's Root Cellar: Cold Storage on a Shoestring!
Hey there, fellow "Better Homes and Harvests" enthusiasts! It's your pal, Maggie, back with some hard-earned wisdom from the trenches (or, in this case, from under the trenches!). I know we all dream of that idyllic homestead life – overflowing gardens, clucking chickens, and pantries bursting with home-canned goodness. But let's be honest, time is precious, and wallets aren't bottomless. That's why I'm thrilled to share my secret weapon for self-reliance: the lazy homesteader's root cellar.
For years, I struggled with keeping my garden bounty fresh. My fridge was constantly overflowing, and I hated the thought of relying on the grocery store for winter veggies. Canning is fantastic, don’t get me wrong, but sometimes you just want a crisp carrot or a perfectly firm potato without all the processing. That’s when I decided to take matters into my own hands and build a root cellar. The best part? I did it on a shoestring budget using mostly reclaimed materials. So, if you're tired of sky-high grocery bills, want to preserve your harvest naturally, and dream of ditching the electric fridge during power outages, keep reading! This DIY root cellar guide is for you. We will explore food storage and homesteading on a budget using reclaimed materials.
Why a Root Cellar? The Benefits Are HUGE!
Before we dive into the nitty-gritty, let's talk about why you should even bother building a root cellar. For me, it boils down to three key reasons:
- Save Money: Imagine reducing your grocery bills by storing your own produce for months! No more overpriced, flavorless supermarket vegetables in the dead of winter.
- Preserve Your Harvest Naturally: Ditch the chemicals and enjoy the natural flavors and nutrients of your garden's bounty all year round. DIY Food Preservation at its finest.
- Emergency Preparedness: In a power outage, your electric fridge becomes a liability. A root cellar provides reliable, off-grid food storage, ensuring your family has access to fresh produce even when the lights go out. Think of it as an off-grid food storage solution.
My Reclaimed Root Cellar: A Step-by-Step Guide
Alright, let's get to the fun part! Building my root cellar was a journey filled with sweat, a few choice words, and ultimately, a whole lot of satisfaction. Here's exactly how I did it:
1. Planning & Location, Location, Location!
First, I needed to decide where to put this thing. The ideal location is a north-facing slope to minimize sun exposure. Also, think about drainage! You don’t want your root cellar to become a swimming pool. Since my property is pretty flat, I opted for a spot under a small hill near the back of my garden, ensuring good drainage.
2. Material Gathering: The Reclaimed Treasure Hunt!
This is where the "lazy" and "budget-conscious" parts come in! Scouring for reclaimed materials is like a treasure hunt. Here’s what I used:
- Used Cinder Blocks: (80 blocks) From Craigslist and local construction sites – Free! (Normally $1-2 each, saving me $80-160)
- Reclaimed Pallets: (6 pallets) Local businesses were happy to get rid of them – Free!
- Old Metal Roofing Sheets: (enough to cover the roof) Scavenged from a neighbor’s demolished shed – Free! (New roofing can be pricey!)
- Gravel: (3 cubic yards) Needed for the base and drainage. Purchased from a local quarry – $75
- Sand: (1 cubic yard) For leveling. Purchased from the same quarry – $25
- Plastic Sheeting: (6 mil, heavy duty) For waterproofing – $30
- Insulation: (reclaimed foam board) From a friend’s construction project – Free! (This can be expensive, so get creative!)
- Door: (used exterior door) From a Habitat for Humanity ReStore – $40
- Hinges, Latches, Nails, Screws: (Assorted) Already had these in my workshop – Free! (Estimate $20 if you need to buy them)
- PVC Pipe (4-inch diameter): For ventilation – $15
Total Cost: Approximately $185! Not bad, considering a professionally built root cellar can cost thousands!
3. Excavation: Getting Down and Dirty!
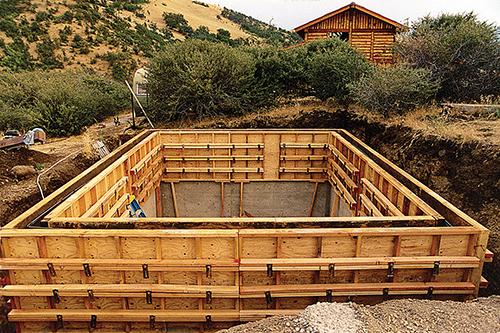
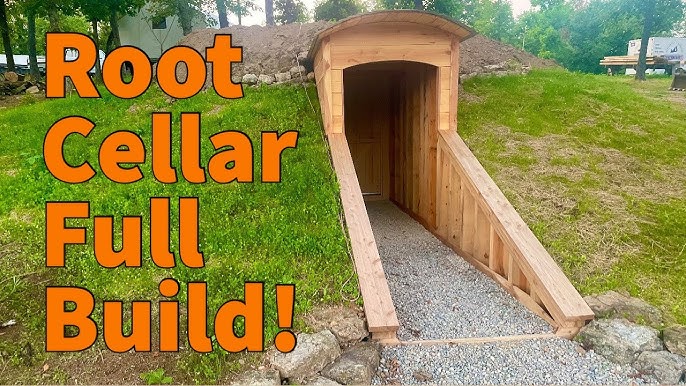
Time to break a sweat! I dug a rectangular pit about 6 feet wide, 8 feet long, and 4 feet deep. Make sure the sides are as straight as possible. This is the most labor-intensive part, so enlist a friend or two if possible!
4. Foundation: Leveling the Playing Field
Pour a 4-inch layer of gravel into the pit for drainage. Compact it well using a hand tamper. Then, add a 2-inch layer of sand on top and level it carefully. This will provide a stable base for your cinder block walls.
5. Walls: Building with Blocks
Start laying the cinder blocks, making sure they are level and aligned. I used a simple running bond pattern, overlapping the blocks for strength. Since I wasn't using mortar (remember, lazy homesteader!), I made sure each block was firmly seated in the sand. Stagger the joints for maximum strength.
6. Roofing: Pallets and Metal
This part requires some creativity! I used reclaimed pallets to create a sturdy roof structure. First, I laid pallets across the top of the cinder block walls, overlapping them slightly. Then, I covered the pallets with heavy-duty plastic sheeting to waterproof them. Finally, I topped the plastic with reclaimed metal roofing sheets, overlapping them to shed water.
7. Doorway: Making an Entrance
I framed the doorway with some scrap lumber and installed the used exterior door. Make sure the door swings inward to prevent snow from blocking it in winter. Seal around the doorframe with weather stripping to prevent drafts.
8. Ventilation: Letting It Breathe
Proper ventilation is crucial for maintaining the right temperature and humidity in your root cellar. I installed a 4-inch PVC pipe extending from the inside of the cellar to the outside, near the top of the wall. This allows for airflow without letting in too much light. I also added a simple damper to control the airflow.
9. Insulation: Keeping It Cool
Insulation helps maintain a consistent temperature in your root cellar. I lined the inside walls and roof with reclaimed foam board insulation, cutting it to fit and securing it with construction adhesive. This helps keep the cellar cool in the summer and prevents freezing in the winter.
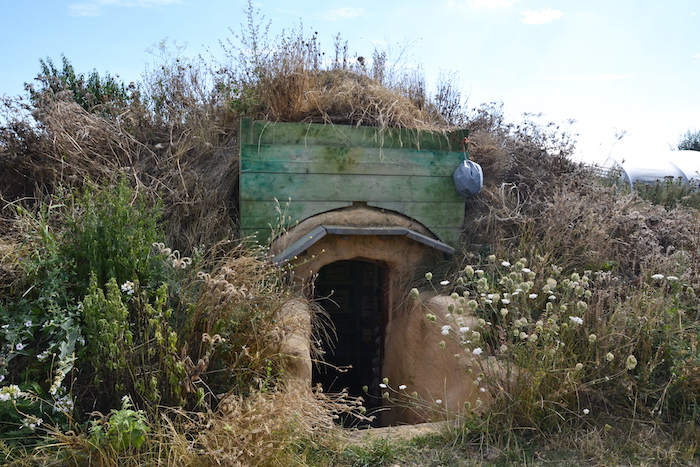
10. Backfilling: Burying Your Treasure!
Once the roof and walls are complete, backfill around the root cellar with the excavated soil. Pack it down firmly to provide insulation and stability. I sloped the soil away from the cellar to ensure good drainage.
Maintaining Temperature and Humidity
The ideal temperature for a root cellar is between 32°F and 40°F, with high humidity (85-95%). Here are some tips for maintaining those conditions:
- Ventilation: Adjust the ventilation pipe damper to control airflow and humidity. Open it on cool nights to lower the temperature.
- Water: If the humidity is too low, sprinkle water on the floor.
- Insulation: Adequate insulation is key to maintaining a consistent temperature.
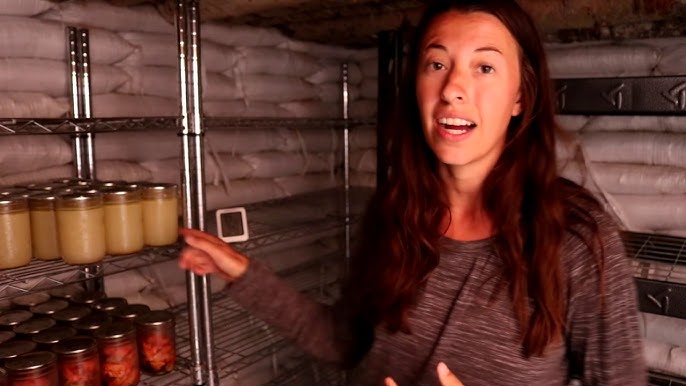
- Monitor: Use a thermometer and hygrometer to monitor the temperature and humidity levels.
Root Cellar Storage Secrets
Here are some tips for storing your root vegetables and fruits safely:
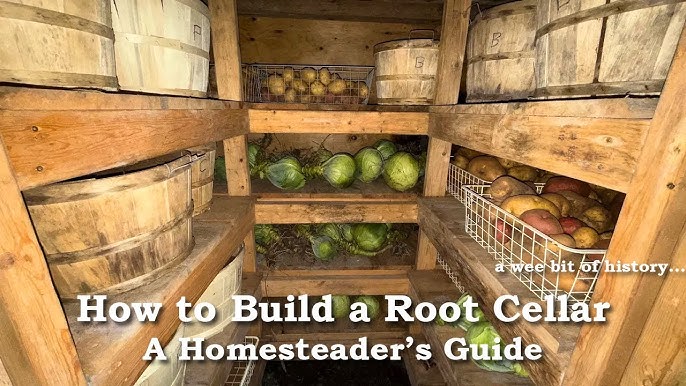
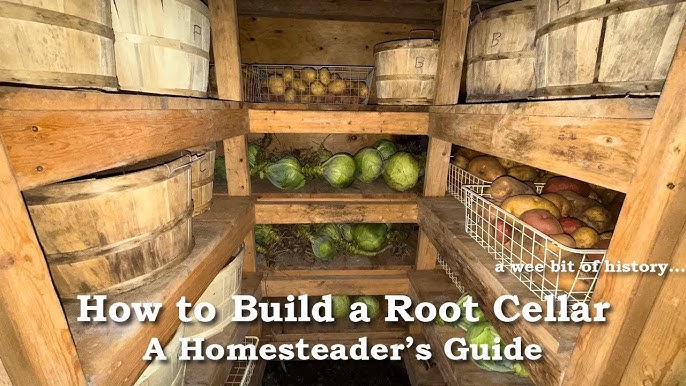
- Potatoes: Store in burlap sacks or wooden crates in a dark, cool, and humid area.
- Carrots: Store in boxes of damp sand.
- Apples: Wrap each apple individually in newspaper and store in crates.
- Onions & Garlic: Hang them in mesh bags or braid them together.
Recipe for Success: Maggie's Root Cellar Carrot Sand Storage
This is my go-to method for keeping carrots crisp and delicious all winter long!
- Harvest carrots on a dry day, leaving about an inch of the green tops attached.
- Gently brush off excess dirt, but don't wash them!
- Find a plastic storage bin or wooden crate.
- Layer the bottom with 2-3 inches of slightly damp sand. (The sand should be damp enough to clump together when squeezed, but not soaking wet).
- Place carrots on top of the sand, making sure they don't touch each other.
- Cover the carrots with another layer of damp sand.
- Repeat layers until the container is full.
- Store in your root cellar.
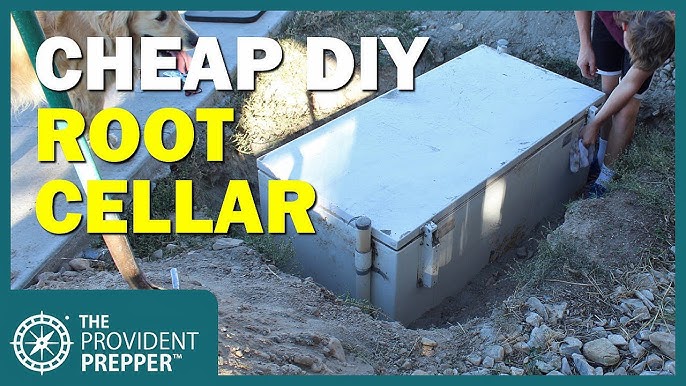
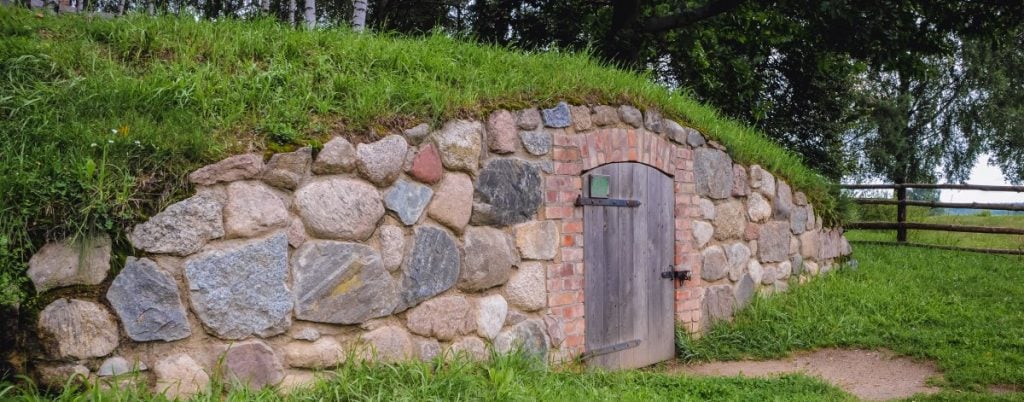
The Finished Product!
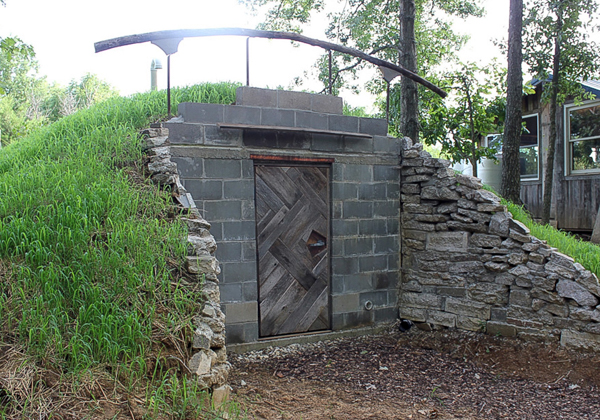
From Fridge to Freedom!
Building my root cellar wasn't always easy, but the rewards have been incredible. Not only am I saving money on groceries, but I'm also enjoying the satisfaction of preserving my garden's bounty naturally. Plus, I have peace of mind knowing that I have a reliable source of fresh produce even during power outages.
Your Turn!
So, what are you waiting for? Start planning your own low-cost root cellar today! Don't be afraid to get creative with reclaimed materials and adapt the design to your specific needs and resources. Share your own root cellar projects or ask questions in the comments below! Let's build a community of self-reliant homesteaders, one root cellar at a time! Let's chat about easy root cellar builds and root cellar construction! I’m always happy to share what I know!
Consider:
- How much does it cost to build a root cellar?
- What are the best vegetables to store in a root cellar?
- What temperature should a root cellar be?
- How do I control humidity in my root cellar?
- Can I build a root cellar with no experience?
- Where should I build my root cellar?
- How to store potatoes in a root cellar?
- How to store carrots in a root cellar?
- Is a root cellar better than canning?
- What are the benefits of having a root cellar?
- What materials do I need to build a root cellar?
- How to store apples in a root cellar?
- Do I need electricity in my root cellar?
- How deep should my root cellar be?
Good luck, and happy homesteading!