Tap Into Nature's Bounty: Building Your Own Rainwater Harvesting System for a Thriving Garden
Imagine stepping into your garden, greeted by the vibrant colors of healthy vegetables and the sweet scent of blooming flowers. Now, picture this lush oasis thriving not just from your care, but also from the gift of rainwater, collected and utilized thanks to your own ingenuity. This isn't just a dream; it's the reality you can create with a simple, off-grid rainwater harvesting system. This DIY project empowers you to reduce your reliance on municipal water, embrace a more sustainable lifestyle, and connect with nature in a profound way. Ditch the water bill blues and dive into the world of rainwater harvesting!
This guide is crafted with the beginner homesteader in mind. No prior plumbing experience is necessary. We'll break down the process into easy-to-follow steps, ensuring you can build a functional and efficient rainwater harvesting system with readily available materials. Let’s get started!
Why Harvest Rainwater? The Sweet Rewards of Self-Sufficiency
Before we get our hands dirty, let's explore the compelling reasons to embark on this project. Rainwater harvesting offers a multitude of benefits:
- Reduced Water Bills: This is the most obvious perk. By using collected rainwater for your garden, you significantly decrease your dependence on municipal water and lower your monthly expenses.
- Sustainable Gardening: Rainwater is a naturally soft, chlorine-free source of hydration for your plants. Unlike treated tap water, it doesn't contain chemicals that can harm beneficial soil microbes.
- Increased Self-Reliance: Homesteading is all about self-sufficiency. Rainwater harvesting empowers you to take control of your water supply, making you less vulnerable to drought or water restrictions.
- Environmental Responsibility: Conserving water is crucial for protecting our planet's precious resources. By harvesting rainwater, you contribute to a more sustainable future.
- Happy, Healthy Plants: Plants thrive on natural, chemical-free water!
Project Overview: Building a Simple Rain Barrel System
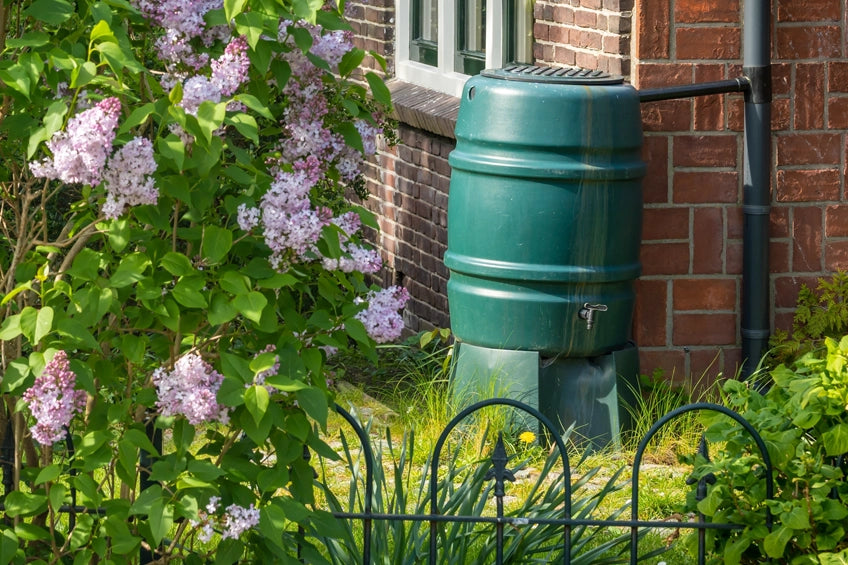
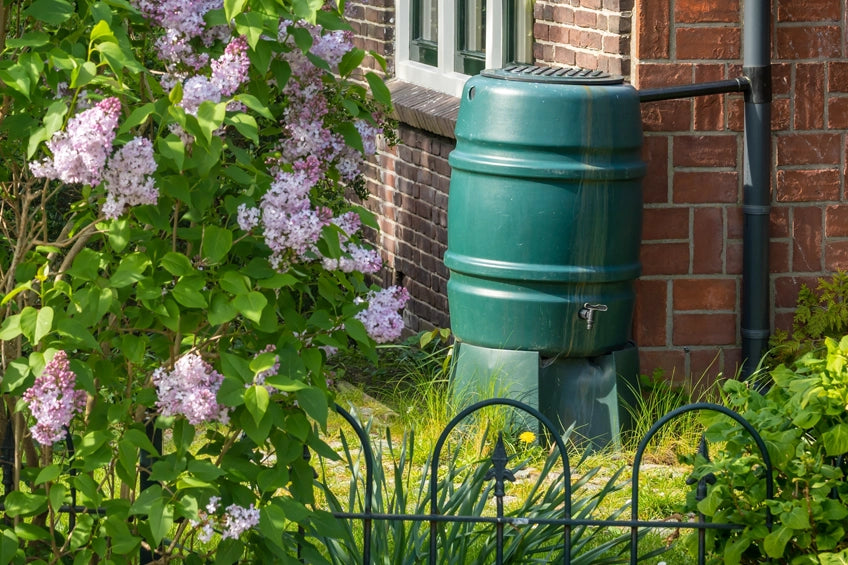
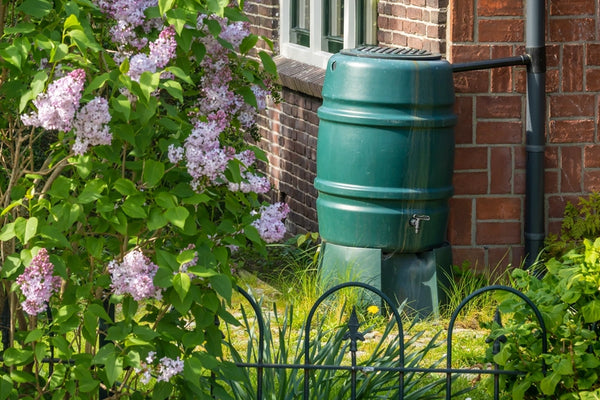
Our system will consist of a large container (the rain barrel), a diverter to direct rainwater from your gutter downspout, a filter to remove debris, and a spigot for easy access to the collected water. We’ll also address overflow management to protect your property.
Materials & Tools: Gathering Your Supplies
Here's a comprehensive list of what you'll need:
Materials:
- 55-Gallon Food-Grade Plastic Barrel: Ensure it's clean and has never contained harmful chemicals. Food-grade is essential!
- Downspout Diverter: Choose a diverter that fits your existing downspout size. (Available at most hardware stores)
- Spigot: A ¾-inch brass spigot is durable and easy to use.
- Bulkhead Fitting: This connects the spigot to the barrel. Make sure it matches the spigot size.
- Flexible Tubing: To connect the diverter to the rain barrel (length depends on your setup).
- Screen Mesh: For filtering debris (gutter guards and barrel top).
- Gutter Guards: Prevent leaves and debris from clogging your gutters.
- PVC Pipe and Fittings (for Overflow): To direct excess water away from your foundation. (Size depends on your needs.)
- Silicone Sealant: Waterproof and weather-resistant.
- Gravel or Concrete Blocks: To elevate the rain barrel.
Tools:
- Drill with Hole Saw Attachment: For creating holes for the spigot and overflow.
- Measuring Tape: For accurate measurements.
- Pencil or Marker: For marking cut lines.
- Wrench: For tightening fittings.
- Screwdriver: For securing the downspout diverter.
- Utility Knife: For cutting the screen mesh and tubing.
- Gloves: To protect your hands.
- Safety Glasses: Essential for eye protection.
- Level: To make sure the gravel bed is level.
Step-by-Step Instructions: Building Your Rainwater Harvesting System
Step 1: Preparing the Rain Barrel
- Clean the Barrel: Thoroughly wash the inside of the barrel with soap and water to remove any residue. Rinse well.
- Drill the Spigot Hole: Using the hole saw attachment, drill a hole near the bottom of the barrel, sized according to your bulkhead fitting. Refer to the fitting's instructions for the correct size.
- Install the Spigot and Bulkhead Fitting: Insert the bulkhead fitting into the hole and tighten it securely. Attach the spigot to the bulkhead fitting, using silicone sealant to ensure a watertight seal.
Step 2: Installing the Downspout Diverter
- Cut the Downspout: Measure and cut a section of your downspout to accommodate the diverter. The height will depend on where you want to position your rain barrel.
- Install the Diverter: Follow the manufacturer's instructions to install the downspout diverter. Ensure it's securely attached and properly aligned.
- Connect Tubing: Attach the flexible tubing to the diverter outlet and run it to the top of the rain barrel.
Step 3: Creating a Filtration System
- Gutter Guards: Install gutter guards in your gutters to prevent leaves and debris from entering the system. This is the first line of defense!
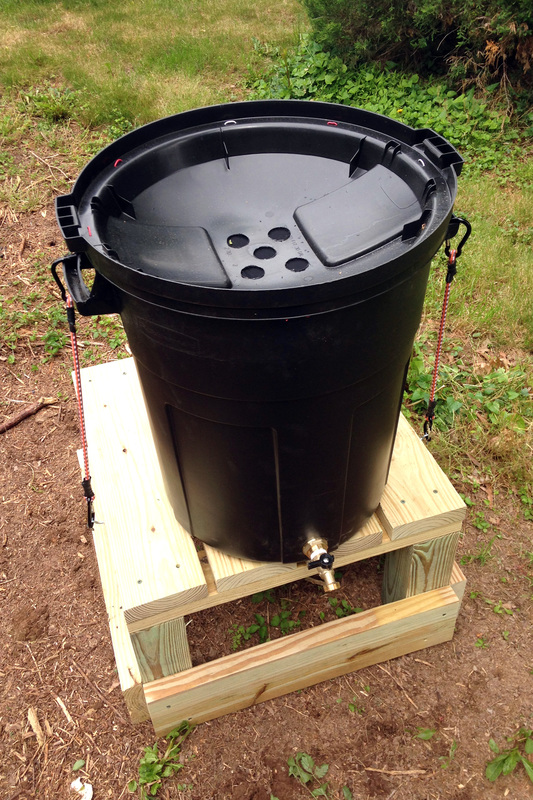
- Barrel Top Filter: Cut a piece of screen mesh slightly larger than the opening of the rain barrel. Secure it over the opening to filter out any remaining debris. You can use bungee cords or a tight-fitting lid with a mesh insert.
Step 4: Managing Overflow
- Drill Overflow Hole: Drill a hole near the top of the barrel for the overflow outlet.
- Install PVC Pipe: Attach PVC pipe and fittings to the overflow hole to direct excess water away from your foundation. Slope the pipe downwards to ensure proper drainage.
Step 5: Positioning and Elevating the Rain Barrel
- Prepare the Base: Choose a level location near your downspout. Create a stable base using gravel or concrete blocks.
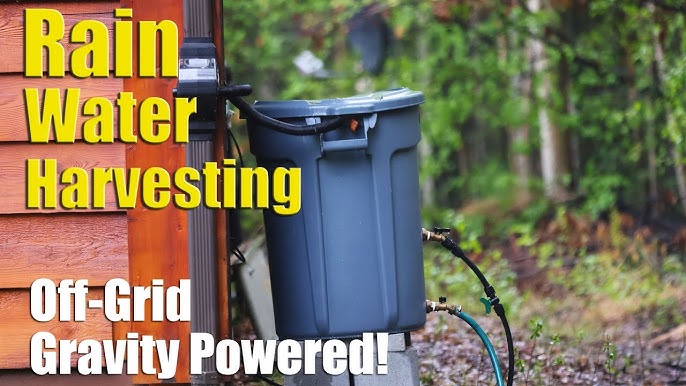
- Elevate the Barrel: Place the rain barrel on the prepared base. Elevating the barrel provides gravity-fed water pressure, making it easier to fill watering cans or connect a hose. Use a level to ensure the barrel is even to prevent tipping.
Step 6: Connecting to your Garden
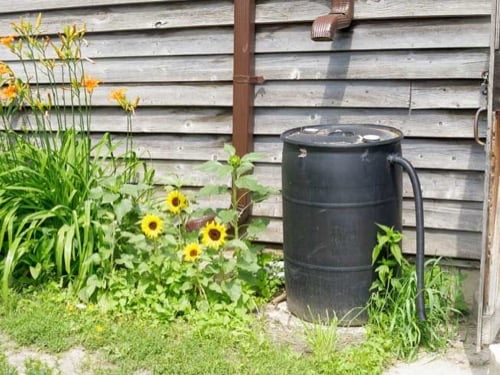
- Connect Garden Hose (Optional): If you want to connect a garden hose, attach a hose adapter to the spigot.
- Watering Can: The most common method for using your harvested rainwater is simply filling a watering can directly from the spigot.
Addressing Potential Challenges: Troubleshooting Tips
- Algae Growth: Algae can grow in rain barrels exposed to sunlight. To prevent this, paint the outside of the barrel a dark color or keep it in a shaded location. You can also add a small amount of chlorine bleach (a few tablespoons) to the barrel periodically to kill algae. Be sure to let the water sit for a few days before using it on edible plants.
- Mosquitoes: Mosquitoes can breed in standing water. Ensure the screen mesh on the barrel top is securely in place to prevent mosquitoes from entering. You can also add mosquito dunks (Bacillus thuringiensis israelensis or Bti) to the barrel, which are safe for plants and kill mosquito larvae.
- Filter Maintenance: Regularly clean the gutter guards and the screen mesh on the barrel top to prevent clogs.
- Overflow Issues: Ensure the overflow pipe is properly sloped and directs water away from your foundation. Consider extending the overflow pipe further away from the house if necessary.
Safety Precautions: A Word of Caution
- Always wear safety glasses and gloves when working with tools and materials.
- Be careful when drilling holes in the barrel.
- Ensure the rain barrel is stable and cannot be easily tipped over, especially if you have children or pets.
- Never drink rainwater collected from this system without proper filtration and purification. This system is intended for garden use only.
- Consult local regulations regarding rainwater harvesting. Some areas may have restrictions or requirements.
Optimizing your Rainwater Harvesting System
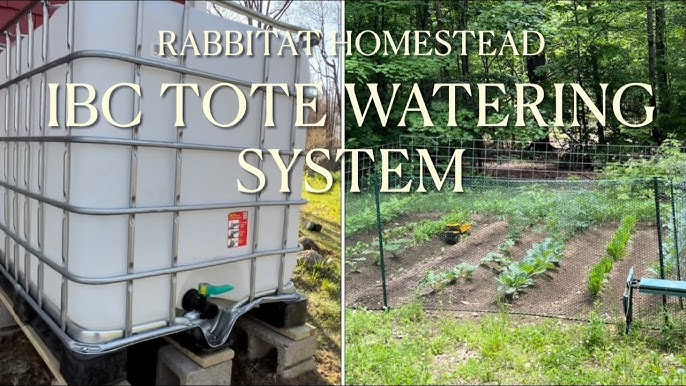
- First Flush Diverter: For the purest water, consider adding a first flush diverter to your system. This device captures the initial rainwater runoff, which contains the most contaminants from your roof.
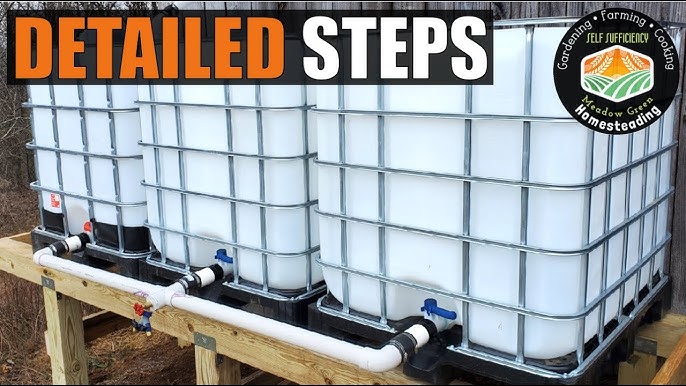
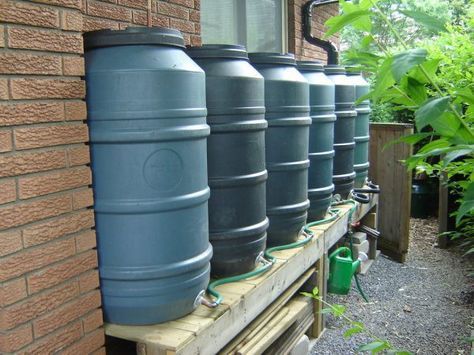
- Multiple Barrels: If you have a large garden or want to collect more rainwater, you can connect multiple rain barrels together using PVC pipes.
- Rain Chains: Replace your downspout with a rain chain for a decorative and functional way to direct water to your rain barrel.
Now It's Your Turn!
Building a rainwater harvesting system is a rewarding project that benefits both your garden and the environment. With these step-by-step instructions, you can create a sustainable water source for your plants and reduce your reliance on external resources.
We encourage you to share your experiences, ask questions, and post photos of your completed rainwater harvesting systems in the comments section below! We’d love to see your ingenuity in action.
Want to take your homesteading skills even further? Check out our other DIY guides on the Better Homes and Harvests website, including composting tips, building a raised garden bed, and creating your own organic fertilizer.
For further inquiries, feel free to reach out to me at [Your Name]@BetterHomesAndHarvests.com. Happy harvesting!
