
Sustainable Kitchen: DIY Beeswax Wraps and Winter Cast Iron Care
In the heart of a thriving homestead, the kitchen is more than just a place to prepare meals; it’s a hub of sustainability. Embracing eco-friendly practices not only reduces our environmental impact but also connects us more deeply to the food we eat and the resources we use. From reducing plastic waste to properly maintaining our cookware, small changes can make a significant difference. Today, we’ll dive into two essential aspects of a sustainable kitchen: creating DIY beeswax wraps and reviving your cast iron cookware for the winter season. Let's get started!
Part 1: Embrace Sustainable Food Storage: The Art of Beeswax Wraps
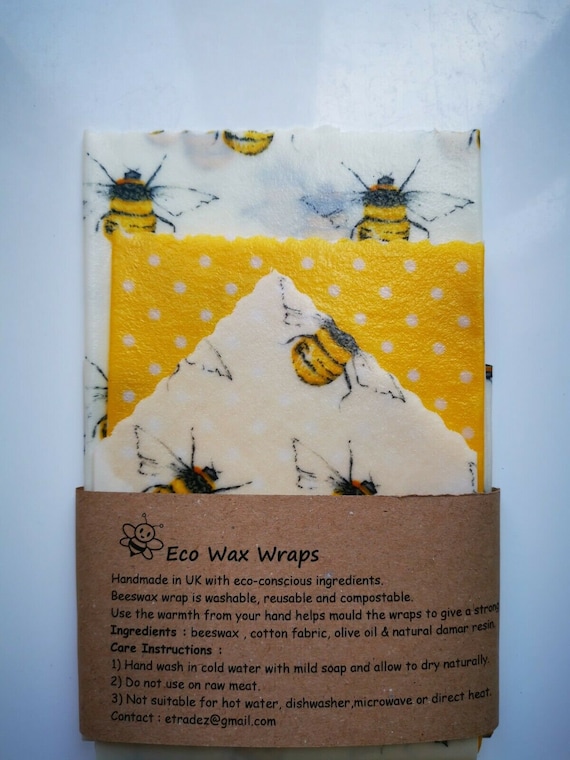
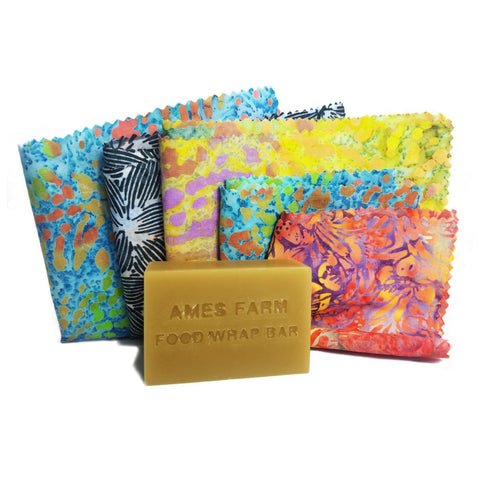
Plastic wrap has long been a kitchen staple, but its environmental consequences are hard to ignore. Single-use plastics contribute to landfill waste and ocean pollution. Beeswax wraps offer a fantastic alternative—they're reusable, biodegradable, and surprisingly easy to make. This project is not only cost-effective but also empowers you to reduce waste while adding a touch of homespun charm to your kitchen.
Alt Text: Hands pressing fabric on a baking sheet with beeswax mixture, showcasing the DIY process of making beeswax wraps.
Materials List
Before you begin, gather these materials:
- Upcycled cotton fabric scraps: 100% cotton, various sizes (small, medium, and large squares or circles), pre-washed
- Beeswax: Locally sourced or repurposed from old candles
- Pine resin: Food-grade
- Jojoba oil: Optional, for added pliability
- Pinking shears or rotary cutter
- Double boiler or heat-safe bowl and saucepan
- Baking sheet lined with parchment paper
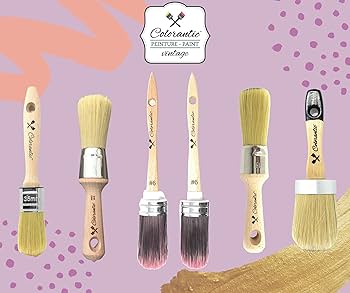
- Paintbrush: Natural bristle, dedicated for beeswax
Step-by-Step Instructions
Follow these simple steps to create your own beeswax wraps:
Prepare the Fabric: Using pinking shears or a rotary cutter, cut the cotton fabric into desired shapes. Small, medium, and large squares or circles are great for covering different sized bowls and containers.
Alt Text: Close up of various patterned cotton fabrics prepared for beeswax wrap crafting.Melt the Beeswax Mixture: In a double boiler (or heat-safe bowl over a simmering pot), melt beeswax, pine resin (ratio of 4:1 beeswax to pine resin), and jojoba oil (add a tablespoon or two if using). Stir until completely melted and well combined.
Alt Text: Mixture of beeswax and pine resin melting in a double boiler setup.Apply the Beeswax: Lay a fabric square on the parchment-lined baking sheet. Using the natural bristle paintbrush, evenly coat the fabric with the melted beeswax mixture. Ensure every part of the fabric is covered.

Alt Text: Evenly spreading the melted beeswax mixture onto a fabric square with a brush.Bake (Optional): Place the baking sheet in a preheated oven at 175°F (80°C) for 2-3 minutes, or until the beeswax is evenly distributed. Alternatively, use a heat gun to melt the beeswax evenly.
Alt Text: Beeswax-coated fabric baking on a parchment-lined baking sheet in the oven.Cool and Dry: Remove from the oven and let the wrap air dry for a few minutes until the beeswax has hardened.
Alt Text: Finished beeswax wraps hanging to dry after the baking process.
Tips and Tricks
- For a stronger hold, add a bit more pine resin to the beeswax mixture.
- If the beeswax mixture starts to harden while you're working, simply reheat it in the double boiler.
- Experiment with different fabric patterns to add a personalized touch to your wraps.
Care and Cleaning
To extend the lifespan of your beeswax wraps, gently wash them with cool water and mild soap. Avoid hot water and harsh detergents, as these can melt the beeswax. Let them air dry completely before storing. With proper care, your beeswax wraps can last for several months to a year.
Part 2: Winter Cast Iron Revival: Restoring and Maintaining Your Cookware
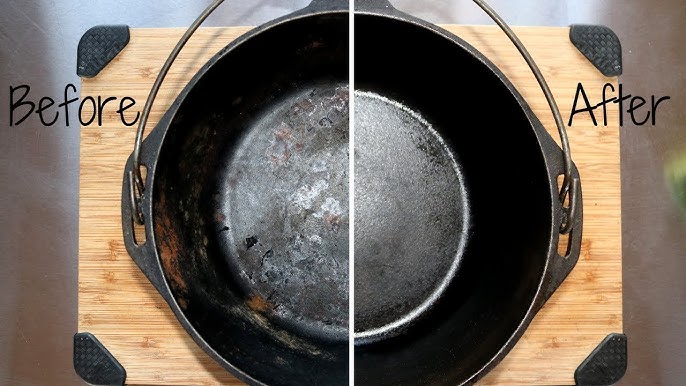
Cast iron cookware is a staple in any sustainable kitchen. Known for its durability and even heat distribution, cast iron can last for generations if properly cared for. Winter is an excellent time to give your cast iron some extra attention, ensuring it's ready for hearty stews, comforting baked goods, and all your cold-weather cooking adventures.
Alt Text: Display of different sizes of well-seasoned cast iron skillets, highlighting their rustic appeal.
Materials List
Gather these materials for cast iron maintenance:
- Stiff-bristled brush: Natural fiber
- Mild dish soap
- Clean cloths or paper towels
- High-heat oil: Flaxseed or grapeseed oil
- Oven
Step-by-Step Instructions
Follow these steps to revive and maintain your cast iron:
- Clean the Pan: Wash the cast iron pan with warm water and a stiff-bristled brush to remove any food residue. Use a small amount of mild dish soap if necessary. It’s a common misconception that soap ruins cast iron; a small amount won't hurt if you re-season properly afterward.
- Dry Thoroughly: Dry the pan completely with a clean cloth or place it in a warm oven to ensure it is completely dry and prevent rusting.
- Apply a Thin Coat of Oil: Pour a small amount of high-heat oil into the pan and use a clean cloth or paper towel to rub it evenly over the entire surface, inside and out. The key is a very thin coat; you should barely see the oil.
- Bake: Place the pan upside down in a preheated oven at 450°F (232°C) for one hour. Place a baking sheet on the rack below to catch any dripping oil.
- Cool and Store: Let the pan cool completely in the oven before storing.

Alt Text: Cast iron skillet cooling upside down in the oven after the oil seasoning process.
Troubleshooting
- Rust: If you find rust spots, use steel wool to remove them. Then, re-season the pan as described above.
- Sticky Pan: A sticky pan usually indicates too much oil was used during seasoning. Try re-seasoning with a thinner coat of oil.
- Uneven Seasoning: Ensure the oil is evenly distributed during the seasoning process. You may need to repeat the seasoning process several times to build up a good layer.
Call to Action
Sustainable living is a journey, and sharing knowledge is key. Why not host a beeswax wrap-making workshop with your neighbors or friends? It's a fun, hands-on way to share sustainable practices, build community, and inspire others to reduce their environmental footprint.