Sunlight's Return: Rebuilding a Barn Window for a Brighter Future for Your Livestock
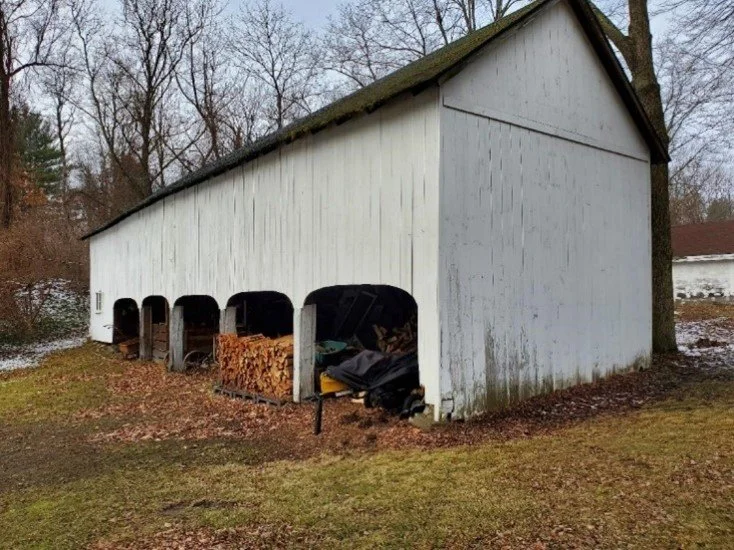
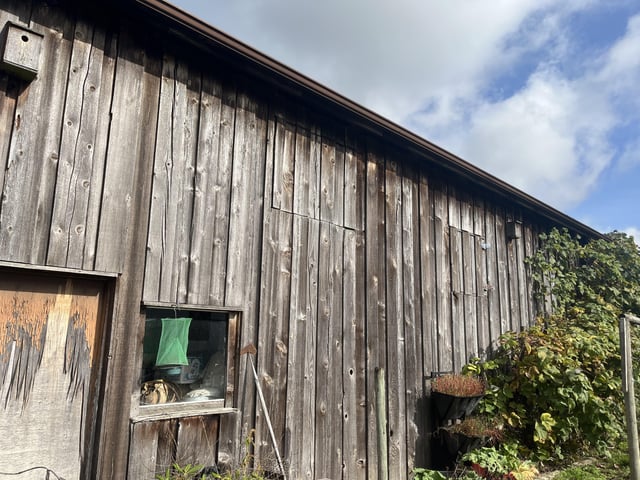
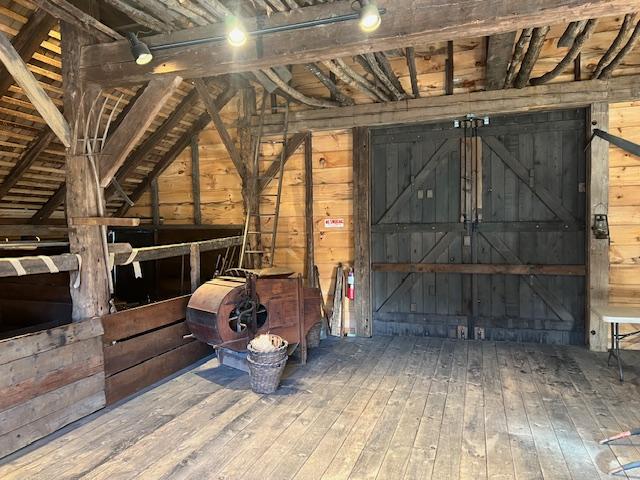
The old barn stands as a silent sentinel on our homestead, a repository of memories and a testament to generations of hard work. Its weathered wood whispers tales of countless harvests, sheltering livestock through harsh winters, and children playing hide-and-seek amidst hay bales. But time, as it inevitably does, has taken its toll. One particularly gloomy corner always bothered me - the stalls on the north side, perpetually shadowed due to a dilapidated, boarded-up window. It was time to bring the sunlight back. This blog post details the journey of rebuilding a barn window, a project that not only brightens our barn but also nourishes our animals and breathes new life into a cherished structure.
Why Bother with Barn Windows?
Before diving into the "how-to," let's consider the "why." A well-placed, functional barn window offers numerous benefits:
- Increased Natural Light: Sunlight is crucial for the health and well-being of livestock. It aids in vitamin D production, improves mood, and can even boost productivity.
- Improved Ventilation: Operable windows allow for better airflow, reducing humidity and minimizing the risk of respiratory problems in animals.
- Reduced Energy Costs: Natural light reduces the need for artificial lighting, lowering your electricity bill.
- Enhanced Aesthetics: A restored window simply looks better, improving the overall appearance of your barn and homestead.
Assessing the Damage and Planning Your Approach
The first step is to carefully assess the condition of your existing window opening. Is the frame rotted? Is the surrounding siding damaged? What type of window was originally installed? Answering these questions will guide your material selection and construction methods.
In our case, the original window frame was severely decayed and had been crudely boarded up years ago. We decided to completely remove the old frame and build a new one from scratch. This allowed us to customize the size and design for optimal light and ventilation.
Gathering Your Supplies (Frugally!)
One of the joys of homesteading is resourcefulness. We aimed to complete this project on a budget by repurposing materials whenever possible. Here's a list of what we used:
- Lumber: We sourced rough-sawn lumber from a local sawmill (consider using reclaimed lumber for a truly sustainable approach).
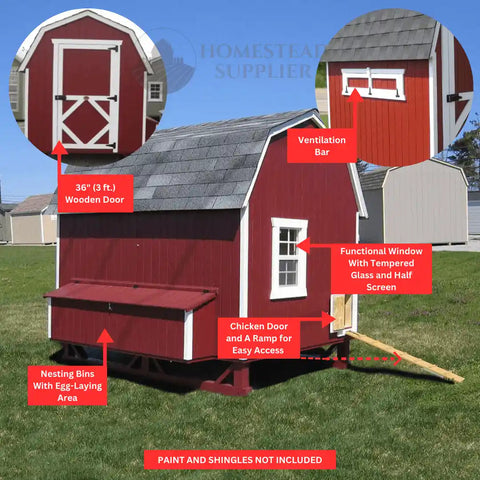
- Glass: We found a suitable piece of tempered glass at a salvage yard (check architectural salvage stores or online marketplaces). Plexiglass is also an option, but it scratches more easily.
- Hardware: Hinges, latches, screws, nails (check your existing stash before buying new).
- Caulk and Sealant: To weatherproof the window and prevent drafts.
- Paint or Stain: To protect the wood and match the barn's existing aesthetic.
Tools You'll Need:
- Safety Glasses
- Gloves
- Measuring Tape
- Pencil
- Saw (circular saw, hand saw, or reciprocating saw)
- Drill with various drill bits
- Screwdriver
- Hammer
- Chisel
- Level
- Square
- Caulking Gun
Step-by-Step: Rebuilding the Barn Window
Step 1: Demolition and Preparation
Carefully remove the old window frame and any surrounding damaged siding. Use a reciprocating saw to cut through stubborn nails or screws. Clean the opening thoroughly, removing any debris or rotted wood.
Step 2: Building the Frame
Measure the window opening accurately. Cut the lumber to size, ensuring that the frame is square and level. Assemble the frame using screws or nails, applying wood glue for added strength. A simple mortise and tenon joint provides superior strength, but simpler butt joints are perfectly adequate for smaller windows.
Step 3: Installing the Frame
Carefully position the frame within the window opening. Use shims to ensure that it's level and plumb. Secure the frame to the barn wall with screws, making sure to countersink them to prevent them from protruding.
Step 4: Glazing the Window
Clean the glass thoroughly. Apply a bead of caulk to the inside of the frame, where the glass will sit. Carefully place the glass into the frame, pressing it gently into the caulk. Secure the glass with glazing points or small brads.
Step 5: Adding the Finishing Touches
Install hinges and a latch to allow the window to open and close. Apply weather stripping around the frame to prevent drafts. Paint or stain the wood to protect it from the elements and match the barn's existing aesthetic.
A Note on Safety
Barn restoration projects can be dangerous. Always wear safety glasses and gloves when working with tools and materials. Be mindful of your surroundings and take precautions to prevent falls. If you're not comfortable working at heights, consider hiring a professional.
Step 6: (Bonus) Adding a Window Box
To further enhance the window and add some curb appeal, consider building a simple window box beneath it. Plant herbs or flowers to attract pollinators and brighten up the barn.
Benefits of Natural Light in the Barn
Increased natural light in the barn is a game-changer. Our chickens are noticeably more active and lay more eggs. The goats seem happier and healthier. And the overall atmosphere of the barn is much more inviting. Plus, we're saving money on electricity!
Before and After: A Transformation
The difference between the dark, gloomy corner of the barn and the bright, airy space with the new window is remarkable. It's a testament to the power of simple DIY projects and the satisfaction of breathing new life into an old structure.
Final Thoughts and Call to Action
Rebuilding a barn window is a rewarding project that offers numerous benefits for your livestock and your homestead. It's a chance to exercise your DIY skills, save money, and connect with the history of your land.
What's one neglected corner of your barn you dream of reviving? Share your plans in the comments below! We'd love to hear your stories and tips for bringing light and life back to these essential homestead structures. Let's share our successes and inspire each other!
Social Media Teaser:
Bring sunshine back to your barn! ☀️ Learn how to rebuild a barn window for healthier livestock and a brighter space. DIY project with big impact! #homesteading #barnrestoration #diy #sustainableliving #naturallight
