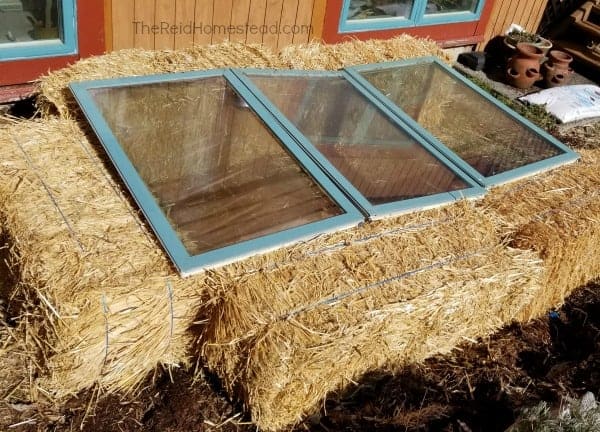
Sun-Kissed Greens: Build a DIY Cold Frame with Reclaimed Finds
I remember one particularly bleak November. The garden was a muddy mess, the last of the tomatoes long gone, and a craving for a fresh, vibrant salad hit me hard. The grocery store offerings were… uninspiring, to say the least. That's when I decided enough was enough. I needed a way to extend the growing season and enjoy homegrown greens even as the temperatures dipped. The answer? A simple, yet effective, passive solar cold frame built from reclaimed materials. And you can build one too!
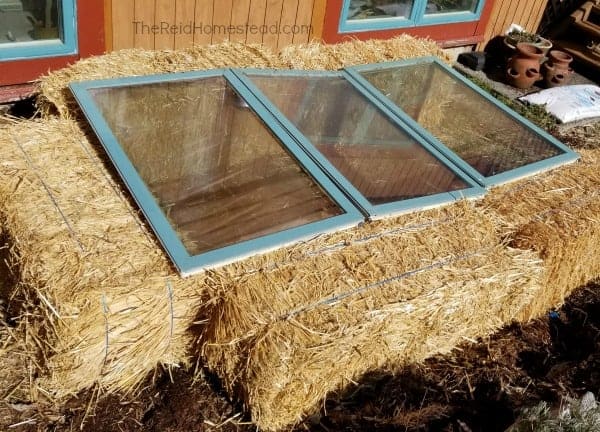
This isn't just about salad; it’s about reclaiming a little bit of control over our food supply, about self-sufficiency, and about embracing the resourceful spirit of homesteading.
Why This Cold Frame Design?
This cold frame design is ideal for beginners and frugal homesteaders for a few key reasons. First, it relies heavily on reclaimed materials. Think old windows, scrap lumber, even straw bales! This drastically reduces the cost and repurposes items that might otherwise end up in a landfill. Second, the design is simple. We're not talking about complex engineering here; it's a straightforward structure that anyone with basic carpentry skills can assemble.
Most importantly, it's effective. This passive solar design harnesses the power of the sun to create a warmer microclimate for your plants, extending your growing season by weeks, even months. This means fresh greens, herbs, and even early starts for spring seedlings, all without relying on electricity or complicated heating systems.
Benefits of a Cold Frame
- Extends the Growing Season: Enjoy fresh produce well into the late fall and early winter.
- Promotes Food Security: Reduce reliance on grocery stores and increase your self-sufficiency.
- Saves Money: Grow your own food and reduce your grocery bill.
- Environmentally Friendly: Uses reclaimed materials and reduces your carbon footprint.
- Provides a Head Start on Spring: Start seedlings earlier in the season, giving your plants a jump start.
Building Your DIY Passive Solar Cold Frame: A Step-by-Step Guide
Ready to get started? Here’s how to build your own cold frame:
Materials List:
- Old Window (approx. 3' x 6'): The heart of your cold frame! Check salvage yards, construction sites, or online marketplaces. (Estimated Cost: $0 - $30, depending on source)
- Scrap Lumber (2x4s, plywood): Enough to build a frame around the window. (Estimated Cost: $0 - $20, depending on your scrap pile)
- Hinges (2-3): To attach the window to the frame. (Estimated Cost: $5 - $10)
- Screws/Nails: For assembling the frame.
- Optional: Insulation (rigid foam, bubble wrap): To improve heat retention. (Estimated Cost: $10 - $20)
- Optional: Paint/Sealant: To protect the wood from the elements. (Estimated Cost: $10 - $15)
Tools:
- Saw (circular saw or hand saw)
- Drill/Screwdriver
- Measuring Tape
- Level
- Safety Glasses
- Gloves
Step 1: Measure and Plan
Measure your window carefully. This will determine the dimensions of your cold frame. You want the window to be the lid of your cold frame. Decide on the slope of your cold frame. A slope of 15-20 degrees facing south is ideal for maximizing sunlight capture.
Step 2: Build the Frame
Cut the lumber according to your measurements. Remember, the back of the cold frame needs to be taller than the front to create the slope for the window lid. Assemble the frame using screws or nails. Ensure the frame is square and sturdy.
Step 3: Attach the Lid
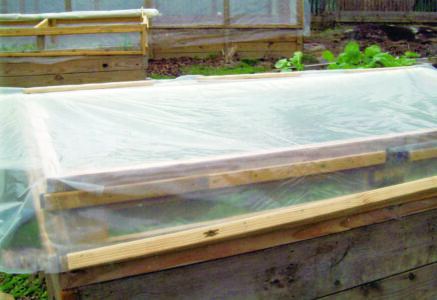
Attach the window to the frame using hinges. Position the hinges so that the window opens easily and closes securely.
Step 4: Insulate (Optional)
Line the inside of the frame with insulation material like rigid foam or bubble wrap. This will help retain heat and protect your plants from freezing temperatures.
Step 5: Paint/Seal (Optional)
Paint or seal the wood to protect it from the elements and prolong the life of your cold frame.
Step 6: Position Your Cold Frame
Choose a sunny spot in your garden that receives at least 6 hours of sunlight per day. Ideally, the cold frame should face south to maximize sunlight capture.
Step 7: Add Soil and Plants
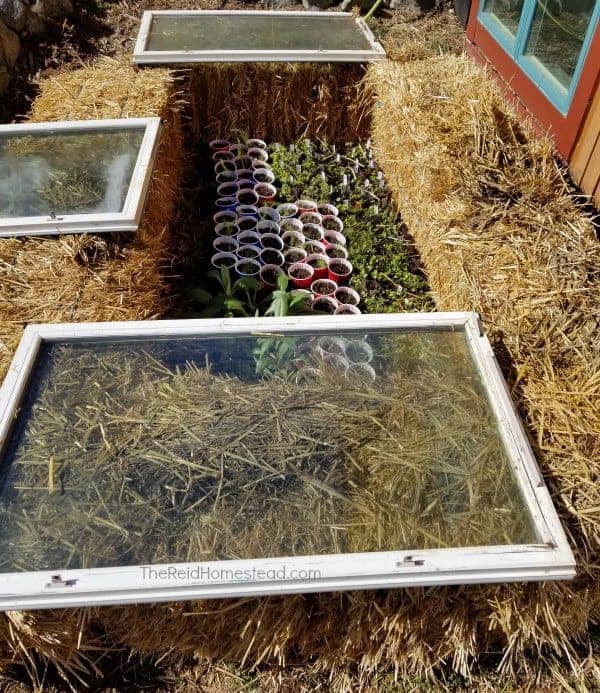
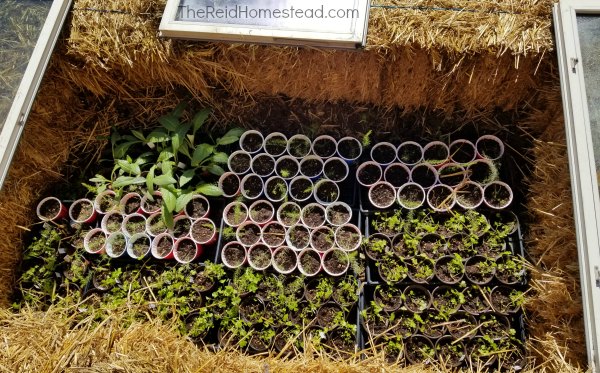
Add a layer of good quality garden soil or potting mix to the cold frame. Plant your seedlings or seeds, water them well, and close the lid.
Step 8: Venting and Monitoring
During sunny days, the cold frame can get very warm. It's important to vent the cold frame by propping open the lid slightly to prevent overheating. Monitor the temperature inside the cold frame regularly, especially during the first few days, to ensure your plants are comfortable.
Troubleshooting Common Challenges
- Overheating: Vent the cold frame regularly by propping open the lid. You can also use shade cloth to reduce sunlight exposure.
- Pests: Inspect your plants regularly for pests and take appropriate action. Companion planting and organic pest control methods can be effective.
- Cold Temperatures: Add extra insulation, such as blankets or straw bales, around the cold frame during particularly cold nights. You can also use a small, thermostatically controlled heater inside the cold frame for added protection.
Sourcing Affordable and Repurposed Materials
The beauty of this project is its affordability. Here are some tips for sourcing inexpensive or free materials:
- Salvage Yards: A goldmine for old windows, lumber, and other building materials.
- Construction Sites: Ask if they have any scrap lumber they're willing to give away.
- Online Marketplaces (Craigslist, Facebook Marketplace): Often have people selling or giving away used windows and lumber.
- Friends and Neighbors: Ask around – you might be surprised what people have lying around in their garages or sheds.
- Recycling Centers: Some recycling centers have building material sections where you can find reclaimed lumber and other items.
Personal Anecdotes and Lessons Learned
I learned early on that ventilation is key! I once lost a whole batch of seedlings to overheating on a surprisingly sunny February day. Now, I have a system of automatic vents that open when the temperature reaches a certain point. It’s a simple addition, but it has saved me a lot of heartache.
Another tip: don’t underestimate the power of location. Experiment with different spots in your garden to find the sunniest and most sheltered location for your cold frame. A few feet can make a big difference!
The Joy of Winter Gardening
There's something truly rewarding about harvesting fresh greens from your garden in the middle of winter. It's a tangible connection to the land and a reminder that even in the coldest months, life can still thrive. Building a cold frame is a small step towards greater self-sufficiency and a more sustainable way of life.
Call to Action
Now it’s your turn! I encourage you to build your own cold frame and experience the joy of winter gardening. Share your experiences, ask questions, and inspire others to join the movement. Let’s build a community of resourceful homesteaders who are passionate about growing their own food, no matter the season.
Ready to take your gardening game to the next level? Check out these other great articles on Better Homes and Harvests:
- Extend Your Harvest with Season Extension Techniques: [Insert Link to Relevant Article 1 Here]
- Building a Raised Garden Bed for Beginners: [Insert Link to Relevant Article 2 Here]
- Composting 101: A Guide to Building Healthy Soil: [Insert Link to Relevant Article 3 Here]
Happy gardening!