Stitch in Time, Save Your Wardrobe: The Homestead Guide to Clothes Mending
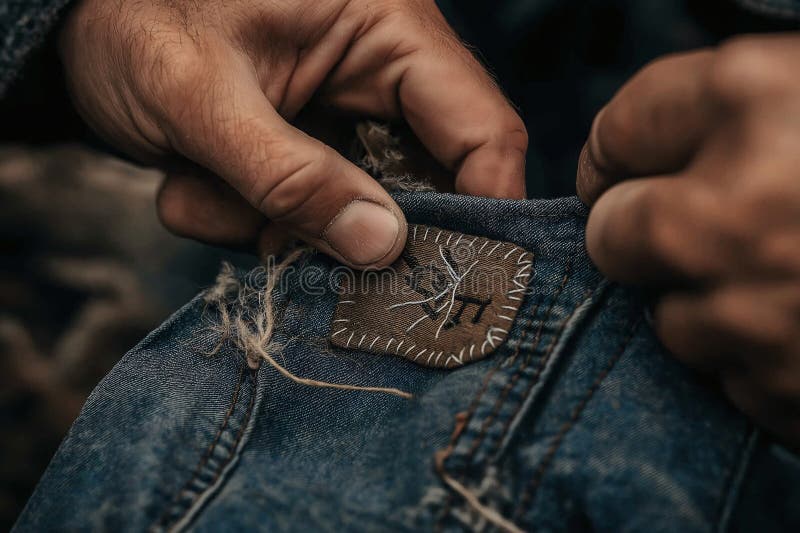
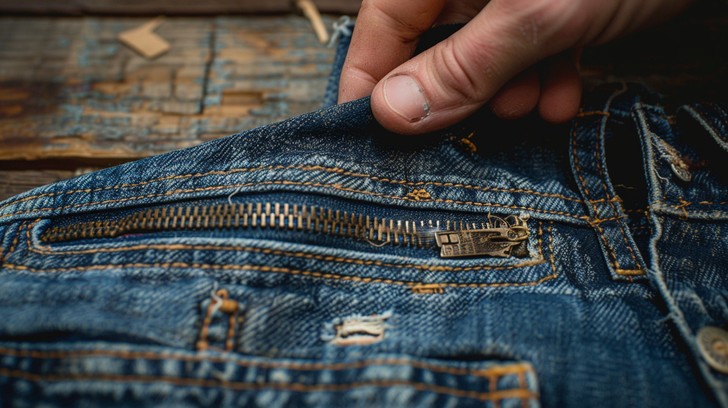
Remember that favorite pair of jeans? The ones perfectly broken in, molded to your shape, each faded patch telling a story of hard work and lazy Sunday afternoons? Mine are a soft, worn denim, comfortable as an old friend. They have a small tear near the pocket, a testament to a particularly ambitious blackberry harvest. Buying a new pair would be easier, sure, but tossing these feels... wrong. Like discarding a piece of my history. This feeling, this connection to our clothes, is exactly what’s missing in our disposable culture. It’s time to revive the lost art of mending.
We live in a world of fast fashion, where clothes are often treated as disposable. But on the homestead, resourcefulness is a virtue. Slow mending is a powerful counterpoint to this consumerism. It's about saving money, reducing textile waste, preserving sentimental items, and developing a valuable, and frankly, incredibly satisfying skill.
In this guide, we'll cover the basics of clothes mending, from gathering the right tools to mastering essential stitches and tackling simple projects. We’ll explore not only the practical aspects but also the emotional connection we have with our clothing and the satisfaction that comes from breathing new life into a well-loved garment. Think of it as adding another layer to your homesteading skill set – a way to weave sustainability and resourcefulness into the fabric of your life.

Gathering Your Mending Arsenal
Before you start mending, you'll need to gather a few essential tools. Think of it as building your mending toolbox. Fortunately, you don't need a lot to get started, and many of these items you might already have.
Here’s your basic mending arsenal:
- Needles: A variety of sizes is helpful. Thicker needles for heavier fabrics like denim and canvas, and finer needles for delicate fabrics like linen and silk. A good assortment will cover most mending needs.
- Thread: Invest in good quality thread in a range of colors to match your wardrobe. Consider cotton thread for most general repairs, polyester thread for added strength (especially for seams that get a lot of wear), and wool thread for mending woolen garments. Don't forget embroidery floss for decorative touches!
- Scissors: Sharp scissors are essential for clean cuts of thread and fabric.
- Pins: Use pins to hold fabric in place before stitching.
- Thimble: Protect your fingers! A thimble is especially important when working with thick fabrics.
- Seam Ripper: Indispensable for removing unwanted seams or stitches.
- Measuring Tape: Helpful for measuring fabric and ensuring accurate patch placement.
Optional but helpful tools include a mending loom (for darning larger holes), a darning egg (a smooth, rounded object used as a base for darning socks and other knitwear), and beeswax (running your thread through beeswax strengthens it and reduces tangling).
Don't feel you have to buy everything brand new. Check thrift stores, antique shops, and even your own drawers for existing supplies. An old sewing box can be a treasure trove! The key takeaway is to equip yourself with the right tools for successful and, dare I say, enjoyable mending. Don't underestimate the power of good quality supplies – they make a huge difference in the outcome and the process.

Mastering the Basic Mending Stitches
Learning a few basic mending stitches is like unlocking a secret language. With just a handful of techniques, you can tackle a wide range of repairs. Here are some essential stitches to master:
- Running Stitch: This is the most basic stitch, used for quick repairs, gathering fabric, and creating decorative effects. Simply weave the needle in and out of the fabric, creating a dashed line. Keep your stitches even and consistent.
- Back Stitch: A stronger stitch than the running stitch, the back stitch is ideal for repairing seams, outlining patches, and creating durable lines. Bring the needle up through the fabric, then back down through the previous stitch. Repeat, creating a solid line.
- Whip Stitch: Used for edging fabric, attaching patches, and securing raw edges to prevent fraying. Bring the needle up through the edge of the fabric and then over and down, creating a wrapping effect.
- Blind Stitch: The magic stitch for creating invisible hems and repairs. Take a small stitch in the fold of the hem, then a small stitch in the main fabric, concealing the thread between the layers.
- Ladder Stitch: Perfect for closing openings neatly, such as ripped seams or holes in stuffed animals. With the edges of the opening aligned, create vertical stitches across the gap, then pull the thread tight to close the opening like a ladder.
- Darning: A technique for repairing holes in knitwear, such as socks and sweaters. Use a darning needle and yarn to create a woven patch over the hole, interlacing the yarn to create a strong and seamless repair.
Practice these stitches on scrap fabric until you feel comfortable with them. There are countless video tutorials available online for visual learners. The key is to practice and experiment! Remember, neat and even stitches not only look better but also create a stronger and more durable repair.

Practical Mending Projects for Beginners
Ready to put your new skills to the test? Here are a few simple mending projects to get you started:
Project 1: Patching a Hole in Jeans or a Work Shirt
- Choose your patch: Select a fabric patch that matches or complements the garment. Denim patches are readily available, or you can repurpose fabric from old clothes.
- Cut the patch to size: Make sure the patch is slightly larger than the hole.
- Pin the patch in place: Position the patch over the hole on the inside of the garment and secure it with pins.
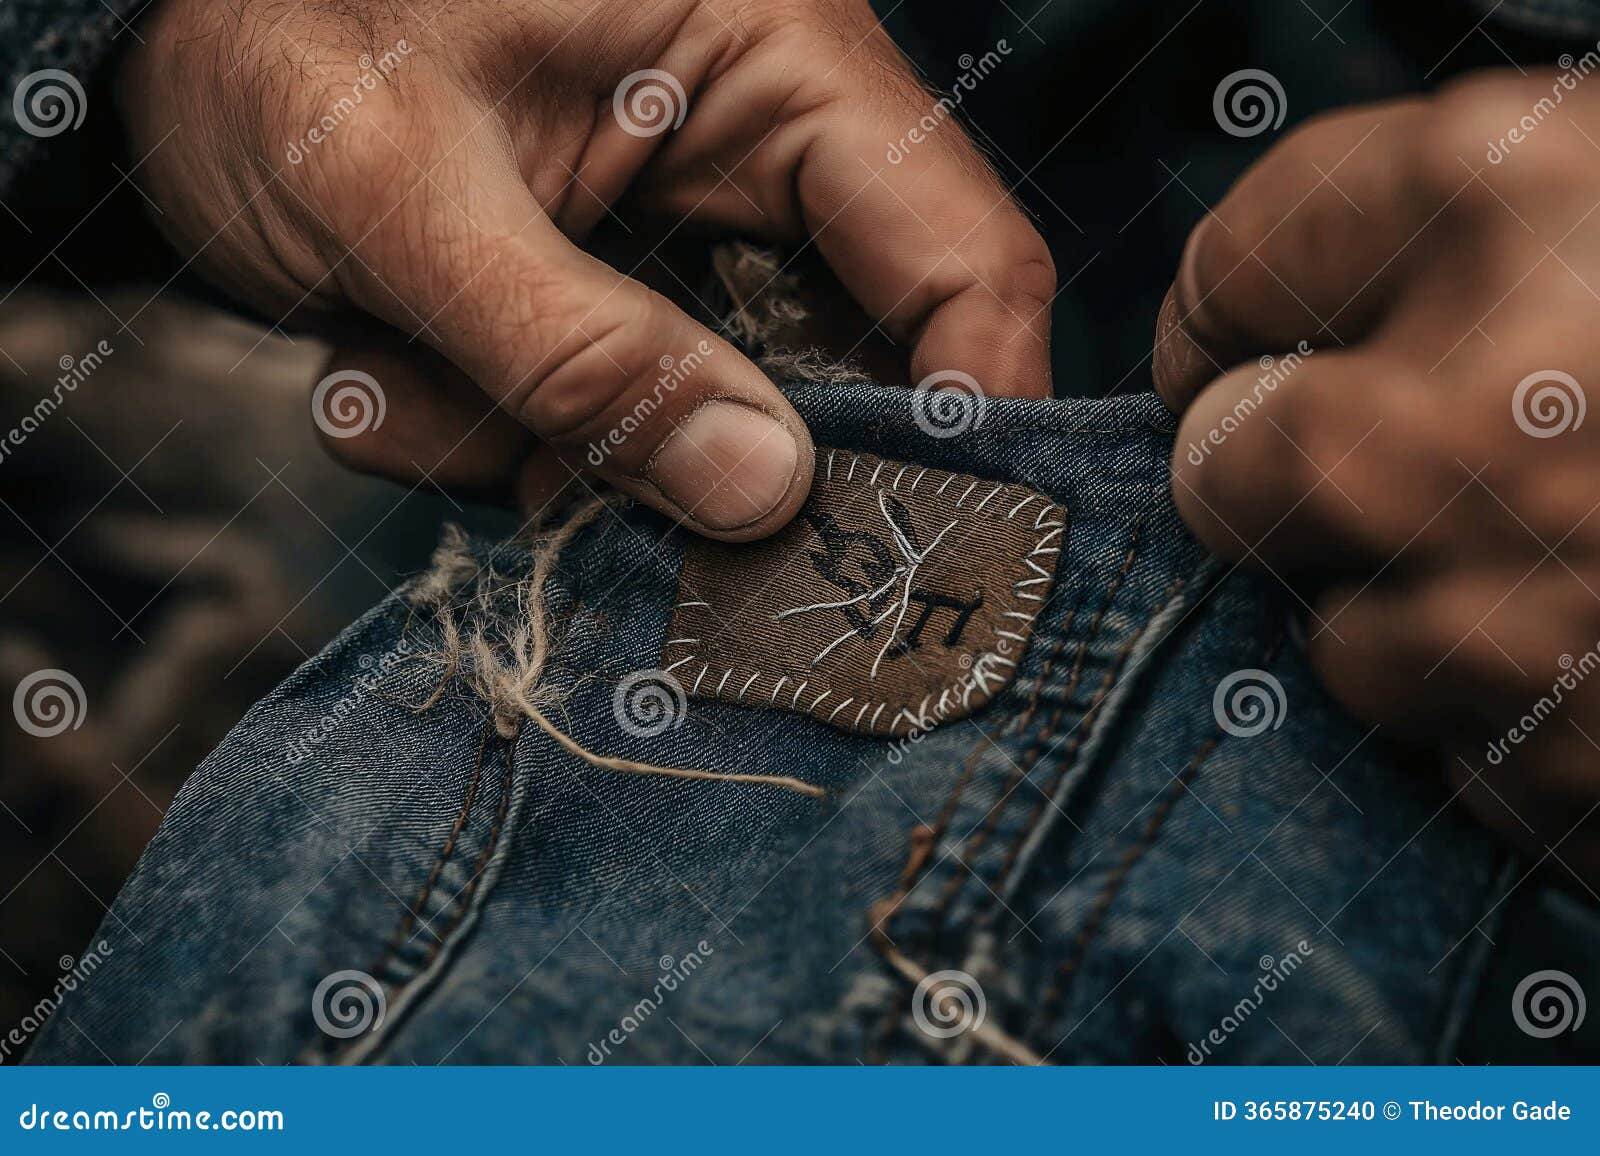
- Whip stitch around the edges: Use a whip stitch to attach the patch to the garment, ensuring the edges are securely fastened.
- Add Decorative Stitching: For a decorative and added reinforcement, consider a decorative stitch using embriodery floss!
Project 2: Reinforcing a Weak Seam
- Identify the weak seam: Examine the seam for loose threads or areas where the fabric is pulling apart.
- Use a back stitch: Reinforce the seam by stitching over it with a back stitch, following the existing seam line.
- Replace the seam (if necessary): If the seam is severely damaged, remove the old stitches with a seam ripper and create a new seam using a back stitch.
Project 3: Replacing a Button
- Secure the thread: Double thread your needle and knot the end.
- Thread the button: Pass the needle through the holes in the button, repeating several times to secure it firmly.
- Create a shank (if needed): If the button needs to sit away from the fabric (e.g., on a coat), create a shank by wrapping the thread around the stitches beneath the button.
- Secure the thread again: Pass the needle through the fabric and knot the thread on the inside of the garment.
Start with small, low-stakes projects to build confidence. Remember, every mended garment is a victory! Don't be afraid to experiment and learn by doing.
Caring for Mended Garments for Longevity
Mending is just the first step. Proper care ensures your mended garments last longer and require less frequent repairs.
- Gentle Washing Methods: Hand washing or using the delicate cycle on your washing machine is best. Use cold water to prevent shrinkage and fading.
- Natural Laundry Detergents: Harsh chemicals can damage fabrics and weaken stitches. Opt for natural laundry detergents that are gentle on your clothes and the environment.
- Air Drying: Avoid machine drying, which can cause shrinkage and damage. Air drying is gentler on fabrics and helps preserve their shape.
- Proper Storage: Store mended garments properly, either folded neatly or hung on hangers, to prevent wrinkles and creases.
- Regular Inspection: Inspect your garments regularly for new wear and tear. Catching small problems early can prevent them from becoming larger and more difficult to repair.
- Fabric Specific Techniques: Research ways to properly mend certain fabrics.
Beyond Function: The Emotional Value of Mending
Mending is more than just fixing clothes; it's a way to connect with our past, appreciate our present, and create a more sustainable future.
Think about the clothes you own that hold special memories. The dress you wore on your first date, the sweater your grandmother knitted, the work shirt that’s seen countless days in the garden. These items are more than just fabric; they're imbued with stories and emotions.
Mending these garments is a way to honor those memories and cherish those connections. It's a mindful and creative activity that allows us to slow down, appreciate the things we have, and connect with the generations who came before us. My grandmother taught me how to sew when I was a little girl, and every time I mend something, I feel a connection to her and to the traditions of resourcefulness and self-sufficiency that she instilled in me.
So, embrace the art of mending, not just as a practical skill, but as a way to connect with your past, appreciate your present, and create a more sustainable future.
In conclusion, mending clothes is a valuable homesteading skill that aligns with the values of resourcefulness, sustainability, and self-sufficiency. It saves money, reduces textile waste, preserves memories, and connects us to a simpler, slower way of life. It's a small act of rebellion against the disposable culture that surrounds us, and a powerful way to create positive change, one stitch at a time.
Now it is your turn! What's your favorite mending project or the garment you love the most? Share your experiences and tips in the comments below! And don't forget to share your mending creations on social media using #HomesteadMending!