Sprout Joy: Seed Paper Holiday Cards for a Blooming New Year
The holiday season, for all its joy and connection, often comes with a hefty dose of… stuff. Mountains of wrapping paper destined for the landfill, gifts that quickly lose their luster, and an overall pressure to consume can leave us feeling disconnected from the true spirit of the season. But what if we could reclaim the magic of the holidays by focusing on simplicity, sustainability, and giving back to the earth? This year, let’s ditch the disposable and embrace a more meaningful way to spread holiday cheer: with handmade seed paper greetings.
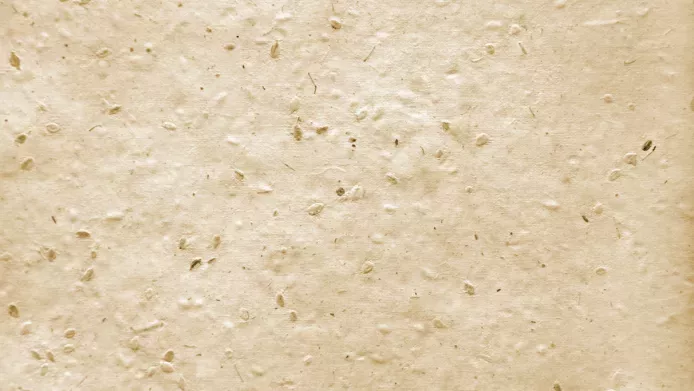
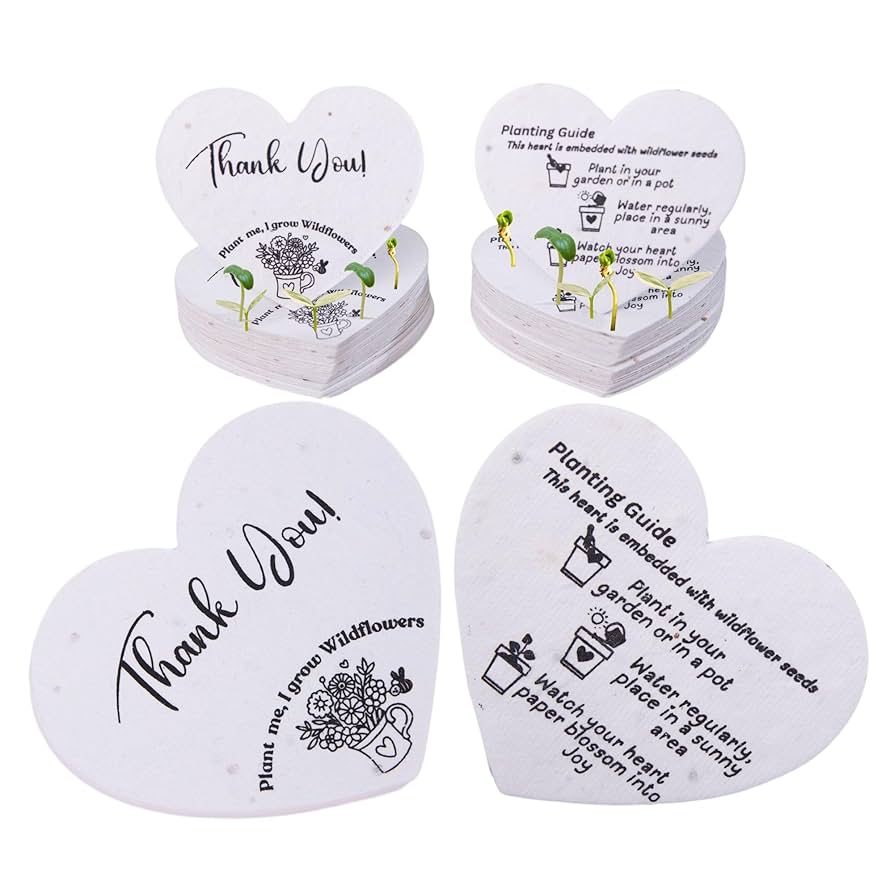
Seed paper, a biodegradable paper embedded with wildflower seeds, offers a beautiful and eco-friendly alternative to traditional holiday cards. Imagine gifting your loved ones not just a greeting, but the potential for a vibrant patch of wildflowers that will nourish pollinators and bring joy long after the holidays are over. It’s a gift that truly keeps on giving!
In this post, we’ll guide you through the simple process of creating your own seed paper greetings, from gathering your materials to designing sprout-able masterpieces. Get ready to sow a seed of kindness and spread some blooming joy this holiday season!

Gathering Your Seeds and Materials: Nature's Palette
The foundation of any good seed paper is, of course, the seeds themselves. But before you grab just any packet, it's crucial to consider the environmental impact of your choices. This isn't just about making a pretty card; it's about supporting your local ecosystem. The single most important thing to consider is using native wildflower seeds.
Why Native Seeds Matter:
Native wildflowers are perfectly adapted to your region's climate and soil conditions. They provide essential food and habitat for native pollinators like bees, butterflies, and hummingbirds. Planting non-native species can disrupt local ecosystems and even become invasive.
Where to Source Your Seeds:
- Seed Saving: If you have a garden, consider saving seeds from your own native wildflowers. This is a sustainable and rewarding way to connect with the natural cycle.
- Local Seed Suppliers: Support local nurseries and seed companies that specialize in native plants. They can provide expert advice and ensure you're getting the right seeds for your region.
- Ethical Wildcrafting: In some areas, it may be possible to ethically wildcraft seeds from native wildflowers. However, it's crucial to obtain permission from landowners and be knowledgeable about plant identification and sustainable harvesting practices. Avoid disturbing rare or endangered species.
- Avoid Invasive Species: Carefully research any seeds you purchase to ensure they are not considered invasive in your area. Many online resources can help you identify invasive species.
Beyond the Seeds: Other Essential Materials:
- Recycled Paper Scraps: Gather a variety of recycled paper scraps in different colors and textures. Old newspapers, junk mail, office paper, and even used paper towels can be used.
- Blender: A standard kitchen blender is needed to create the paper pulp.
- Water: Clean water for soaking and blending the paper.
- Basin or Tray: A shallow basin or tray to hold the paper pulp and screen.
- Screen or Cloth: A fine-mesh screen or piece of cloth (like cheesecloth or muslin) to form the seed paper.
- Rolling Pin: A rolling pin or sponge to press out excess water from the pulp.
- Cookie Cutters/Stencils (Optional): For creating shaped seed paper greetings.
Safety First: Always exercise caution when using a blender. Keep hands away from the blades and supervise children closely.

Key Takeaway: Selecting the right seeds is crucial for a successful and environmentally beneficial project. Consider the recipient's region and avoid invasive species.
The Pulp Fiction: Crafting Your Seed Paper
Now that you've gathered your materials, it's time to get your hands dirty (or pulpy!). Making seed paper is a surprisingly simple and rewarding process.
Step-by-Step Guide:
Soak the Paper: Tear the recycled paper scraps into small pieces and place them in a bowl or basin. Cover with water and let soak overnight. This will soften the paper and make it easier to blend.
Blend the Pulp: Drain the soaked paper and transfer it to a blender. Add fresh water, about 2-3 cups per handful of paper. Blend on high speed until the paper is broken down into a smooth pulp. You may need to add more water to achieve the desired consistency. The pulp should be thick but pourable.
Add the Seeds: Pour the paper pulp into a basin or tray. Gently mix in the wildflower seeds. Be careful not to add too many seeds, as this can make the paper brittle. A good ratio is about 1-2 tablespoons of seeds per cup of pulp.
Form the Paper: Place a screen or piece of cloth over the basin. Pour a thin layer of the seed-embedded pulp onto the screen, spreading it evenly.
Press Out the Water: Use a rolling pin or sponge to gently press out the excess water from the pulp. This will help the paper to dry faster and become more durable.
Dry the Paper: Carefully transfer the seed paper to a flat surface covered with a clean cloth or parchment paper. Allow it to dry completely, which can take several hours or even overnight, depending on the humidity. You can speed up the drying process by placing the paper in a warm, well-ventilated area.
Cut and Shape (Optional): Once the paper is partially dry but still pliable, you can use cookie cutters or stencils to create shaped greetings.
Tips for Success:
- Experiment with Textures: Try using different types of recycled paper to create unique textures. For example, adding shredded corrugated cardboard can give the paper a rustic look.
- Add Natural Dyes: Enhance the color of your seed paper by adding natural dyes to the pulp. Beet juice will create a pink hue, while spinach juice will give it a green tint.
- Incorporate Dried Flowers: Add dried flower petals or herbs to the pulp for added visual and aromatic appeal.
- Don't Overblend: Be careful not to overblend the paper pulp, as this can make the fibers too short and weak.
- Gentle Handling: Handle the wet seed paper with care, as it is delicate and can tear easily.
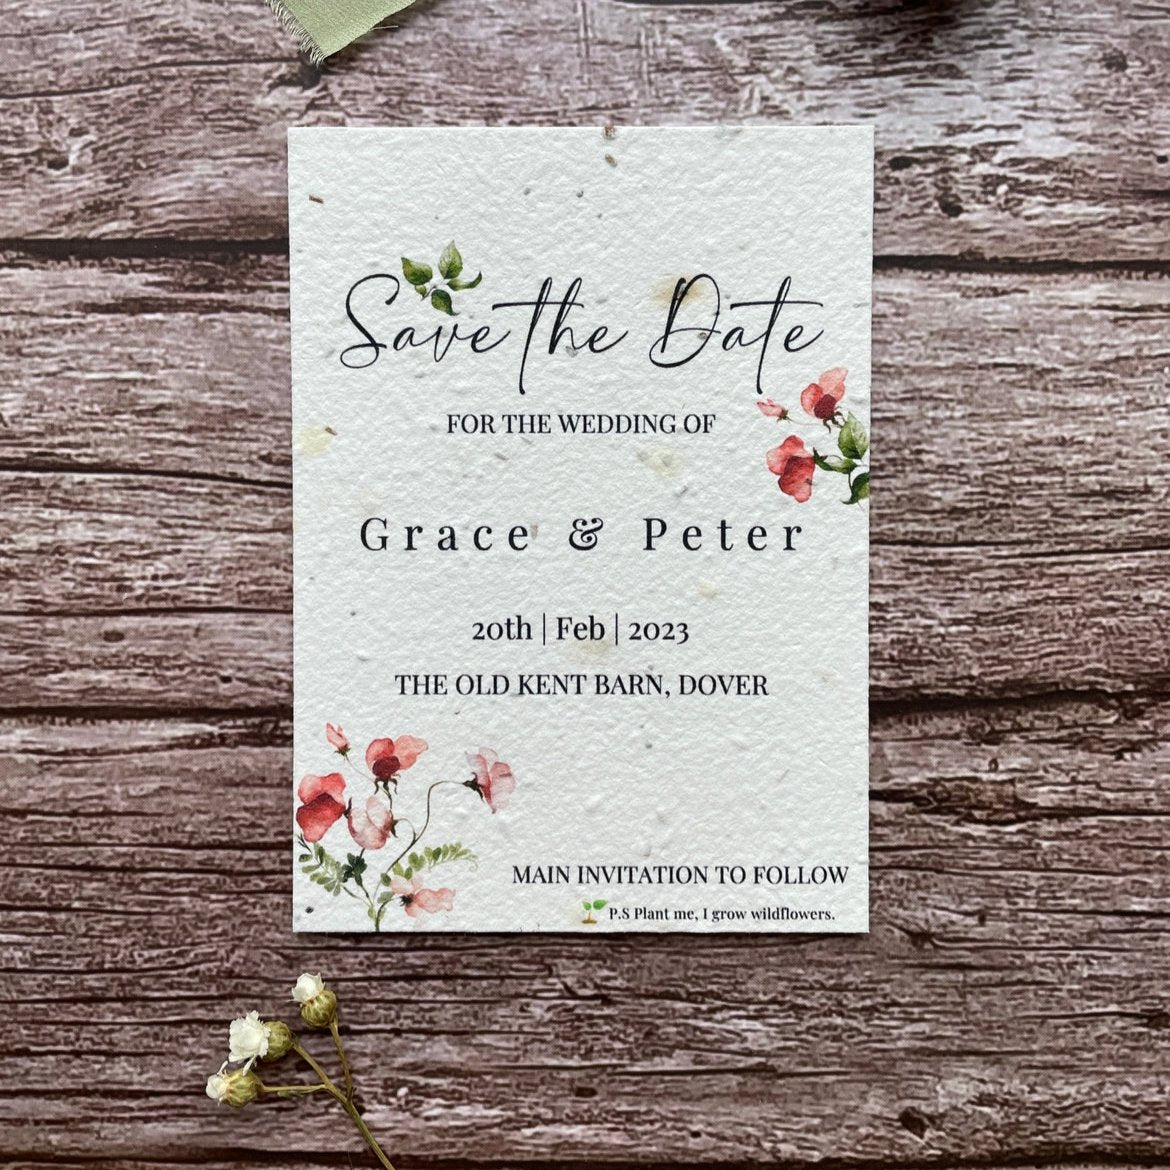
Key Takeaway: Making seed paper is a simple and rewarding process that transforms waste into something beautiful and useful. Emphasize the importance of even pulp distribution and gentle handling.
Designing Your Sprout-able Greetings
Now comes the fun part: designing your seed paper greetings! Let your creativity blossom and personalize each card with heartfelt messages and natural embellishments.
Creative Design Ideas:
- Simple Rectangular Cards: Cut the dried seed paper into rectangular shapes and write personalized messages with a fine-tipped marker or pen.
- Shaped Ornaments: Use cookie cutters to create festive shapes like stars, hearts, or snowflakes. Punch a hole in the top and thread with twine for hanging on a tree.
- Gift Tags: Cut small pieces of seed paper into tag shapes and attach them to presents with ribbon or twine.
- Mini Seed Bombs: Roll small balls of seed paper pulp into mini seed bombs. Package them in small burlap bags or paper envelopes.
Natural Dyes and Inks:
- Beet Juice: Creates a pink or red hue.
- Spinach Juice: Adds a green tint.
- Charcoal Powder: Creates a gray or black color.
- Coffee Grounds: Can be used to create a brown or sepia tone.
Hand-Lettering and Stenciling:
- Practice simple hand-lettering techniques to add personalized messages to your seed paper greetings.
- Use stencils to create festive designs or patterns.
Packaging:
- Package your seed paper greetings attractively using recycled materials like brown paper bags, twine, or fabric scraps.
- Consider adding a small sprig of dried lavender or rosemary for an extra touch of fragrance.
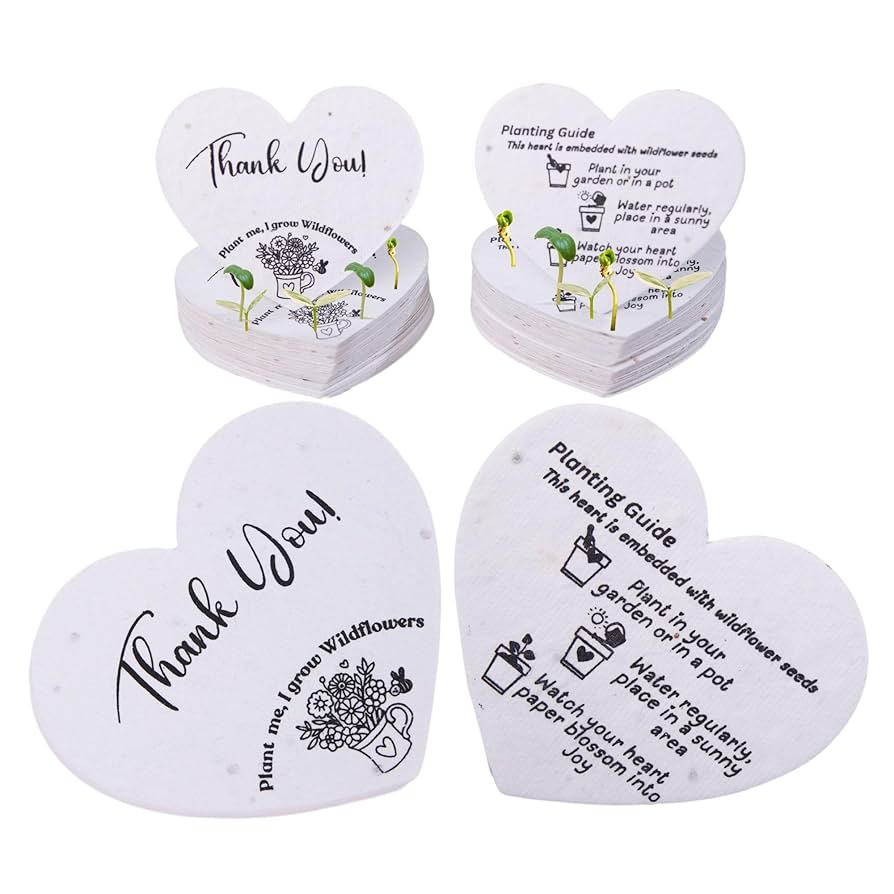
Key Takeaway: Let your creativity blossom when designing your seed paper greetings. Incorporate natural elements and personalized touches to make them truly special.
Giving the Gift of Growth: Planting Instructions and Care Tips
The final touch is providing your recipients with clear and concise planting instructions so they can successfully grow the wildflowers from their seed paper greetings.
Planting Instructions:
Include clear and concise planting instructions on the seed paper greeting or a separate tag. For example:
- Soak the seed paper in water for a few minutes.
- Place the soaked seed paper on top of soil in a pot or garden bed.
- Cover lightly with more soil.
- Keep the soil moist until seedlings emerge.
- Place the pot or garden bed in a sunny location.
Care Tips:
- Provide tips for optimal growing conditions, such as sunlight, watering, and soil type.
- Mention that recipients can simply tear up the seed paper and scatter it in their garden if they prefer.
- Suggest including information about the wildflowers that will grow from the seed paper, highlighting their benefits to pollinators and the local ecosystem.
Important Considerations:
- Allergies: Address the potential for allergies from the flowers to family pets or individuals. Include a list of flowers included in the seed mix.
- Climate Appropriateness: Reiterate that the seeds are chosen for the recipient's specific climate to ensure successful growth.
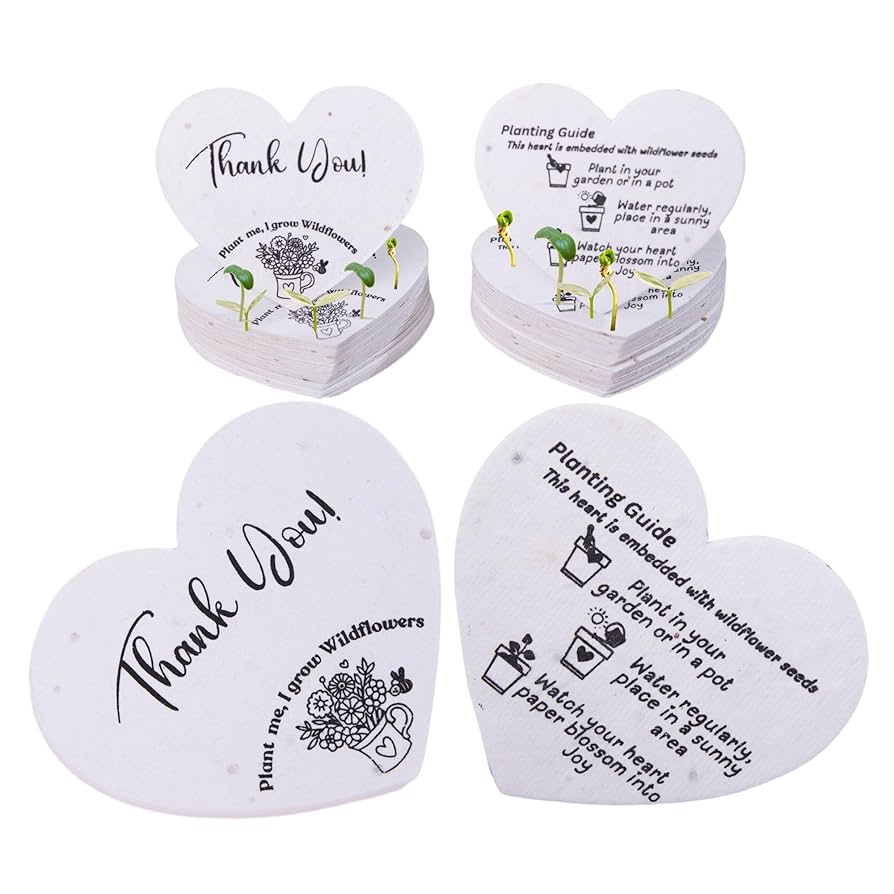
Key Takeaway: Providing clear planting instructions ensures that the recipient knows how to successfully grow the wildflowers from the seed paper. Educate them about the benefits of their gift to the environment.
A Blooming Holiday Season
This holiday season, let's move away from the fleeting joy of disposable gifts and embrace the lasting beauty of sustainable giving. Making seed paper greetings is a simple, creative, and deeply rewarding way to connect with nature, share joy with loved ones, and give back to the earth. It's a gift that embodies the true spirit of the holidays: a celebration of growth, connection, and the beauty that surrounds us. It encourages slow living and emphasizes the value of experiences over things, providing your family with a creative project that honors the earth.
Try making your own seed paper holiday greetings this year and share your creations with us on social media using #BetterHomesandHarvestsSeedPaper! What are your favorite native wildflowers to include in seed paper? Share your recommendations in the comments below!