Slow Stitching, Lasting Memories: Crafting Heirloom Holiday Stockings
The holidays. A time for joy, connection, and…stress? All too often, the pursuit of “perfect” gifts leads to crowded malls, endless online browsing, and a general feeling of being overwhelmed. But what if we could reclaim the spirit of the season by slowing down, connecting with our creativity, and giving gifts that truly come from the heart? This year, I invite you to join me in a cherished tradition: crafting slow-stitched holiday stockings. Forget the fleeting thrill of a store-bought item; these are gifts built with intention, filled with love, and destined to become treasured family heirlooms. They are tangible reminders of our time and effort, and, best of all, they breathe new life into fabric scraps destined for the landfill. Welcome to the art of slow stitching – a mindful, sustainable, and deeply rewarding way to celebrate the season. Get ready to gather your materials, settle in for some cozy stitching, and create stockings that will tell a story for generations to come.

Section 1: Gathering Your Homestead-Inspired Materials
The beauty of slow stitching lies in its accessibility. You don't need fancy equipment or expensive supplies to create something truly special. The core principle is repurposing and upcycling, breathing new life into forgotten materials. My grandmother always said, "Waste not, want not," and this project embodies that perfectly.
Fabric Scraps: Raid your fabric stash! Cotton, linen, wool – anything goes. Old sweaters with interesting textures, vintage quilts with faded charm, even remnants from past sewing projects can be transformed into beautiful stocking panels. Don't be afraid to mix and match patterns and textures for a truly unique look.
Homestead Treasures: If you're lucky enough to have a homestead, look to your surroundings for inspiration. Naturally dyed yarn from your sheep's wool adds a personal touch (even small amounts left over from other projects work!). Dried flowers from your garden can be pressed and stitched onto the stocking for a touch of natural beauty. Perhaps you even grow your own flax for linen, the fibers of which can be woven into a small accent piece.
Essential Tools: You'll need a few basic tools to get started:
- Needles: A variety of needle sizes will be helpful, depending on the thickness of your fabric. Embroidery needles are ideal for adding decorative stitches.
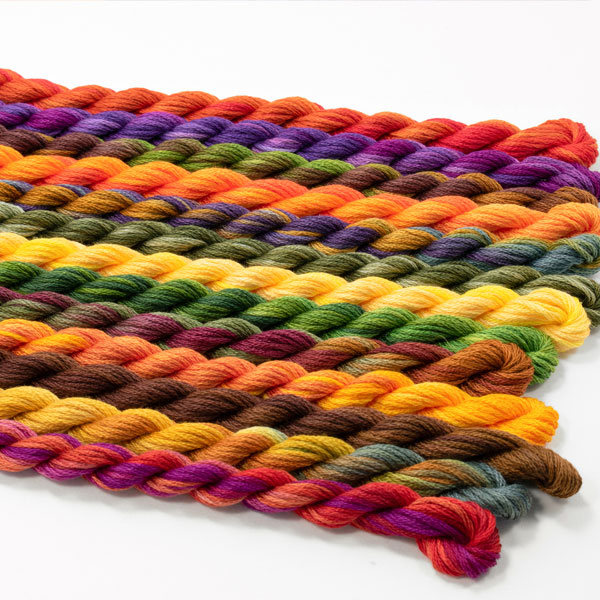
- Thread: Embroidery floss in various colors, cotton thread for piecing, and even yarn scraps can be used.
- Scissors: Sharp fabric scissors are a must for clean cuts.
- Pins: To hold fabric pieces together while stitching.
- Templates: Optional, but helpful for creating a consistent stocking shape. You can find templates online or simply trace an existing stocking.
- Fabric Markers: For transferring your design to the fabric.
Foraged Embellishments & Natural Dyes: Consider the environmental impact of your choices. Instead of buying new embellishments, forage responsibly for small twigs, interesting leaves (dried of course), or pinecones to add a rustic touch. Research natural dyeing techniques using plants from your garden or local area. Onion skins, avocado pits, and black walnuts can all create beautiful, eco-friendly dyes. Always practice ethical foraging and leave no trace behind.
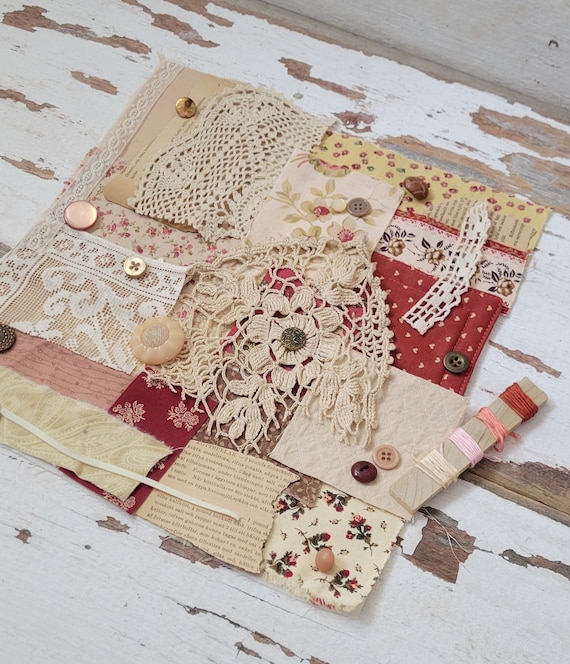
Key Takeaway: Prioritize using what you already have or can ethically source from nature and your homestead. Every scrap tells a story, and by incorporating these materials into your stockings, you're adding layers of meaning and history.
Section 2: Designing Your One-of-a-Kind Stocking
Now comes the fun part – bringing your vision to life! Don't feel pressured to create something perfect. The beauty of handmade items is their unique character.
Basic Stocking Shape & Size: A standard stocking is typically around 12-15 inches long and 6-8 inches wide at the top opening. But feel free to adjust these dimensions to suit your preferences. A paper template is helpful for ensuring a consistent shape.
Creating a Template: You can find free stocking templates online, trace an existing stocking, or create your own. Simply draw the desired shape on a piece of paper, adding a seam allowance of about 1/2 inch around the edges.
Planning Your Design: Before you start cutting and stitching, take some time to plan your design. Consider the overall theme. Do you want a rustic, cozy feel? A whimsical, playful look? Or a minimalist, modern design?
Colors & Patterns: Choose colors and patterns that reflect the season or the recipient's personality. Earthy tones, reds, greens, and blues are classic choices for the holidays. Don't be afraid to experiment with different patterns, textures, and embellishments.
Motifs for Inspiration: Look to nature, folklore, and holiday traditions for inspiration. Snowflakes, stars, winter animals (deer, squirrels, birds), holiday plants (holly, mistletoe, pinecones), and monograms are all popular choices. You could even create a miniature landscape scene using fabric scraps and embroidery.
Transferring Your Design: Once you have a design in mind, use a fabric marker to transfer it to the fabric. If you're using a dark fabric, you may need to use a light-colored pencil or chalk.
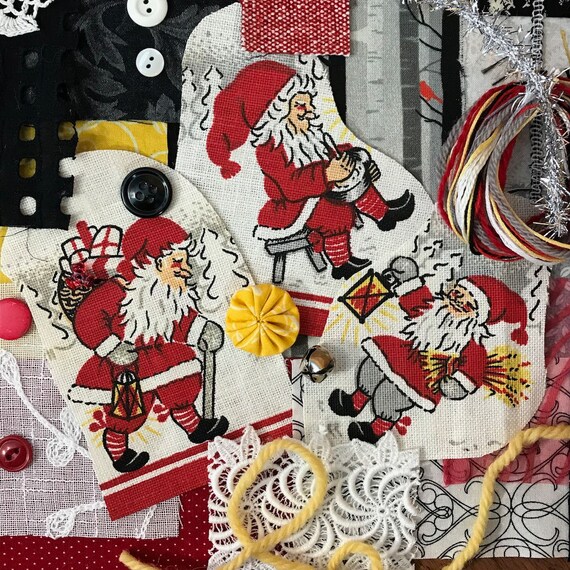
Key Takeaway: Take the time to plan your design thoughtfully, considering both aesthetics and the recipient's preferences. This is a chance to personalize the stocking and make it truly special.
Section 3: The Art of Slow Stitching - A Step-by-Step Guide
Now for the heart of the project: the slow, deliberate act of stitching. This isn't about speed or perfection; it's about savoring the process, connecting with your creativity, and letting your hands guide you.
Cutting Out Your Fabric Pieces: Using your template, cut out two pieces of fabric for the outer stocking and two pieces for the lining.
Layering & Pinning: Place the two outer fabric pieces right sides together and pin along the edges. Repeat with the lining pieces.
Choosing Your Stitches: A variety of stitches can be used to create different effects. Here are a few basics:
- Running Stitch: A simple, straight stitch that's ideal for piecing fabric together or adding subtle details.
- Back Stitch: A stronger stitch that creates a solid line. Perfect for outlining shapes or adding definition. To execute, bring the needle up a short distance from where the thread exits and then backstitch.
- Blanket Stitch: A decorative stitch that's often used to finish edges. Can also be used decoratively.
- French Knots: Small, textured knots that add a touch of whimsy. Bring needle up, wrap thread around the needle several times, insert near where the thread exited and pull through slowly.
Adding Embellishments: This is where you can really let your creativity shine! Embroider snowflakes, applique fabric shapes, create a patchwork design, or add quilted details. The possibilities are endless.
Closing the Stocking: Stitch around the edges of the outer fabric pieces, leaving the top open. Repeat with the lining pieces. Clip the curves to reduce bulk. Turn the outer stocking right side out. Place the lining inside the outer stocking, right sides together, matching the top edges. Stitch around the top edge, leaving a 4-inch opening. Turn the stocking right side out through the opening. Stitch the opening closed.
Adding a Loop: Cut a length of ribbon, yarn, or fabric and fold it in half to create a loop. Stitch the ends of the loop to the inside of the stocking at the top edge.
Slow stitching is more than just a craft; it's a form of meditation. The rhythmic motion of the needle and thread can be incredibly calming and therapeutic. It’s a way to disconnect from the digital world and reconnect with your inner self. Plus, it's inherently sustainable. You're using materials that might otherwise be discarded, reducing your reliance on commercially produced goods.
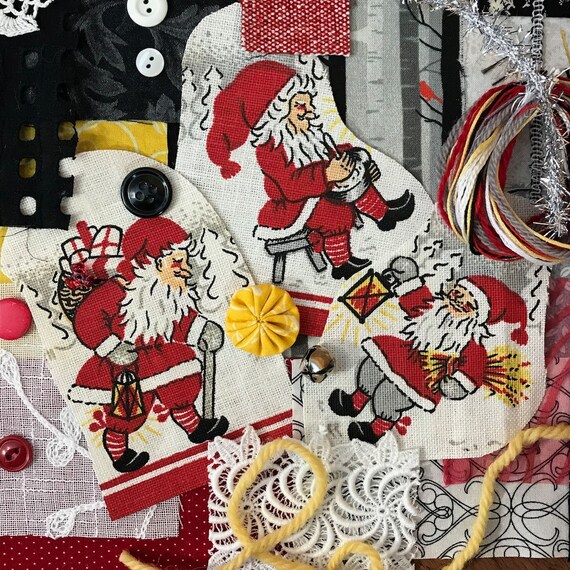
Key Takeaway: Focus on enjoying the process of slow stitching rather than striving for perfection. Embrace the imperfections and let them add to the unique character of your handmade creation.
Section 4: Personalizing Your Handmade Stockings
The most meaningful gifts are those that are personalized and tailored to the recipient. These stockings are no exception.
Monogramming: Adding a monogram is a classic way to personalize a stocking. You can hand-stitch initials, create fabric letters using applique, or even use fabric stamps.
Meaningful Embellishments: Incorporate elements that hold special significance for the recipient. Charms that represent their hobbies, buttons from a beloved garment, vintage finds with sentimental value, or even small family heirlooms can all be added.
Natural Dyes: Use natural dyes to customize the fabric colors and patterns. Experiment with different techniques to create unique shades and textures.
Reflecting Interests: Consider the recipient's hobbies, interests, or favorite things. If they love gardening, add embroidered flowers or a tiny fabric trowel. If they're passionate about animals, create a miniature animal scene.
Hidden Message: Sew a small pocket inside the stocking and tuck in a handwritten note, a small photograph, or a special keepsake.
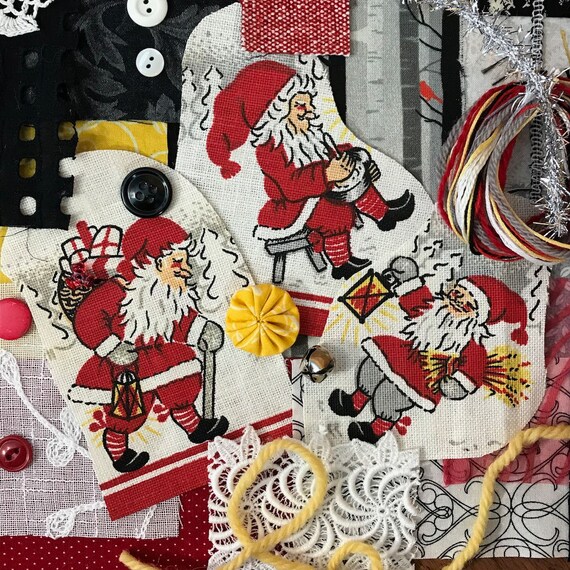
Key Takeaway: Make each stocking unique and special by adding personal touches that reflect the recipient's personality and interests. This is what will truly make it a treasured heirloom.
Section 5: Caring for Your Heirloom Stockings
These handmade stockings are more than just decorations; they're investments in memories and traditions. Proper care will ensure that they can be enjoyed for generations to come.
Gentle Washing: Hand washing is the best way to clean your stockings. Use a mild detergent and avoid harsh chemicals. Spot cleaning can also be effective for minor stains.
Proper Storage: Store your stockings in a cool, dry place away from direct sunlight. Use acid-free tissue paper to protect them from damage. Consider storing them in a cedar chest or with moth repellent to prevent insect infestations.
Mending and Repairing: Over time, your stockings may experience some wear and tear. Learn basic mending techniques so you can repair any damage and keep them looking their best.
Passing Down the Tradition: The most important way to care for your stockings is to pass them down as family heirlooms. Share the stories behind them and encourage future generations to continue the tradition of slow stitching and handmade gifts.

Key Takeaway: Treat your handmade stockings with care so they can be enjoyed for generations to come. They're not just decorations; they're tangible reminders of love, creativity, and tradition.
Conclusion: A Gift of Time and Tradition
In a world obsessed with speed and instant gratification, slow stitching offers a welcome antidote. These slow-stitched holiday stockings are more than just gifts; they're acts of love, creativity, and resistance against the tide of consumerism. By taking the time to create something by hand, you're not only giving a beautiful and unique present, but you're also giving a piece of yourself. You're sharing your time, your skill, and your heart. This holiday season, let's reclaim the true spirit of giving by embracing the art of slow stitching. Let's create lasting memories, nurture our creativity, and reconnect with the simple joys of handmade traditions.

Call to Action:
I hope you're inspired to try your hand at slow-stitching holiday stockings this year! I know it might seem daunting at first, but I promise the process is incredibly rewarding.
What are some of your favorite handmade holiday traditions? Share your thoughts and experiences in the comments below! I'd love to hear how you're making this holiday season more meaningful and sustainable. Don’t forget to share your creations using the hashtag #BetterHomesStitchedHolidays! I can't wait to see what you create. Happy Stitching!