Slow Stitching Christmas: A Mindful Ornament Tradition for the Homestead
Are you craving a holiday season filled with peace and connection, rather than the usual whirlwind of shopping and stress? Do you long for simpler times, when handmade treasures adorned the tree, carrying stories and love from generations past? If so, slow stitching might be the perfect antidote to the commercial frenzy of Christmas.
[VISUAL: hands stitching ornament fabric scraps]
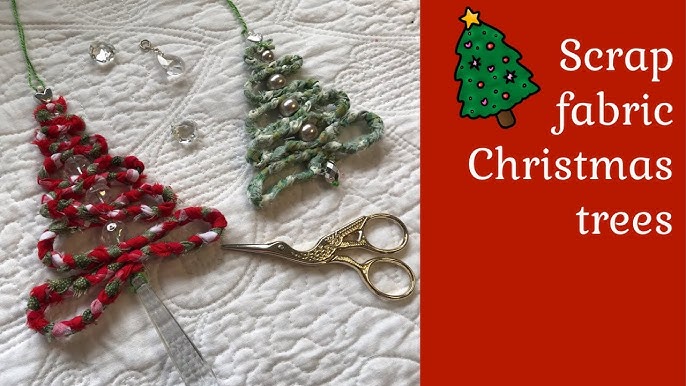
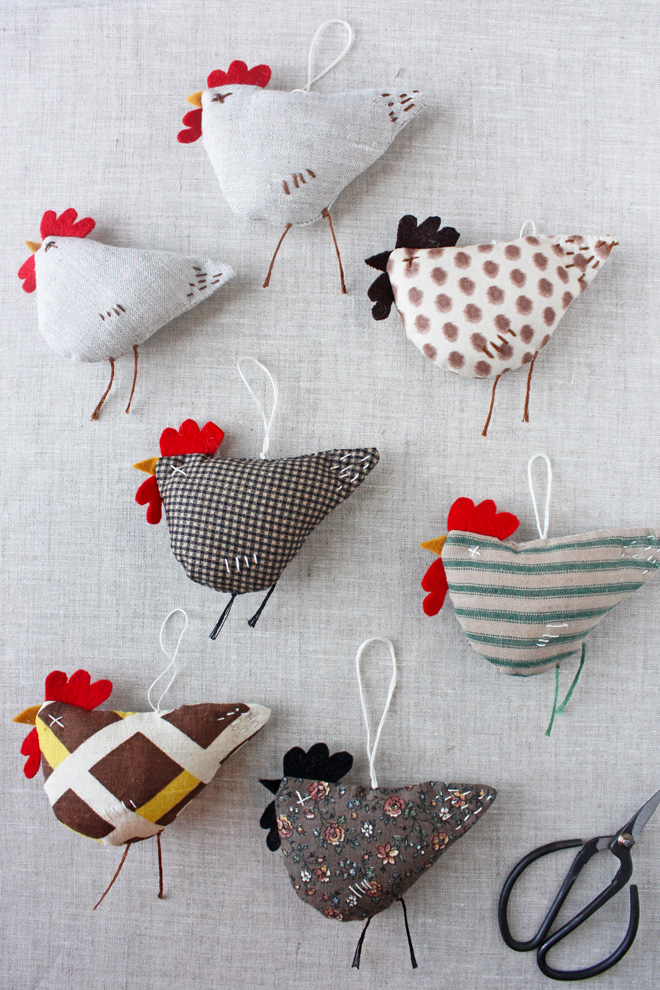
Slow stitching is a meditative craft that emphasizes the process of creating over the perfection of the finished product. It’s about slowing down, connecting with your materials, and finding joy in the simple act of stitching. In this blog post, we'll explore how to create beautiful, sustainable slow stitching ornaments that will become cherished heirlooms for your family. These handmade treasures are a beautiful, eco-friendly alternative to mass-produced decorations, offering a grounding escape from holiday chaos and a tangible way to create meaningful, sustainable décor. We'll delve into the history of ornament making, its connection to family traditions, and guide you step-by-step through the process of creating your own handmade hygge ornaments.
Section 1: Gathering Your Supplies: From Stash to Sustainable Stitches
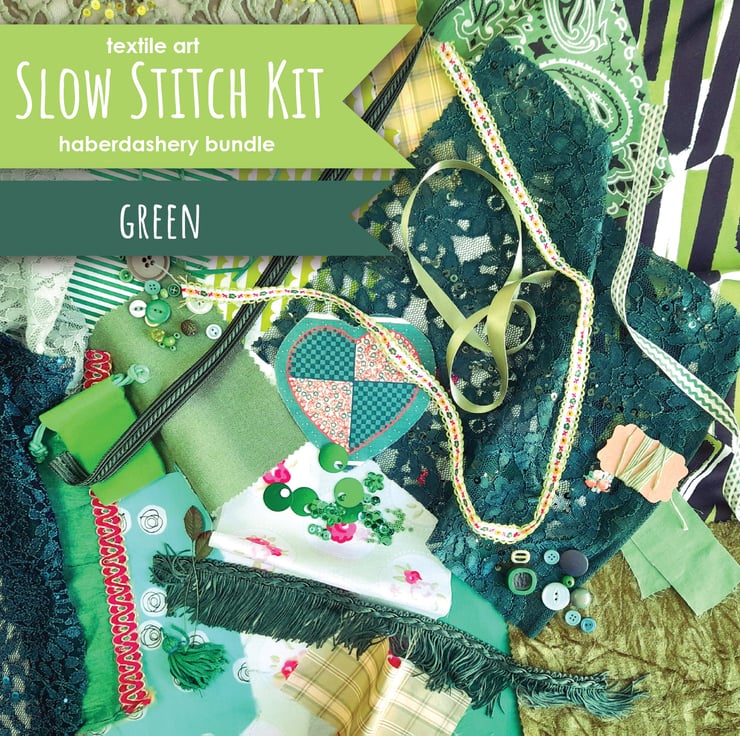
The beauty of slow stitching lies in its accessibility and its inherent sustainability. Instead of buying new materials, we'll focus on repurposing fabric scraps, using leftover threads, and incorporating natural elements. This mindful approach not only minimizes waste but also adds a unique character to your ornaments, telling a story of resourcefulness and creativity.
[VISUAL: fabric scraps embroidery thread scissors needles]
- Fabric Selection: Raid your stash of fabric scraps! Old clothes, linens, and even textile projects that didn't quite pan out can find new life as charming ornaments. Consider the textures and colors – a piece of worn denim offers a rustic feel, while a remnant of silk adds a touch of elegance. Look for sustainable options like organic cotton, hemp, or even felted wool sweaters that have seen better days. We recently repurposed an old, holey merino wool sweater into the softest, most comforting ornaments.
- Thread Variety: Don't limit yourself to just embroidery floss. Explore different types of threads and yarn, from cotton and silk to wool. Leftover skeins from knitting projects are perfect for adding pops of color and texture. For a truly unique touch, experiment with natural dyes made from plants and flowers in your garden.
- Needles and Notions: Choose needles that are appropriate for the fabric you're using. A sharp needle will glide through tightly woven fabrics, while a blunt needle is ideal for knit or loosely woven materials. A thimble can be helpful if you're working with thicker fabrics or using tight stitches. You'll also need a good pair of scissors for cutting fabric and thread. For stuffing, consider using wool batting, cotton scraps, or even dried herbs for a fragrant touch. For ornament hangers, wire, twine, or ribbon all work beautifully.
- Optional Embellishments: Let your creativity shine with embellishments! Beads, buttons, dried flowers, seeds, and other natural elements can add delightful details to your ornaments. Foraging for small pinecones or seed pods during a nature walk can provide unique and sustainable additions.
- Prioritizing Sustainability: The key is to minimize waste and embrace sustainable sourcing. Check out thrift stores for vintage fabrics and notions, swap with friends who are also crafters, and prioritize natural and biodegradable materials whenever possible.
[VISUAL: close-up various sustainable stitching materials]
Key Takeaway: By focusing on using what you already have and sourcing sustainable materials, you can minimize waste and create truly unique ornaments that reflect your commitment to the environment.
Section 2: Mastering the Basic Stitches: A Guide to Simple Embroidery
You don't need to be an expert embroiderer to create stunning slow stitching ornaments. In fact, the beauty of this craft lies in its simplicity. We'll focus on a few beginner-friendly stitches that can be easily mastered, allowing you to create intricate designs with minimal effort.
[VISUAL: hand demonstrating running stitch fabric close-up]
- Simple Stitch Sampler: Let's start with the basics:
- Running Stitch: This is the most basic stitch, used for creating lines and outlines. Simply bring the needle up through the fabric, then down a short distance away, repeating the process.
- Back Stitch: This stitch creates a solid line, perfect for outlining shapes and adding detail. Bring the needle up through the fabric, then down a short distance away. Bring the needle up again, slightly ahead of the previous stitch, and then down into the end of the previous stitch.
- Blanket Stitch: This decorative stitch is often used to finish edges, but it can also be used to create beautiful borders on your ornaments. Bring the needle up through the fabric, then down a short distance away. Bring the needle up again, slightly to the left of the previous stitch, creating a loop. Pass the needle through the loop before pulling the stitch tight.
- French Knot (Optional): This decorative knot adds a touch of elegance. Bring the needle up through the fabric, wrap the thread around the needle two or three times, then insert the needle back into the fabric very close to where it came up. Hold the thread taut while you pull the needle through.
- Practice Makes Perfect: Before you start working on your ornament, take some time to practice these stitches on a scrap piece of fabric. This will help you get a feel for the thread, needle, and fabric, and allow you to experiment with different stitch lengths and tensions.
- Embrace Imperfection: Remember, the beauty of handmade items lies in their imperfections. Don't strive for perfection – embrace the unique character of each stitch and enjoy the meditative quality of the process.
[VISUAL: various beginner-friendly embroidery stitches detailed diagram]
Key Takeaway: Even simple stitches can create beautiful and meaningful ornaments. Focus on the process, let your creativity flow, and enjoy the act of creating something special with your own hands.
Section 3: Bringing Your Ornament to Life: Step-by-Step Assembly
Now that you've gathered your supplies and practiced your stitches, it's time to bring your ornament to life! This step-by-step guide will walk you through the process of assembling your slow stitched masterpiece.
[VISUAL: hands sewing together ornament stuffing showing]
- Cutting and Preparing Fabric: Use a template (download free ones online!) or freehand draw your desired ornament shape onto a piece of paper. Cut out two identical pieces of fabric using your template. Remember to leave a seam allowance of about 1/4 inch around the edges.
- Embellishing and Stitching: Before you stitch the ornament together, now is the time to add your embellishments. Secure beads, buttons, and other small items with a few stitches. Use your chosen embroidery stitches to create a design on the front of the ornament. I often stitch simple stars or snowflakes.
- Joining the Front and Back: Place the two fabric pieces together, with the right sides facing out. Stitch around the edges of the ornament, leaving a small opening (about 1-2 inches) for stuffing. Use a back stitch or blanket stitch to create a neat and secure seam.
- Stuffing and Closing: Carefully stuff the ornament with your chosen filling, making sure to distribute it evenly to avoid lumps. Once the ornament is fully stuffed, close the opening with a neat, invisible stitch.
- Adding a Hanger: Cut a length of wire, twine, or ribbon. Fold it in half to create a loop and attach it to the top of the ornament with a few stitches.
[VISUAL: finished slow stitched ornaments hanging on a twig tree]
Key Takeaway: By combining simple stitching with thoughtful embellishments, you can create unique, personalized ornaments that will bring joy to your home for years to come.
Section 4: Beyond the Tree: Giving the Gift of Handmade Hygge
Slow stitching ornaments aren't just for decorating the Christmas tree. They can also be used as gift tags, window decorations, or even strung together to create a beautiful garland. And, of course, they make thoughtful and heartfelt gifts for loved ones.
[VISUAL: slow stitched ornament tied ribbon wrapped gift]
- Ornament Gift Tags: Instead of buying generic gift tags, create personalized ones using fabric scraps or recycled paper. Attach a small slow stitching ornament to each gift for a touch of handmade charm.
- Gift Wrapping Ideas: Embrace eco-friendly gift wrapping by using fabric scraps, brown paper, or reusable bags. Tie a slow stitching ornament to the package for a unique and sustainable finishing touch.
- Ornament Gift Sets: Create themed gift sets by combining multiple ornaments. For example, a set of winter-themed ornaments for a new homeowner, or a set of nature-inspired ornaments for a gardener.
- Ornament as a Symbol: Ornaments can be more than just decorations – they can also be powerful symbols of love, friendship, and cherished memories. Give an ornament that represents a special moment or relationship to make the gift even more meaningful. For a family experiencing a loss, a stitched heart can symbolize enduring love.
- Alternative Uses: Don't limit yourself to just the Christmas tree. Hang ornaments in windows to catch the light, string them together to create a garland, or attach them to gift wrap for a personalized touch.
[VISUAL: assortment of slow stitched ornaments different patterns colors]
Key Takeaway: Handmade ornaments are a thoughtful and sustainable gift that embodies the spirit of slow living and celebrates the joy of connection.
Conclusion: A Season of Serenity, One Stitch at a Time
As the holiday season approaches, remember to slow down, breathe deeply, and embrace the joy of simple pleasures. Slow stitching Christmas ornaments is more than just a craft project – it's a mindful practice that can bring peace, connection, and creativity into your life. So, gather your supplies, pick up a needle and thread, and let the slow stitching begin. May your holiday season be filled with warmth, love, and the simple magic of handmade treasures.
[VISUAL: cozy scene fireplace lit slow stitching ornament hands mug]
This year, let’s leave the frantic shopping behind and welcome the calm embrace of creating. Let the imperfections be reminders of the love and care woven into each stitch. May your home be filled with the hygge Christmas spirit, one stitch at a time.
Now, we'd love to hear from you! What are your favorite holiday traditions that embody the spirit of connection, nature, and mindful celebration? Share your thoughts in the comments below! Let's inspire each other to create a holiday season that is truly meaningful and sustainable.
