Slash Your Heating Bill with DIY Window Insulation Panels: A Homestead Hack
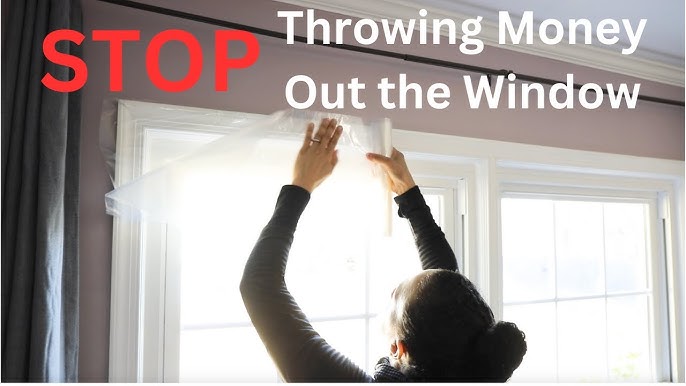
Last winter, I watched in disbelief as my heating bill crept higher and higher. The wind howled through the gaps in my old farmhouse windows, and my wallet felt the chill almost as much as my toes. I knew I needed a solution – and fast! But expensive new windows were out of the question. That's when I discovered the magic of DIY window insulation panels. I slashed my heating bill by an impressive 30% and added a touch of rustic charm to my home in the process. Today, I'm sharing my step-by-step guide so you can do the same! This project is a fantastic way to achieve homestead energy efficiency using recycled and readily available materials.
Why DIY Window Insulation Panels?
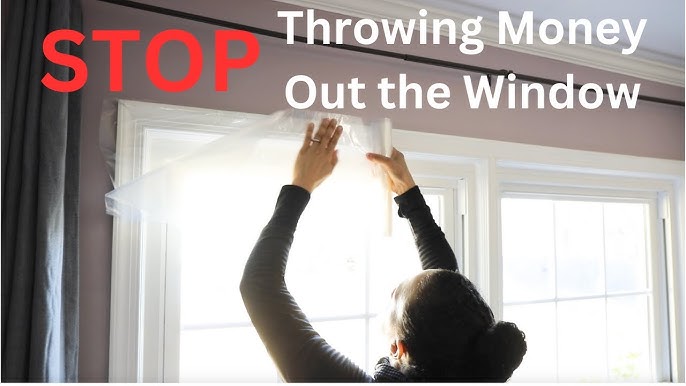
On a homestead, self-sufficiency isn't just a goal; it's a way of life. That means finding creative, cost-effective solutions to everyday challenges. Windows, particularly older ones, are notorious for heat loss. This project addresses that problem head-on, offering a multitude of benefits:
- Reduced Heating Costs: The primary advantage! By minimizing heat loss, you'll significantly lower your energy consumption and save money on your heating bill.
- Increased Comfort: Say goodbye to chilly drafts and cold spots near your windows. You'll enjoy a warmer, more comfortable home environment.
- Sustainable Living: Using recycled materials aligns with the core values of homesteading and reduces your environmental footprint.
- Easy & Affordable: This project requires basic DIY skills and minimal investment.
- Aesthetic Appeal: With a little creativity, these panels can add a touch of rustic charm to your home decor.
Now, let’s dive into the step-by-step guide to building your own DIY window insulation panels.
Materials List:
Here's what you'll need:
- Rigid Insulation: Recycled foam board insulation is ideal. You can often find this at construction sites (ask if they have scrap pieces!), or purchase new sheets from a home improvement store. 1-inch thick is recommended. Consider using foil-faced foam board for increased R-value.
- Lumber: 1x2 or 1x3 furring strips for framing. The amount will depend on the number and size of your windows.
- Fabric: Burlap, canvas, or any heavy-duty fabric that complements your decor. You can often find remnants or repurpose old blankets or curtains.
- Batting (Optional): For extra insulation, you can add a layer of batting between the insulation and the fabric.
- Spray Adhesive: For adhering the fabric to the insulation.
- Staple Gun: To secure the fabric to the frame.
- Measuring Tape: Accuracy is key!
- Saw: To cut the lumber to size. A hand saw or circular saw will work.
- Miter Saw (Optional): For clean, angled cuts on the frame.
- Sandpaper: To smooth any rough edges on the frame.
- Wood Glue: To assemble the frame.
- Clamps: To hold the frame together while the glue dries.
- Turn Buttons or Magnetic Strips: To secure the panels to the window frame (more on this later).
Step-by-Step Instructions:
Measure Your Windows: Carefully measure the inside dimensions of your window frames. Accuracy is crucial for a snug fit. Subtract approximately 1/8" to 1/4" from each dimension to ensure the panels fit easily without being too tight.
Cut the Insulation Board: Using the window measurements, cut the rigid insulation board to the correct size. A utility knife works well for this, but be careful and use a straight edge as a guide.
Build the Frame: Cut the furring strips to create a frame that matches the size of your insulation board. Use a miter saw for 45-degree angles at the corners for a professional look, or simply butt the pieces together for a more rustic appearance. Sand any rough edges.
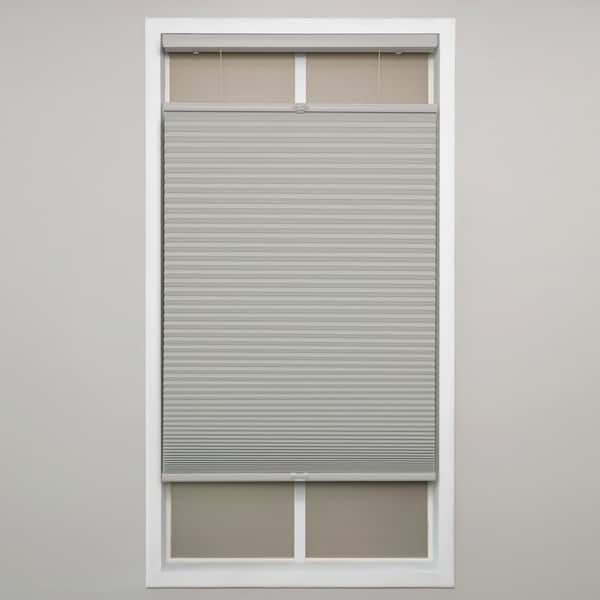
Assemble the Frame: Apply wood glue to the corners of the frame and clamp the pieces together. Let the glue dry completely according to the manufacturer's instructions. You can also use finishing nails or screws for added strength.
Attach the Insulation to the Frame: Place the insulation board inside the frame. It should fit snugly. You can use a few dabs of construction adhesive to secure it in place, but it's usually not necessary if the fit is tight.
Add Batting (Optional): If you're using batting, cut it slightly larger than the insulation board. Lay the batting over the insulation and wrap it around to the back of the frame. Secure it with staples.
Cut and Attach the Fabric: Cut the fabric large enough to cover the entire panel, with several inches of overlap on all sides. Center the fabric over the panel and begin wrapping it around to the back of the frame.
Secure the Fabric: Use a staple gun to attach the fabric to the back of the frame, pulling it taut as you go. Start in the center of each side and work your way outwards to avoid wrinkles. Fold the corners neatly before stapling. Spray adhesive can be used to adhere the fabric for a smoother finish.
Finishing Touches: Trim any excess fabric from the back of the panel.
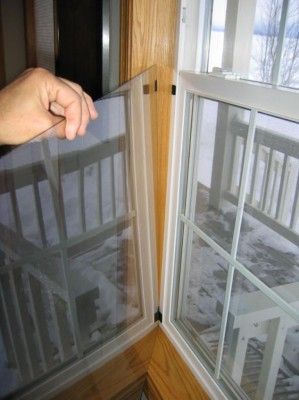
Install the Panels: Now comes the fun part – installing your DIY window insulation panels! There are a few ways to do this:
- Turn Buttons: Install turn buttons around the inside of the window frame. These small, rotating latches will hold the panels in place.
- Magnetic Strips: Attach magnetic strips to the back of the panels and corresponding strips to the window frame. This method is clean and easy to use.
- Friction Fit: If your panels are a very snug fit, they may stay in place simply by friction. This works best for windows that are not frequently opened.
Adding Your Personal Touch:
Don't be afraid to get creative with this project! Here are a few ideas to personalize your window insulation panels:
- Fabric Choices: Use fabrics that reflect your homestead's style. Burlap adds a rustic touch, while floral prints can brighten up a room.
- Decorative Trim: Add decorative trim around the edges of the frame for a more polished look.
- Painted Frames: Paint the frames to match your existing window trim or add a pop of color.
My Experience and Lessons Learned:
My first attempt at this project wasn't perfect. I underestimated the importance of accurate measurements and ended up with panels that were too small. I also learned that using a high-quality staple gun is essential for a professional-looking finish. But even with those initial hiccups, the results were well worth the effort. My home felt noticeably warmer, and my heating bill dropped significantly.
Before and After Thermometer readings (example):
- Before: Window surface temperature – 55°F, Room temperature (near window) – 62°F
- After: Window surface temperature – 65°F, Room temperature (near window) – 68°F
This clearly demonstrates the impact of these panels!
Connecting to the "Better Homes and Harvests" Community:
Here at Better Homes and Harvests, we love sharing practical solutions for sustainable living. For more great homesteading tips, be sure to check out our article on [Solar Energy for Homesteads](link to a hypothetical BH&H article) and [DIY Draft Stoppers for Doors](link to a hypothetical BH&H article).
Call to Action:
Ready to tackle this project and start saving money on your heating bill? I encourage you to give it a try! Share your results in the comments below. What other low-cost energy-saving hacks have you tried on your homestead?
Concluding Remarks:
Building DIY window insulation panels is a simple, affordable, and effective way to improve your homestead's energy efficiency. By using recycled materials, you're not only saving money but also reducing your environmental impact. So, gather your materials, roll up your sleeves, and get ready to enjoy a warmer, more comfortable, and more sustainable winter. The cozy feeling and the savings are well worth the effort.