Share Your Homesteading Wisdom: Build a Root Cellar from a Garbage Can for Better Homes and Harvests

There's nothing quite like the taste of a freshly harvested carrot, crisp and sweet from the garden. But here in [Your Location], the growing season is only so long. I used to watch my precious harvest dwindle away in the fridge, slowly losing its flavor and nutritional value. That’s when I decided to tackle a project that would revolutionize my food storage: building a root cellar. And you won't believe it – I built it from a garbage can! This simple DIY project has not only extended my harvest season but has also drastically reduced food waste and saved me money. If you're looking to embrace self-sufficient living and enjoy fresh, homegrown produce year-round, this budget-friendly root cellar is the perfect DIY homesteading project for you. You'll be amazed at how easy and effective it is! Get ready to learn some homesteading skills!
A root cellar provides a cool, dark, and humid environment ideal for storing root vegetables, fruits, and even some canned goods. The consistent temperature and humidity slow down the ripening process, preserving your harvest for months. This project is an excellent way to practice sustainable homesteading.
Benefits of Building a Root Cellar:
- Extended Harvest: Enjoy fresh produce for longer, reducing reliance on store-bought vegetables.
- Reduced Food Waste: Minimize spoilage by storing produce in optimal conditions.
- Cost Savings: Save money on groceries by preserving your garden harvest.
- Self-Reliance: Increase your self-sufficiency and food security.
- Environmentally Friendly: Reduce your carbon footprint by minimizing food transportation and waste.
Let's dive into how you can build your own root cellar using a readily available and affordable material: a garbage can.
Materials List:
- Galvanized Steel or Heavy-Duty Plastic Garbage Can (30-32 gallon): $30-$60 (Look for one with a tight-fitting lid)
- Example: [Link to a suitable garbage can on a hardware store website]
- Garbage Can Lid Lock: $5-$10
- Example: [Link to a garbage can lock on an online retailer]
- Shovel: (You likely already have one!)
- Pickaxe (if needed): $20-$40 (For breaking up hard soil)
- Measuring Tape: (You likely already have one!)
- Level: (You likely already have one!)
- Gravel or Crushed Stone: $10-$20 (For drainage)
- Straw or Wood Chips: $10-$20 (For insulation and packing)
- Hardware Cloth (wire mesh): $15-$25 (To deter rodents – optional but recommended)
- Gloves: (Protect your hands!)
- Saw or Tin Snips: (For cutting hardware cloth)
- Bungee Cords or Rope: (For securing the lid)
- Thermometer with Humidity Gauge: $10-$20 (For monitoring conditions inside the cellar)
- Example: [Link to a thermometer/humidity gauge on an online retailer]
- Wooden Pallet or Bricks: (To elevate produce inside the can)
Estimated Total Cost: $100 - $180 (depending on materials already owned)

Step-by-Step Instructions:
Step 1: Choose the Right Location
Select a well-drained location in your yard that is shaded and stays relatively cool. A north-facing slope is ideal, but any area that avoids direct sunlight is suitable. Ensure the spot is easily accessible for harvesting and storing your produce. This contributes to simple homesteading.
Step 2: Dig the Hole
Using your shovel (and pickaxe if needed), dig a hole that is slightly larger than the diameter of your garbage can and deep enough so that the lid will be at or slightly below ground level. Ensure the sides of the hole are as straight as possible.
Step 3: Prepare the Base
Pour a 6-inch layer of gravel or crushed stone into the bottom of the hole for drainage. This will prevent water from pooling and rotting your vegetables. Compact the gravel firmly.
Step 4: Install the Hardware Cloth (Optional but Recommended)
To deter rodents, line the sides and bottom of the hole with hardware cloth before placing the garbage can. Cut the mesh to size, ensuring it extends a few inches above the ground level. This provides an extra barrier against pests. Secure the seams with zip ties or wire.
Step 5: Place the Garbage Can
Carefully lower the garbage can into the hole, making sure it sits level on the gravel base. Use a level to ensure the can is perfectly upright.
Step 6: Insulate the Sides
Backfill the space around the garbage can with straw or wood chips. Pack the insulation tightly to provide maximum protection from temperature fluctuations. Fill to the top of the can.
Step 7: Prepare the Interior
Place a wooden pallet or bricks at the bottom of the can to elevate your produce and improve air circulation. This will help prevent rotting.
Step 8: Load with Produce
Carefully place your root vegetables and fruits into the root cellar. Avoid overcrowding. Store different types of produce in separate containers or sections to prevent cross-contamination of odors and ripening agents.
Step 9: Secure the Lid
Place the lid on the garbage can and secure it tightly with bungee cords or rope. You can also use a lid lock for added security and to deter pests. Make sure the lid is waterproof to prevent rain from entering.
Step 10: Monitor Temperature and Humidity
Place a thermometer with a humidity gauge inside the root cellar to monitor the conditions. The ideal temperature range is 32-40°F (0-4°C) with a humidity level of 85-95%. Adjust ventilation as needed to maintain these conditions.

Troubleshooting Tips:
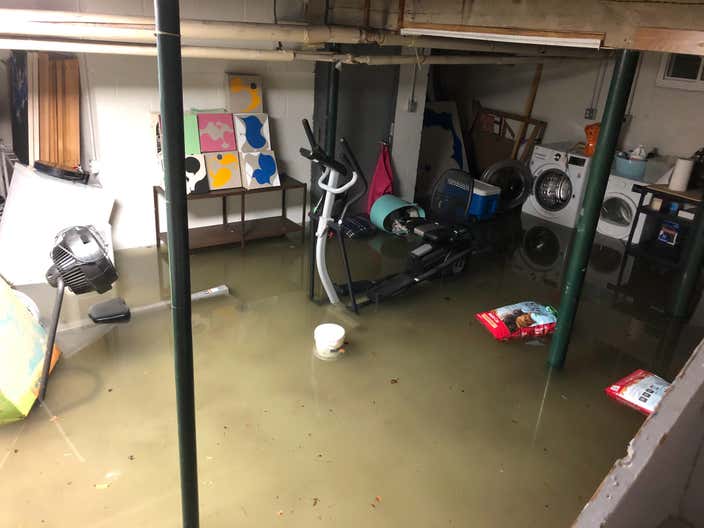
- Water Accumulation: If you notice water accumulating inside the root cellar, improve drainage by adding more gravel or creating a drainage channel away from the hole.
- Rodent Problems: Ensure the lid is tightly sealed and consider adding traps around the perimeter of the root cellar.
- Temperature Fluctuations: If the temperature inside the root cellar fluctuates too much, add more insulation around the sides and top.
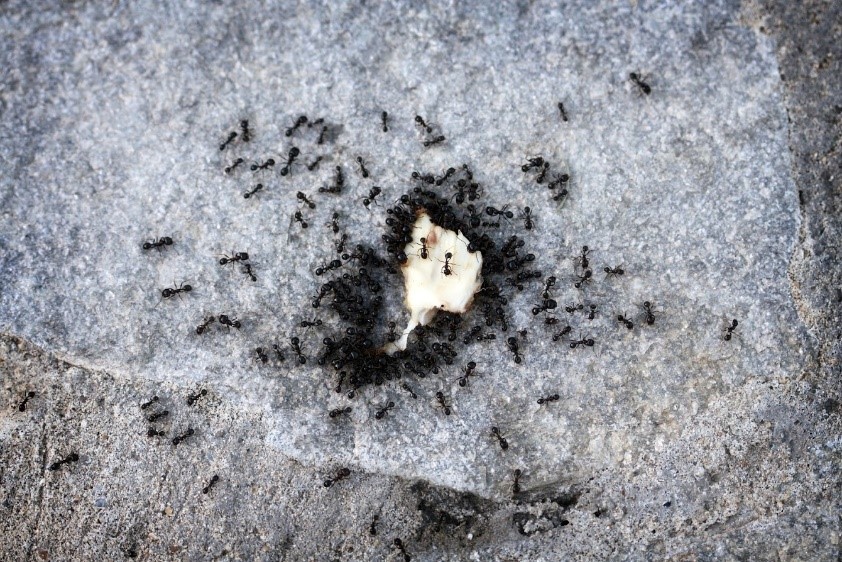
- Mold Growth: If you notice mold growing on your produce, improve ventilation by opening the lid for a few hours each day. Remove any affected produce immediately. Also make sure ants are not present.

Maintaining Your Root Cellar
Regularly check the temperature and humidity levels inside the root cellar. Remove any spoiled produce immediately to prevent it from affecting the rest of your harvest. Replenish the insulation as needed. Inspect the structure for any signs of damage and make repairs promptly.
This project, while simple, significantly contributes to sustainable living tips.
Conclusion:
Building a root cellar from a garbage can is a simple, affordable, and effective way to extend your harvest season and embrace self-sufficient living. By following these step-by-step instructions, you can create a cool, dark, and humid environment perfect for storing your root vegetables and fruits. The benefits are numerous: reduced food waste, cost savings, increased self-reliance, and a smaller carbon footprint. Don't hesitate to give this project a try – you'll be amazed at the results!
Now it's your turn! What are your favorite DIY homesteading projects? Share your experiences and tips in the comments below! And if you enjoyed this project, check out our other guides on DIY gardening and food preservation techniques.
Other Homesteading projects to consider:
- Draft proofing windows with rope caulk
- Setting up a simple, low-tech gray water system
- Repairing a barn door
- Installing a rain barrel collection system