Seed Paper Ornaments: Growing Holiday Cheer, One Seed at a Time
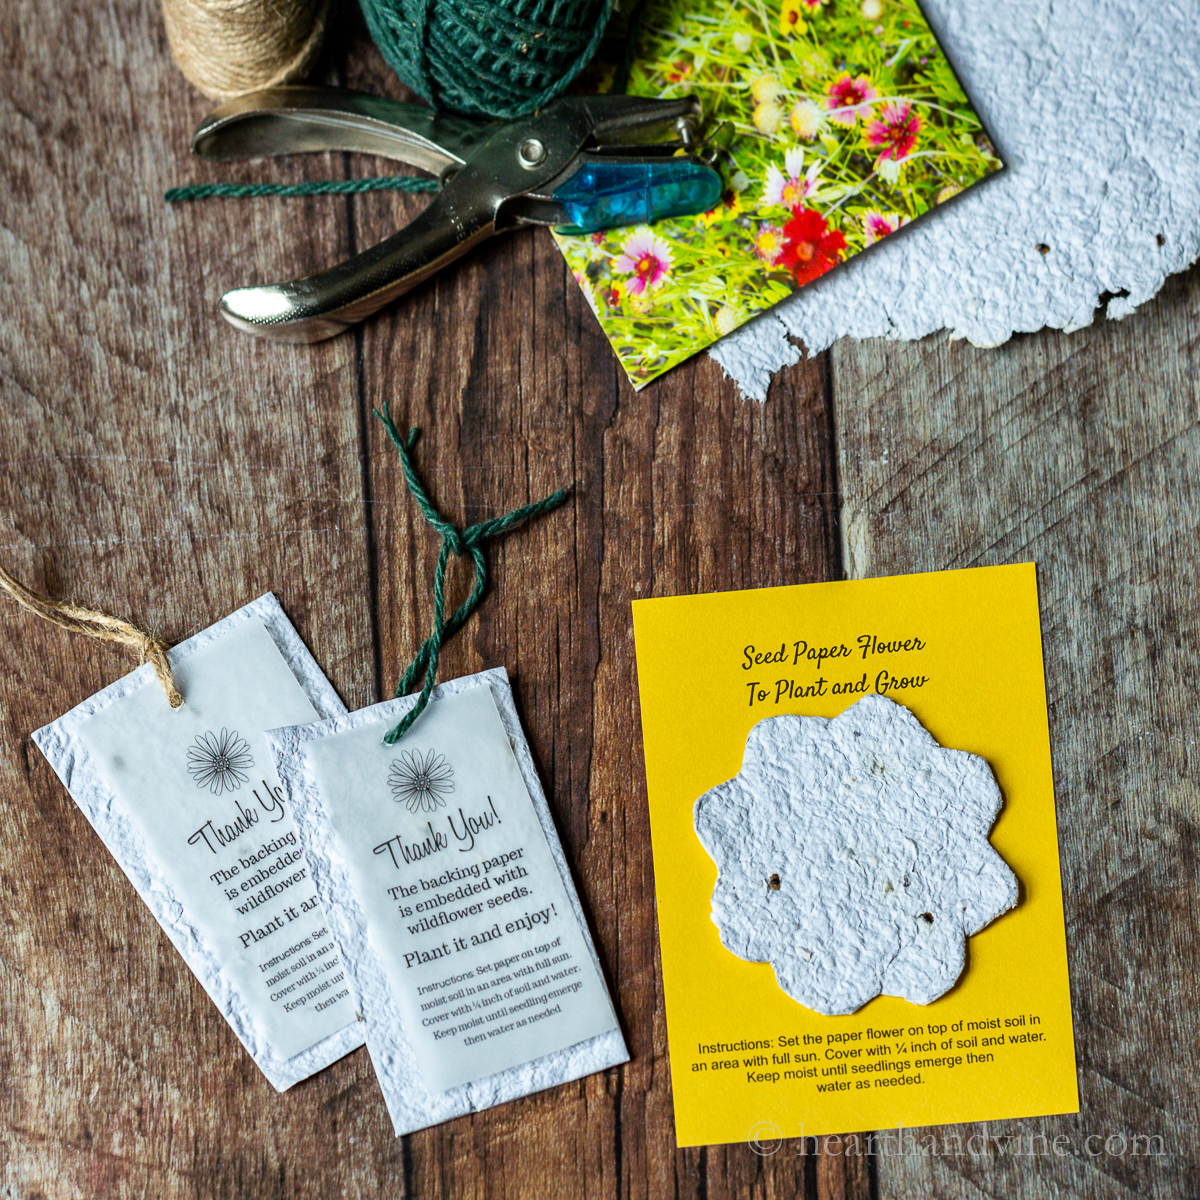
Instead of focusing on the gifts under the tree, what if we could give gifts from the tree, gifts that bloom and grow long after the holidays are over? Imagine adorning your Christmas tree with ornaments that, come spring, can be planted to create a beautiful wildflower garden. That's the magic of seed paper ornaments: a sustainable, handmade alternative to traditional decorations that offers a lasting connection to nature.
These charming creations are not only beautiful but also incredibly simple to make, making them a perfect project for families and crafters of all skill levels. This tradition promotes mindfulness, anti-consumerism, and giving back to the earth – a truly heartwarming way to celebrate the holidays. This year, let's spread roots of joy with seed paper ornaments!

Gathering Your Garden's Bounty & Other Supplies
Creating seed paper ornaments begins with gathering the right materials, many of which you might already have on hand. The beauty of this project lies in its ability to repurpose and minimize waste.
First, let's talk seeds. Careful seed selection is crucial for successful germination and aligns with local ecosystems.
- Seed Selection: Opt for wildflower mixes containing native species that thrive in your region. Easy-to-grow herbs like basil or chamomile are also excellent choices. Avoid invasive species that could harm your local environment. Think about the recipient's garden as well.
- Sustainable Sourcing: Save seeds from your own garden at the end of the growing season, or support local seed banks and nurseries. Look for organic, non-GMO options to ensure the health of your garden and the environment.
Beyond seeds, you'll need:
- Recycled Paper: Newspaper, junk mail, scrap paper – anything you would normally recycle. The more colorful, the better, as it adds texture to your seed paper.
- Blender: An old blender dedicated to crafting projects is ideal.
- Water: Tap water works just fine.
- Cookie Cutters: Choose festive shapes like stars, hearts, snowflakes, or even animals.
- Baking Sheet: To dry your ornaments.
- Absorbent Cloths: Old towels or cloths to press the water out of the paper.
- Natural Dyes (Optional): Beet juice for pink, spinach for green, turmeric for yellow – all-natural ways to add a pop of color.
Remember, the goal is to use what you already have and reduce waste. Embracing this principle is what makes this a truly sustainable homesteading holiday tradition.

Alt Text: Gardener's hand displaying harvested seeds, a sustainable source for seed paper ornaments.
The Pulping Process: Creating the Foundation
Now comes the fun part: turning recycled paper into pulp! Achieving the correct pulp consistency is crucial for strong and beautiful seed paper. This step requires a little patience, but the process itself is incredibly satisfying.
- Tear the Paper: Tear the recycled paper into small pieces and place them in a bowl.
- Soak the Paper: Cover the paper with warm water and let it soak for at least 30 minutes, or even overnight. This will soften the fibers and make them easier to blend.
- Blend the Pulp: Transfer the soaked paper and some of the water to your blender. Blend on medium speed until you achieve a smooth, pulpy consistency. You might need to add more water to get the right texture – it should resemble a thick smoothie.
- Add Natural Dyes (Optional): If you're using natural dyes, add them to the pulp and blend until evenly distributed.
Safety Note: Always exercise caution when using a blender, especially with liquids. Start on a low speed and gradually increase it. If the blender starts to struggle, add a little more water.

Alt Text: Close up shot smooth paper pulp in blender, showing the even consistency needed for crafting seed paper.
Shaping and Drying: From Pulp to Ornament
With your paper pulp ready, it's time to shape it into beautiful ornaments. Patience is key during the drying process to prevent warping or cracking.
- Prepare Your Workspace: Cover your baking sheet with an absorbent cloth.
- Press the Pulp: Spoon some of the paper pulp onto the cloth-covered baking sheet. Use your fingers to spread it out evenly, about 1/4 inch thick.
- Use Cookie Cutters: Press the cookie cutters firmly into the pulp to create your desired shapes.
- Embed the Seeds: Sprinkle a generous amount of seeds onto the pulp within the cookie cutter shapes. Gently press the seeds into the pulp to ensure they are securely embedded.
- Remove Excess Pulp: Carefully remove the excess pulp from around the cookie cutters.
- Drying Time: Let the ornaments dry completely. This can take anywhere from 24 to 48 hours, depending on the humidity. To speed up the process, flip the ornaments over every few hours and replace the absorbent cloths.
Alt Text: Several seed paper ornaments in various shapes drying on an absorbent cloth covered baking sheet.
Decorating & Personalizing: Adding Your Unique Touch
Once your seed paper ornaments are completely dry, it's time to add your personal touch. Ornament decoration should be a reflection of your creativity and personal connection to nature.
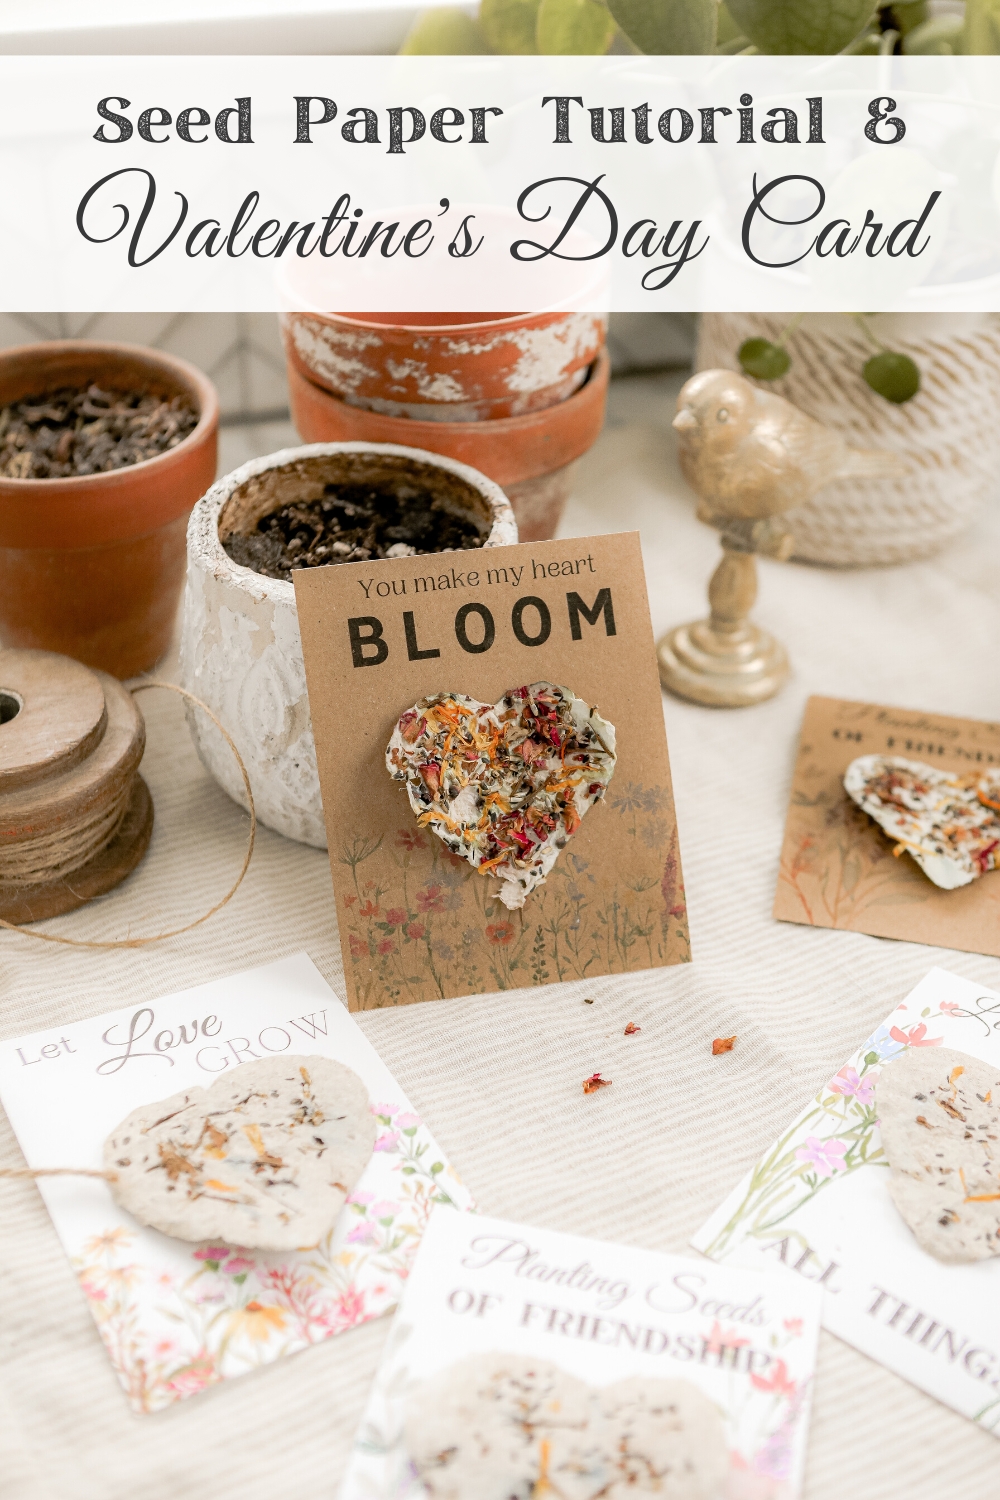
- Dried Flowers & Herbs: Press small dried flowers or herbs into the surface of the ornaments for a rustic, natural look.
- Eco-Friendly Glitter: If you want to add some sparkle, use biodegradable glitter made from plant-based materials.
- Natural Twine: Tie a loop of natural twine through a small hole in the ornament for easy hanging.
- Natural Dyes: Use natural dyes to paint patterns or designs on the dried ornaments.
- Personal Messages: Write family names, special dates, or heartfelt messages onto the ornaments using a fine-tipped marker.
I remember one year, my daughter and I made seed paper ornaments with dried lavender from our garden and wrote each family member’s name on them. Seeing those personalized ornaments hanging on the tree, knowing they held the promise of future blooms, filled me with a unique sense of joy and connection. It was a moment that truly embodied the spirit of the season.

Alt Text: Hands carefully placing small dried flowers onto a seed paper ornament, adding a personal and natural touch.
Gifting & Planting: Spreading the Seed Paper Joy
The final step is to package and present your seed paper ornaments as gifts. The true gift lies in the potential for growth and the connection to nature.
- Creative Packaging: Place the ornaments in small boxes, wrap them in tissue paper, and tie them with natural twine.
- Planting Instructions: Include a small card with instructions on how to plant the seed paper ornaments in the spring. Be sure to mention soaking them, planting depth, sunlight, and watering.
- Share the Joy: Encourage recipients to share their planting stories and photos of the flowers or herbs that grow from their ornaments.
Planting instructions should include:
- Soak the ornament in water.
- Place the ornament on top of soil in a sunny spot.
- Lightly cover with soil.
- Keep moist until sprouts appear!

Alt Text: A person gently planting a seed paper ornament in a garden bed, preparing for new growth.
A Season of Growth, Gratitude, and Giving Back
Seed paper ornaments are more than just decorations; they are symbols of growth, gratitude, and giving back to the earth. They offer a unique and meaningful way to celebrate the holidays while minimizing waste, connecting with nature, and fostering a sense of community. As you hang these ornaments on your tree, remember the potential for growth and renewal that lies within each seed. This season, let's embrace the beauty of simplicity and the joy of creating something truly special.
What are your favorite sustainable holiday traditions? Share them in the comments below! I would love to hear how you celebrate the season while honoring the earth. Let's inspire each other to create a more mindful and meaningful holiday season, one seed paper ornament at a time. Share your seed paper ornament creations with us using #BHHSSeedPaperOrnaments! Happy crafting!