Seed Paper Holiday Gift Tags: Grow a Little Kindness This Season
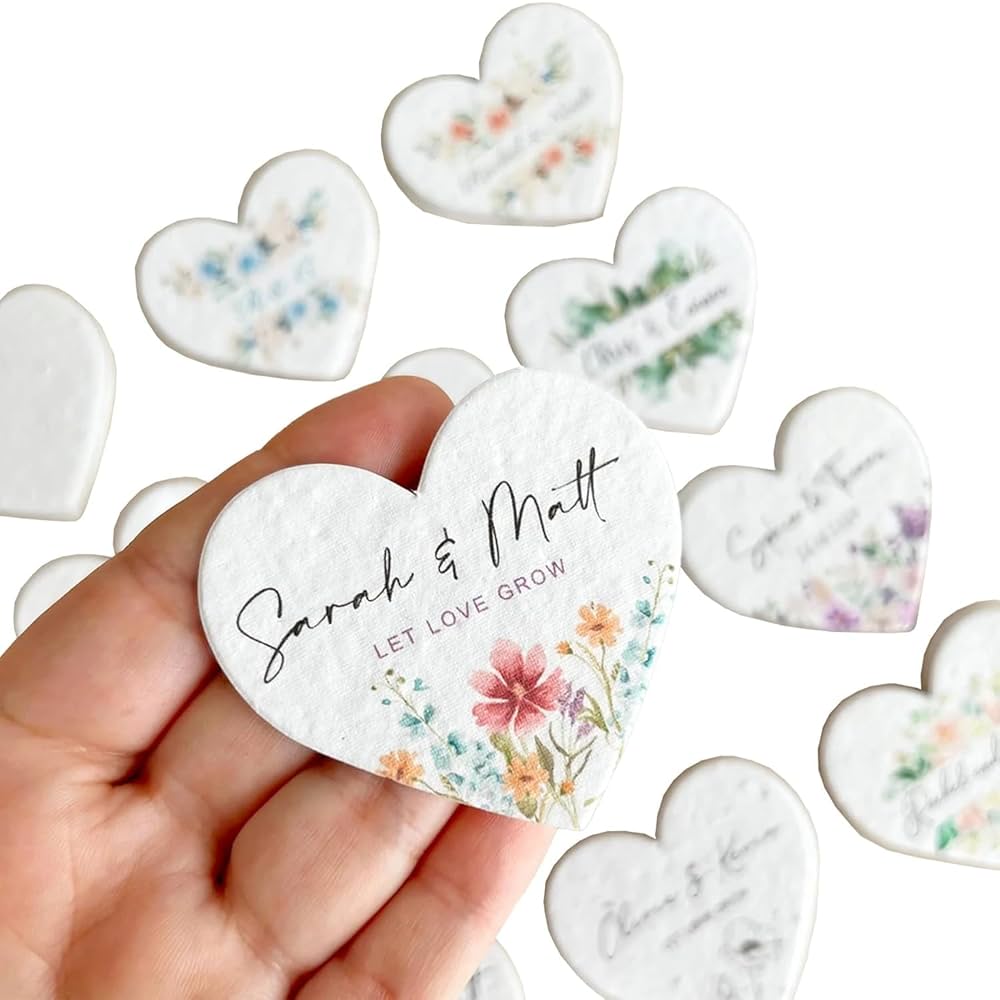
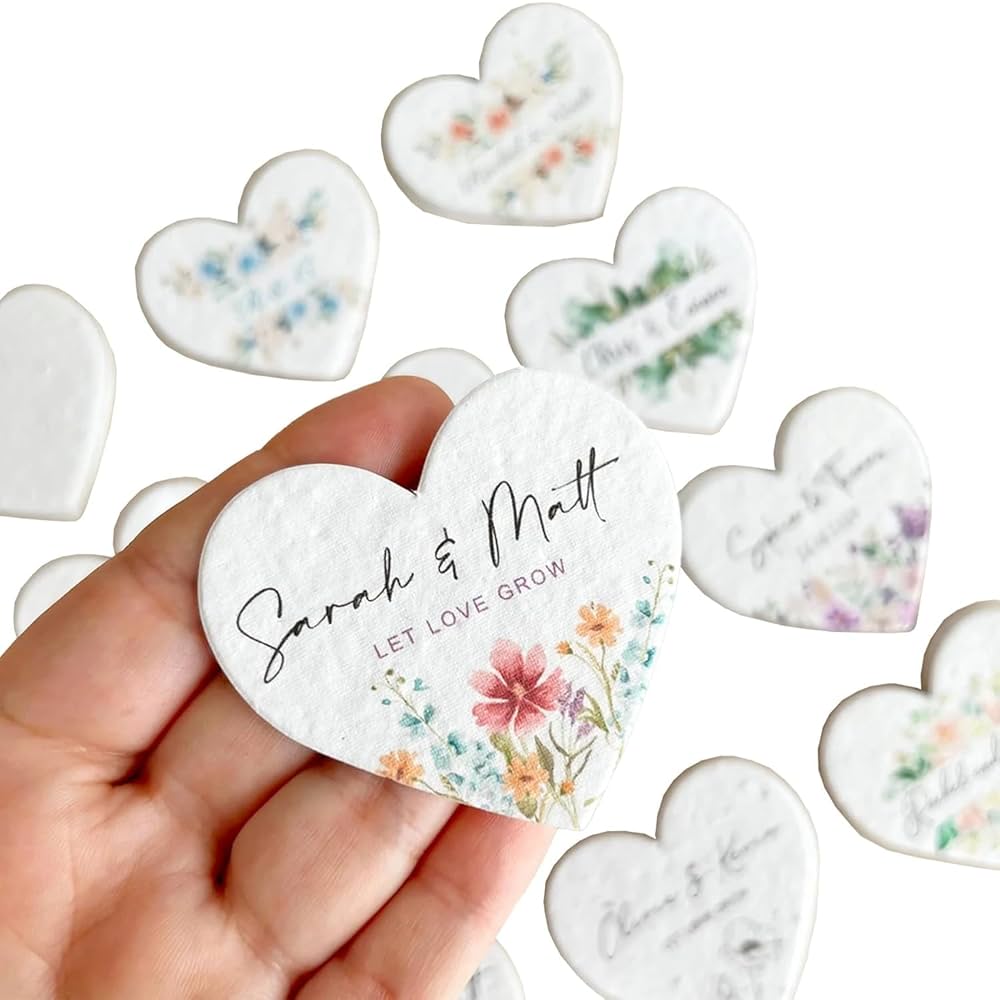
[VISUAL: Close-up of a hand holding seed paper tag]
The holiday season: a time of joy, connection, and thoughtful gift-giving. But let's be honest, how many beautifully wrapped presents end up with their tags unceremoniously tossed into the trash? Those shiny, often mass-produced tags feel like a fleeting moment of joy, quickly forgotten. What if, instead of adding to the holiday waste, we could give a gift that continues to bloom long after the decorations are packed away?
Enter seed paper gift tags: a simple, sustainable, and surprisingly easy way to add a touch of nature and lasting joy to your presents. These handmade tags are embedded with wildflower seeds, transforming from a simple identifier into a future garden. They reduce waste, offer a connection to nature, and provide the ongoing pleasure of watching beautiful wildflowers bloom.
In this post, we'll explore how to create these unique tags, from sourcing sustainable materials to crafting personalized designs. We’ll focus on connecting with nature, family, and rhythm over consumerism, offering a slow and meaningful way to celebrate. Get ready to shift from fleeting consumption to a lasting, life-affirming gift!
Section 1: Gathering Your Seeds and Materials: The Foundation of Growth
[VISUAL: Assortment of dried flower petals and seeds]
The beauty of seed paper lies in its simplicity and the connection it creates with the earth. Choosing the right materials is crucial for both the success of your project and its environmental impact.
Choosing the Right Seeds: The heart of your seed paper is, of course, the seeds! Opt for native wildflower seeds that are well-suited to your local climate. Native species support local ecosystems and require less maintenance. Avoid using invasive species that could harm the environment. Reputable suppliers, often local nurseries or seed companies specializing in native plants, are your best bet. Look for mixes specifically designed for seed paper. These often contain a variety of small, easy-to-germinate seeds.
Sourcing Sustainable Paper: The paper you use will form the base of your gift tags. Recycled paper is an excellent choice, reducing the demand for new paper production. Even better, repurpose scrap paper, junk mail (shredded, of course!), or used printer paper. This gives these materials a second life and minimizes waste. Avoid glossy or coated paper, as it doesn’t break down easily and can inhibit seed germination.
Other Necessary Materials:
- Blender: A standard kitchen blender is perfect for creating the paper pulp. Dedicated paper-making blenders exist, but aren't necessary for this small project.
- Water: Clean, clear water is essential for breaking down the paper and suspending the seeds.
- Shallow Container: A plastic bin, dishpan, or even a large baking dish will work well as a mold for your seed paper.
- Screen: A fine-mesh screen, like a window screen or a specialized paper-making screen, is needed to drain the water and form the paper.
- Felt or Towel: A piece of felt or an old towel will help absorb excess water and prevent the paper from sticking.
- Cookie Cutters (Optional): Cookie cutters in festive shapes like stars, trees, or hearts can add a whimsical touch to your gift tags.
Safety Considerations: Always wash your hands thoroughly after handling seeds, as some may be treated with chemicals.
Thoughtful material selection sets the stage for a successful and ecologically friendly project. By choosing sustainable and ethically sourced materials, you're not just creating a beautiful gift tag; you're also contributing to a healthier planet.
Section 2: Making the Seed Paper: A Simple, Earth-Friendly Process
[VISUAL: Person blending paper pulp in a blender]
Turning discarded paper into beautiful, seed-filled paper is surprisingly easy. Here's a step-by-step guide:
- Tear the Paper: Tear your chosen paper into small pieces, about 1-2 inches in size. This will help it break down more easily in the blender.
- Soak the Paper: Place the shredded paper in a bowl and cover it with warm water. Let it soak for at least an hour, or preferably overnight. This will soften the fibers and make them easier to blend.
- Blend to a Pulp: Drain the soaked paper and place it in the blender. Add fresh water, about 2 cups for every cup of soaked paper. Blend on medium speed until you have a smooth, pulpy mixture. You may need to add more water if the mixture is too thick.
- Achieving the Ideal Pulp Consistency: The ideal pulp consistency is similar to a thin oatmeal. It should be pourable but not too watery. If it's too thick, add more water and blend briefly. If it's too thin, add more soaked paper and blend again.
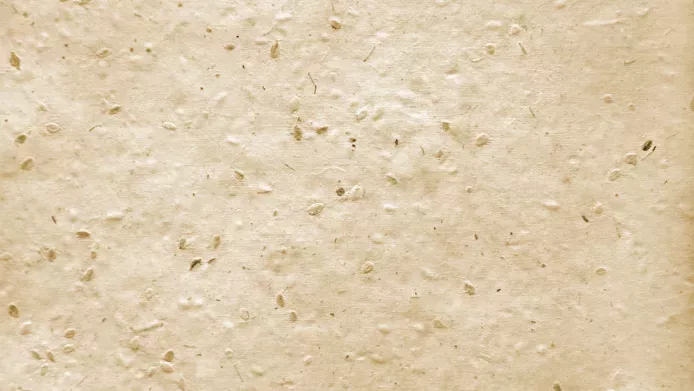
- Mixing in the Seeds and Flower Petals: Pour the paper pulp into a shallow container. Sprinkle in your chosen seeds and dried flower petals. Gently stir to distribute them evenly throughout the pulp. Aim for a generous but not overcrowded distribution of seeds.
- Tips for Even Seed Distribution: To prevent the seeds from clumping together, try mixing them with a small amount of flour or cornstarch before adding them to the pulp.
The process is simple and accessible, turning discarded materials into something beautiful and useful. By engaging in this mindful craft, you're giving waste a new purpose and creating a tangible connection to the natural world.
Section 3: Creating Your Holiday Gift Tags: From Pulp to Personalized Charm
[VISUAL: Variety of seed paper gift tags tied to wrapped gifts]
Creating your seed paper gift tags is where your creativity can really shine.
- Creating Thin, Even Sheets: Place your screen in the shallow container, beneath the paper pulp mixture. Gently scoop a thin layer of pulp onto the screen, ensuring it's evenly distributed. Lift the screen out of the water, allowing the excess water to drain.
- Drying Techniques:
- Air-Drying: Place the screen with the pulp on a piece of felt or an old towel. Gently press down to remove more water. Carefully flip the screen over onto the felt, and gently peel away the screen. Allow the paper to air-dry completely, which can take several hours or even a day, depending on the humidity.
- Warm Oven: For faster drying, you can place the felt-covered paper in a warm oven (around 170°F or 77°C) for about 30-60 minutes, checking frequently to prevent scorching.
- Cutting Out the Tags: Once the paper is completely dry, use scissors or cookie cutters to cut out your desired shapes. Festive shapes like stars, trees, snowflakes, and hearts are perfect for the holiday season.
- Adding Personalized Touches: Add your personal touch with stamps, handwritten messages, or natural embellishments. Use eco-friendly ink or plant-based dyes. Tie on small sprigs of evergreen or dried herbs for added fragrance and visual appeal.
- Ideas for Festive Seed Paper Gift Tag Shapes: Consider using cookie cutters to create classic holiday shapes like snowflakes, stars, or gingerbread men. Freehand cutting allows for more organic, nature-inspired designs, like leaves or abstract shapes.
Unleash your creativity to craft unique and meaningful gift tags that reflect the season. Each tag is a miniature work of art, carrying a message of growth and renewal.
Section 4: Gifting with Growth: Sharing the Seed Paper Story
[VISUAL: Close-up of a handwritten note explaining how to plant the seed paper tag]
The true beauty of seed paper lies not only in its creation but also in its gifting. It's more than just a tag; it's an experience.
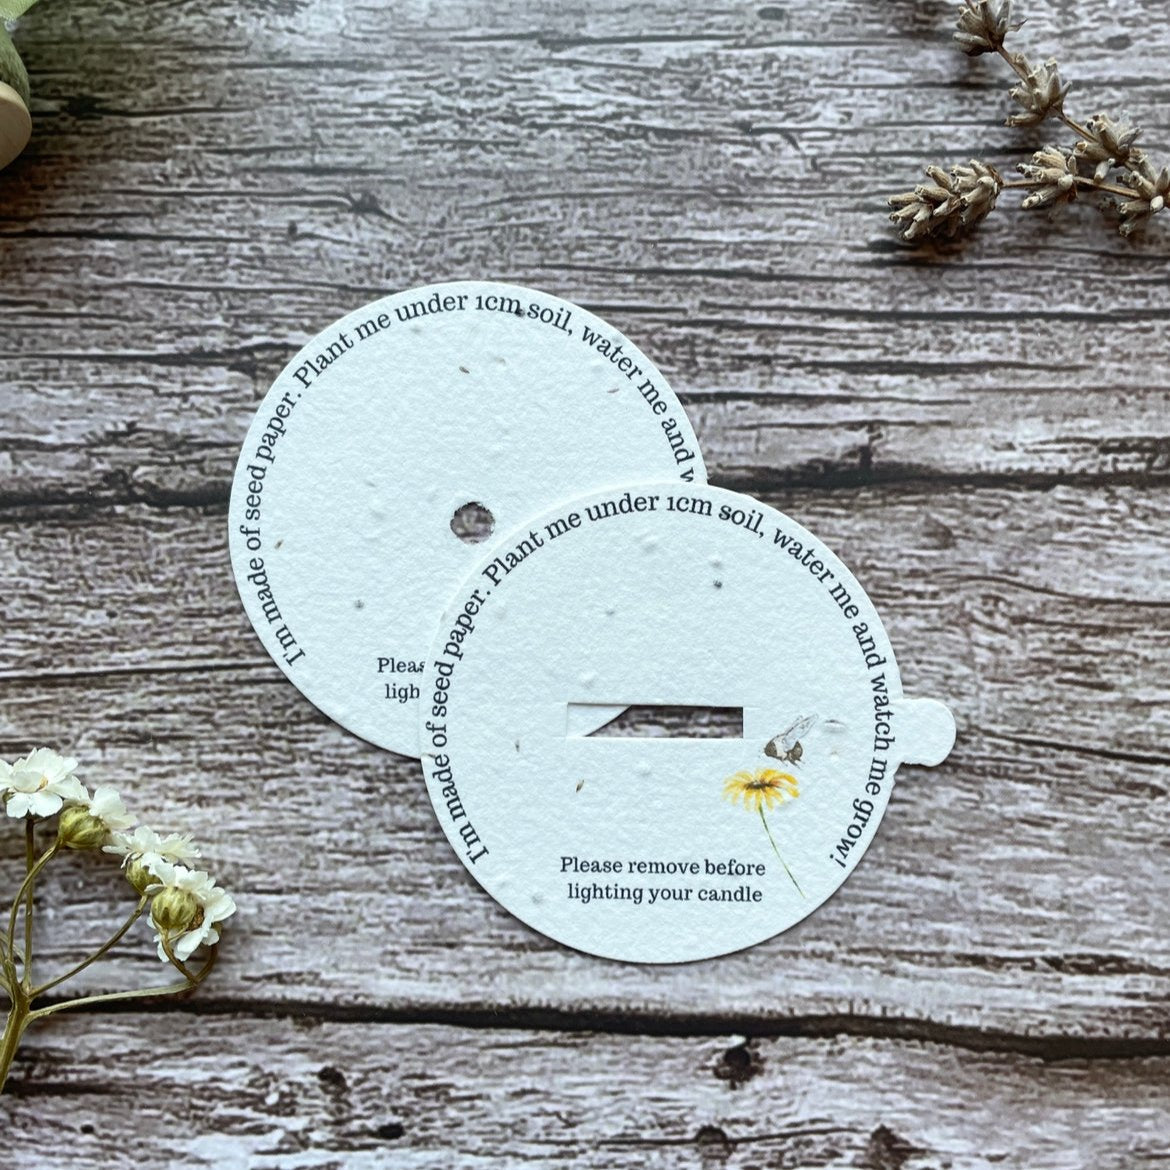
- Creating a Planting Guide: Include a small, handwritten card or tag explaining how to plant the seed paper. The instructions are simple: soak the paper in water until it's soft, place it under a thin layer of soil in a pot or garden bed, and water regularly. Keep the soil moist until the seeds germinate.
- Highlighting the Symbolism: Explain the symbolism of gifting seeds: growth, renewal, and hope for the future. Share your intention behind choosing this sustainable and meaningful gift.
- Encouraging Shared Blooming Stories: Encourage recipients to share their blooming stories by tagging you on social media or sending you photos of their wildflowers. This creates a shared experience and strengthens connections.
- Pairing with Sustainable Gifts: Compliment your seed paper tags by pairing them with other homemade or sustainably sourced gifts. Consider handcrafted candles, locally sourced honey, or reusable kitchen items.
It's about gifting an experience, not just an object. Educate and inspire recipients to embrace the sustainable aspect. By sharing the story of seed paper, you're promoting environmental awareness and encouraging others to adopt eco-friendly practices.
Section 5: Troubleshooting and Variations: Fine-Tuning Your Seed Paper Craft
[VISUAL: Different seed paper recipes, featuring various flower petals and seed types]
Like any handmade craft, making seed paper can sometimes present challenges. Here are some tips to troubleshoot common problems and explore variations:
- Uneven Seed Distribution: If your seeds are clumping together, try mixing them with a small amount of flour or cornstarch before adding them to the pulp.
- Paper Too Thick or Thin: Adjust the amount of pulp you scoop onto the screen. For thicker paper, use more pulp; for thinner paper, use less.
- Mold Growth: Ensure the paper is completely dry before storing it. If you live in a humid climate, use a dehumidifier or dry the paper in a warm oven.
- Variations on the Recipe:
- Different Seeds: Experiment with different types of seeds, such as herbs, vegetables, or edible flowers, depending on your recipient's preferences and growing conditions.
- Natural Dyes: Add natural dyes to the pulp for a pop of color. Beet juice creates a pink hue, spinach juice a green hue, and turmeric a yellow hue.
- Dried Herbs: Incorporate dried herbs like lavender or rosemary for added fragrance.
- Using Leftover Pulp: Don't let leftover seed paper pulp go to waste! Create seed bombs by rolling the pulp into small balls and letting them dry. Or, use the pulp to line small planters for starting seedlings.
Don’t be afraid to experiment and make the process your own. Each batch of seed paper will be unique, reflecting your personal style and the natural beauty of the materials.
Key Takeaways (Overall):
- Seed paper gift tags are a sustainable and meaningful alternative to traditional tags.
- The process is simple, accessible, and allows for creative expression.
- Gifting seed paper encourages a connection to nature and promotes environmental stewardship.
- This project fosters a sense of mindful celebration and reduces consumerism.
- The tags give more than just the present; they give a future of blooms.
Conclusion:
[VISUAL: Field of wildflowers blooming where seed paper was planted]
This holiday season, let's choose to celebrate in a way that honors both tradition and the environment. Making and giving seed paper gift tags is a small act of kindness that has a lasting impact. By embracing sustainable and meaningful traditions, we can reduce waste, connect with nature, and spread joy that continues to grow long after the holidays are over.
This holiday season, let's choose to give gifts that grow, both literally and figuratively, fostering a deeper connection with nature and each other.
Call-to-Action:
Share your seed paper creations on social media using #BetterHomesAndHarvests, #SeedPaperTags, #SustainableHolidays. Leave a comment below and share your favorite seed paper recipe variations! Sign up for our newsletter for exclusive DIY projects and seasonal inspiration.