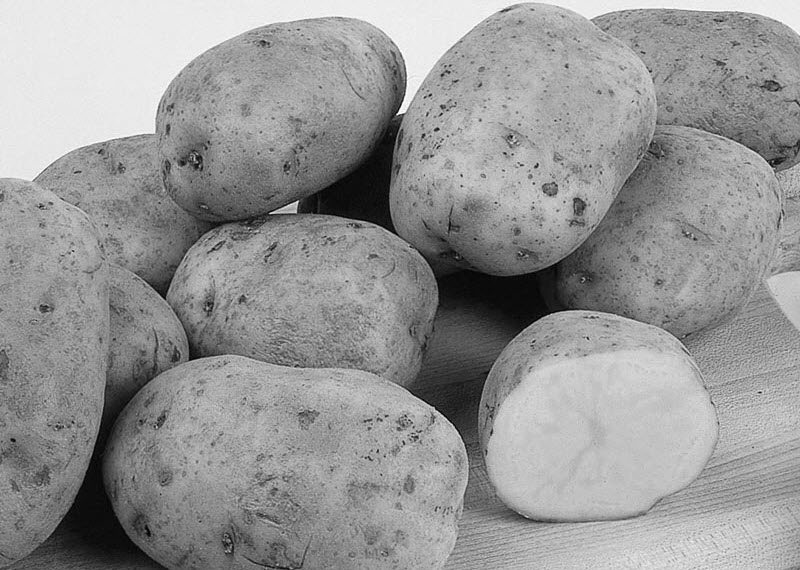
Save Your Spuds: Building a Budget-Friendly Potato Storage Bin for Homestead Success
Homesteading is all about resourcefulness and self-sufficiency. One of the most rewarding aspects is harvesting your own food, but what happens after the harvest? Proper storage is crucial, especially for crops like potatoes. A well-designed storage solution can mean the difference between enjoying homegrown potatoes all winter long and watching them sprout and rot within weeks. If you don't have a root cellar, don’t despair! This detailed guide will walk you through building a compact, budget-friendly potato storage bin, perfect for extending the life of your potato harvest. This DIY potato storage bin is designed for small-scale homesteaders and gardeners who want to preserve their potato crop without breaking the bank.
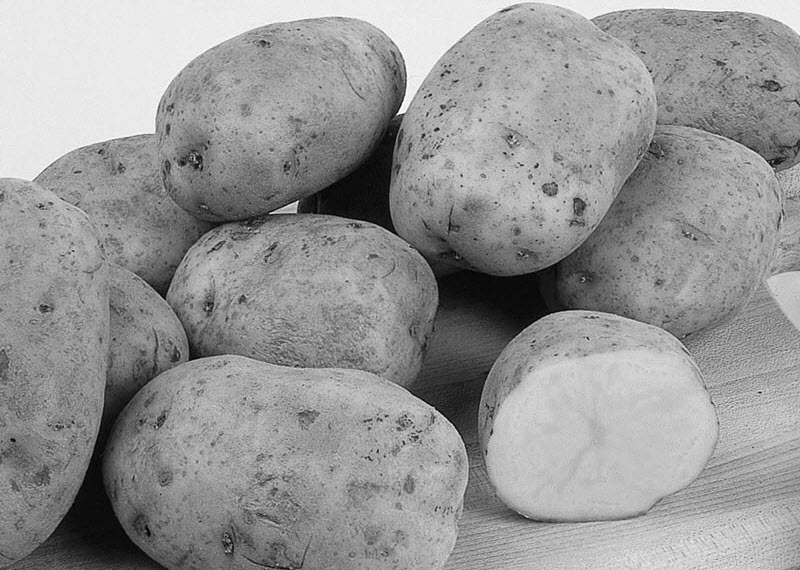
Early Ohio potatoes in the field ready to harvest, this variety is known for its early maturity and excellent flavor.
Why Build a Potato Storage Bin?
Potatoes require specific conditions for long-term storage: darkness, cool temperatures (ideally between 35-40°F), and good ventilation. Most homes don't naturally offer these conditions, leading to premature sprouting, softening, and spoilage. A dedicated potato storage bin mimics the ideal root cellar environment, protecting your potatoes from light and providing crucial airflow. Building your own bin offers several advantages:
- Cost Savings: Purchasing a pre-made storage solution can be expensive. Building your own allows you to utilize readily available and potentially repurposed materials, significantly reducing costs.
- Customization: You can tailor the size and design of your bin to perfectly suit your storage needs and available space.
- Self-Sufficiency: Embarking on DIY projects empowers you and enhances your homesteading skills.
Materials You'll Need
This project focuses on using readily accessible and affordable materials:
- Wooden Pallets (2-3): Look for clean, untreated pallets. These will form the frame of your bin. Check local businesses, construction sites, or online marketplaces for free or low-cost pallets. Important: Make sure the pallets you choose are not chemically treated. Look for an "HT" stamp indicating heat treatment.
- Plywood or Scrap Wood: For the base and internal dividers (if desired).
- Hardware Cloth (1/4-inch mesh): For ventilation and to prevent rodents.
- Screws or Nails: For assembling the frame and attaching the hardware cloth.
- Landscape Fabric or Burlap: To line the interior and provide darkness.
- Optional: Hinges and Latches: For creating a lid.
Tools You'll Need
- Safety Glasses: Essential for protecting your eyes.
- Gloves: To protect your hands from splinters and rough materials.
- Saw (Hand Saw or Circular Saw): For cutting the pallets and plywood.
- Drill or Screwdriver: For assembling the frame.
- Staple Gun: For attaching the landscape fabric or burlap.
- Measuring Tape: For accurate measurements.
- Hammer: For driving nails (if using nails instead of screws).
- Wire Cutters: For cutting the hardware cloth.
Step-by-Step Instructions
- Prepare the Pallets:
- Inspect the pallets for any loose nails, splinters, or damage. Remove any hazards.
- Cut one pallet in half to create the sides. Keep one pallet whole for the back of the bin. This will create a rectangular structure.
- Build the Frame:
- Stand the whole pallet upright. This will form the back of the bin.
- Attach the two halved pallets to the sides of the back pallet, forming the sides of the bin. Use screws or nails to securely fasten the pallets together. Ensure the frame is square and stable.
- Consider the height of the pallets – this will determine the depth of your bin.
- Create the Base:
- Measure the internal dimensions of the pallet frame.
- Cut a piece of plywood to fit snugly inside the frame, creating the base of the bin.
- Secure the plywood base to the bottom of the pallet frame using screws or nails.
- Add Ventilation:
- Cut sections of hardware cloth to fit the inside of the pallet sides and back, covering the openings between the wooden slats. This will allow for air circulation while keeping rodents out.
- Attach the hardware cloth to the inside of the pallets using staples or small nails. Ensure it is securely fastened.
- Line the Interior:
- Line the interior of the bin (including the base and hardware cloth) with landscape fabric or burlap. This will create a dark environment and help regulate humidity.
- Secure the fabric to the frame using staples, ensuring it covers all interior surfaces.
- Optional: Create a Lid:
- Measure the top of the bin.
- Cut a piece of plywood to create a lid that fits snugly over the top.
- Attach hinges to the back of the bin and the lid, allowing the lid to open and close.
- Install a latch to secure the lid closed.
- Placement:
- Choose a cool, dark, and dry location for your potato storage bin. A garage, shed, or basement is ideal. Avoid areas prone to freezing or excessive moisture.
- Place the bin on bricks or wooden blocks to elevate it slightly off the ground, further improving ventilation and preventing moisture buildup.
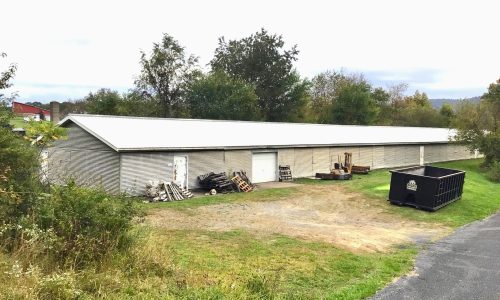
Wooden crates are sold at auction, these could be repurposed for a homestead potato storage project.
Addressing Common Challenges
- Pallet Availability: Finding untreated pallets can be challenging. Call local businesses and ask about their pallet disposal policies. Online marketplaces can also be a good resource.
- Rodent Control: Ensure the hardware cloth is securely attached to prevent rodents from entering the bin. Regularly inspect the bin for any signs of rodent activity.
- Moisture Buildup: Proper ventilation is crucial. Ensure the hardware cloth is not blocked by debris or stored items. Consider adding additional ventilation holes if necessary.
- Sprouting: Even with proper storage, potatoes may eventually sprout. Remove any sprouts as they appear to prolong the storage life of the potatoes.
Regionally Relevant Considerations
- Climate: In warmer climates, it may be necessary to provide additional cooling for the storage bin. Consider placing the bin in an insulated area or using a small fan to circulate air.
- Building Codes: This project typically doesn't require permits, but it's always a good idea to check local building codes and regulations to ensure compliance.
- Material Availability: The availability of specific materials may vary depending on your region. Adapt the project as needed, using readily available alternatives.
Cost Savings and Benefits
Building your own potato storage bin can save you a significant amount of money compared to purchasing a pre-made solution. This project also reduces food waste by extending the storage life of your potato harvest. By properly storing your potatoes, you can enjoy homegrown spuds throughout the winter months, reducing your reliance on store-bought produce.
Next Steps
After building your potato storage bin, consider these follow-up actions:
- Monitor Temperature and Humidity: Use a thermometer and hygrometer to monitor the conditions inside the bin. Adjust ventilation as needed to maintain optimal storage conditions.
- Regular Inspection: Regularly inspect the potatoes for any signs of spoilage. Remove any damaged potatoes to prevent the spread of rot.
- Expand Storage: As your homestead grows, you may need to expand your storage capacity. Consider building additional bins or exploring other root cellar alternatives.

Old Idaho homestead, proper food storage was essential for surviving long winters on remote homesteads.
Don't Forget the Onions!
Many of the principles of potato storage apply to onions as well. Consider building a separate, smaller bin for storing your onion harvest, utilizing similar construction techniques but focusing on maximizing airflow.
Call to Action
Now it's your turn! We encourage you to embark on this practical DIY project and build your own budget-friendly potato storage bin. Share your project results, photos, and any tips or modifications you made in the comments below! We'd love to see your homesteading ingenuity in action! Let's work together to build a more self-sufficient and resilient community.

Old trucks could be a source of scrap metal and wood, but be aware of rust and sharp edges.
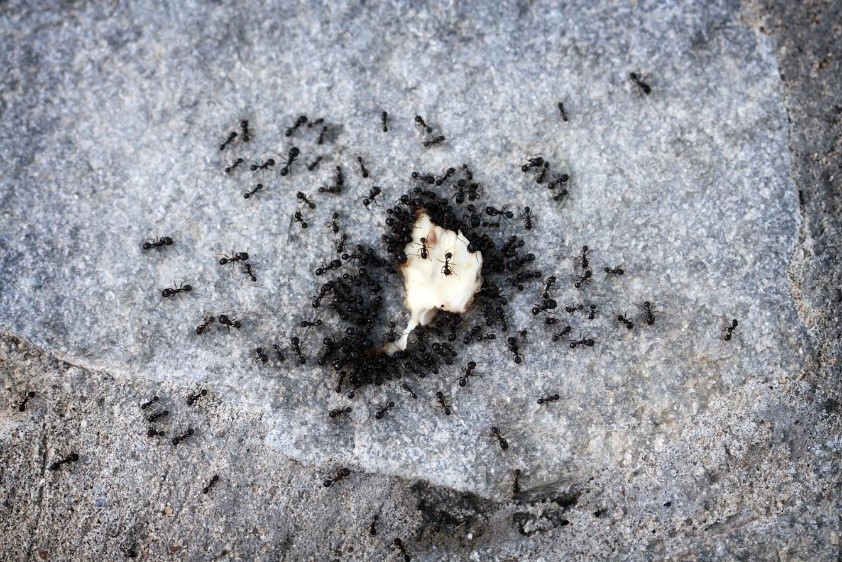
Ants can be a garden and storage pest, eliminate them before storing crops.
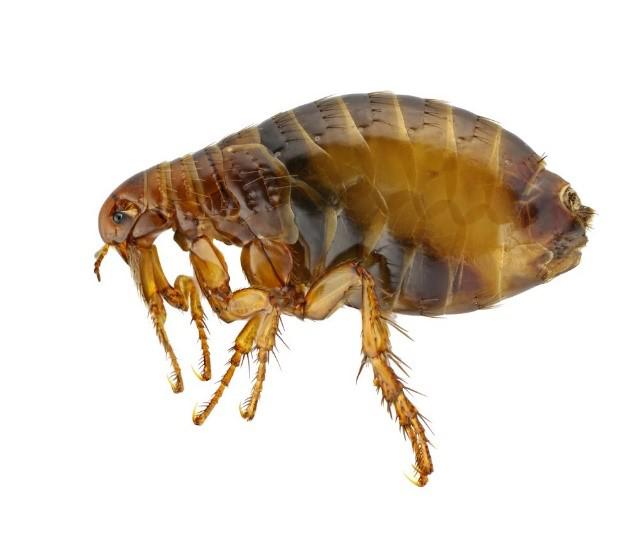
Fleas can carry diseases and are often found in damp dark places, keep your storage bin clean.

Maine farm in winter, potato storage extends the growing season.