Root Cellar - Level Up Your Homestead: A Step-by-Step Guide to Year-Round Food Storage
Welcome back to the homestead, friends! In today's post, we're tackling a practical project that's close to my heart – and that will make a real difference in your journey toward self-sufficiency. We're going to build a root cellar, adding year-round food storage to our homestead. Get ready to roll up your sleeves because a more resilient homestead is within reach!
This project is all about conserving energy and taking advantage of the earth's natural cooling properties. By building a root cellar, we can store fruits, vegetables, and even some canned goods without relying on electricity-guzzling refrigerators and freezers. I've broken it down into easy-to-follow steps, complete with photos and tips I learned along the way. Remember, safety first! Always consult a professional if you're unsure about any aspect of this project.
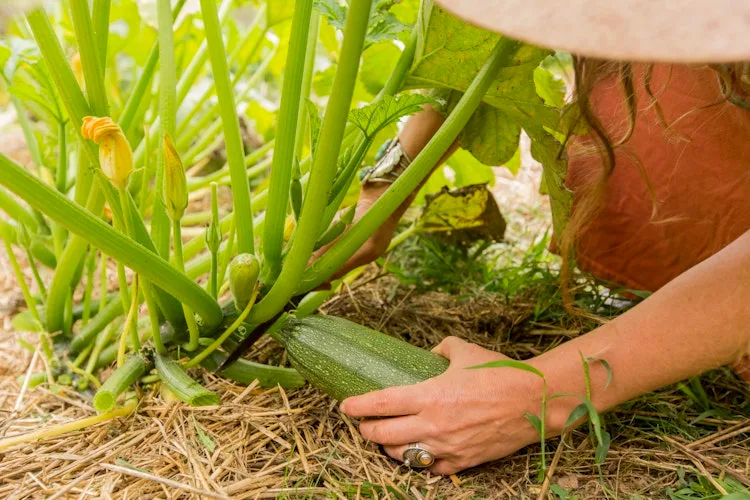
Image shows harvested squash and zucchini laid out with a knife, demonstrating a typical root cellar harvest.
Why a Root Cellar?
Before we dive in, let's quickly cover why you should even consider building a root cellar. Beyond the obvious benefit of year-round food storage, a root cellar offers:
- Energy Savings: Drastically reduces your reliance on electric refrigeration, cutting down on your energy bills.
- Food Preservation: Provides ideal conditions (cool, dark, and humid) for storing a variety of produce.
- Emergency Preparedness: Ensures a food supply even during power outages or emergencies.
- Improved Food Quality: Properly stored produce retains its flavor and nutritional value longer.
- Self-Sufficiency: A huge step towards greater independence and resilience on your homestead.
Now, let's get building!
Step 1: Planning and Site Selection
The success of your root cellar hinges on proper planning. Before you even break ground, you need to consider the following:
- Location: Ideally, your root cellar should be built into a hillside or underground to take advantage of the earth's natural insulation. North-facing slopes are generally best as they receive less direct sunlight. Good drainage is also crucial to prevent flooding. Avoid areas with a high water table.
- Size: Determine the size of your root cellar based on your storage needs. Consider the size of your garden, the amount of produce you plan to store, and your family's consumption habits. A small root cellar (6x8 feet) may be sufficient for a small family, while larger families may require a 10x12 foot or larger structure.
- Design: There are various root cellar designs, from simple underground pits to more elaborate structures with concrete walls and ventilation systems. Choose a design that suits your skill level, budget, and climate. You can find root cellar design plans online or in homesteading books.
- Materials: Gather the necessary materials, including lumber, concrete, insulation, ventilation pipes, and any tools you may need.
- Building Codes: Check your local building codes and regulations before starting construction. You may need a permit to build a root cellar on your property.
Materials Needed:
- Lumber (for framing and shelving)
- Concrete mix (for walls and floor, optional)
- Insulation (rigid foam or fiberglass)
- Gravel (for drainage)
- Ventilation pipes
- Door and hardware
- Tools: Shovels, picks, wheelbarrow, concrete mixer (if using concrete), saw, hammer, level, measuring tape, etc.
Potential Challenges:
- High water table.
- Rocky soil.
- Permitting issues.
This image demonstrates underground root cellar construction, showing materials, tools, and the building process.
Step 2: Excavation and Foundation
Once you have a plan, it's time to excavate the site.
- Digging: Depending on your design, you'll need to dig a hole or trench to the desired depth. Be sure to slope the walls of the excavation to prevent cave-ins.
- Drainage: Install a drainage system around the perimeter of the excavation to prevent water from entering the root cellar. This typically involves laying gravel and drainage pipes.
- Foundation: If you're building a concrete root cellar, pour a concrete foundation. Ensure the foundation is level and properly cured before proceeding. For simpler designs, a gravel base may suffice.
Alternative Approaches:
- Above-ground root cellar: If you have difficulty excavating due to rocky soil or a high water table, consider building an above-ground root cellar. This involves building a structure that is partially buried or heavily insulated to maintain cool temperatures.
- Using existing structures: Repurpose an existing basement, shed, or outbuilding into a root cellar. This can save time and money.
Tip: Rent a mini-excavator or backhoe to make the excavation process easier, especially for larger root cellars.
Step 3: Building the Walls
The walls of your root cellar can be constructed from various materials, including concrete, cinder blocks, wood, or even straw bales.
- Concrete/Cinder Blocks: These materials provide excellent insulation and durability. Be sure to reinforce the walls with rebar for added strength.
- Wood Framing: A more affordable option, but wood is susceptible to rot and insect damage. Use pressure-treated lumber for below-ground sections and ensure proper ventilation to prevent moisture buildup.
- Straw Bales: An eco-friendly option that provides excellent insulation. However, straw bale structures require careful construction and protection from moisture.

This image shows homesteading books which are helpful guides for planning and building a root cellar.
Tip: For wood-framed walls, consider using a waterproof membrane on the exterior to prevent moisture from entering the structure.
Step 4: Installing the Roof
The roof is crucial for insulating the root cellar and protecting it from the elements.
- Framing: Build a sturdy roof frame using lumber. Ensure the roof is sloped to allow for water runoff.
- Insulation: Insulate the roof with rigid foam insulation or fiberglass batts. The thicker the insulation, the better.
- Waterproofing: Cover the insulation with a waterproof membrane to prevent water from penetrating the roof.
- Backfilling: Backfill soil over the roof to provide additional insulation and blend the root cellar into the landscape.
Tip: Consider adding a layer of topsoil to the roof and planting grass or other vegetation to further insulate the structure and camouflage it.
Step 5: Ventilation
Proper ventilation is essential for maintaining the correct temperature and humidity levels inside the root cellar.
- Inlet Vent: Install a low-level inlet vent to allow cool air to enter the root cellar. This vent should be located near the floor.
- Outlet Vent: Install a high-level outlet vent to allow warm air to escape. This vent should be located near the ceiling.
- Adjustable Vents: Use adjustable vents that can be opened or closed to control the airflow.
Tip: Use a thermometer and hygrometer to monitor the temperature and humidity levels inside the root cellar. Aim for a temperature between 32°F and 40°F and a humidity level between 80% and 90%.
The image displays fields and mountains around a self-sufficient homestead.
Step 6: Installing the Door and Interior
- Door: Install a sturdy, insulated door to prevent heat from entering the root cellar. A solid-core door is a good choice.
- Shelving: Build shelves to store your produce. Use untreated lumber to avoid contaminating your food. Consider building different types of shelves to accommodate different sizes and types of produce.
- Flooring: A dirt floor is traditional and helps maintain humidity. However, a concrete floor is easier to clean and can help prevent rodent infestations. If you choose a dirt floor, consider adding a layer of gravel for drainage.
Tip: Consider adding a small window to provide natural light inside the root cellar. Just be sure to insulate the window well to prevent heat loss.
Step 7: Stocking Your Root Cellar
Now for the fun part! Harvest your produce and prepare it for storage.
- Curing: Some vegetables, such as onions and potatoes, need to be cured before being stored in a root cellar. Curing involves drying the vegetables in a warm, dry place for a week or two to harden the skins and prevent rot.
- Storage Containers: Use appropriate storage containers for different types of produce. Root vegetables can be stored in crates or boxes filled with sand or sawdust to maintain humidity. Fruits can be stored in single layers on shelves.
- Monitoring: Regularly check your produce for signs of spoilage. Remove any rotten or damaged items to prevent them from affecting the rest of your harvest.
Maintaining Your Root Cellar
A root cellar requires periodic maintenance to ensure it functions properly. Regularly check the ventilation system to ensure it is not blocked by debris. Inspect the walls and roof for leaks. Monitor the temperature and humidity levels and adjust the ventilation as needed.
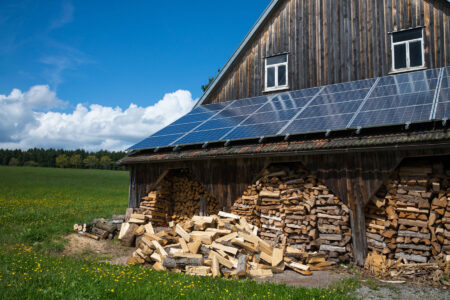
This image of an off-grid homestead highlights sustainable living and self-sufficiency.
Relevant Links and Resources:
- National Center for Appropriate Technology (NCAT) - ATTRA Sustainable Agriculture
- [Your Local County Extension Office](This is a placeholder, find and link to your local Extension office) - Provides valuable information and resources on gardening, food preservation, and homesteading.
And there you have it! Root Cellar complete. I know it might seem daunting at first, but with a little elbow grease and determination, you can achieve incredible things on your homestead. I'd love to hear about your experiences – share your questions, successes, and tips in the comments below! Together, we can build a more resilient and fulfilling homesteading life. Don't forget to share this article with your fellow homesteading enthusiasts if you found it helpful. Happy homesteading!
Keywords for SEO: DIY root cellar, root cellar, food storage, homesteading, sustainable living, self-sufficiency, home improvement, off-grid, rural living, energy efficiency
Call to Action: Try this project and share your results in the comments below or tag us on social media using #BetterHomesAndHarvestsHomesteading.