
Rolling Roost: Building a Mobile Chicken Coop for Happy Hens
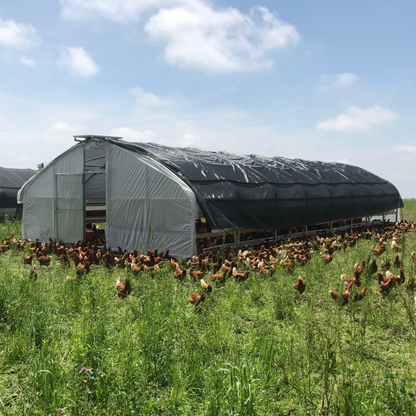
Imagine a homestead where your chickens not only provide you with fresh eggs but also contribute to the overall health and vitality of your land. A mobile chicken coop, or "chicken tractor," makes this dream a reality. By regularly moving your flock to fresh pasture, you’ll provide them with a constant supply of nutritious greens, naturally control garden pests, and distribute valuable fertilizer across your fields. This creates a symbiotic relationship that benefits both your chickens and your homestead.
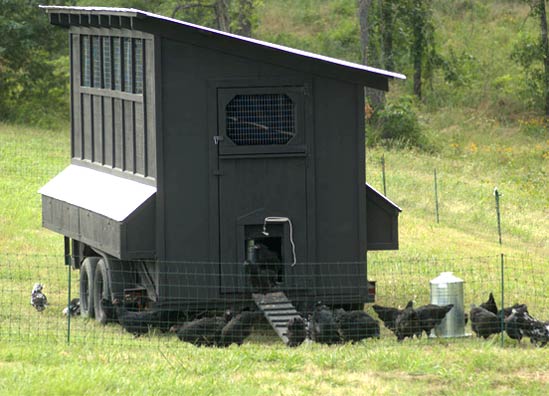
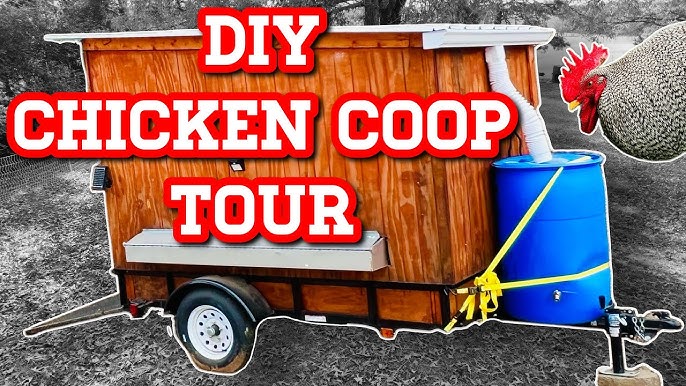
This comprehensive guide will walk you through the process of building a mobile chicken coop from reclaimed materials, perfectly suited for housing Orpington chickens. Known for their docile nature, excellent egg-laying, and substantial size, Orpingtons thrive in a spacious and secure environment. Our design utilizes a sturdy utility trailer base, making it easy to move your flock with a standard ball hitch, even on gently sloping terrain. Let's get started building your rolling roost!
SECTION 1: Gathering Your Reclaimed Materials
The beauty of this project lies in its reliance on reclaimed materials, making it both eco-friendly and budget-conscious. Before you begin construction, gather the following:
- Base: An old, but structurally sound, single-axle utility trailer (4ft x 8ft recommended). Ensure the trailer has a working ball hitch for easy towing.
Frame: Reclaimed wooden pallets (approximately 8-10 pallets, depending on size). When selecting pallets, prioritize those that are heat-treated (HT) over chemically treated (look for the "HT" stamp). Heat treatment is a safer option for your chickens.
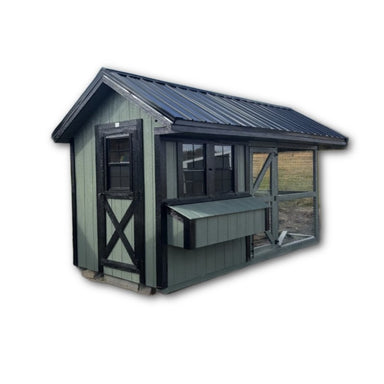
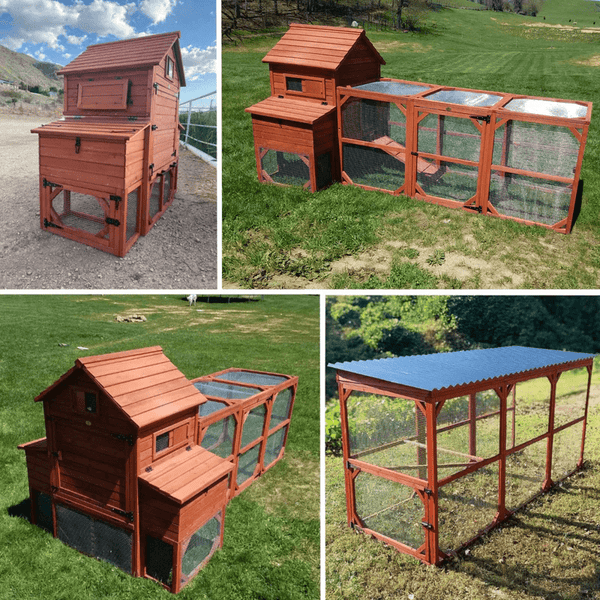
Roofing: Corrugated metal roofing salvaged from a barn tear-down (approximately 4ft x 8ft sheets). The weathered look adds character, and the metal provides excellent protection from the elements.
- Hardware: A generous supply of screws, nails, hinges, latches, chicken wire (1-inch mesh), and heavy-duty staples. Invest in quality hardware for durability and security.
- Tools: You'll need a saw (circular saw or reciprocating saw), drill, screwdriver, hammer, staple gun, measuring tape, and safety glasses. Safety first!
SECTION 2: Building the Coop Frame
With your materials gathered, it's time to construct the coop frame. Follow these step-by-step instructions:
- Step 1: Prepare the Trailer Bed. Clean the trailer bed thoroughly, removing any debris, loose rust, or dirt. A wire brush is helpful for this task. Then, apply a coat of rust-resistant paint to any areas showing significant rust to prolong the life of the trailer.
- Step 2: Constructing the Pallet Walls. Disassemble the pallets carefully, using a reciprocating saw or specialized pallet-busting tool to minimize splitting the wood. Use the pallet wood to build four walls around the perimeter of the trailer bed. Aim for a wall height of approximately 4 feet, which provides ample headroom for your Orpingtons. Securely attach the walls to the trailer frame using screws and metal brackets for added stability. Ensure all walls are plumb and level.
- Step 3: Framing the Roof. Create a simple A-frame roof structure using additional pallet wood. A slight pitch is crucial for effective water runoff, preventing leaks and keeping your chickens dry. Reinforce the joints of the A-frame with screws and brackets for maximum strength. Ensure the roof frame extends slightly beyond the walls to provide additional weather protection.
- Step 4: Adding the Chicken Wire. Cover the sides of the frame, including any openings, with 1-inch mesh chicken wire. This will keep your chickens safely inside and protect them from predators. Securely staple the chicken wire to the wood frame, ensuring there are no gaps or loose edges that a predator could exploit. Overlap the edges of the chicken wire for extra security.
SECTION 3: Roofing and Weatherproofing
A solid roof is essential for protecting your chickens from the elements.
- Step 1: Attaching the Corrugated Metal. Secure the corrugated metal roofing sheets to the A-frame using screws with rubber washers. The rubber washers will prevent leaks around the screw holes. Overlap the sheets by at least one corrugation to ensure a watertight seal.
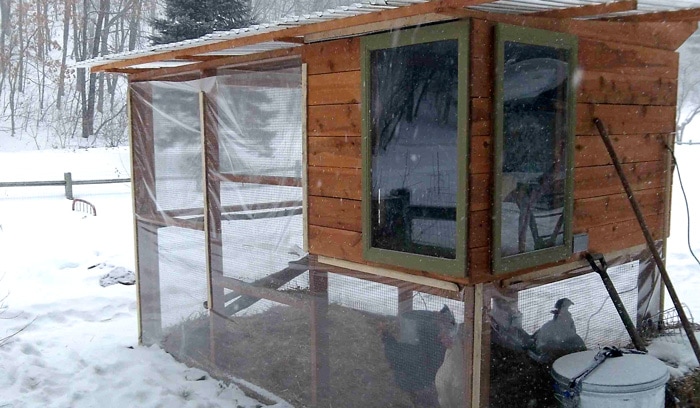
- Step 2: Sealing the Gaps. Use caulk or sealant to fill any remaining gaps or cracks in the roofing and walls. Pay close attention to the areas where the roofing meets the walls and around any seams or joints. This will prevent drafts and water intrusion, creating a comfortable and dry environment for your chickens.
SECTION 4: Predator Protection: Raccoon and Fox Fortification
Protecting your flock from predators is paramount. Implement these measures to enhance security:
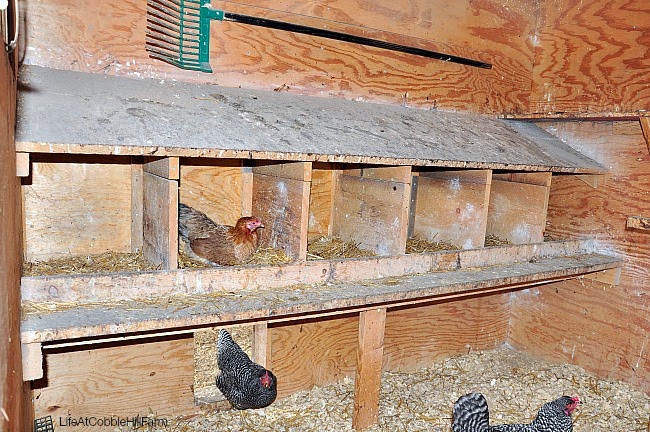
Elevated Sleeping Area: Build a raised sleeping platform inside the coop, approximately 2 feet off the ground. Enclose the platform with secure chicken wire to prevent digging predators from accessing the sleeping chickens. This elevated space also provides a sense of security for your Orpingtons.
Secure Latches: Use heavy-duty latches on all doors and access points. Raccoons are notorious for their dexterity, so consider using latches that require multiple steps to open. Adding carabiner clips to secure the latches provides an extra layer of security.
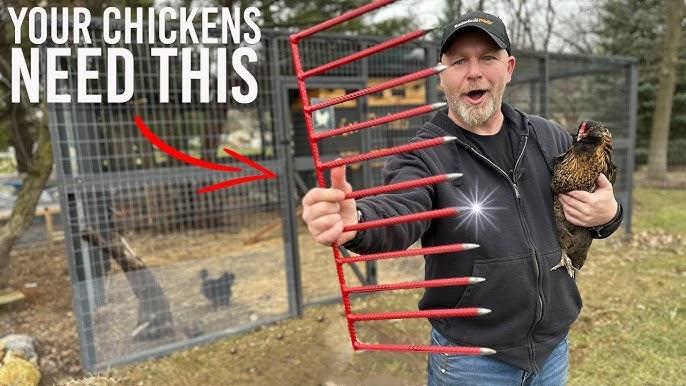
Bury Wire: Bury chicken wire around the perimeter of the coop, extending outwards about 12 inches. This creates an underground barrier that deters digging predators like foxes and dogs. Bend the wire outwards at a 90-degree angle before burying it for added effectiveness.
SECTION 5: Integrating Solar Power for Winter Warmth
A little extra warmth during the winter months can significantly improve your chickens' comfort and egg production.
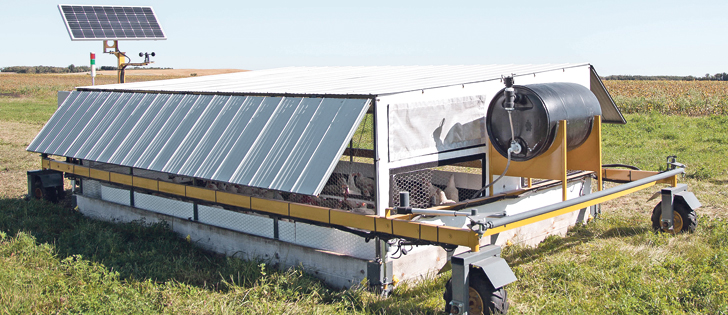
Panel Selection: Install a small 20-watt solar panel on the roof of the coop. This size is sufficient to power a small heating pad.
Wiring: Connect the solar panel to a 12V heating pad inside the coop using appropriate wiring and connectors. Ensure all connections are weatherproof and secure.
Placement: Place the heating pad in the elevated sleeping area. Low-voltage heating is safe for poultry when used correctly. Monitor the temperature inside the coop to ensure it doesn't get too warm.
SECTION 6: Mobility and Security
Moving the coop safely is crucial for rotational grazing.
Hitching: Ensure the ball hitch is securely connected to the towing vehicle before each move. Double-check the locking mechanism.
Tires: Check the tire pressure on the trailer before moving the coop. Underinflated tires can make towing difficult and potentially lead to a blowout.
Strapping: Secure the coop to the trailer frame with heavy-duty straps to prevent shifting during transport. This is especially important on uneven terrain.
SECTION 7: Final Touches and Happy Hens
Now for the finishing touches!
Add bedding to the coop, such as straw or wood shavings, to provide a comfortable and absorbent surface for your chickens.
Install feeders and waterers inside the coop, ensuring they are easily accessible to your Orpingtons.
Introduce your Orpington chickens to their new mobile home! Observe them carefully to ensure they are adjusting well to their new surroundings.
Conclusion
Building a mobile chicken coop is a rewarding project that offers numerous benefits for your homestead. By using reclaimed materials, you’re creating a sustainable and cost-effective solution for housing your flock. Remember to adapt this design to your specific needs and resources. The key is to create a safe, comfortable, and mobile environment for your Orpington chickens, allowing them to thrive and contribute to the health of your land. Now get building, and don’t forget to share your own mobile chicken coop projects on social media using the hashtag #RollingRoostHomestead!