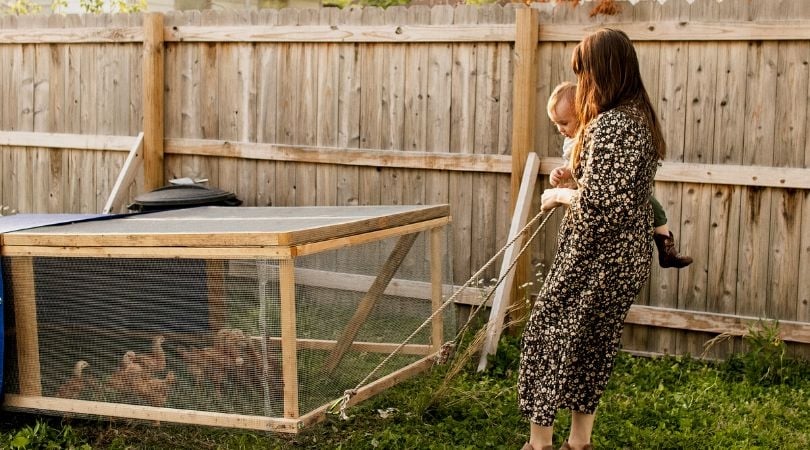
Revolutionize Your Chicken Keeping: Build a DIY Chicken Tractor for Under $200!
Are you tired of your chickens tearing up your garden, pooping on your porch, or becoming easy targets for predators? Do you dream of fresh eggs and healthier birds, but dread the thought of building a permanent coop? Then a DIY chicken tractor is your answer!
Imagine this: your chickens happily pecking away at weeds and bugs in a designated area, fertilizing your garden beds as they go. No more chased salads or rogue chicken droppings. A chicken tractor, also known as a mobile chicken coop, allows you to move your flock to fresh pasture regularly, providing them with a constant supply of nutritious greens, reducing pest pressure, and naturally fertilizing your land.
This step-by-step guide will show you how to build a sturdy and functional chicken tractor for under $200, using readily available materials and basic DIY skills. Get ready to transform your homestead and give your chickens the free-range life they deserve, without the chaos!
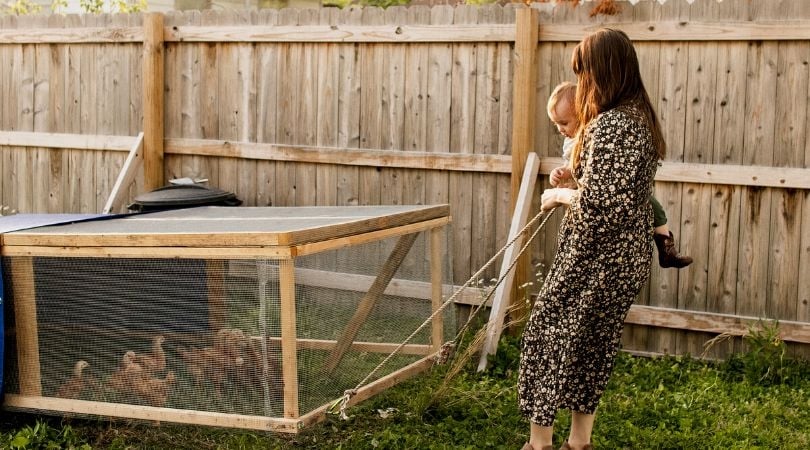
Why Build a Chicken Tractor? The Benefits are Egg-cellent!
Before we dive into the build, let's recap why a chicken tractor is a game-changer for homesteaders:
- Pasture Rotation: Provides fresh grazing for healthier chickens and better eggs. This aligns with the principles of rotational grazing chickens.
- Garden Fertilization: Chickens naturally fertilize the soil with their droppings. This is a major benefit of chicken manure fertilizer.
- Pest Control: Chickens eat bugs, larvae, and weed seeds, reducing the need for pesticides.
- Predator Protection: Enclosed and secure, a chicken tractor offers a safe haven for your flock, especially when compared to truly free-range scenarios.
- Easy Management: Mobile design allows for easy movement and cleaning.
- Cost-Effective: Our DIY design is budget-friendly and utilizes readily available materials.
The Budget-Friendly Chicken Tractor: Step-by-Step Guide
This chicken tractor design is perfect for a small flock (4-6 chickens) and can be easily adapted to fit your specific needs.
Step 1: Planning and Design
Before you start building, take some time to plan your chicken tractor. Consider the size of your flock, the terrain of your yard, and your personal preferences. A good size for 4-6 chickens is approximately 4ft x 8ft.
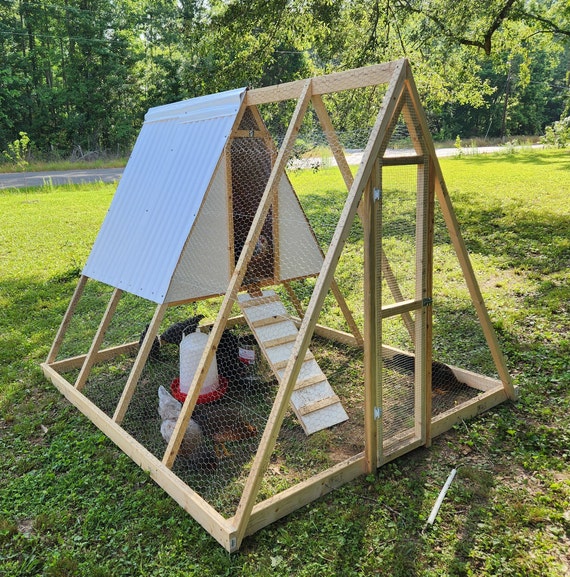
Step 2: Gather Your Materials
Here's a comprehensive materials list to get you started. Prices may vary depending on your location and availability, but this should give you a good estimate.
- Lumber:
- (6) 2x4x8 pressure-treated lumber: $40
- (2) 4x4x8 pressure-treated lumber (for skids): $30
- Hardware Cloth:
- 50ft roll of ½ inch hardware cloth (36 inches wide): $60
- Roofing:
- (1) Sheet of corrugated metal roofing (8ft): $30 (Consider using reclaimed metal for cost savings!)
- Fasteners:
- 3-inch exterior wood screws: $10
- 1-inch staples for hardware cloth: $10
- Wheels (Optional):
- (2) Heavy-duty swivel casters (4-inch): $20 (These make moving the tractor significantly easier)
- Door Hardware:
- (2) Hinges: $5
- (1) Latch: $5
- Total Estimated Cost: $200 (without reclaimed materials)
Budget-Saving Tip: Check local classifieds, online marketplaces, or construction sites for reclaimed lumber, metal roofing, or other materials. You can often find these items for free or at a significantly reduced price.
Step 3: Building the Frame
- Cut the 2x4 lumber to the following lengths:
- (2) 8ft (long sides)
- (2) 4ft (short sides)
- (4) 2ft (vertical supports)
- Assemble the rectangular frame using the 8ft and 4ft pieces. Secure the corners with wood screws.
- Attach the 2ft vertical supports to the inside corners of the frame, ensuring they are flush with the top edge.
- Attach the 4x4 skids to the bottom of the frame, running lengthwise. These will allow you to drag the tractor across the ground. Secure them with screws.
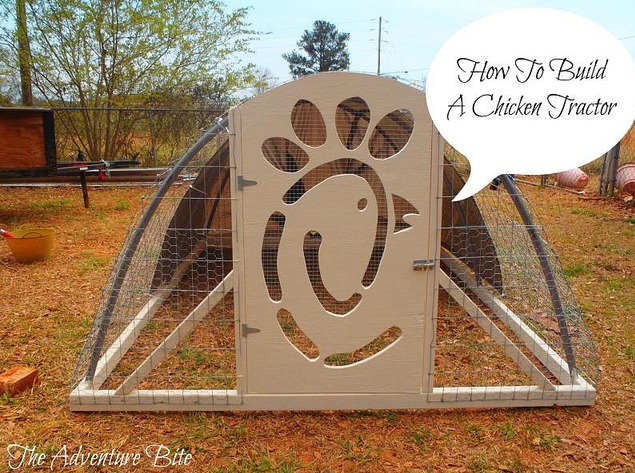
Step 4: Attaching the Hardware Cloth
- Wrap the entire frame (sides, bottom, and top) with hardware cloth, securing it with staples every few inches. Make sure to overlap the edges slightly for added strength.
- Pay special attention to the corners and seams, ensuring there are no gaps where predators could enter.
- If you chose to install wheels, do so at this step!
Safety Tip: Wear gloves and safety glasses when working with hardware cloth to protect yourself from sharp edges.
Step 5: Building the Door
- Cut a section of the hardware cloth on one of the short sides of the tractor to create a doorway.
- Build a small frame for the door using scrap lumber.
- Attach hardware cloth to the door frame.
- Attach the door to the tractor frame using hinges.
- Install a latch to secure the door.
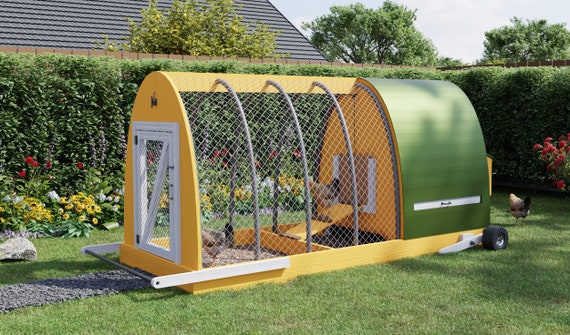
Step 6: Adding the Roof
- Attach the corrugated metal roofing to the top of the frame, overlapping the edges slightly. Secure it with screws.
- Ensure the roof is angled slightly to allow for rainwater runoff.
Troubleshooting Tip: If you live in a particularly windy area, consider adding extra supports to the roof to prevent it from being blown off.
Step 7: Interior Design (Optional but Recommended)
- Add a roosting bar inside the tractor. This can be a simple 2x4 piece of lumber mounted horizontally.
- Provide a dust bathing area. A shallow pan filled with sand and diatomaceous earth will help your chickens keep clean and healthy.
- Include a waterer and feeder.
Step 8: Predator Proofing
This is a critical step. Chicken tractors are generally safe, but you need to think about predator protection chicken coop strategies.
- Bury hardware cloth extending outwards from the base of the tractor to deter digging predators.
- If you have a persistent predator problem consider adding a skirt of hardware cloth around the base of the tractor.
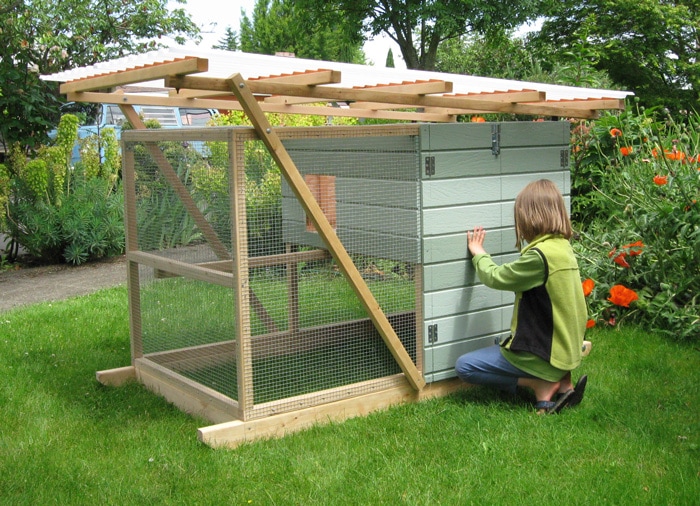
Step 9: Introducing Your Chickens
Carefully introduce your chickens to their new mobile home. Provide them with food and water, and allow them to explore their surroundings. They may be hesitant at first, but they will quickly adapt to their new, luxurious lifestyle.
Chicken Tractor in Action: Observing the Benefits
I've been using a chicken tractor similar to this design for the past year, and the results have been remarkable. Before using the tractor, my chickens were confined to a small run, and the ground was quickly becoming barren and over-fertilized.
Since implementing the chicken tractor and employing rotational grazing with chickens:
- Pasture Health: The pasture is noticeably healthier and more diverse, with lush grass and fewer weeds.
- Chicken Health: My chickens are healthier and more active, and their eggs are richer in color and flavor. The chicken flock health is noticeably improved!
- Pest Reduction: I've seen a significant reduction in pest pressure in my garden.
- Fertilization: My garden beds are thriving thanks to the natural fertilization provided by the chickens.
Cost Breakdown: Keeping it Budget-Friendly
Here’s a sample cost breakdown for this project:
- Lumber: $70
- Hardware Cloth: $60
- Roofing: $30
- Fasteners: $20
- Wheels (Optional): $20
- Door Hardware: $10
- Total: $210
Remember, this is just an estimate. You can significantly reduce the cost by using reclaimed materials or shopping around for the best deals.
Common Problems and Solutions
- Chickens escaping: Double-check all seams and corners of the hardware cloth. Make sure the door is securely latched.
- Predators attacking: Reinforce the hardware cloth with additional staples or wire. Consider adding a skirt of hardware cloth around the base of the tractor. Consider predator protection chicken coop practices.
- Tractor is too heavy to move: Use larger wheels or build a smaller tractor.
Final Thoughts: Embrace the Chicken Tractor Life
Building a DIY chicken tractor is a rewarding project that will significantly improve your homestead. It's a cost-effective way to provide your chickens with a healthier and happier life, while also benefiting your garden and reducing pest pressure. So, gather your materials, grab your tools, and get ready to revolutionize your chicken keeping! With a little effort, you can have a thriving flock and a flourishing homestead, all thanks to the power of the humble chicken tractor.
Happy homesteading!