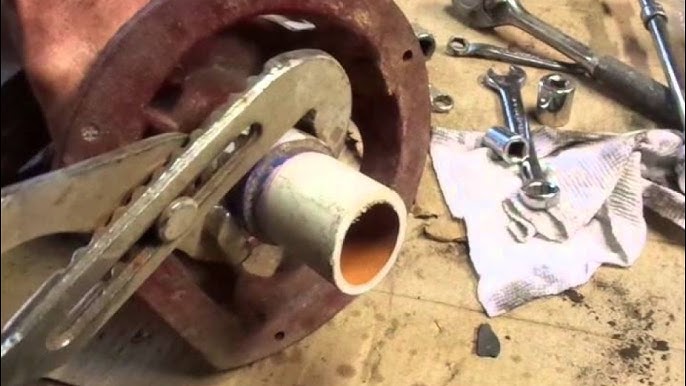
Reviving a Piece of History: Restoring Your Homestead's Hand Pump Well
For generations, the hand pump well stood as a symbol of self-reliance, a testament to our ancestors' ability to provide for themselves directly from the land. There’s something incredibly satisfying about drawing cool, clear water straight from the earth, independent of power grids or municipal systems. My own connection to hand pump wells began as a child, spending summers at my grandfather's farm. The rhythmic creak of the pump handle and the gush of cold water were integral to the experience, a tangible link to the past and a powerful reminder of the importance of self-sufficiency. This blog post is dedicated to helping you revive that vital piece of homestead history – your old hand pump well. We'll guide you through each step of the restoration process, empowering you to access a reliable water source and connect with the traditions of homesteaders past.
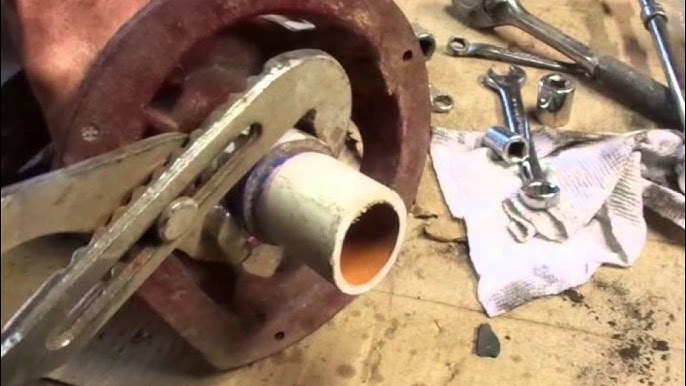
This project is designed for intermediate DIYers with a moderate budget. While it requires some effort and patience, the rewards – clean water, reduced reliance on electricity, and the satisfaction of reviving a forgotten skill – are well worth it.
Step 1: Assessing Your Existing Well – What's the Story It Tells?
Before diving into the restoration, it’s crucial to understand the current state of your well. A thorough assessment will help you identify any problems and determine the necessary repairs.
- Safety First: Always prioritize safety. If you suspect any structural instability of the well casing, consult a professional. Avoid working alone.
- Visual Inspection: Carefully examine the above-ground components. Is the pump handle broken or rusted? Is the pump body cracked or corroded? What is the general condition of the well casing?
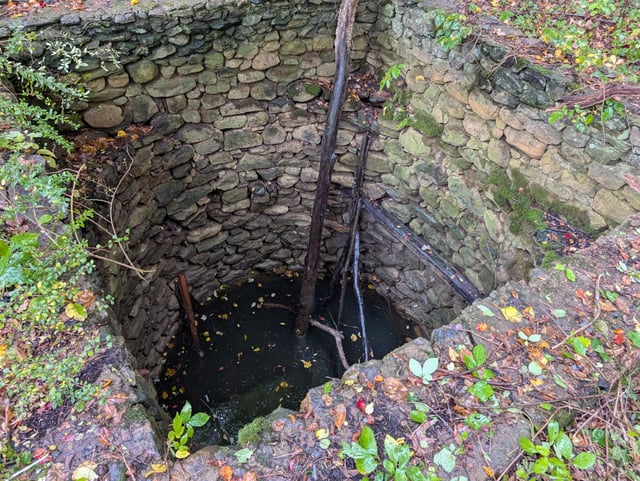
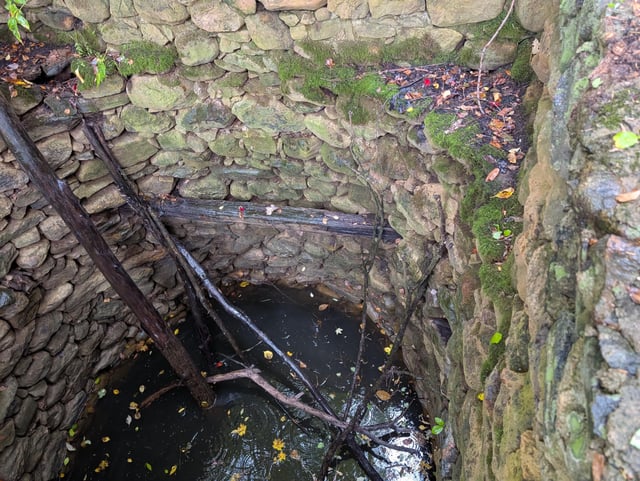
- Check for Obstructions: Look inside the well casing (if safe to do so). Are there any visible debris, such as leaves, branches, or small animals?
- Test the Pump: If the pump is still somewhat functional, try pumping it. Does it produce any water? Is the water cloudy, rusty, or smelly? How much effort is required to pump?
- Examine the Well Casing: This is crucial. Look for cracks, rust, or damage to the well casing, both above and below ground (as much as you can safely see). The casing protects the well water from contamination.
- Document Everything: Take detailed photos and notes of your observations. This will be helpful when sourcing parts and planning your repairs.
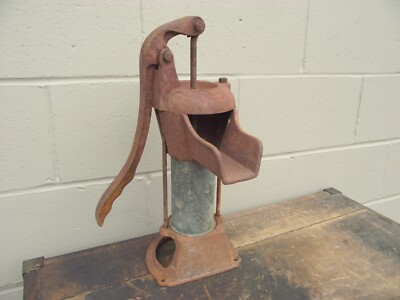
Common Problems to Look For:
- Rust and Corrosion: Rust is a common issue, especially in older wells. It can weaken the pump components and contaminate the water.
- Broken or Worn Parts: Handles, valves, and cylinders can break or wear out over time.
- Clogged or Dirty Well: Debris and sediment can accumulate in the well, reducing water flow and affecting water quality.
- Damaged Well Casing: Cracks or holes in the casing can allow contaminants to enter the well.
- Dry Well: The water table may have dropped below the level of the pump, resulting in a dry well.
- Permitting Considerations: Depending on your location, you may need to register or permit your well. Check with your local authorities to ensure compliance.
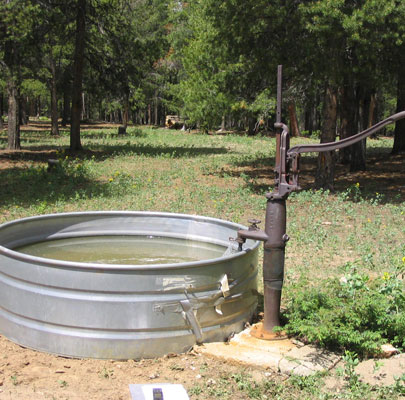
Step 2: Sourcing Parts – Affordable and Reclaimed Options
Restoring a hand pump well doesn't have to break the bank. Here are some tips for sourcing affordable parts:
- Identify the Parts You Need: Based on your assessment, create a list of the parts you'll need to replace or repair.
- Check Local Hardware Stores: Start with your local hardware stores. They may carry some of the more common parts, such as handles, valves, and pipe fittings.
- Online Retailers: Online retailers offer a wider selection of parts, often at competitive prices. Search for "hand pump well parts" or "pitcher pump parts."
- Reclaimed Parts: Consider using reclaimed parts from old wells or pumps. Check with local salvage yards, antique stores, or online marketplaces. Reclaimed parts can be a great way to save money and add character to your restoration.
- DIY Repairs: In some cases, you may be able to repair damaged parts yourself. For example, you can weld cracks in metal components or fabricate new gaskets from rubber sheets.
Step 3: Cleaning the Well – Flushing Out the Past
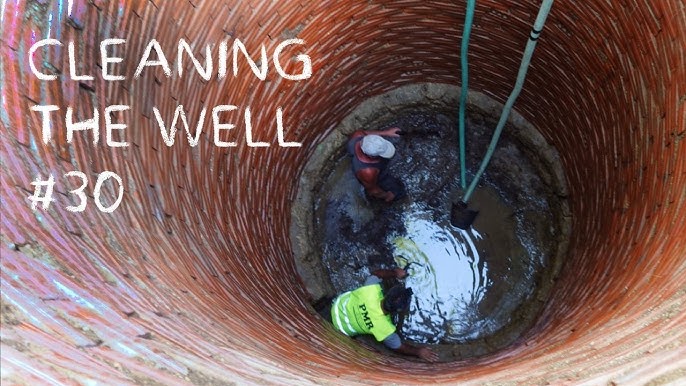
Cleaning the well is essential for removing debris, sediment, and contaminants that may have accumulated over time.
- Remove Debris: If there's any visible debris in the well casing, remove it manually using a net, bucket, or other suitable tool.
- Flush the Well: Use a submersible pump or a garden hose to flush the well with clean water. This will help to dislodge sediment and other contaminants. Pump the water out of the well until it runs clear.
- Disinfect the Well: Disinfect the well with chlorine bleach to kill any bacteria or other microorganisms. Add approximately one cup of unscented household bleach for every 5 gallons of water in the well. Allow the bleach to sit in the well for at least 12 hours, then flush the well again until the chlorine smell is gone.
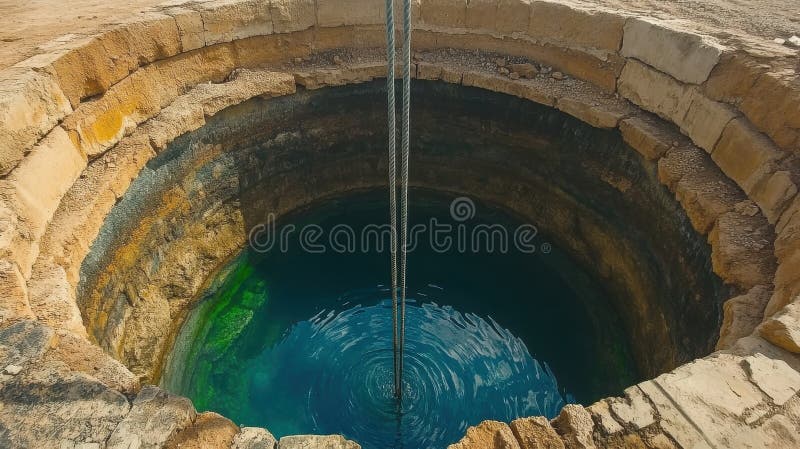
Important: Always test the water quality after disinfecting the well to ensure that it's safe to drink. You can purchase water testing kits online or at your local hardware store.
Step 4: Repairing and Reassembling the Pump – Bringing It Back to Life
Once you've cleaned the well and sourced the necessary parts, it's time to repair and reassemble the pump.
- Disassemble the Pump: Carefully disassemble the pump, taking note of how the parts fit together. Take photos as you go to help you remember the assembly process.
- Replace Worn or Damaged Parts: Replace any worn or damaged parts with new or reclaimed parts.
- Clean and Lubricate Parts: Clean all of the parts thoroughly with a wire brush and solvent. Lubricate the moving parts with a food-grade grease to ensure smooth operation.
- Reassemble the Pump: Reassemble the pump, following the photos and notes you took during disassembly.
- Test the Pump: Once the pump is reassembled, test it to make sure it's working properly.
Step 5: Priming the Pump – Getting the Water Flowing
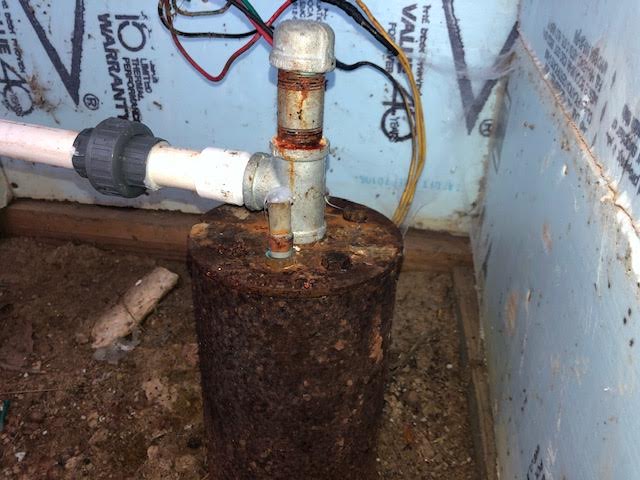
After reassembling, you will likely need to prime the pump to initiate water flow. This involves filling the pump cylinder with water to create suction.
- Locate the Priming Plug: Find the priming plug on the pump body.
- Remove the Plug: Remove the priming plug.
- Add Water: Pour water into the priming hole until the pump cylinder is full.
- Replace the Plug: Replace the priming plug.
- Pump the Handle: Pump the handle vigorously until water starts to flow. You may need to repeat the priming process several times before the pump starts working properly.
Step 6: Enjoying the Fruits (or Water!) of Your Labor
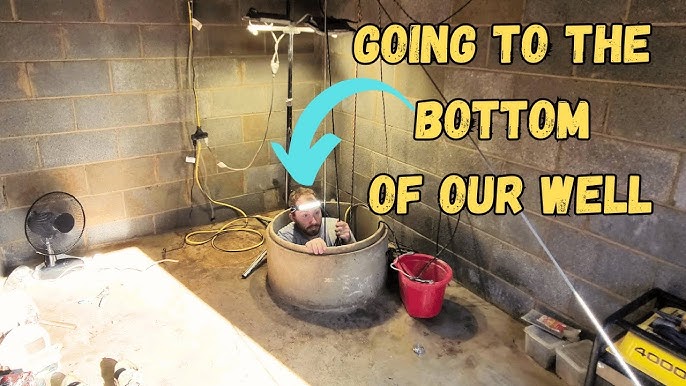
Congratulations! You've successfully restored your hand pump well. Now you can enjoy the benefits of clean, reliable water and the satisfaction of reviving a piece of homestead history.
Remember: Regularly inspect and maintain your well to ensure its continued operation. This includes cleaning the well periodically, lubricating the pump parts, and testing the water quality.
Conclusion: Reconnecting with Our Roots
Restoring a hand pump well is more than just a DIY project; it's a way to reconnect with our homesteading ancestors, embrace self-reliance, and ensure access to a vital resource. It's a tangible reminder of the skills and values that have sustained communities for generations. By taking the time to revive these forgotten water sources, we not only gain access to clean water but also preserve a valuable piece of our heritage.
Take a moment to assess your own water sources. Could an old well be brought back to life? What skills or knowledge can you share with others? I encourage you to share your own restoration experiences, questions, and tips in the comments below. Let's work together to keep these vital traditions alive!
Relevant Keywords: hand pump well restoration, homestead water source, DIY well repair, self-sufficient water, well restoration, revive old well, well pump repair DIY, hand pump well maintenance, off-grid water system, hand pump water well.
Share your finished well on Instagram with #HomesteadWater and tag @BetterHomesAndHarvests!