Revive Your Homestead: A DIY Guide to Barn Restoration
[ ]
]
The old barn stands sentinel on the horizon, a testament to generations of hard work and a tangible link to our homestead's past. These structures weren't just for storing hay and housing livestock; they were the very heart of the farming community, the scene of celebrations, problem solving, and a whole lot of work. In a world increasingly focused on the new, restoring a barn might seem like a daunting task, but the environmental and economic benefits, not to mention the historical value, make it an incredibly worthwhile endeavor. Why tear down and rebuild when you can breathe new life into something already standing, imbued with character and history?
On the resilient homestead, self-sufficiency isn't just a goal; it's a way of life. And barn restoration perfectly embodies that ethos. It's about resourcefulness, about honoring the past, and about building a future where we rely less on disposable materials and more on the treasures that already exist around us. This guide will walk you through the steps of barn restoration, with a strong emphasis on using reclaimed materials and improving energy efficiency. We aim to show you that with a little elbow grease and a lot of ingenuity, you can transform a dilapidated barn into a functional, beautiful, and long-lasting asset to your homestead.
Assessing the Barn's Condition: Planning Your Restoration
[ ]
]
Before you even pick up a hammer, the most crucial step in your barn restoration project is a thorough assessment of its current condition. This isn't just a superficial glance; it's a deep dive into the structural integrity of every element, from the foundation to the roof. This evaluation will inform your restoration plan, helping you prioritize repairs and allocate your budget effectively. Think of it as the "before" picture and the basis for your timeline, so consider taking photographs of all damage.
Foundation Check: Start at the base. Inspect the foundation for cracks, settling, and any signs of water damage. Even small cracks can grow over time, compromising the entire structure. Look for vegetation growing near the foundation, as this can indicate moisture and potential problems. Hairline cracks can often be patched with concrete crack filler, but larger cracks may require more extensive repairs, such as underpinning (adding support beneath the existing foundation) or even partial foundation replacement.
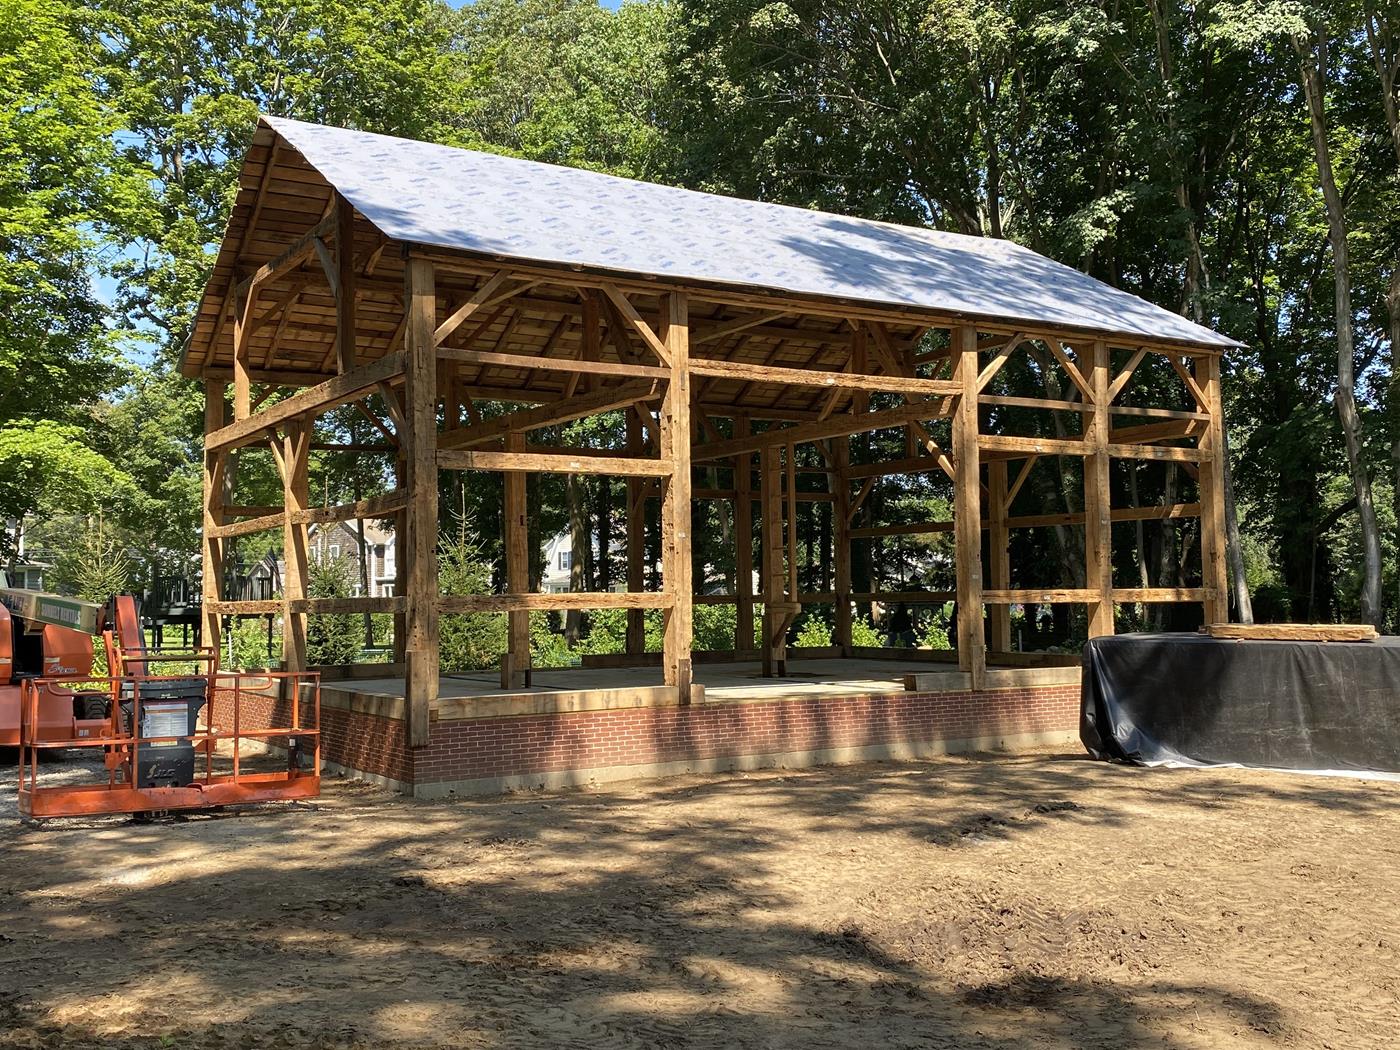
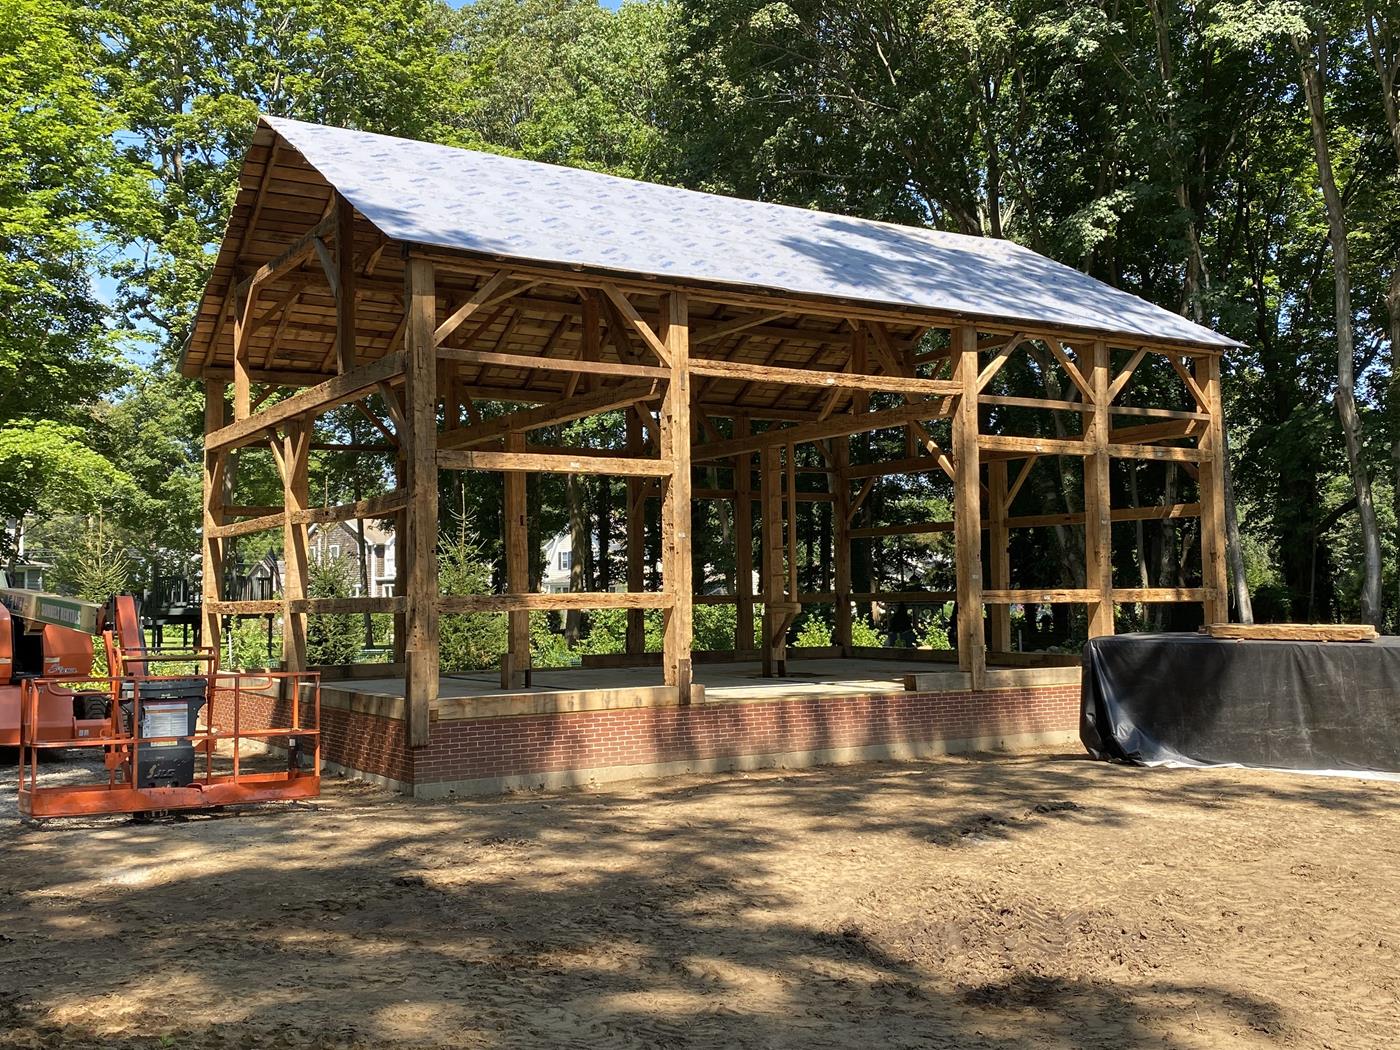
Structural Integrity: Next, examine the frame – the posts, beams, and rafters. This is where you'll be looking for rot, insect infestation (termites, carpenter ants), and any structural weaknesses. Pay close attention to the sills (the horizontal timbers that rest on the foundation), as these are often the first to succumb to moisture damage. Joints where timbers connect are also vulnerable. Use a screwdriver or awl to probe the wood; if it's soft or crumbly, it's likely rotted. You may also notice pest activity, such as small tunnels.
Roofing Evaluation: A sound roof is essential for protecting the barn from the elements. Check for leaks, missing or damaged shingles, and the overall condition of the roof sheathing (the boards underneath the roofing material). Look for signs of water stains on the interior of the barn, which can indicate leaks. If the roof is sagging, it could indicate structural problems with the rafters or other supporting members. You may need to call a professional to evaluate the roof's condition if you are not comfortable working at heights.
Siding Inspection: Whether your barn has wood, metal, or other siding, assess its condition. Look for rot, warping, rust, or damage from pests or weather. Check for loose or missing siding, and pay attention to areas where the siding meets the foundation or roof, as these are common entry points for water and pests.
Creating a Restoration Plan: Once you've completed your assessment, prioritize the repairs based on their urgency and impact on the barn's structural integrity. Address the most critical issues first, such as foundation repairs or roof leaks. Develop a realistic timeline for the project, breaking it down into manageable tasks. Consider your budget and the availability of materials and labor.
Permitting & Regulations: Before starting any work, check with your local building department to determine if any permits are required for barn restoration. Building codes vary widely, so it's essential to ensure your project complies with all applicable regulations.
A thorough assessment is paramount. This will save you time, money, and headaches in the long run.
Sourcing Reclaimed Materials: Resourcefulness in Action
[ ]
]
One of the most rewarding aspects of barn restoration is the opportunity to use reclaimed materials. Not only is this a cost-effective way to save money, but it also adds character and history to your project. Reclaimed materials have a story to tell, and they bring a unique sense of authenticity to your restored barn. Plus, you're contributing to environmental sustainability by repurposing materials that would otherwise end up in a landfill.
Deconstruction: If you have access to old structures (barns, houses, sheds) that are being dismantled, consider deconstructing them yourself. This allows you to salvage a wide range of materials, from lumber to windows to doors. However, safety is paramount during deconstruction. Wear appropriate safety gear (gloves, eye protection, hard hat), and be sure to properly support any unstable structures before removing materials.
Salvage Yards & Architectural Salvage: Salvage yards and architectural salvage businesses are treasure troves of reclaimed materials. You can often find lumber, windows, doors, hardware, and other items at prices significantly lower than new materials.
Local Sources: Network with local builders, farmers, and demolition companies to find discarded materials. They may be willing to donate or sell materials at a discount. Keep an eye on local classified ads and online marketplaces for people selling or giving away used building materials.
Online Marketplaces: Online platforms like Craigslist and Facebook Marketplace can be great resources for finding reclaimed materials in your area. Search for terms like "reclaimed lumber," "used windows," or "salvaged building materials."
Material Selection: When choosing reclaimed materials, carefully inspect them for rot, insect damage, and structural integrity. Avoid materials that are heavily damaged or contaminated. Choose materials that are suitable for the intended purpose. For example, if you're repairing structural members, use reclaimed lumber that is strong and free from defects.
Repurposing: Get creative with how you use reclaimed materials. Old doors can be repurposed as tables or headboards. Metal roofing can be used to create unique wall art. Old barn wood can be used to create furniture or decorative accents.
By embracing resourcefulness and creativity, you can significantly reduce the cost of your barn restoration project while adding a touch of history and character.
Structural Repairs: Strengthening the Foundation
[ ]
]
With your assessment complete and reclaimed materials sourced, it's time to tackle the structural repairs. This is perhaps the most critical phase of the project, as it ensures the barn's long-term stability and safety.
Foundation Repairs: For cracks in the foundation, clean the area thoroughly and apply a concrete crack filler. For larger voids, you may need to use a patching compound or even pour new concrete. If the foundation is settling, you may need to underpin it or consult with a structural engineer.
Timber Framing Repairs: Repairing or replacing damaged timber frame members requires specialized skills and techniques. Common repair methods include scarf joints (a method of joining two timbers end-to-end), sistering (attaching a new timber alongside the damaged one), and epoxy repairs.
Joist and Beam Reinforcement: Weakened joists and beams can be reinforced using steel plates, timber splints, or other structural supports. Consult with a structural engineer to determine the best method for your specific situation.
Structural repairs are essential. Don't hesitate to seek professional help if you're unsure about any aspect of the work.
Roofing Restoration: Protecting Your Investment
- Roofing Removal: Carefully remove the old roofing materials, using appropriate safety gear.
- Sheathing Repair: Repair or replace any damaged roof sheathing.
- Underlayment Installation: Install a waterproof underlayment.
- Roofing Material Options: Consider your budget, aesthetic preferences, and the durability of each option. Reclaimed slate shingles can provide a unique and historical look.
- Installation Techniques: Follow the manufacturer's instructions for installing the chosen roofing material.
- Gutter Installation: Install gutters to divert water away from the foundation.
Insulating for Efficiency: Reducing Energy Consumption
Consider using natural insulation materials like sheep's wool, straw bales, or recycled denim. These materials are renewable, biodegradable, and non-toxic. Ensure proper ventilation to prevent moisture buildup.
Siding Restoration: Enhancing Aesthetics and Protection
Repair or replace damaged siding. Consider using reclaimed wood siding for a rustic look. Prepare the siding for painting or staining, and choose appropriate paints and stains for exterior use.
Barn Interior Design: Functionality and Style
[ ]
]
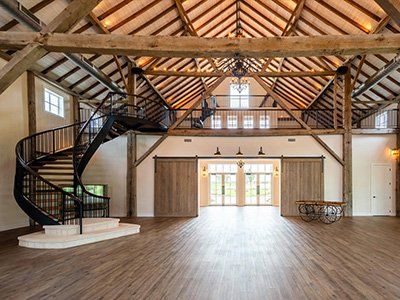
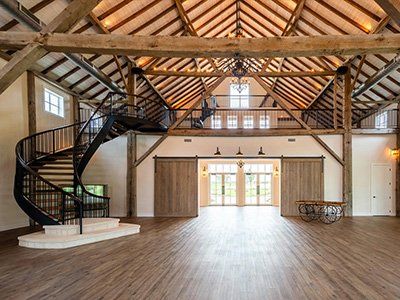
Plan the barn's layout based on its intended use. Implement storage solutions for tools and equipment. Install energy-efficient lighting fixtures.
A Legacy of Resilience
Barn restoration is a labor of love. A restored barn provides a functional space, increases property value, and contributes to self-sufficiency.
Have you restored a barn? Share your tips and experiences in the comments below!