Revitalize Your Homestead: DIY Root Cellar Construction for Year-Round Food Security
The Better Homes and Harvests community values self-sufficiency. This month, we're diving into a project that embodies this spirit: building a simple, effective root cellar. Imagine crisp apples in January, garden-fresh carrots in March – a well-constructed root cellar extends your harvest and reduces your reliance on grocery store produce. Building a root cellar is a fantastic way to improve your homesteading food storage!
Why Build a Root Cellar? Embracing Homesteading Values
Before we dive into the nitty-gritty of root cellar construction, let's talk about why this project is so valuable for homesteaders. A root cellar is essentially a naturally cooled and humidified storage space, traditionally underground, used to preserve fruits and vegetables for extended periods. This practice directly addresses several core tenets of homesteading:
- Food Preservation: Reduce food waste by storing your harvest at optimal temperatures and humidity levels, extending its shelf life naturally.
- Self-Sufficiency: Lessen your dependence on grocery stores, especially during the winter months, providing winter food storage from your own land.
- Resilience: Build resilience against food shortages and price fluctuations. A well-stocked root cellar provides peace of mind and security.
- Sustainability: A sustainable food storage solution that requires minimal energy input, unlike refrigerators or freezers.
- Affordable: Offers an affordable root cellar alternative to costly preservation methods.
On my own homestead, the difference a root cellar has made is astounding. No longer do I dread the end of the harvest season! Knowing I have a cool, dark place to keep my potatoes, carrots, and apples allows me to enjoy the fruits (and vegetables!) of my labor for months after the last harvest. It truly strengthens the core principles of homesteading, providing food security and independence.
The Earth-Bermed Root Cellar: A Practical Design
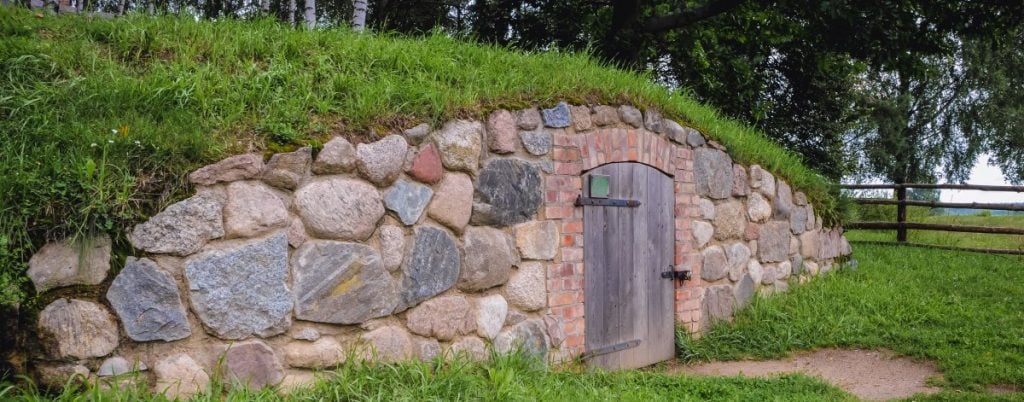
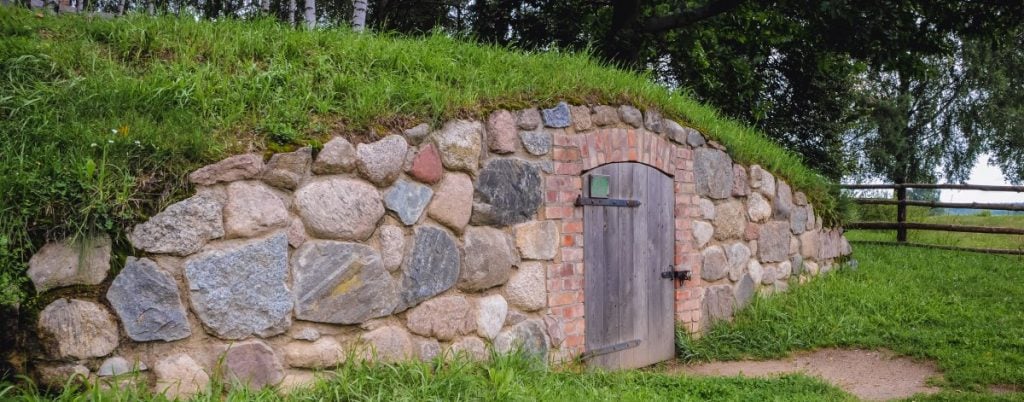
This blog post will guide you through building a small, earth-bermed root cellar. This type of cellar is relatively easy to construct, affordable, and well-suited for small to medium-sized homesteads. The earth berming provides excellent insulation, helping to maintain a stable temperature.
Step-by-Step Guide to DIY Root Cellar Construction
Here's a detailed, step-by-step guide to building your own earth-bermed root cellar. Remember to always prioritize safety and consult local building codes before starting any construction project.
Phase 1: Planning and Preparation
- Choose a Location: Select a site that is well-drained, shaded (especially during the summer months), and easily accessible from your garden and house. A slight slope is ideal for drainage. Avoid areas with high water tables.
- Determine Size: A small root cellar, approximately 6ft wide x 8ft long x 6ft high, is sufficient for most homesteads. Adjust the dimensions based on your anticipated storage needs. Consider the volume of root vegetables storage you need.
- Gather Materials:
- Treated Lumber (for framing the door and potentially reinforcing the roof): $100 - $200
- Concrete Blocks or Cinder Blocks (for the foundation and walls): $200 - $400
- Gravel (for drainage): $50 - $100
- Plastic Sheeting (for moisture barrier): $30 - $50
- Insulation (rigid foam board): $50 - $100
- Door (solid wood or metal): $50 - $150 (recycled options are great!)
- Ventilation Pipes (PVC): $20 - $40
- Hardware (nails, screws, hinges, etc.): $30 - $50
- Optional: Rebar (for reinforcing concrete): $20 - $40
Total Estimated Cost: $550 - $1230 (depending on material choices)
- Tools Required: Shovel, pickaxe, wheelbarrow, level, measuring tape, saw, drill, hammer, safety glasses, work gloves.
Phase 2: Excavation and Foundation
- Excavate the Site: Dig a hole to the desired dimensions, ensuring the bottom is level. Remember to factor in the depth for the gravel base and concrete block foundation.
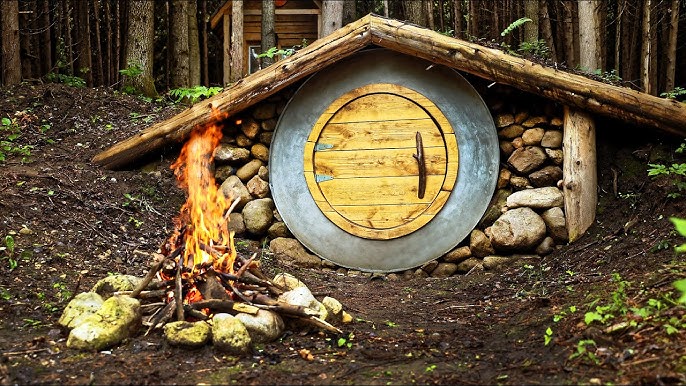
- Gravel Base: Add a layer of gravel (at least 6 inches) to the bottom of the excavation for drainage. This is crucial for controlling moisture in a root cellar.
- Foundation: Lay concrete blocks around the perimeter to create a solid foundation. Ensure the blocks are level and properly aligned. You can use mortar to secure the blocks, but dry-stacking is also an option for smaller structures.
Phase 3: Wall Construction
- Concrete Block Walls: Continue stacking the concrete blocks to create the walls of the root cellar. Ensure the walls are plumb and level. Consider adding rebar for reinforcement, especially if you live in an area with heavy soil or seismic activity.
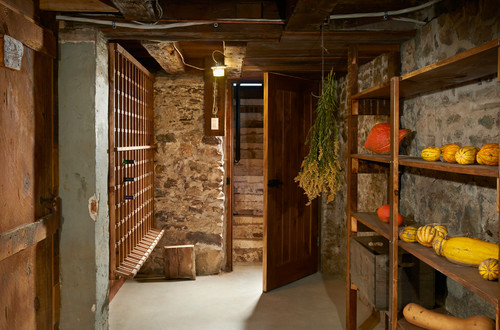
- Doorway Framing: Frame the doorway opening with treated lumber. Ensure the framing is sturdy and properly sized for the door you have chosen.
Phase 4: Roofing and Earth Berming
- Roof Construction: This is where designs vary. You can create a simple roof using treated lumber beams covered with plywood or corrugated metal. A more robust option is a concrete slab roof, which provides excellent insulation and strength. Ensure the roof is strong enough to support the weight of the earth berm.
- Waterproofing: Cover the roof with a layer of plastic sheeting to prevent water from seeping into the root cellar. Overlap the seams to ensure a watertight seal.
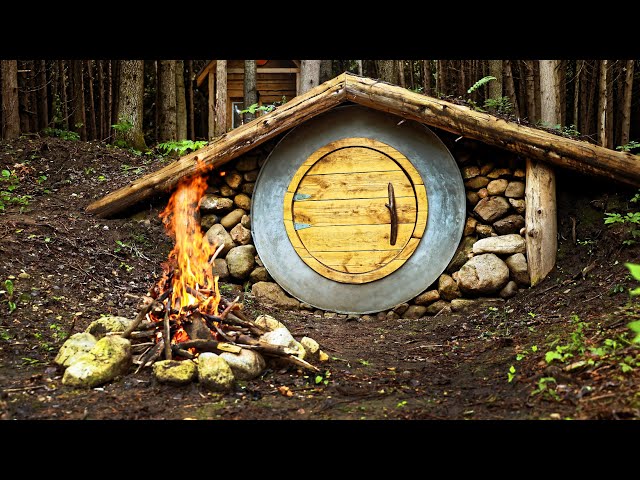
- Insulation: Add a layer of rigid foam board insulation over the plastic sheeting to further insulate the roof.
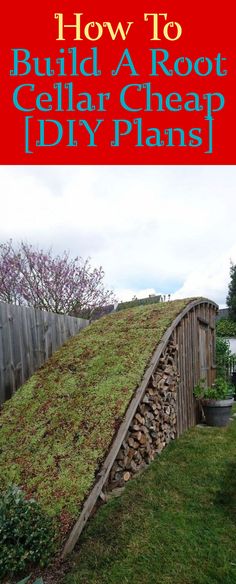
- Earth Berming: Cover the walls and roof with soil, creating an earth berm. The thicker the berm, the better the insulation. Aim for at least 2 feet of soil coverage. Be sure to compact the soil as you go.

Phase 5: Ventilation and Finishing
- Ventilation: Install two ventilation pipes. One pipe should be located near the floor, and the other near the ceiling. This creates a natural convection current, allowing cool air to enter and warm air to escape. Proper root cellar ventilation is crucial for preventing mold and maintaining optimal storage conditions.
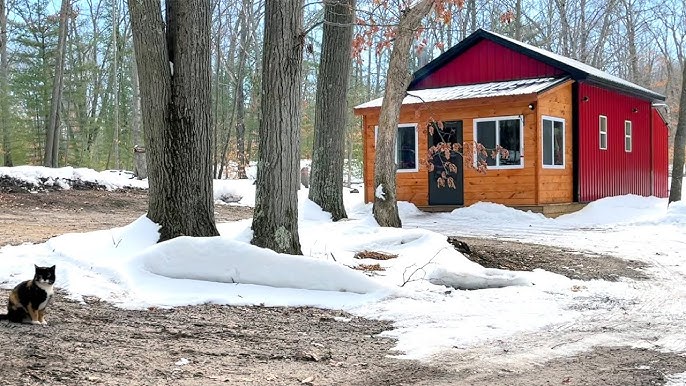
- Door Installation: Install the door, ensuring it seals tightly to prevent drafts and pest entry.
- Interior Finishing: Add shelves or bins for storing your produce. Use untreated wood to avoid contaminating your food. Consider adding a thermometer and hygrometer to monitor temperature and humidity levels.
Troubleshooting Tips
- Ventilation Issues: If you notice condensation or mold growth, increase ventilation.
- Moisture Control: Ensure proper drainage around the root cellar. If necessary, install a sump pump.
- Pest Prevention: Seal any cracks or openings to prevent rodents and insects from entering. Use traps or natural repellents if necessary.
- Temperature Fluctuations: A thicker earth berm and proper ventilation will help to maintain a stable temperature.
Connecting Back to Homesteading
Building a root cellar is more than just a construction project; it's an investment in your self-sufficiency and food security. It's about connecting with the land, preserving the harvest, and embracing a more sustainable way of life.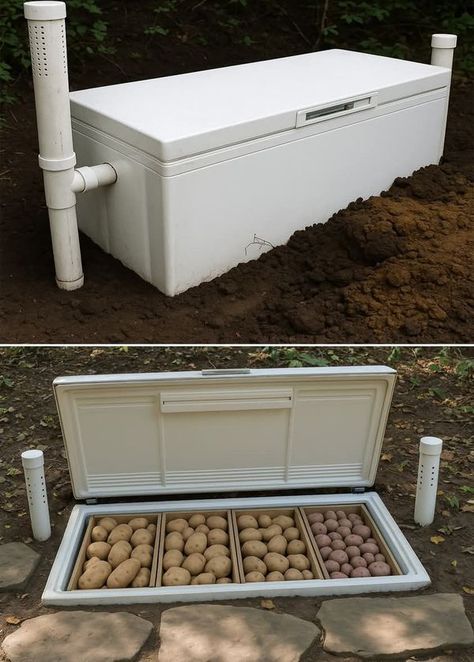
Call to Action
Now it’s your turn! Have you built a root cellar on your homestead? Share your experiences and tips in the comments below. Do you have any questions about how to build a cheap root cellar? We're here to help! Share photos of your progress on social media using #BetterHomesandHarvestsRootCellar.
Concluding Remarks
Building a DIY root cellar is a rewarding project that will provide you with fresh, homegrown food throughout the year. It's a testament to the power of self-sufficiency and the enduring values of homesteading. As you stand back and admire your handiwork, you'll not only have a functional food storage space, but also a tangible symbol of your commitment to a more sustainable and resilient future. The feeling of pulling a perfectly preserved carrot from your root cellar in the dead of winter is a reward in itself, a small victory against the uncertainties of the world, and a powerful connection to the earth that sustains us.