Revitalize Your Homestead: Building a DIY Root Cellar for Better Homes and Harvests
Do you remember the taste of a sun-ripened tomato in January? Or the satisfying crunch of a carrot harvested months after the first frost? For years, that kind of freshness felt like a distant dream on our homestead. Store-bought produce, shipped from who-knows-where, just couldn’t compare to the vibrant flavors of our summer garden. That’s why we decided to build our own DIY root cellar. It seemed daunting at first, but the promise of extended harvests and reduced reliance on grocery stores fueled our determination. This post will guide you through the process, step-by-step, so you too can enjoy the benefits of a traditional root cellar.
Why Build a Root Cellar?
Before diving into the how-to, let's talk about the why. A root cellar is essentially an underground structure designed to maintain a cool, humid environment ideal for preserving fruits and vegetables. The earth's consistent temperature acts as a natural insulator, protecting your harvest from extreme temperature fluctuations. Here’s why it’s a game-changer for homesteaders:
- Extended Harvest: Enjoy fresh, homegrown produce for months beyond the growing season.
- Reduced Food Waste: Properly stored produce lasts longer, minimizing spoilage and maximizing your harvest.
- Cost Savings: Less reliance on store-bought produce translates to significant savings on your grocery bill.
- Increased Self-Sufficiency: Take control of your food supply and reduce your dependence on external sources.
- Preserves Nutrients: Root cellaring helps retain the vitamins and minerals in your produce, unlike some other preservation methods.
Step-by-Step Guide to Building Your DIY Root Cellar
This guide outlines how we built an above-ground root cellar, perfect for homesteads with high water tables or limited excavation options. Remember to always check local building codes and regulations before starting any construction project.
Step 1: Planning and Design
- Location, Location, Location: Choose a site that is shaded, well-drained, and easily accessible. Ideally, it should be on the north side of a building or under trees to minimize sun exposure.
- Size Matters: Determine the size based on your storage needs. Consider the amount of produce you plan to store and the available space. Our cellar is 8ft x 12ft, which provides ample storage for our family.
- Design Considerations: Plan for ventilation, drainage, and insulation. Proper ventilation is crucial to prevent mold and maintain optimal humidity levels. Good drainage will prevent water from seeping into the cellar. Insulation will help regulate temperature.
Alt text: An example layout for a simple root cellar structure, showing the various internal sections and the placement of shelves for produce.
Step 2: Gathering Materials
We opted for reclaimed and readily available materials to keep costs down and promote sustainability. Here’s what we used:
- Foundation: Concrete blocks (cinder blocks)
- Walls: Reclaimed lumber from an old barn (you can also use new lumber or other suitable materials)
- Roof: Corrugated metal roofing sheets
- Insulation: Straw bales, rigid foam insulation (reclaimed when possible)
- Door: Solid wood door (reclaimed)
- Ventilation: PVC pipes
- Fasteners: Screws, nails, construction adhesive
Step 3: Building the Foundation
- Leveling the Ground: Prepare the site by leveling the ground and removing any vegetation.
- Laying the Blocks: Arrange the concrete blocks to form a rectangular foundation. Ensure the blocks are level and square. Use mortar to secure the blocks together for added stability.
Step 4: Constructing the Walls
- Framing: Build a wooden frame for the walls using 2x4 lumber. Ensure the frame is sturdy and properly braced.
- Sheathing: Attach the reclaimed lumber to the frame to create the walls. Overlap the boards slightly to prevent drafts.
- Insulation (Part 1): Line the interior walls with rigid foam insulation. Seal the seams with tape to create an airtight barrier.
Alt text: A close-up of a wooden wall with insulation being placed in it, demonstrating the layering of materials for energy efficiency.
Step 5: Building the Roof
- Roof Frame: Construct a roof frame using 2x6 lumber, ensuring a slight slope for water runoff.
- Roofing Material: Attach the corrugated metal roofing sheets to the frame, overlapping them properly to prevent leaks.
- Insulation (Part 2): Cover the roof with a thick layer of straw bales for added insulation. Secure the bales with netting or twine to prevent them from shifting.
Step 6: Installing the Door and Ventilation
- Door Installation: Install the solid wood door, ensuring a tight seal to prevent temperature fluctuations.
- Ventilation System: Install two PVC pipes – one near the floor for cool air intake and one near the ceiling for warm air exhaust. This creates a natural convection current that helps regulate temperature and humidity. You can adjust airflow by covering the openings.
Step 7: Interior Finishing and Shelving
- Dirt Floor: We opted for a dirt floor to help maintain humidity. You can also use gravel or concrete.
- Shelving: Build sturdy shelving units using reclaimed lumber. Arrange the shelves to maximize storage space.
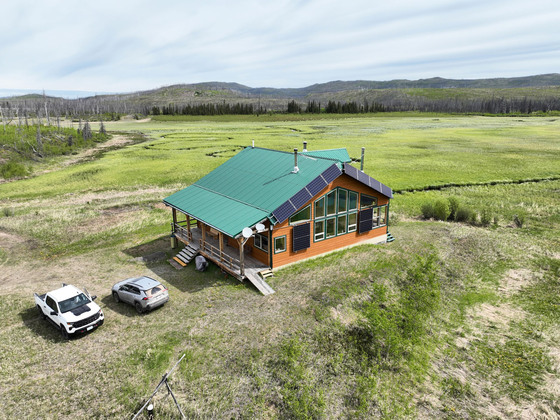
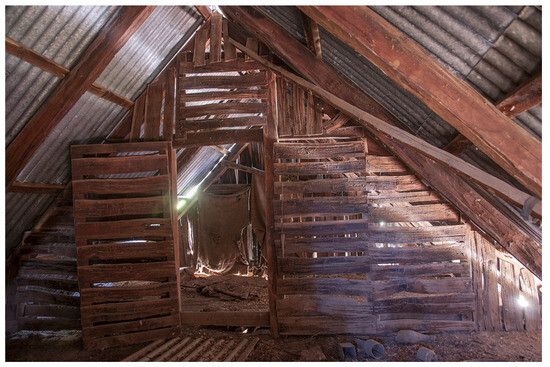
Alt text: Interior of barn, showing the type of rustic wooden supports and walls that can be repurposed for materials in your root cellar.
Step 8: Insulation and Earth Berming
- Exterior Insulation: Stack straw bales against the exterior walls for additional insulation.
- Earth Berming: Backfill soil against the walls to further insulate the cellar and provide additional stability.
Challenges and Solutions
- Moisture Control: Maintaining the right humidity level can be tricky. We use a hygrometer to monitor humidity and adjust ventilation accordingly. Adding a layer of gravel to the floor also helps.
- Pest Control: Mice and other rodents can be a problem. Seal any cracks or openings and consider using traps. We also have a homestead cat who patrols the perimeter.
- Temperature Fluctuations: Extreme temperature swings can reduce the storage life of your produce. Adding more insulation and earth berming can help minimize these fluctuations.
Sustainability and Cost-Effectiveness
- Reclaimed Materials: Using reclaimed lumber, roofing sheets, and insulation significantly reduced our costs and minimized our environmental impact.
- Natural Insulation: Straw bales are a readily available and sustainable insulation option.
- Passive Cooling: Relying on natural ventilation and earth's temperature eliminates the need for energy-intensive cooling systems.
Best Practices for Root Cellar Storage
- Prepare Produce Properly: Clean and dry produce before storing it. Remove any damaged or diseased items.
- Separate Different Types of Produce: Some fruits and vegetables emit ethylene gas, which can cause other produce to ripen and spoil more quickly. Store ethylene-producing produce (like apples and bananas) separately from ethylene-sensitive produce (like potatoes and carrots).
- Monitor Regularly: Check your produce regularly for signs of spoilage. Remove any rotting items immediately to prevent them from affecting the rest of your harvest.
- Maintain Proper Humidity Levels: Different types of produce require different humidity levels. Research the ideal storage conditions for each type of fruit and vegetable.
See Our Root Cellar in Action!
[Embed short video here demonstrating key aspects of the root cellar or showing the finished project.]
Time to Build Your Own Root Cellar!
Building a DIY root cellar is a rewarding project that can significantly improve your homestead’s self-sufficiency and sustainability. While it requires some effort and planning, the benefits of extended harvests and reduced reliance on store-bought produce are well worth it. Don't be afraid to adapt our plans to fit your specific needs and resources. What project are you most excited to tackle on your homestead? Share your thoughts and questions in the comments below!
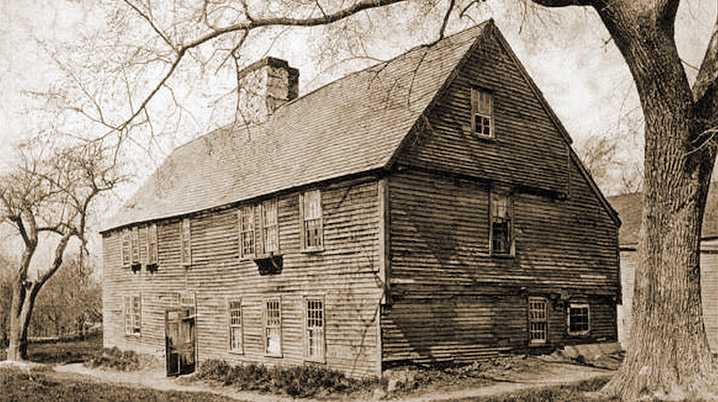
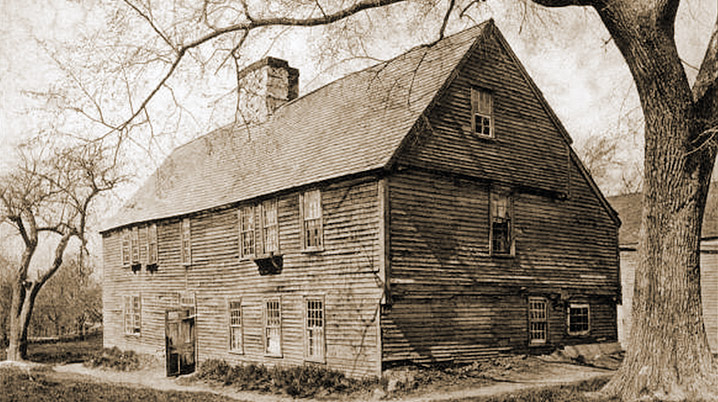
Alt text: The exterior of an older farmhouse, showing the type of home where energy efficiency improvements such as root cellars can make a big difference.

Alt text: Side view of farmhouse with modern roof showing examples of home improvement.

Alt text: Wider shot of the farmhouse to get more sense of building design.
Alt text: Documentation about how to register your historic farmhouse.

Alt text: Vintage magazine about what one can do at their home.

Alt text: Black and white old timey photo of farm.