Restore Your Barn: A Practical DIY Guide for Homesteaders
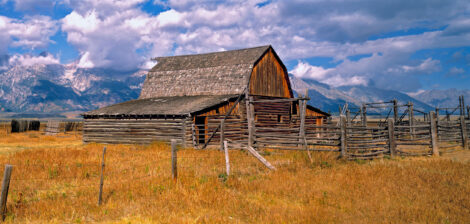
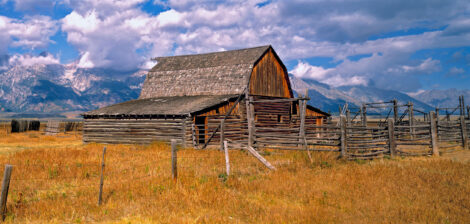
Here at Better Homes and Harvests, we understand the vital role a barn plays in the self-sufficient lifestyle. A sturdy, well-maintained barn isn't just a building; it's the heart of many homesteads, providing shelter for animals, storage for equipment, and a tangible link to our agricultural past. But time and weather can take their toll, leaving you with a barn that's more of a liability than an asset. That's why we've created this comprehensive DIY guide to barn restoration, empowering you to breathe new life into your aging structure and transform it into a valuable resource for years to come.
This isn't a weekend project; it's a commitment. But with careful planning, realistic expectations, and a willingness to learn, you can tackle this ambitious project and reap the rewards of a restored barn that enhances your homesteading journey.
Assessing Structural Integrity: The Foundation of Your Project
Before you even think about replacing siding or fixing the roof, you need to understand the true condition of your barn. A thorough assessment of structural integrity is crucial. This will reveal the extent of the damage and guide your restoration plan.
Clear Instructions:
- Visual Inspection: Start with a detailed visual inspection of the entire barn, inside and out. Look for:
- Foundation Cracks: Note any cracks, crumbling, or shifting in the foundation.
- Rotting Wood: Probe wooden beams, posts, and siding for soft spots indicating wood rot. Pay close attention to areas where wood meets the ground or is exposed to moisture.
- Sagging Roof: Check for dips, sags, or missing shingles on the roof. Look for water stains or leaks inside the barn.
- Damaged Siding: Identify any broken, cracked, or missing siding panels.
- Loose Connections: Examine all connections between structural members (e.g., posts and beams) for looseness or signs of failure.
- Leveling: Use a long level to check for any significant settling or leaning in the barn structure. Uneven settling can indicate foundation problems.
- Professional Consultation: If you find significant structural issues or are unsure about the stability of the barn, consult a structural engineer. A professional assessment can provide peace of mind and prevent costly mistakes down the road.
Material List:
- Flashlight
- Screwdriver or probe (for testing wood)
- Measuring tape
- Level (at least 4 feet long)
- Camera (for documenting damage)
- (Optional) Moisture meter
Cost Estimate: Visual inspection is free. Structural engineer consultation: $300 - $1000+ depending on the scope.
Safety Precautions:
- Wear safety glasses and a dust mask when inspecting the barn.
- Be careful when climbing ladders or working at heights.
- Watch out for loose or unstable boards and beams.
- If you suspect the presence of asbestos or lead paint, consult a professional for safe removal.
Troubleshooting Tips:
- Difficult to Reach Areas: Use a ladder or scaffolding to safely access high areas of the barn.
- Concealed Damage: Probe deeply into the wood to check for hidden rot.
- Unsure About Structural Issues: Err on the side of caution and consult a structural engineer.
Repairing the Roof: Protecting Your Investment
A sound roof is essential for protecting your barn from the elements. Repairing or replacing the roof is often one of the most critical steps in the barn restoration process.
Clear Instructions:
- Assess the Damage: Determine the extent of the roof damage. Are there just a few missing shingles, or is the underlying sheathing rotten?
- Remove Damaged Materials: Carefully remove any damaged shingles, sheathing, or flashing.
- Repair or Replace Sheathing: If the sheathing is rotten, replace it with new plywood or OSB.
- Install Underlayment: Install a layer of roofing underlayment to provide an extra layer of protection against water damage.
- Install New Roofing Material: Choose a roofing material that is appropriate for your barn and climate. Options include asphalt shingles, metal roofing, and wood shingles.
- Install Flashing: Install flashing around chimneys, vents, and other roof penetrations to prevent water leaks.
Material List:
- Roofing material (asphalt shingles, metal roofing, etc.)
- Roofing nails or screws
- Roofing underlayment
- Plywood or OSB (for sheathing repair)
- Flashing
- Hammer or nail gun
- Utility knife
- Measuring tape
- Ladder
- Safety harness
Cost Estimate: Varies widely depending on the roofing material and the size of the roof. Asphalt shingles: $3 - $5 per square foot. Metal roofing: $5 - $15 per square foot.
Safety Precautions:
- Wear a safety harness when working on the roof.
- Use caution when climbing ladders.
- Be aware of weather conditions and avoid working on the roof in high winds or rain.
Troubleshooting Tips:
- Finding Leaks: Use a garden hose to spray water on the roof and identify the source of leaks.
- Steep Roofs: Consider hiring a professional roofer for steep or complex roofs.
- Matching Existing Roofing: If you are only repairing a small section of the roof, try to match the existing roofing material as closely as possible.
Replacing Damaged Siding: Restoring Aesthetics and Protection
Damaged or missing siding not only detracts from the appearance of your barn but also exposes the structure to the elements. Replacing damaged siding is crucial for protecting your barn from water damage, pests, and decay.
Clear Instructions:
- Remove Damaged Siding: Carefully remove the damaged siding panels, being careful not to damage the underlying structure.
- Inspect Underlying Structure: Check the underlying structure for any rot or damage. Repair or replace any damaged framing members.
- Install New Siding: Install new siding panels, using the appropriate fasteners for the siding material.
- Caulk Seams: Caulk all seams and joints to prevent water infiltration.
- Paint or Stain: Paint or stain the new siding to protect it from the elements and match the existing siding.
Material List:
- New siding (wood, metal, vinyl, etc.)
- Nails or screws
- Caulk
- Paint or stain
- Hammer or nail gun
- Saw
- Measuring tape
- Level
Cost Estimate: Varies depending on the siding material. Wood siding: $3 - $7 per square foot. Metal siding: $4 - $9 per square foot. Vinyl siding: $2 - $5 per square foot.
Safety Precautions:
- Wear safety glasses and gloves when working with siding.
- Use caution when cutting siding.
- Be aware of the weight of siding panels and avoid lifting heavy loads alone.
Troubleshooting Tips:
- Matching Existing Siding: Try to match the existing siding as closely as possible.
- Difficult Cuts: Use a power saw or circular saw for difficult cuts.
- Proper Fastening: Use the correct type and size of fasteners for the siding material.
Reinforcing the Foundation: Ensuring Long-Term Stability
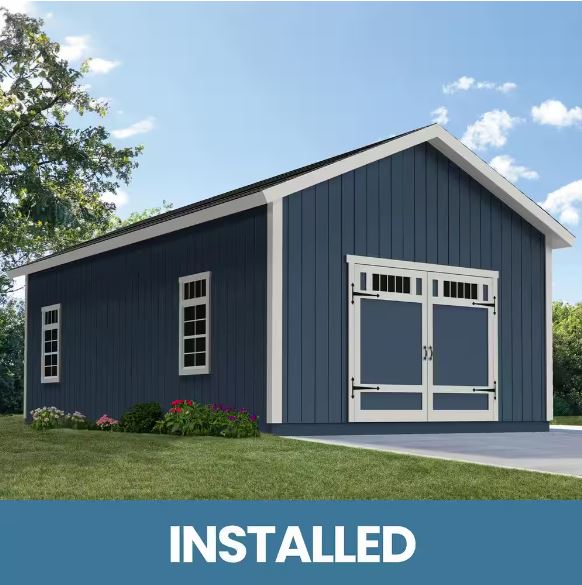
The foundation is the backbone of your barn. A weak or damaged foundation can lead to serious structural problems. Reinforcing the foundation is essential for ensuring the long-term stability of your barn.
Clear Instructions:
- Assess the Damage: Identify any cracks, crumbling, or shifting in the foundation.
- Clean the Foundation: Clean the foundation surface to remove any dirt, debris, or loose material.
- Repair Cracks: Fill any cracks with concrete patching compound.
- Reinforce with Concrete: If the foundation is severely damaged, consider reinforcing it with additional concrete. This may involve pouring a new concrete footing or adding concrete piers.
- Improve Drainage: Ensure that the foundation has adequate drainage to prevent water from pooling around the base of the barn.
Material List:
- Concrete patching compound
- Concrete mix
- Rebar (for reinforcement)
- Shovels
- Wheelbarrow
- Trowel
- Level
Cost Estimate: Varies depending on the extent of the damage and the reinforcement method. Concrete patching: $10 - $20 per bag. Concrete mix: $5 - $10 per bag.
Safety Precautions:
- Wear safety glasses and gloves when working with concrete.
- Use caution when lifting heavy bags of concrete.
- Follow the manufacturer's instructions when mixing and applying concrete.
Troubleshooting Tips:
- Large Cracks: Consult a structural engineer for large or deep cracks.
- Uneven Settling: Address any underlying soil issues that may be causing uneven settling.
- Proper Curing: Allow the concrete to cure properly before applying any load.
Improving Ventilation: Preventing Moisture and Decay
Proper ventilation is crucial for preventing moisture buildup inside the barn, which can lead to wood rot, mold growth, and other problems. Improving ventilation will help to keep your barn dry and healthy.
Clear Instructions:
- Identify Ventilation Needs: Determine the ventilation needs of your barn based on its size, use, and climate.
- Install Vents: Install vents in the roof, walls, or eaves to allow for air circulation.
- Use Fans: Consider using fans to increase air circulation, especially in humid climates.
- Ensure Proper Drainage: Make sure that the ground around the barn slopes away from the foundation to prevent water from entering the barn.
Material List:
- Vents
- Fans
- Shovels (for improving drainage)
Cost Estimate: Vents: $20 - $100 per vent. Fans: $50 - $200 per fan.
Safety Precautions:
- Follow the manufacturer's instructions when installing vents and fans.
- Ensure that electrical connections are properly grounded.
- Keep vents and fans clean and free of debris.
Troubleshooting Tips:
- Condensation: If you notice condensation inside the barn, increase ventilation.
- Stale Air: If the air inside the barn feels stale, add more vents or increase fan speed.
- Proper Placement: Place vents strategically to maximize air circulation.
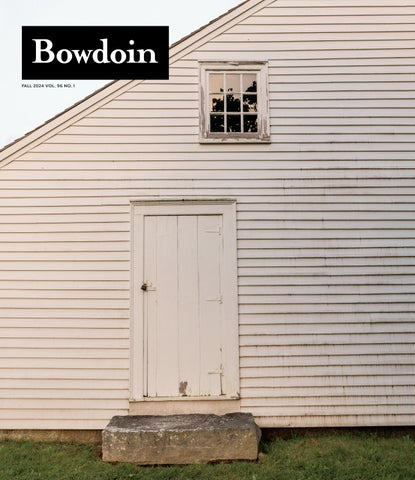
A Homesteader's Tale: From Dilapidated to Dream Barn
I remember when we first bought our homestead. The barn was... well, let's just say it was a project. The roof leaked, the siding was rotting, and the foundation had seen better days. My grandpa, a seasoned homesteader himself, told me, "A barn is only as good as its bones." He was right. We spent a summer reinforcing the foundation and replacing the roof. It was hard work, but seeing the barn transform was incredibly rewarding. Now, it's a thriving space for our animals and equipment, a testament to the resilience of homesteading and the satisfaction of DIY restoration.
Address Common Concerns: Is Barn Restoration Worth It?
Barn restoration can be a daunting task, and it's natural to question whether it's worth the effort. Here are a few common concerns and some thoughts to consider:
- Cost: Restoration can be expensive, but it's often cheaper than building a new barn. Plus, you can spread the cost out over time by tackling the project in stages.
- Time: Restoration takes time and effort, but it's a worthwhile investment in your homestead.
- Expertise: You don't need to be a master carpenter to restore a barn, but you do need to be willing to learn and tackle challenges. Don't be afraid to ask for help from experienced friends, family members, or professionals.
Remember, restoring a barn isn't just about fixing a building; it's about preserving a piece of history and creating a valuable asset for your homestead.
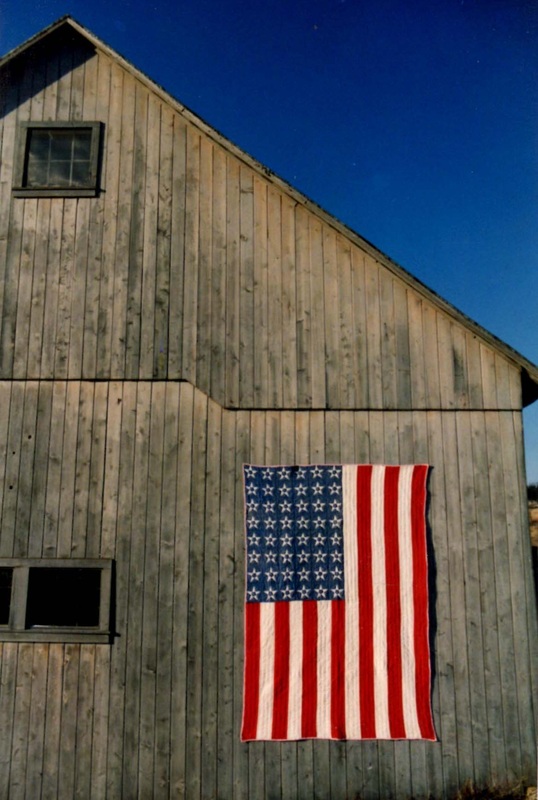
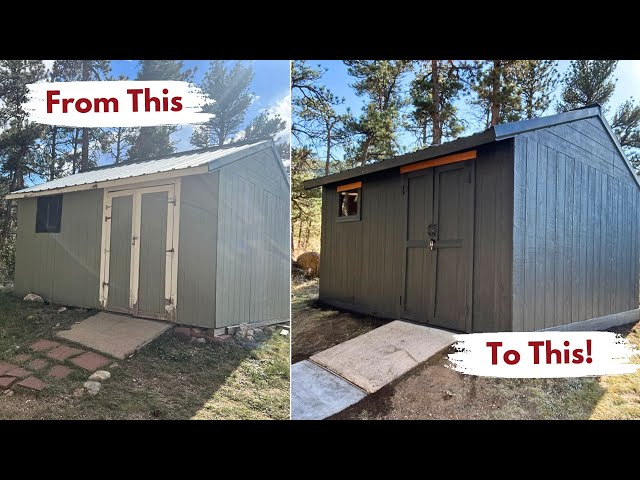
Before and After: A Glimpse of the Possibilities
(Imagine including before and after photos here to showcase the transformation.)
Call to Action: Embark on Your Barn Restoration Journey
Ready to breathe new life into your aging barn? Start by carefully assessing its structural integrity and developing a detailed restoration plan. Remember to prioritize safety, be realistic about your abilities, and don't be afraid to ask for help when needed.
We encourage you to share your own barn restoration stories or ask questions in the comments section below. We're here to support you on your homesteading journey!
Restoring your barn is more than just a project; it's an investment in your self-sufficient lifestyle and a connection to the rich agricultural heritage that defines homesteading. So, gather your tools, embrace the challenge, and get ready to transform your barn into a valuable asset for years to come. You got this!
