Reclaiming Your Pantry: A Slow-Living Guide to Autumn Organization
There's a certain magic to autumn mornings. The air is crisp, the light golden, and a sense of cozy anticipation hangs in the air. That is, until you open the pantry. After a summer of canning tomatoes, pickling cucumbers, and jamming every berry in sight, my pantry had become a chaotic monument to my harvest. Jars teetered precariously, bags of flour overflowed, and mysterious spices lurked in the shadows, daring me to identify them. Sound familiar? A disorganized pantry isn't just visually unappealing; it leads to wasted food, stressful meal planning, and a general sense of overwhelm. But fear not! Autumn is the perfect time to reclaim your pantry with a slow-living approach, transforming it into a haven of organized deliciousness that reflects your values and reduces stress. Let's embark on a journey of decluttering and reorganizing, using natural, reusable, and repurposed materials to create a pantry that nourishes both body and soul.

The Slow Living Pantry: Why It Matters
Before we dive into the nitty-gritty, let's talk about why a "slow living" approach to pantry organization is so beneficial. It's about more than just aesthetics; it's about mindfulness and sustainability. Instead of rushing through the process with a cart full of plastic containers, we'll focus on using what we already have, repurposing materials, and making conscious choices that minimize our environmental impact. This approach also fosters a deeper connection with our food, encouraging us to appreciate the effort that goes into growing, preserving, and preparing it. A well-organized homestead pantry is the heart of any sustainable home.
Step 1: The Great Pantry Purge
The first step is the most daunting, but also the most rewarding: the declutter. Take everything out of your pantry. I mean everything. This allows you to see exactly what you have and to give your shelves a good cleaning. As you empty the shelves, create three piles:
- Keep: Items you use regularly and are still in good condition.
- Donate/Share: Non-perishable items you know you won't use but are still within their expiration date. Local food banks or community sharing initiatives are great options.
- Toss/Compost: Expired items or those that are no longer usable. Compost what you can to reduce waste.
Be honest with yourself! Holding onto things "just in case" often leads to clutter and food waste. This is an important step in decluttering your pantry.
While your pantry is empty, take the time to wipe down the shelves. A simple solution of water and vinegar works wonders. For tougher stains, add a bit of baking soda.
Step 2: Repurpose and Reimagine Your Storage
Now for the fun part! Before you rush out to buy new containers, take stock of what you already have. This is where the "slow living" philosophy truly shines. Think creatively and look around your home for potential storage solutions. This helps create a more sustainable pantry organization process.
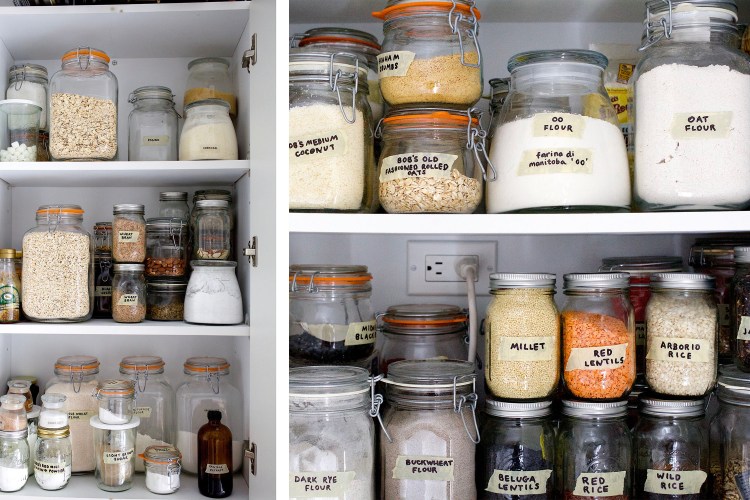
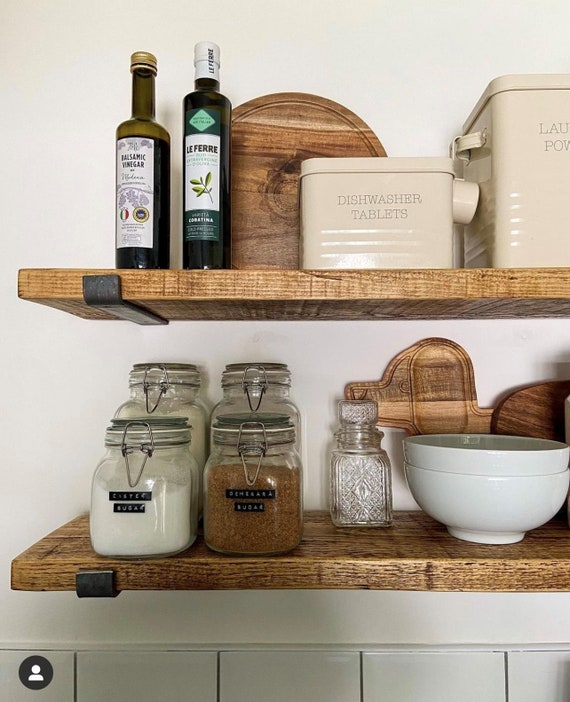
- Glass Jars: Those canning jars you used all summer? They're perfect for storing grains, beans, pasta, and other dry goods. Not only are they airtight and reusable, but they also look beautiful on the shelves. Remove the labels or replace them with handwritten ones for a rustic touch.
- Repurposed Cardboard Boxes: Don't toss those delivery boxes! Cut them down and cover them with pretty paper or fabric to create DIY shelf dividers or storage bins. These are perfect for corralling smaller items and maximizing vertical space.
- Fabric Bags: Old pillowcases or tea towels can be sewn into reusable bags for storing potatoes, onions, or garlic. The breathable fabric helps keep them fresh for longer.
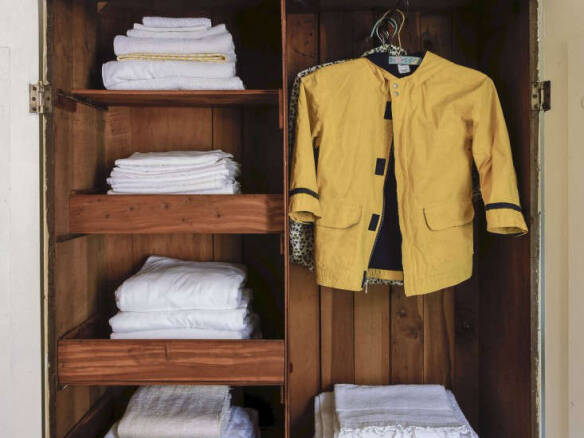
- Wicker Baskets: Thrift stores are a treasure trove of wicker baskets. Use them to store snacks, produce, or cleaning supplies. They add a touch of rustic charm to your pantry.
Step 3: DIY Beeswax Food Wraps
Plastic wrap is a pantry staple that quickly becomes a source of waste. But there's a natural and beautiful alternative: beeswax food wraps. These reusable wraps are easy to make and perfect for covering open containers, wrapping cheese, or storing leftovers.
Here's how to make your own:
- Cut pieces of cotton fabric (old sheets or fabric scraps work well) into desired sizes and shapes.
- Lay the fabric on a baking sheet lined with parchment paper.
- Sprinkle beeswax pellets (available online or at craft stores) evenly over the fabric.
- Bake in a preheated oven at 200°F (93°C) for a few minutes, until the beeswax is melted.
- Remove from the oven and let cool completely.
Your beeswax wraps are now ready to use! Simply mold them around your food or container using the warmth of your hands. To clean, wash with cool water and mild soap. Avoid hot water, as it will melt the beeswax.
Step 4: Implement a Simple Expiration Date System
One of the biggest culprits of food waste is forgetting about items lurking in the back of the pantry. To combat this, implement a simple system for tracking expiration dates.
- "First In, First Out" (FIFO): When adding new items to your pantry, always place them behind the older items. This ensures that you use the older items first.
- Expiration Date Labels: Use a marker or label maker to clearly mark the expiration date on all items, especially those that have been transferred to new containers.
- Regular Inventory Checks: Set aside a few minutes each week to check expiration dates and identify items that need to be used soon. Plan your meals accordingly.
- Designated "Use Me First" Shelf: Create a designated shelf or basket for items that are nearing their expiration date. This serves as a visual reminder to use them up before they go bad.
- Pantry Organization for Beginners can be as simple as this, which will drastically reduce your wasted food.
Step 5: Mindful Placement and Aesthetics
Now that you've decluttered, repurposed, and implemented a system for tracking expiration dates, it's time to put everything back in your pantry. As you do so, think about the placement of each item.
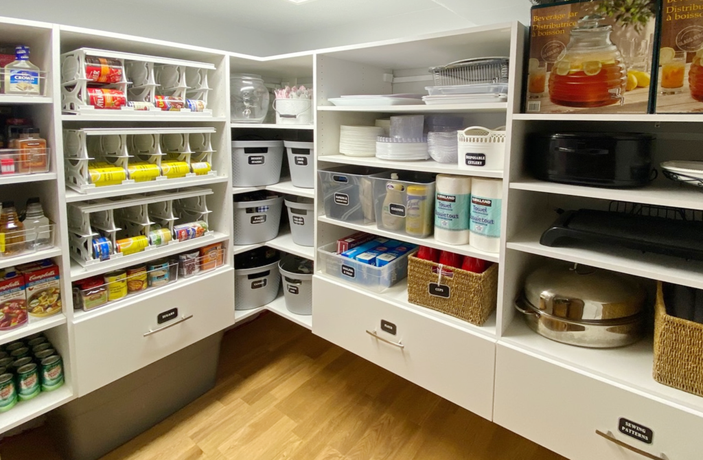
- Accessibility: Place frequently used items within easy reach. Store less frequently used items on higher or lower shelves.
- Categorization: Group similar items together. For example, store all your baking supplies in one area, and all your spices in another.
- Visibility: Use clear containers to store items so you can easily see what you have.
- Aesthetics: Arrange your pantry in a way that is visually appealing. This will make you more likely to keep it organized. Consider the colors and textures of your containers and labels. A natural pantry organization will not only be practical but aesthetically pleasing.
A well-organized pantry not only saves you time and money but also brings a sense of calm and order to your kitchen. By embracing a slow-living approach and using natural, reusable, and repurposed materials, you can create a pantry that reflects your values and nourishes both body and soul. So, take a deep breath, put on some music, and embark on your pantry reclaiming journey. You'll be amazed at the transformation!