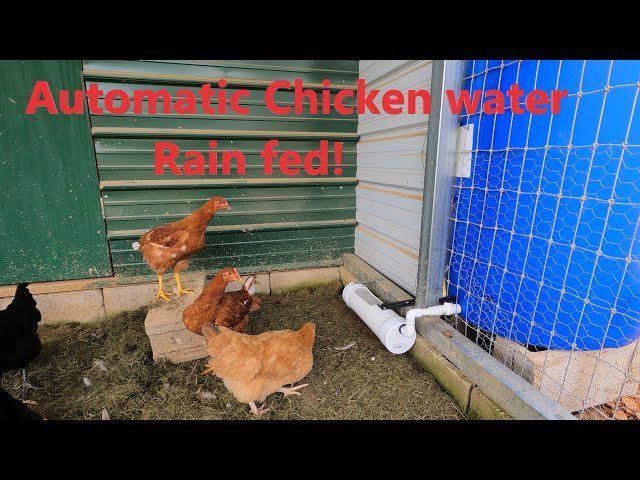
Reclaim Your Mornings: Build a High-Impact, Low-Cost Automatic Chicken Waterer
Are you tired of the daily grind of refilling your chickens' water, only to find it murky with dirt, feathers, and… well, other things? Imagine a world where your flock always has access to clean, fresh water, without you having to lift a finger every morning. This DIY automatic chicken waterer system is the game-changer you've been waiting for. Not only will it reclaim your precious morning time, but it will also ensure a healthier, happier flock, reduce water waste, and save you money in the long run. Say goodbye to those messy water troughs and hello to a simpler, more sustainable way to hydrate your chickens!
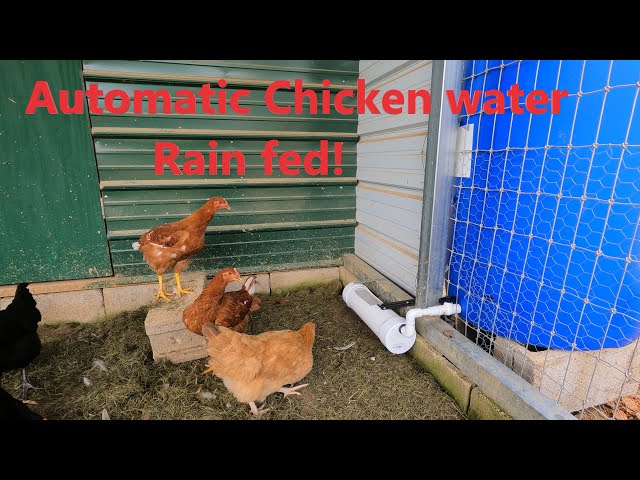
Why an Automatic Chicken Waterer?
The benefits of switching to an automatic waterer are numerous:
- Consistent Clean Water: This system provides a constant supply of fresh, clean water, reducing the risk of bacterial growth and waterborne diseases that can plague your flock.
- Reduced Labor: Forget the daily chore of hauling water! This system refills automatically, saving you time and energy.
- Water Conservation: By minimizing spillage and evaporation, you'll conserve water, which is especially important during dry seasons.
- Healthier Chickens: Hydrated chickens are healthy chickens! Proper hydration leads to better egg production and overall well-being.
- Cost-Effective: Building your own automatic waterer is far cheaper than buying a pre-made system.
Materials List & Estimated Costs:
Here's what you'll need for this project. Prices are approximate and may vary depending on your location and supplier:
- Food-Grade Bucket with Lid (5-gallon): $10 - $15 (Hardware store, online retailers)
- PVC Pipe (1/2 inch diameter): $5 (Hardware store)
- PVC Elbow Fittings (1/2 inch): $3 - $5 (Hardware store)
- PVC Tee Fittings (1/2 inch): $3 - $5 (Hardware store)
- Horizontal Nipple Drinkers (3-5 depending on flock size): $8 - $15 (Online retailers, farm supply stores)
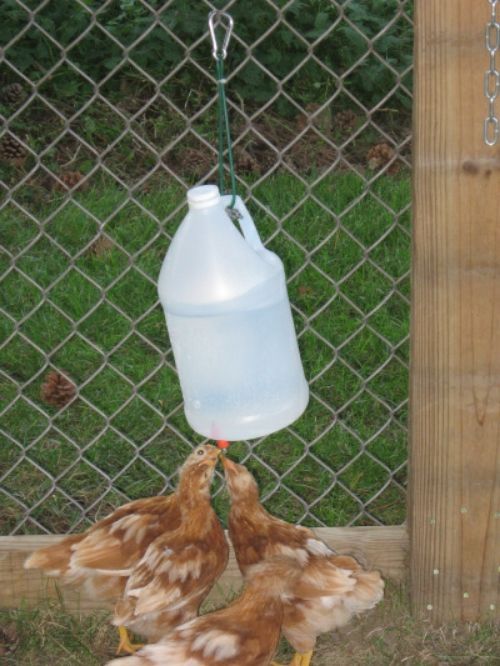
- Bulkhead Fitting (1/2 inch): $3 - $7 (Hardware store, online retailers)
- Drill with various sized bits: (already owned, or rental option)
- PVC Primer and Cement: $5 - $8 (Hardware store)
- Adjustable Wrench: (already owned, or borrowed)
- Measuring Tape: (already owned)
- Optional: Hanging Hardware (chain, hooks): $5 - $10 (Hardware store)
Total Estimated Cost: $42 - $70
Material Alternatives:
- Used Bucket: Instead of buying a new food-grade bucket, check with local bakeries, restaurants, or construction sites. They often discard food-grade buckets that are perfect for this project. Just make sure to thoroughly clean and sanitize it!
- Repurposed PVC Pipe: Scour your own property or ask neighbors if they have any leftover PVC pipe scraps you can use.
- DIY Nipple Drinkers: While commercial nipple drinkers are readily available and affordable, there are DIY versions using small bolts and rubber tubing, but these require more fabrication skills.
Step-by-Step Instructions:
Safety First: Always wear safety glasses when drilling or cutting PVC pipe. Ensure all materials are food-grade and safe for animal consumption. Work in a well-ventilated area when using PVC primer and cement.
Step 1: Preparing the Bucket
- Drill the Bulkhead Hole: Determine the location for your bulkhead fitting on the lower side of the bucket. Use a drill bit slightly larger than the diameter of the bulkhead fitting to create a clean hole.
- Install the Bulkhead Fitting: Insert the bulkhead fitting into the hole, ensuring a tight and secure fit. You may need to use a wrench to tighten the nut on the inside of the bucket. This will create a watertight connection for your PVC pipe.
Step 2: Assembling the PVC Pipe System
- Measure and Cut the PVC: Measure the desired length of PVC pipe needed to run from the bulkhead fitting to the location where you want your nipple drinkers. Cut the pipe using a PVC cutter or a saw.
- Attach the Elbow Fitting: Use PVC primer and cement to attach an elbow fitting to the end of the PVC pipe that will connect to the bulkhead fitting. Allow the cement to dry completely.
Step 3: Installing the Nipple Drinkers
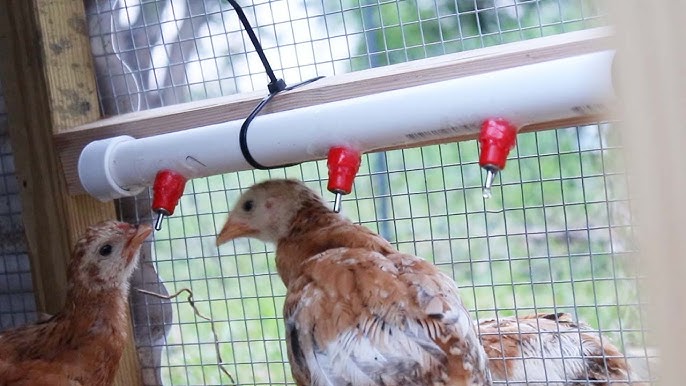
- Drill Holes for Nipple Drinkers: Along the horizontal section of PVC pipe, drill holes sized appropriately for your nipple drinkers. Space the holes evenly, considering the number of chickens you have. A good rule of thumb is one nipple drinker per 3-5 chickens.
- Install Nipple Drinkers: Screw the nipple drinkers into the drilled holes, ensuring they are securely tightened. Some nipple drinkers may require Teflon tape to prevent leaks.
Step 4: Connecting the System
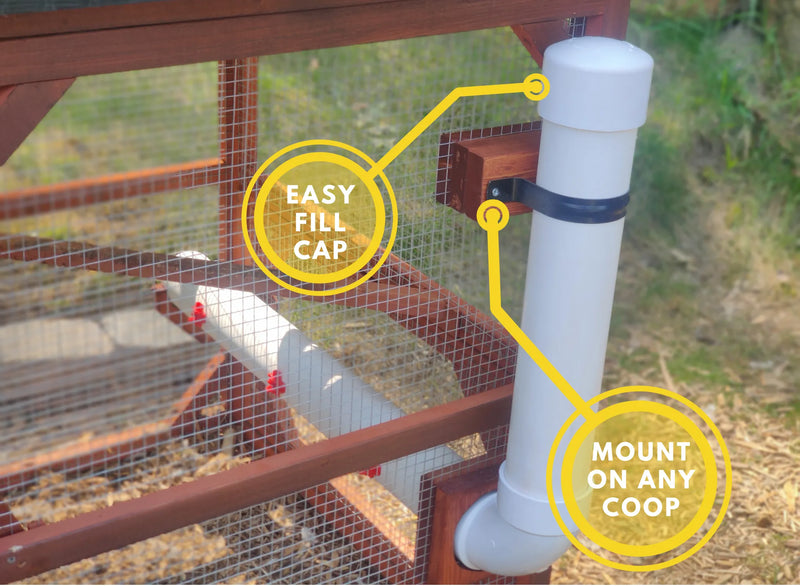
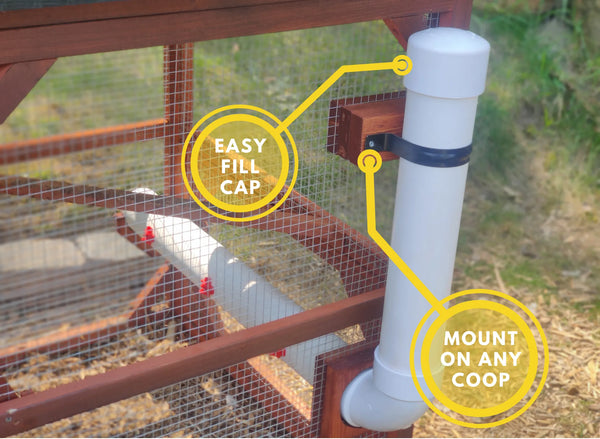
- Connect to the Bulkhead: Attach the PVC pipe assembly to the bulkhead fitting on the bucket. Ensure the connection is tight and watertight.
Step 5: Testing and Adjusting
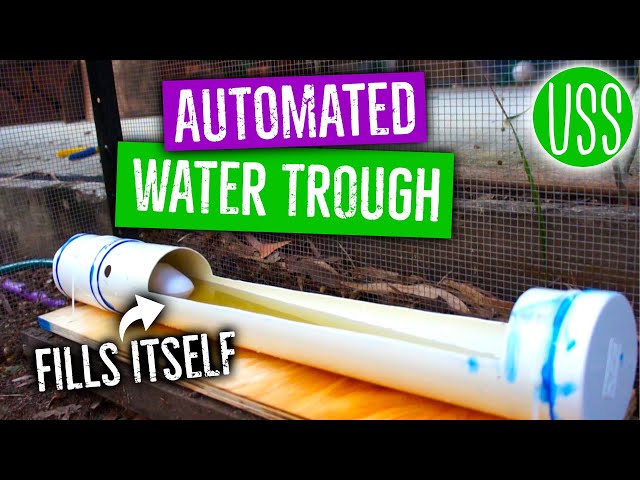
- Fill the Bucket: Fill the bucket with water and observe the system for any leaks. Tighten any connections as needed.
- Adjust Nipple Drinker Height: Adjust the height of the bucket so that the nipple drinkers are easily accessible to your chickens. You can hang the bucket using chain and hooks, or place it on a stable platform.
Step 6: Introducing the System to Your Chickens
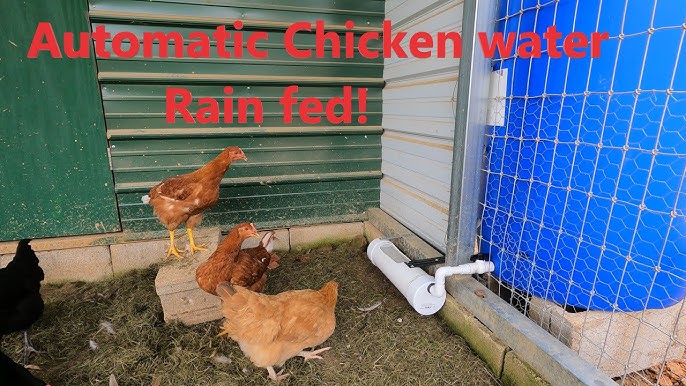
- Show and Teach: Initially, you may need to show your chickens how to use the nipple drinkers. Gently tap the nipple to release a drop of water. Most chickens will quickly learn how to use the system.
Troubleshooting Tips:
- Leaks: If you experience leaks, check all connections and tighten as needed. Use Teflon tape on threaded connections to create a better seal.
- Clogged Nipples: Periodically clean the nipple drinkers to remove any debris that may clog them.
- Chickens Not Using the System: If your chickens are hesitant to use the system, try removing their old water source to encourage them to explore the new one. You can also try smearing a small amount of peanut butter on the nipple to attract them.
Maintenance Tips:
- Regular Cleaning: Clean the bucket and nipple drinkers at least once a month to prevent algae growth and bacterial contamination.
- Winterization: In cold climates, consider using a heated bucket or a submersible water heater to prevent the water from freezing. You can also insulate the bucket and PVC pipe to help retain heat.
- Check for Damage: Regularly inspect the system for any damage or wear and tear. Replace any worn or broken parts immediately.
Call to Action:
Ready to simplify your chicken care routine and ensure a healthier flock? Build your own automatic chicken waterer today! Share your experiences, ask questions in the comments below, and share photos of your completed waterers on social media using #BetterHomesAndHarvestsChickenWaterer. We can't wait to see your creations!
This DIY project will revolutionize how you care for your chickens. You'll not only provide them with a constant supply of clean water, but you'll also reclaim your time and contribute to a more sustainable homesteading lifestyle. Happy building!